Cosplay Costume Shield
Dottie Natal
This Cosplay shield was made for a Hot Wire Foam Factory booth at the August 2015 Central Coast Comicon in Ventura. It was made from 1 inch expanded polystyrene (aka “white beaded foam”).
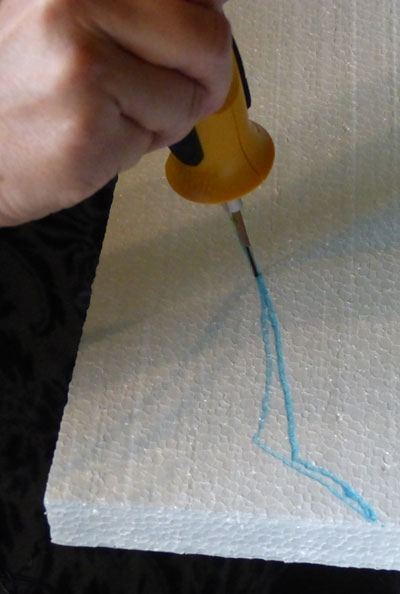
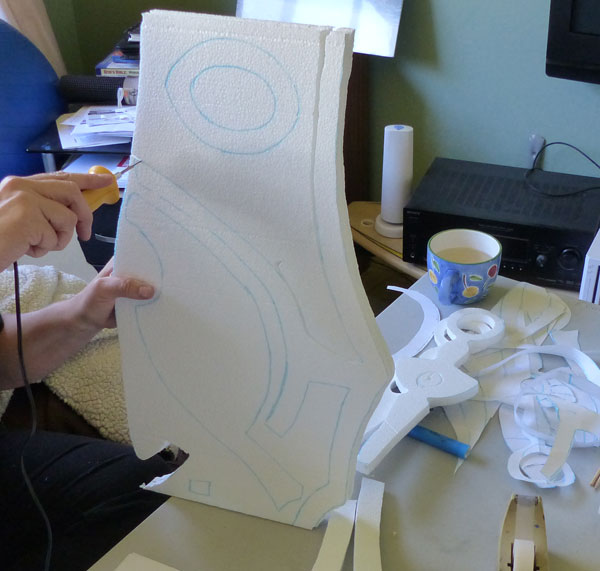
Making the shield: First the outline shape was sketched on one side of the shield and cut out using the 6″ Hot Knife.

This is a fairly simple cut to make, the only difficulty is focusing on keeping the knife perpendicular to the foam board.
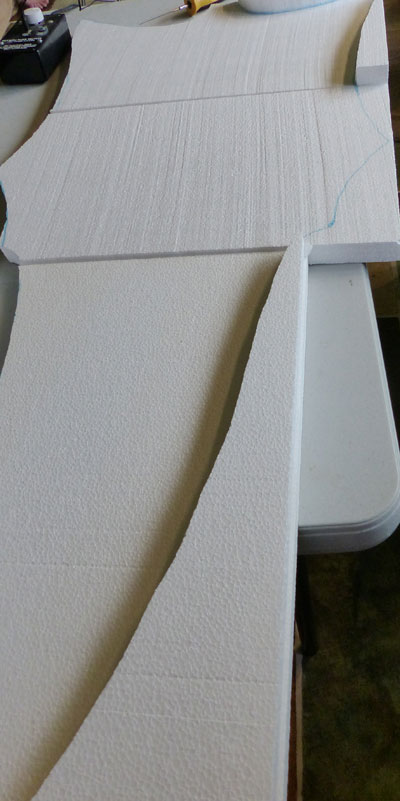
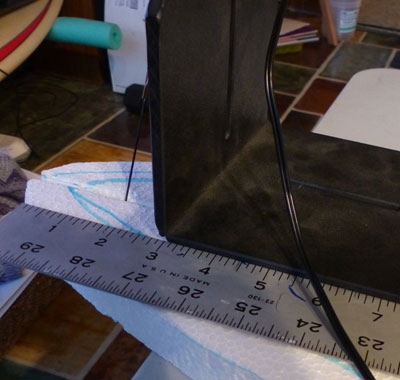
After the first side was cut out, the cut pieces were flipped over and laid on the opposite side and a line was drawn along the cut edge to create a symmetric shape for the shield.
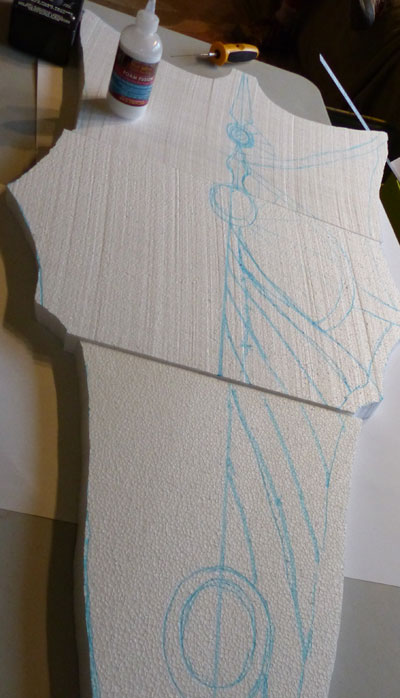
Now the design was sketched directly on the shield to get an idea of how to finish it. The boards were glued using Hot Wire Foam Factory Foam Fusion (it looks like Elmer’s Glue, but it is NOT–Elmer’s Glue will not dry, and Foam Fusion is designed so it will cut with the Hot Knife.)
At that point I decided I wanted to make the shield angled, not flat. I used the Sled Guide, running the guide along a straight edge, to use the Hot Knife to cut at an angle and remove a triangular slice from the middle of the shield.
Now I bent the shield along that cut, used some Foam Fusion in the cut, and put BBQ skewers through both boards to hold it in place while the glue dried (overnight.)
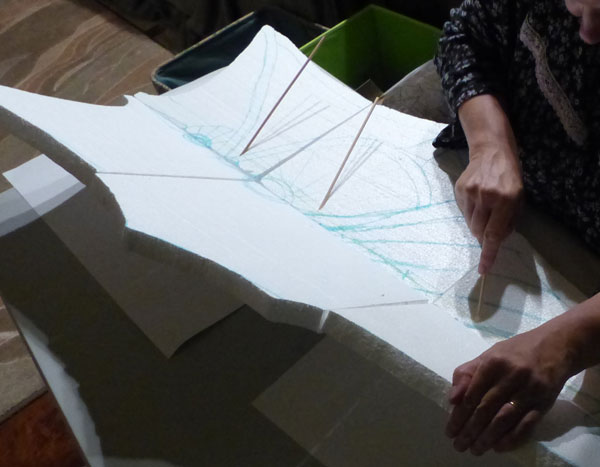
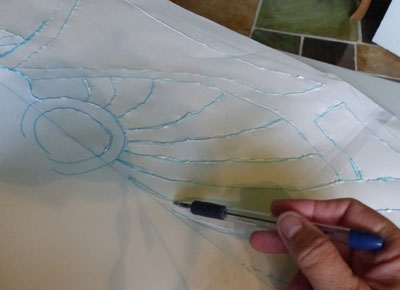
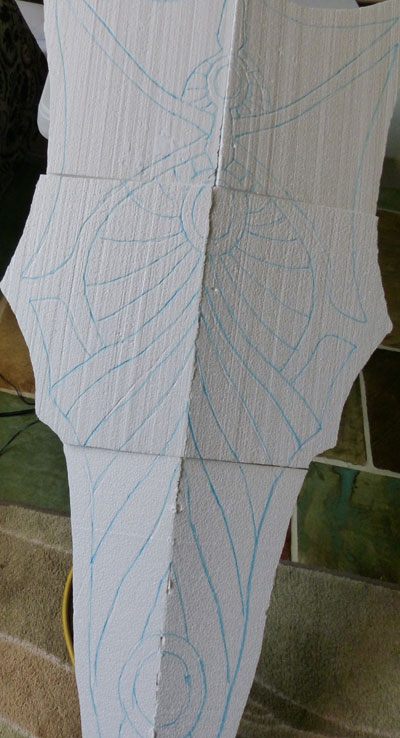
I placed paper over my pattern and traced it with a marker pen, then I put this on the front of the shield and pressed through the lines with a ball point pen to transfer the design. Holding the pen at an angle, I relied upon the pressure to make a mark into the foam.
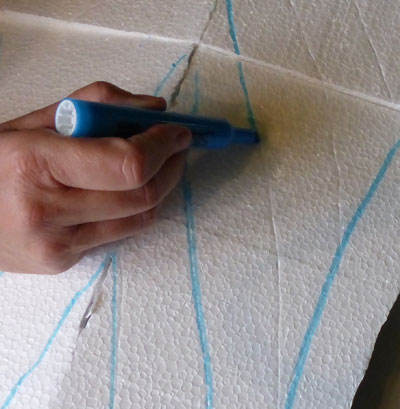
Here you can see I used those pressure marks, making them easier to read by going over them with a water-based marker pen.
Now I had the design I wanted! Don’t worry about the joins of the boards and the middle of the board, those will get covered up and coated with Foam Coat a few steps ahead, so the little imperfections are not an issue.
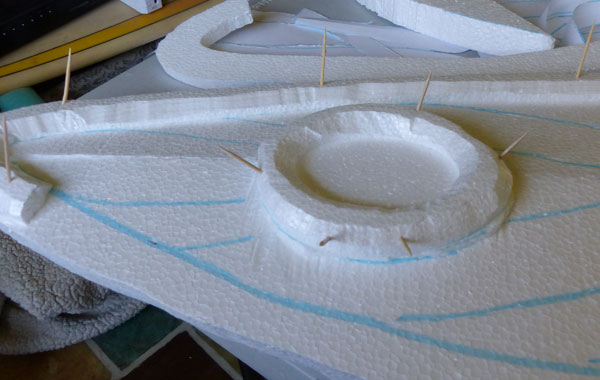
I transferred, once again, details of the design onto 1 inch and 1/2 inch foam to create pieces to glue onto the shield for relief and to cover the edges where boards had been glued together.
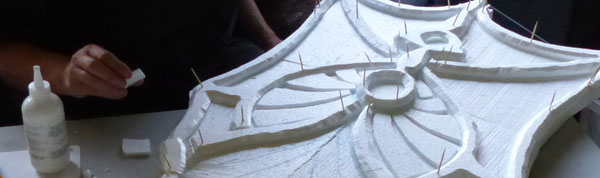
Using the Hot Knife, I knocked down the edges of these shapes and glued them on. The toothpicks are used to hold the shapes in place while the glue dries.
Many toothpicks later, and lots of little pieces later, I had the design I wanted. I let it dry overnight and then removed the toothpicks.
Next Dave sanded the edges for me. Thanks Dave! (I hate sanding.)
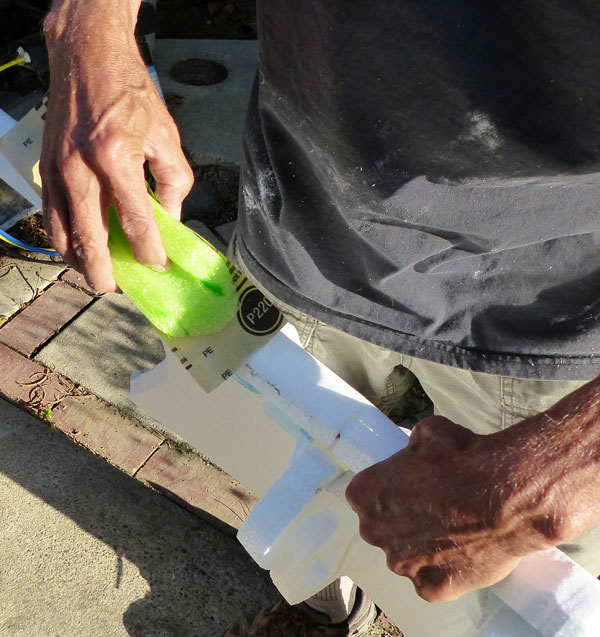
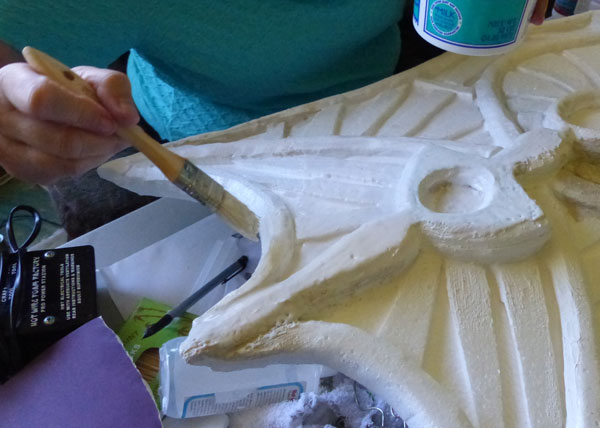
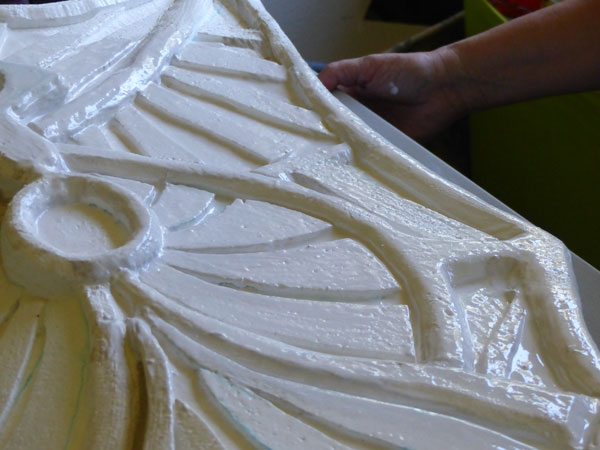
Now I mixed up several batches of Hot Wire Foam Factory All Purpose Foam Coat and Bounce and painted it onto the shield. A thicker batch was applied first to any gaps in the design, to fill them in. A lighter batch was applied over the entire shield. I didn’t coat the back since I wasn’t really going to play with this shield and wanted to make it obvious it was made of EPS foam.
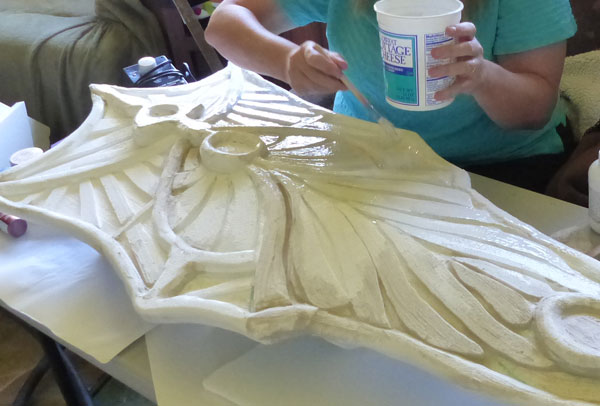
Edges got two coats, as they take more abuse than the rest of the shield.
Now it was left to dry for a few hours. The Bounce make the surface rubbery, so that grabbing and squeezing wouldn’t leave a dent in the foam.
I left the corner uncoated and unpainted for the purpose of demonstration of the composition of the shield to visitors to our booth at Comicon. The rest was painted with acrylic paints left over from other projects.
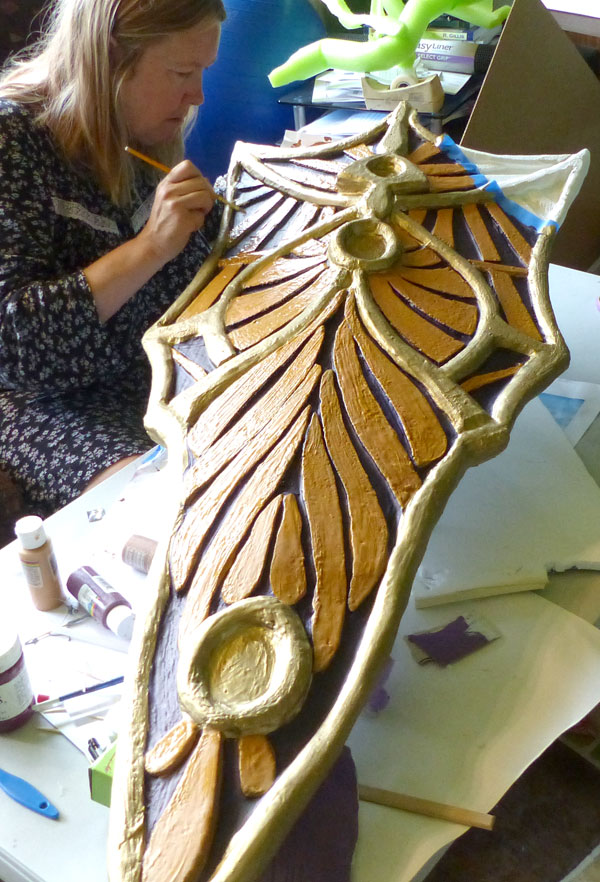
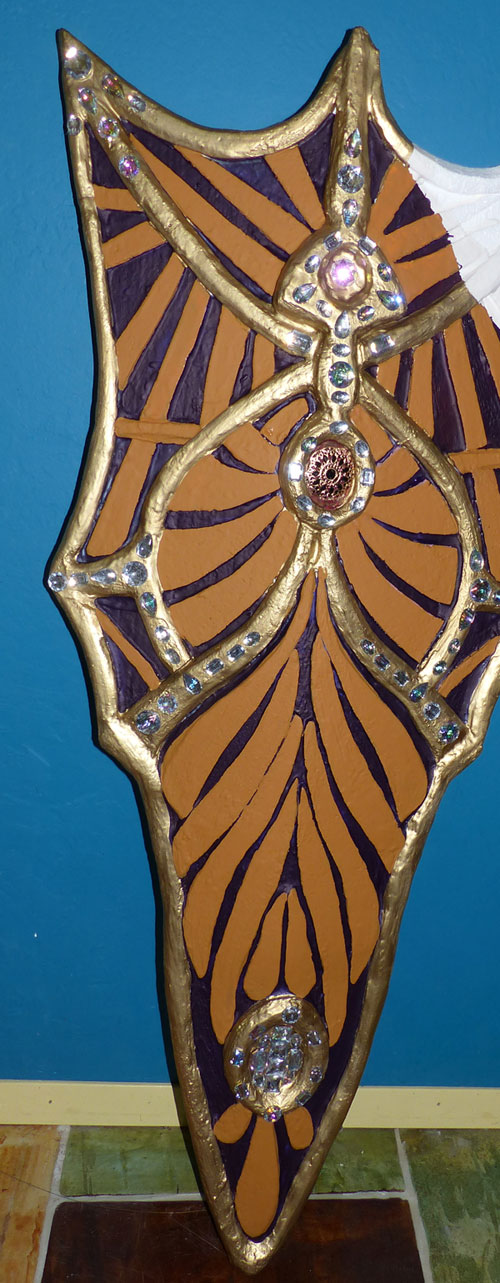
To complete the look, shiny “gems” from Michael’s were glued onto the shield (see the first image on this page) and it was done!
Costs:
Foam: 4 (14 x 22 inch) sheets of 1″ foam, 1 sheet 1/2″, total $11.25
Foam Fusion: about 1/16 of a bottle, about $0.50
All Purpose Foam Coat: 1.25 pounds, about $4.00
Bounce (to make it rubbery): about $3.50
Paint: estimated price $2.00
Sandpaper: $0 (I use the same sandpaper for many projects, since foam doesn’t really wear it out)
Gems: $3.50 (from Michaels, used less than a third of a box of these I got for $10)
Total cost: $24.75
Time: about 8 hours total (gluing and painting took most of the time.)
Tools used: Hot Wire Foam Factory 6 inch Hot Knife with Sled Guide