Black Plague Halloween Tombstone
Mike Walker
A hand carved foam tombstone, over 5ft tall, that pays respects to the lost souls of the Black Death and tips a hat towards the Black Death Plague Doctor with a clever skeleton rendition.

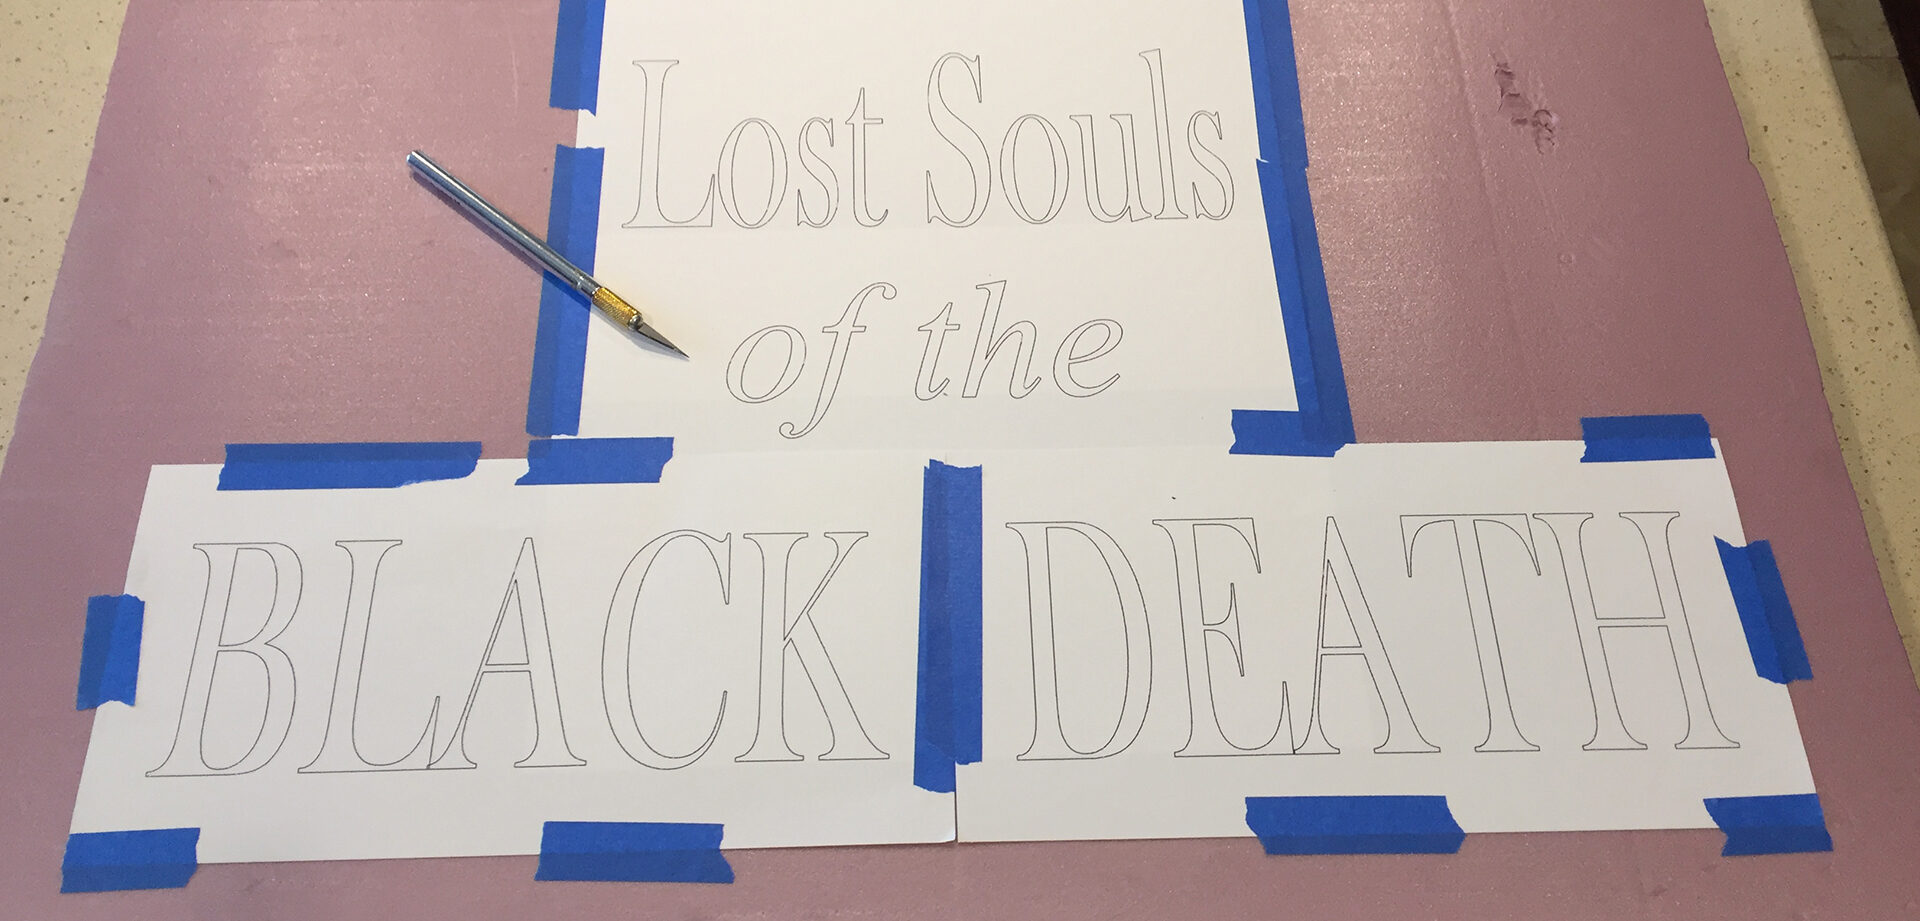
I absolutely love when someone sees one my foam tombstones or foam “wooden” boards and thinks they are real. This year (2016), it was especially nice to find out Hot Wire Foam Factory (HWFF), along with The Haunt Journal, and Haunted Attractions Network, had a contest for tombstones made from foam. I decided I wanted to make a large tombstone and use a skeleton I had (every respectable haunter has at least one or two laying around). After some brainstorming, I decided I wanted to go with a Black Plague, Plague Doctor theme. In addition, I decided I would paint the project a much darker gray in an effort to make it appear as if it came out of a black and white horror movie from the 1930’s or 1940’s.
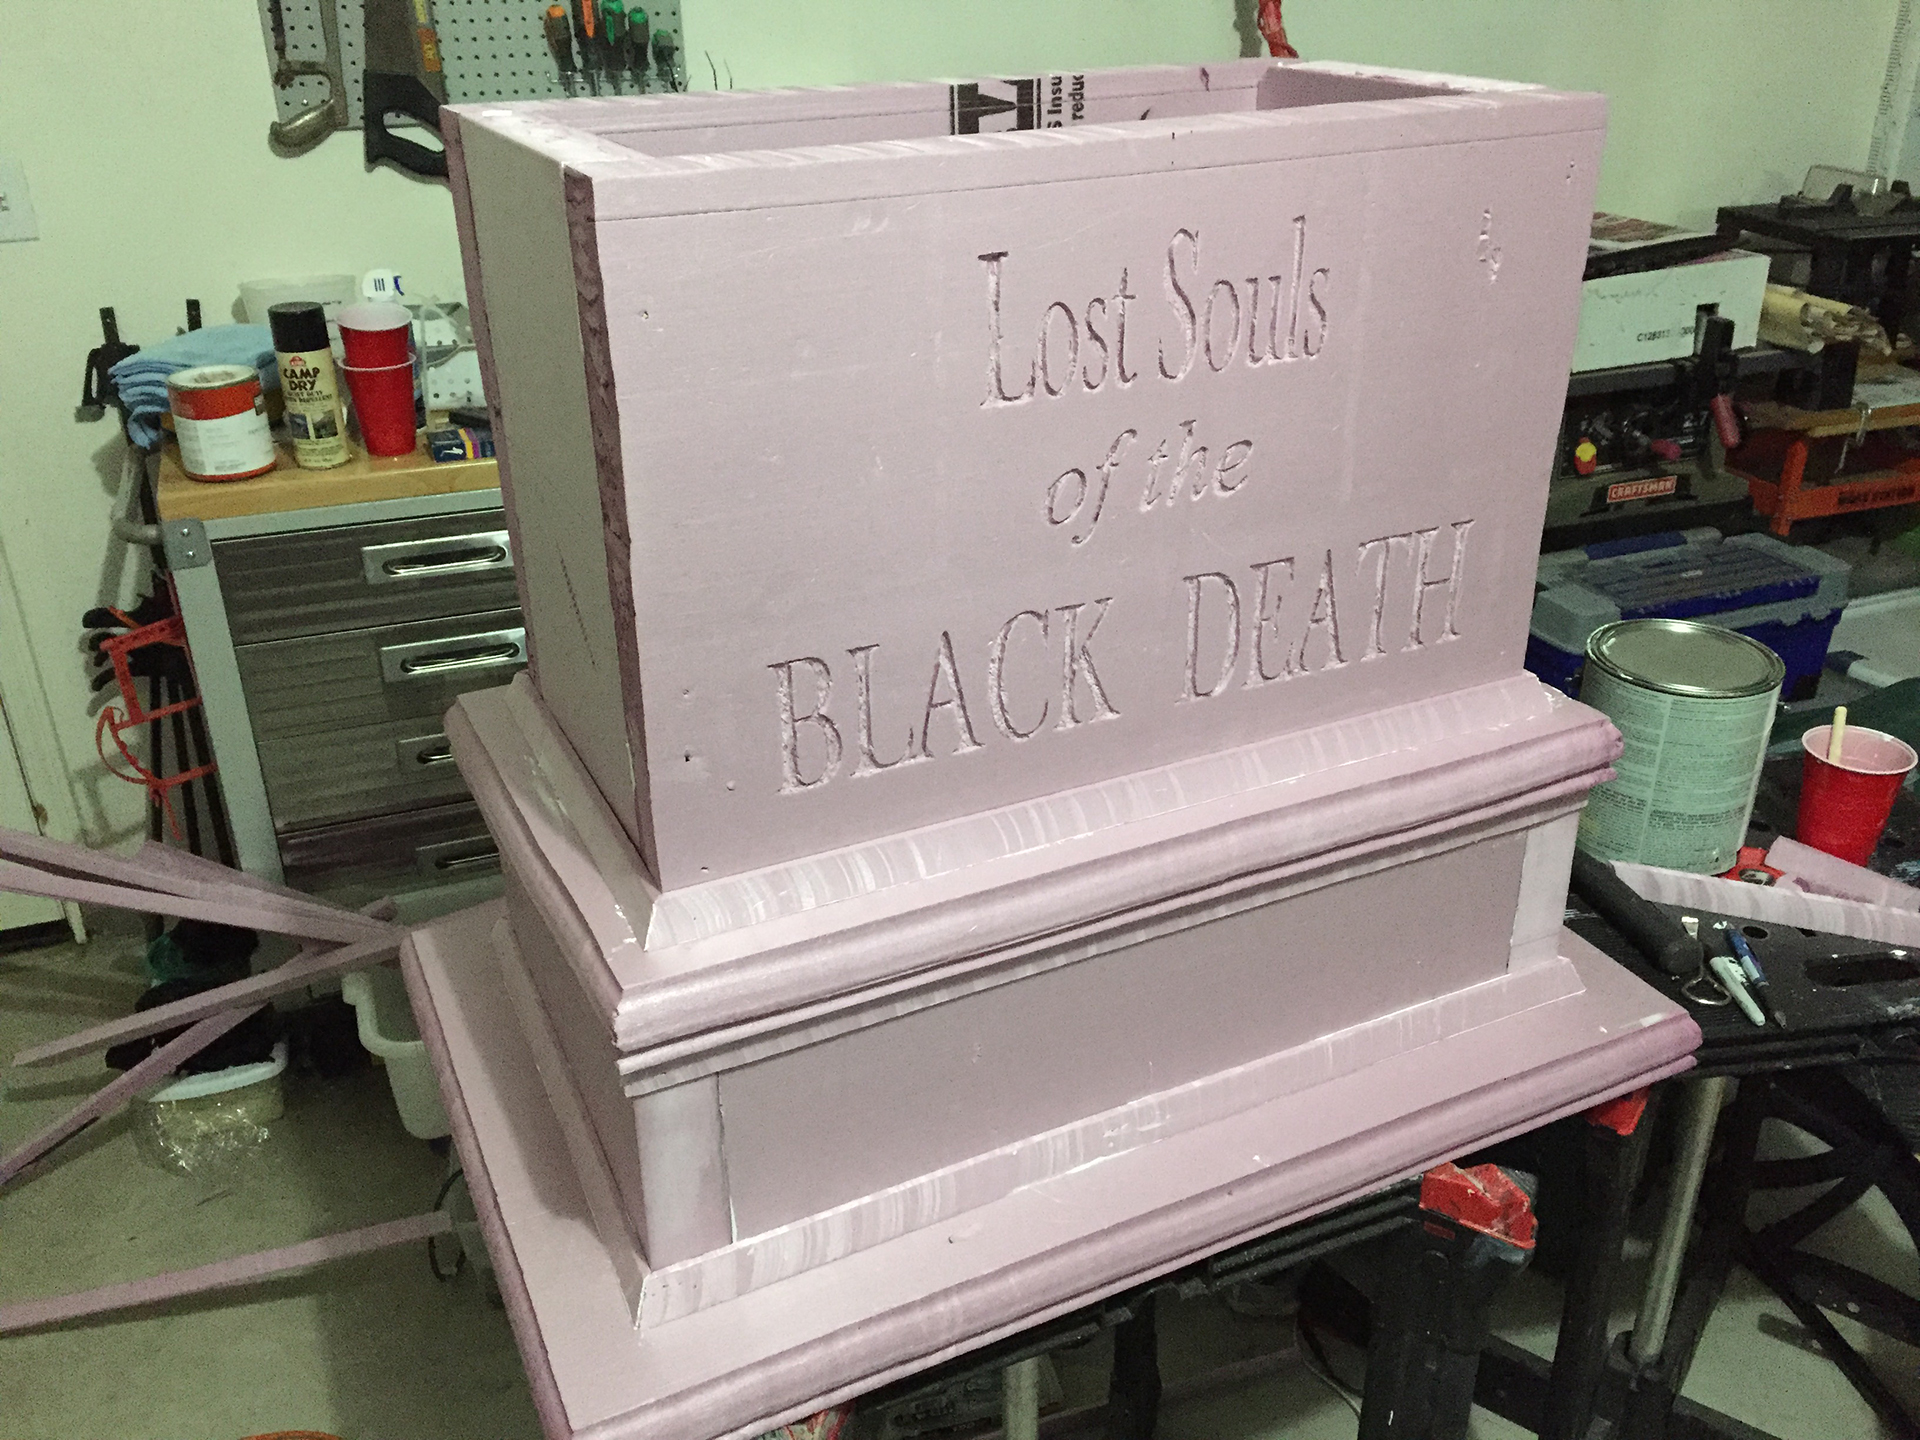
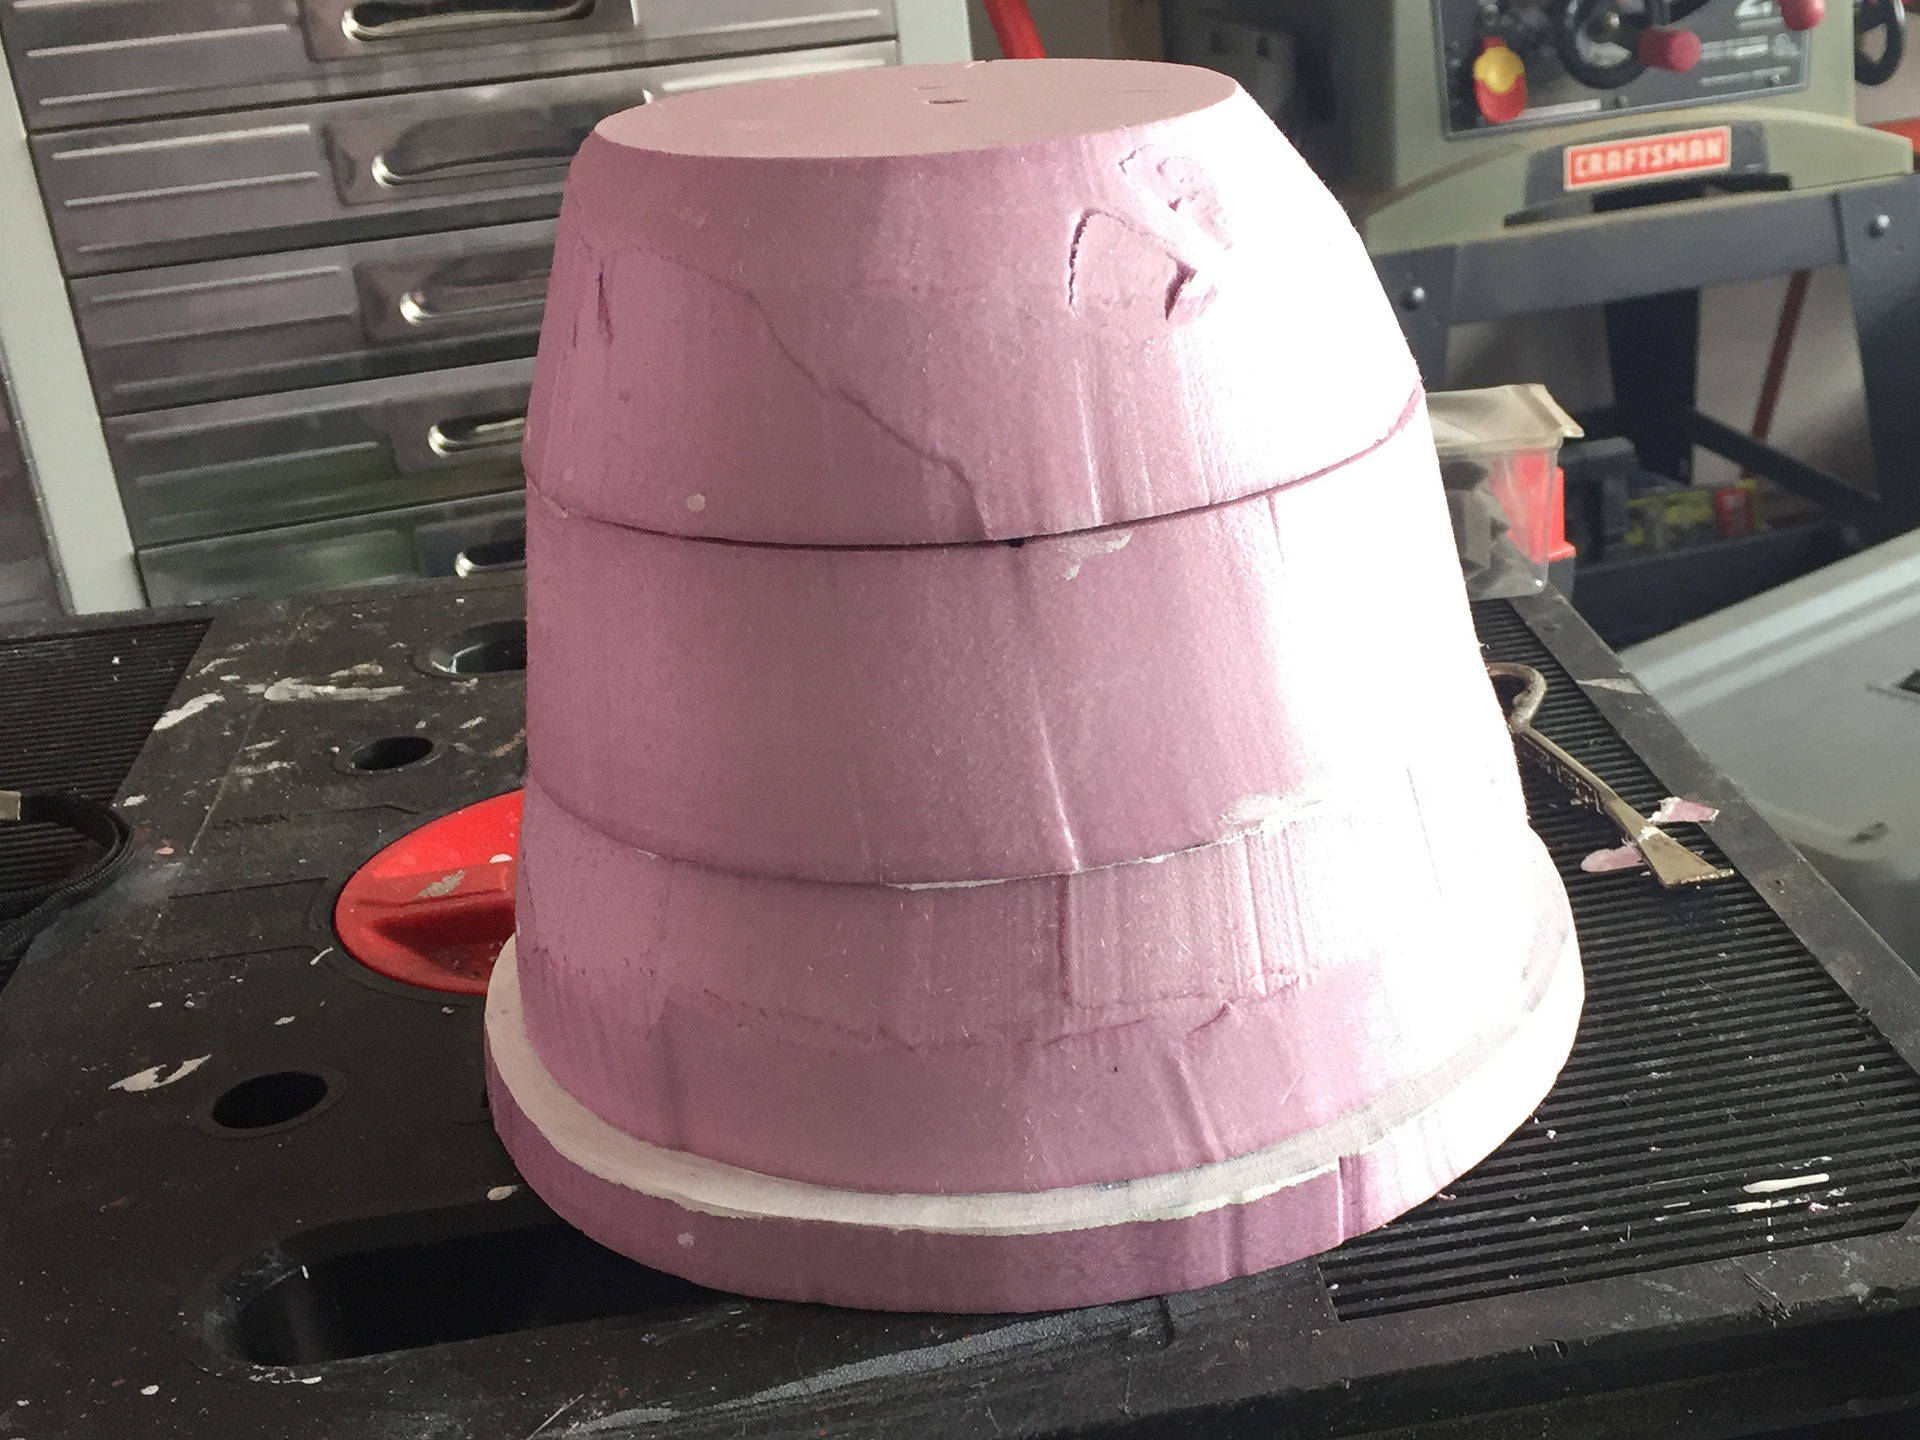
I used pink XPS foam for this project and started with a 2″ thick, 36″ x 24″, piece for the base. I used the HWFF 3D Scroll Table to shape all the edges with a router wire. I used this same set up (or with a slightly altered wire shape) on several other sections of the tombstone. This adds great detail, which creates a more ornate piece.
Next, I created a box by gluing sections of foam together and adding wooden skewers for support. The box was glued and skewered to the base. In addition, scraps of foam were stacked and attached to the center of the base. A one inch hole was drilled through the scrap and base prior to inserting and gluing a piece of PVC in place. When the tombstone is to be displayed, a piece of rebar will go in the ground and the PVC pipe will go over it in order to keep the wind from knocking the tombstone over.
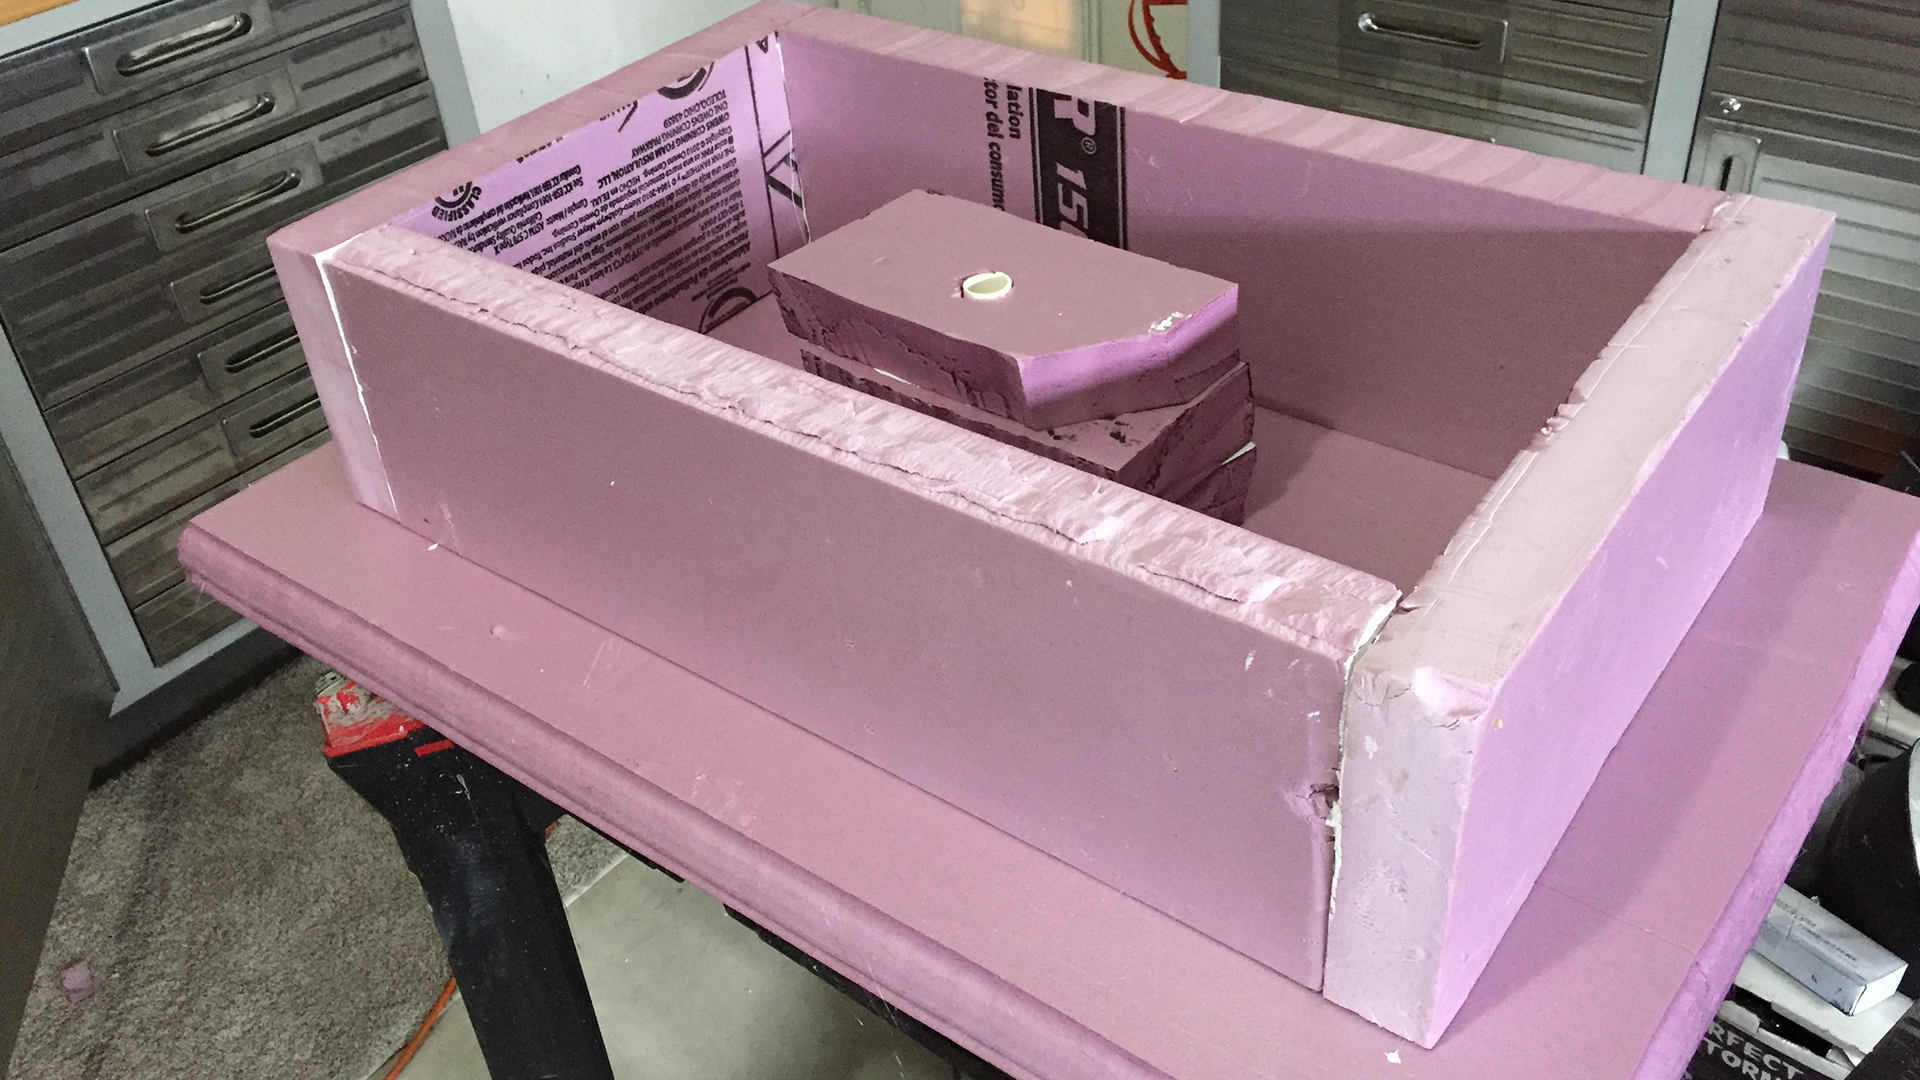
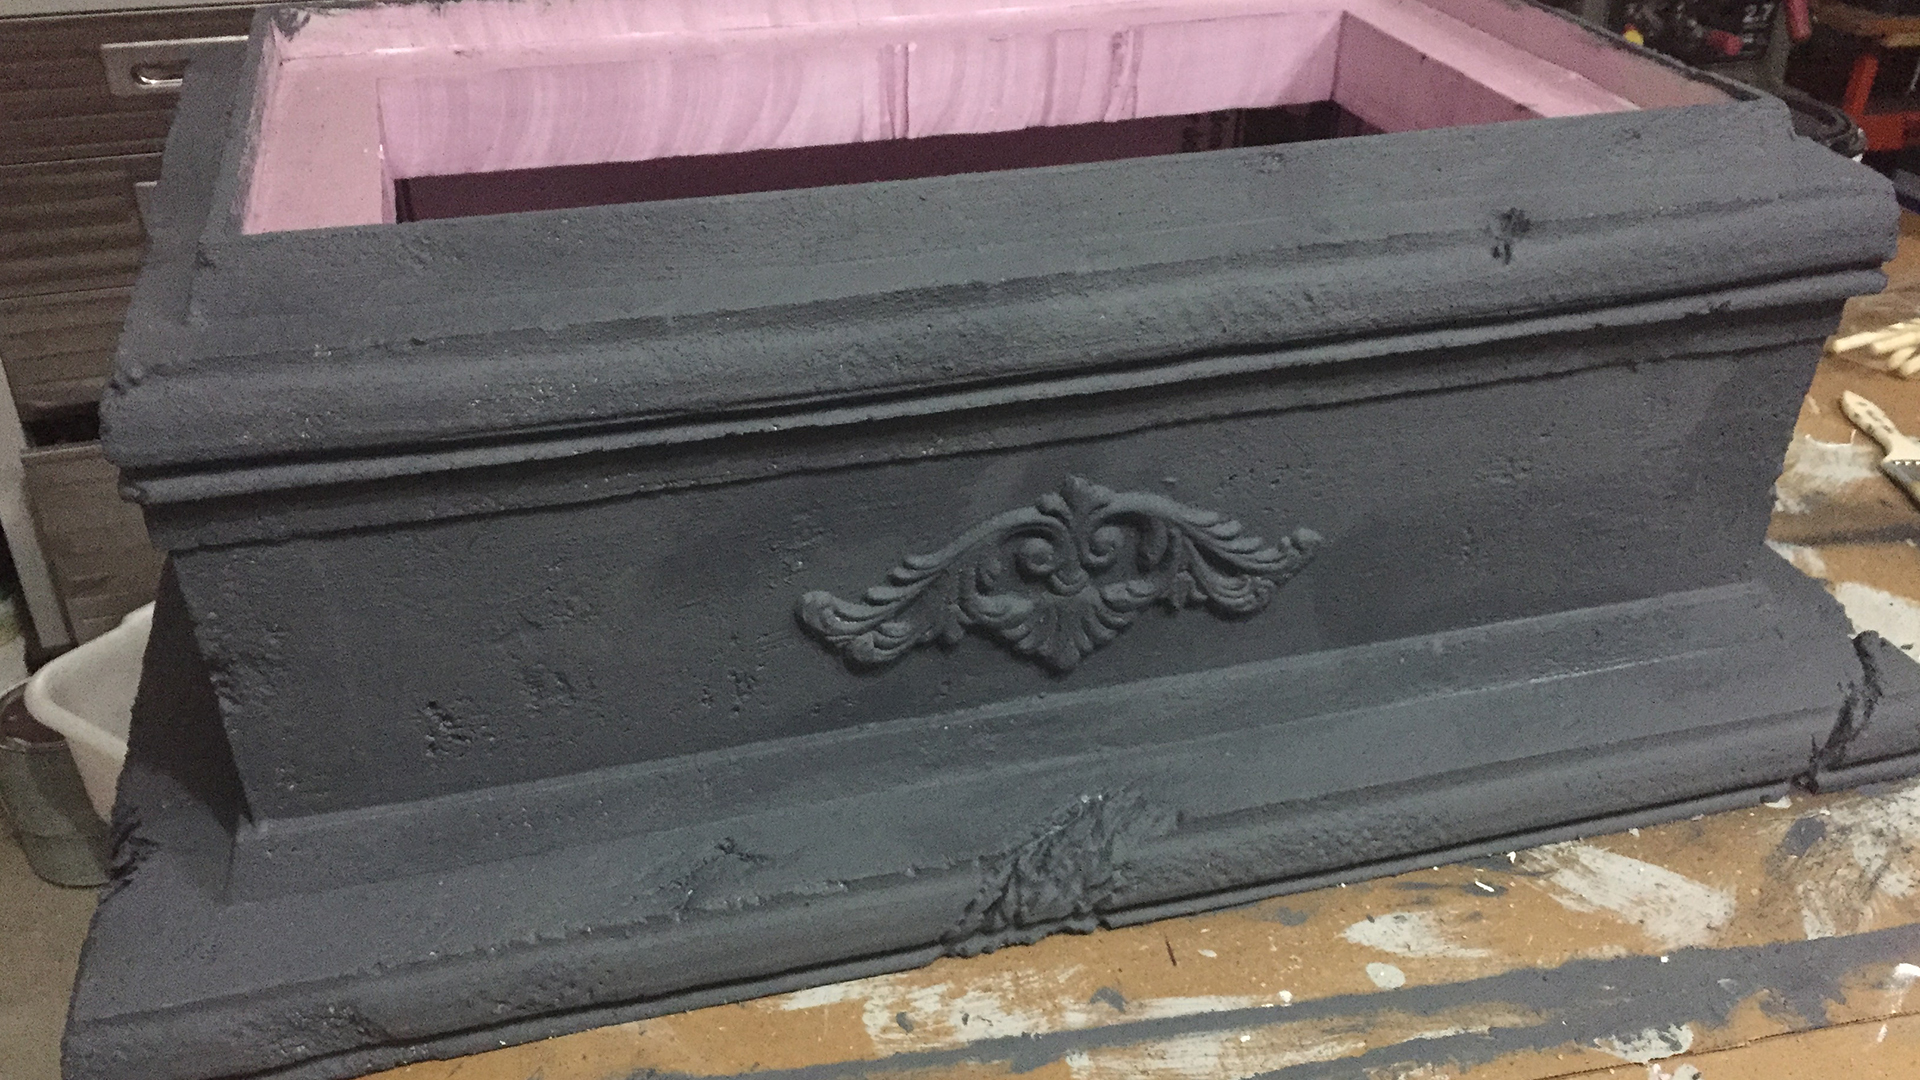
The next step was to add a top to the box I just made. I cut a piece which, when the edges were routed with the 3D Scroll Table, would overhang approximately a quarter inch. I used the scroll table to cut flat thin strips of foam which were added under this newly added top section to create a more finished look (these strips of foam were added to several other areas of the project). More strips of foam were cut by the scroll table to border where the box met the base. These were pushed through the scroll table with the wire at an angle to create more interest. A miter box and saw were used to fit the pieces to the project.
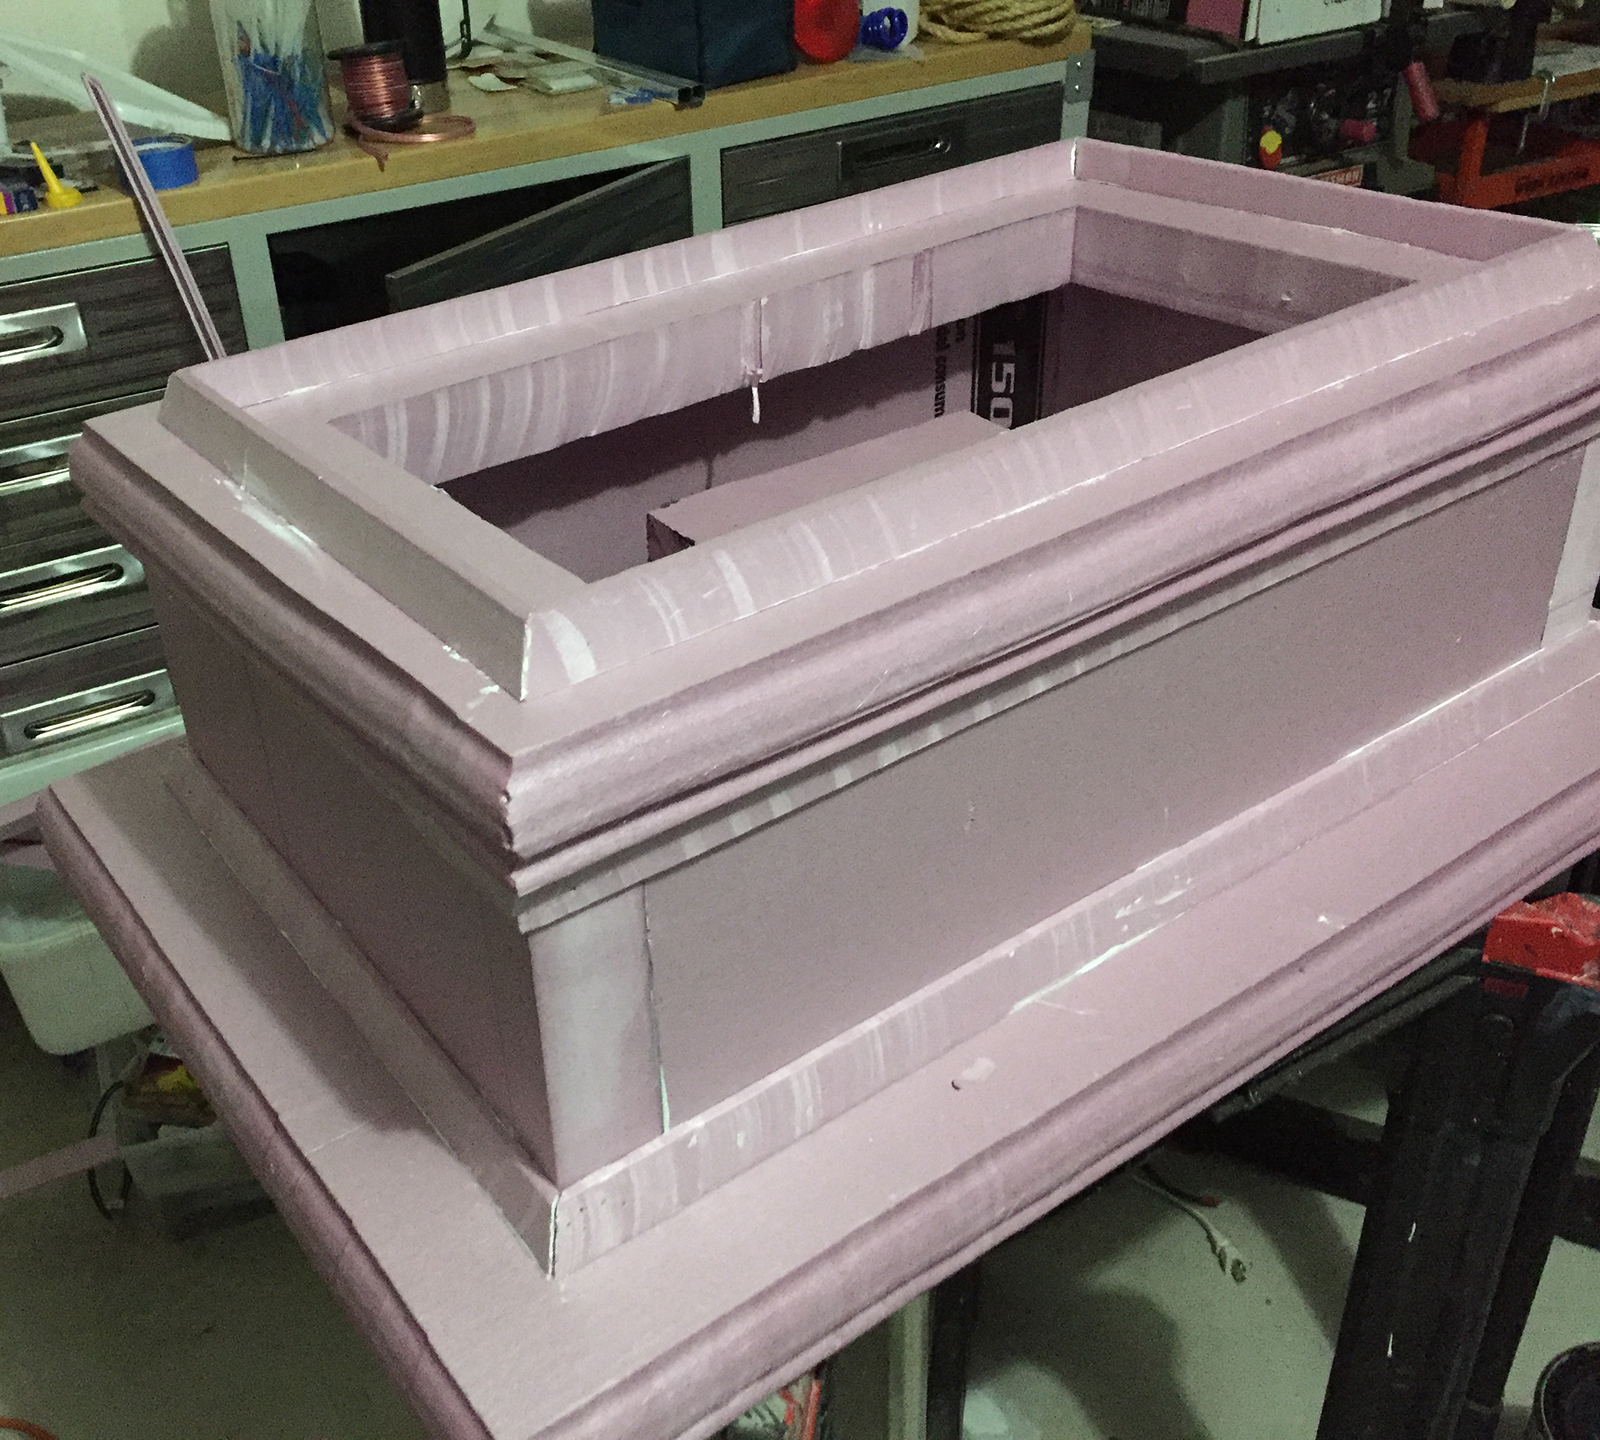
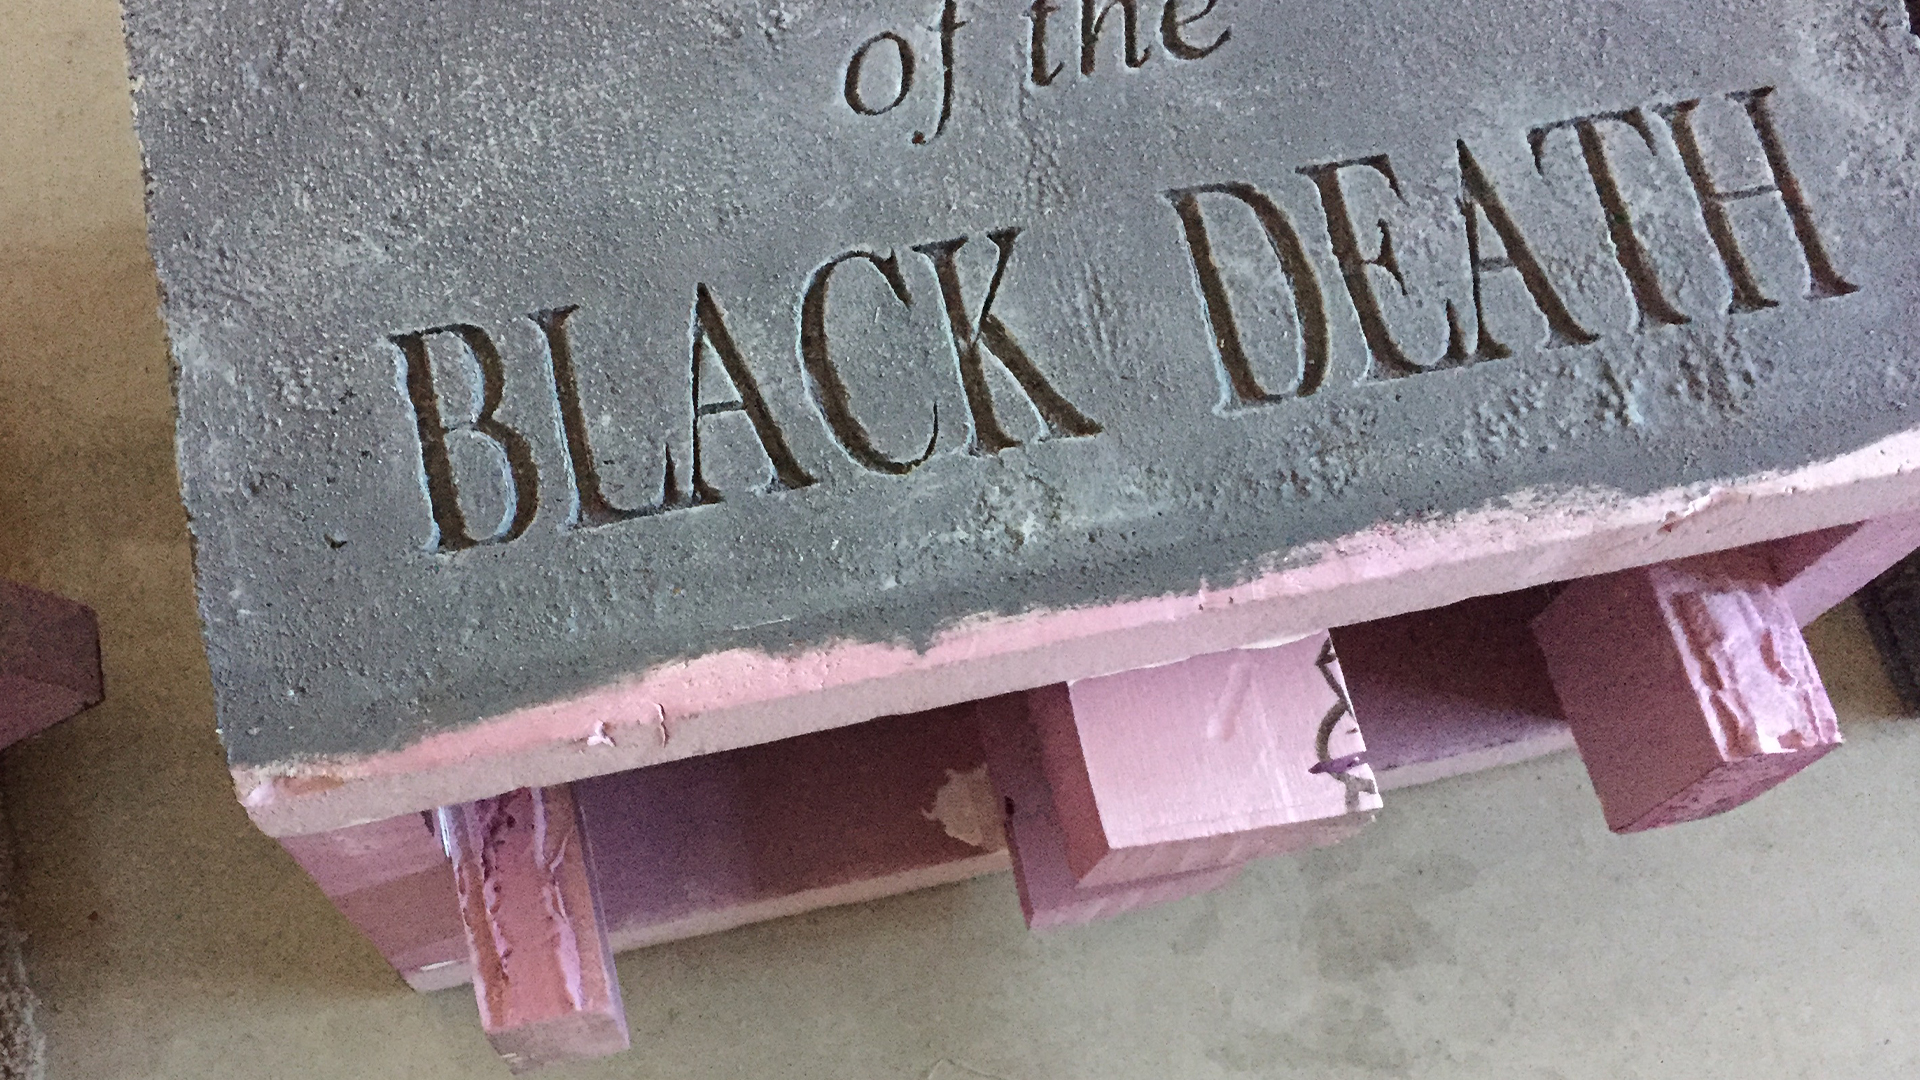
Because of its large size (about five and a half feet tall), I wanted the tombstone to have the ability to be disassembled easily. So, the next step was to create the middle portion of the tombstone. Using the engraved front panel, I created another box to go on top of the tombstone’s lower portion. Once in place, I drew an outline of the inside edges on the top of the lower portion then cut that section out. I also added trim where the second box meets the lower portion, but only glued it to the top of the lower portion because, remember, the middle part will be removable. This will also hide the fact they are separate pieces.
Scrap pieces of foam were glued and skewered to the inside bottom of the second box. When the second box is placed on top of the lower box, the scrap pieces are inserted into the hole that was cut, adding necessary stability
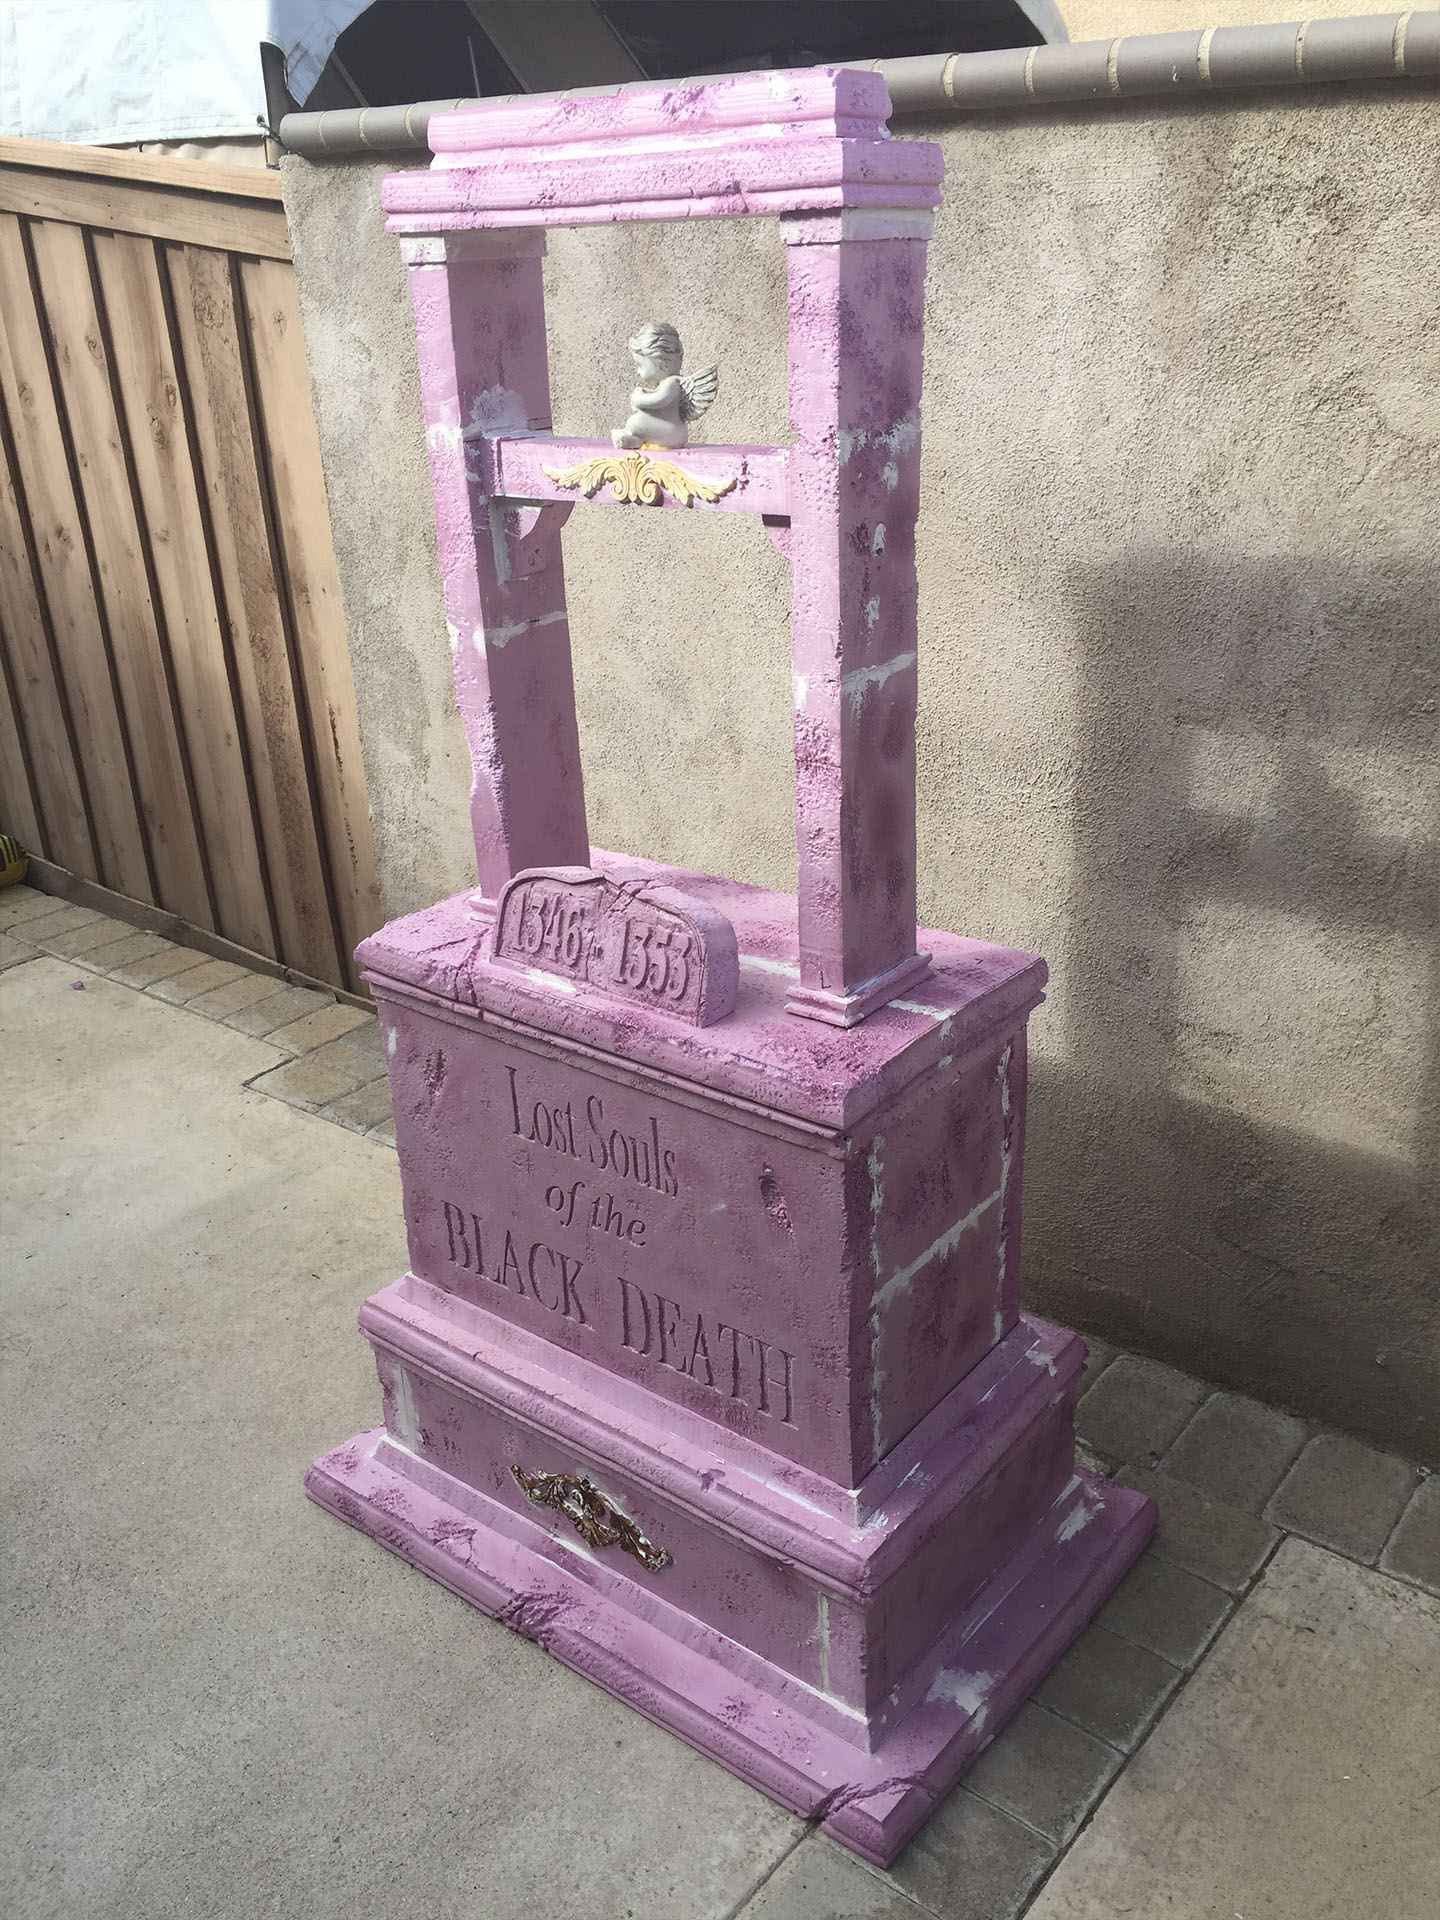
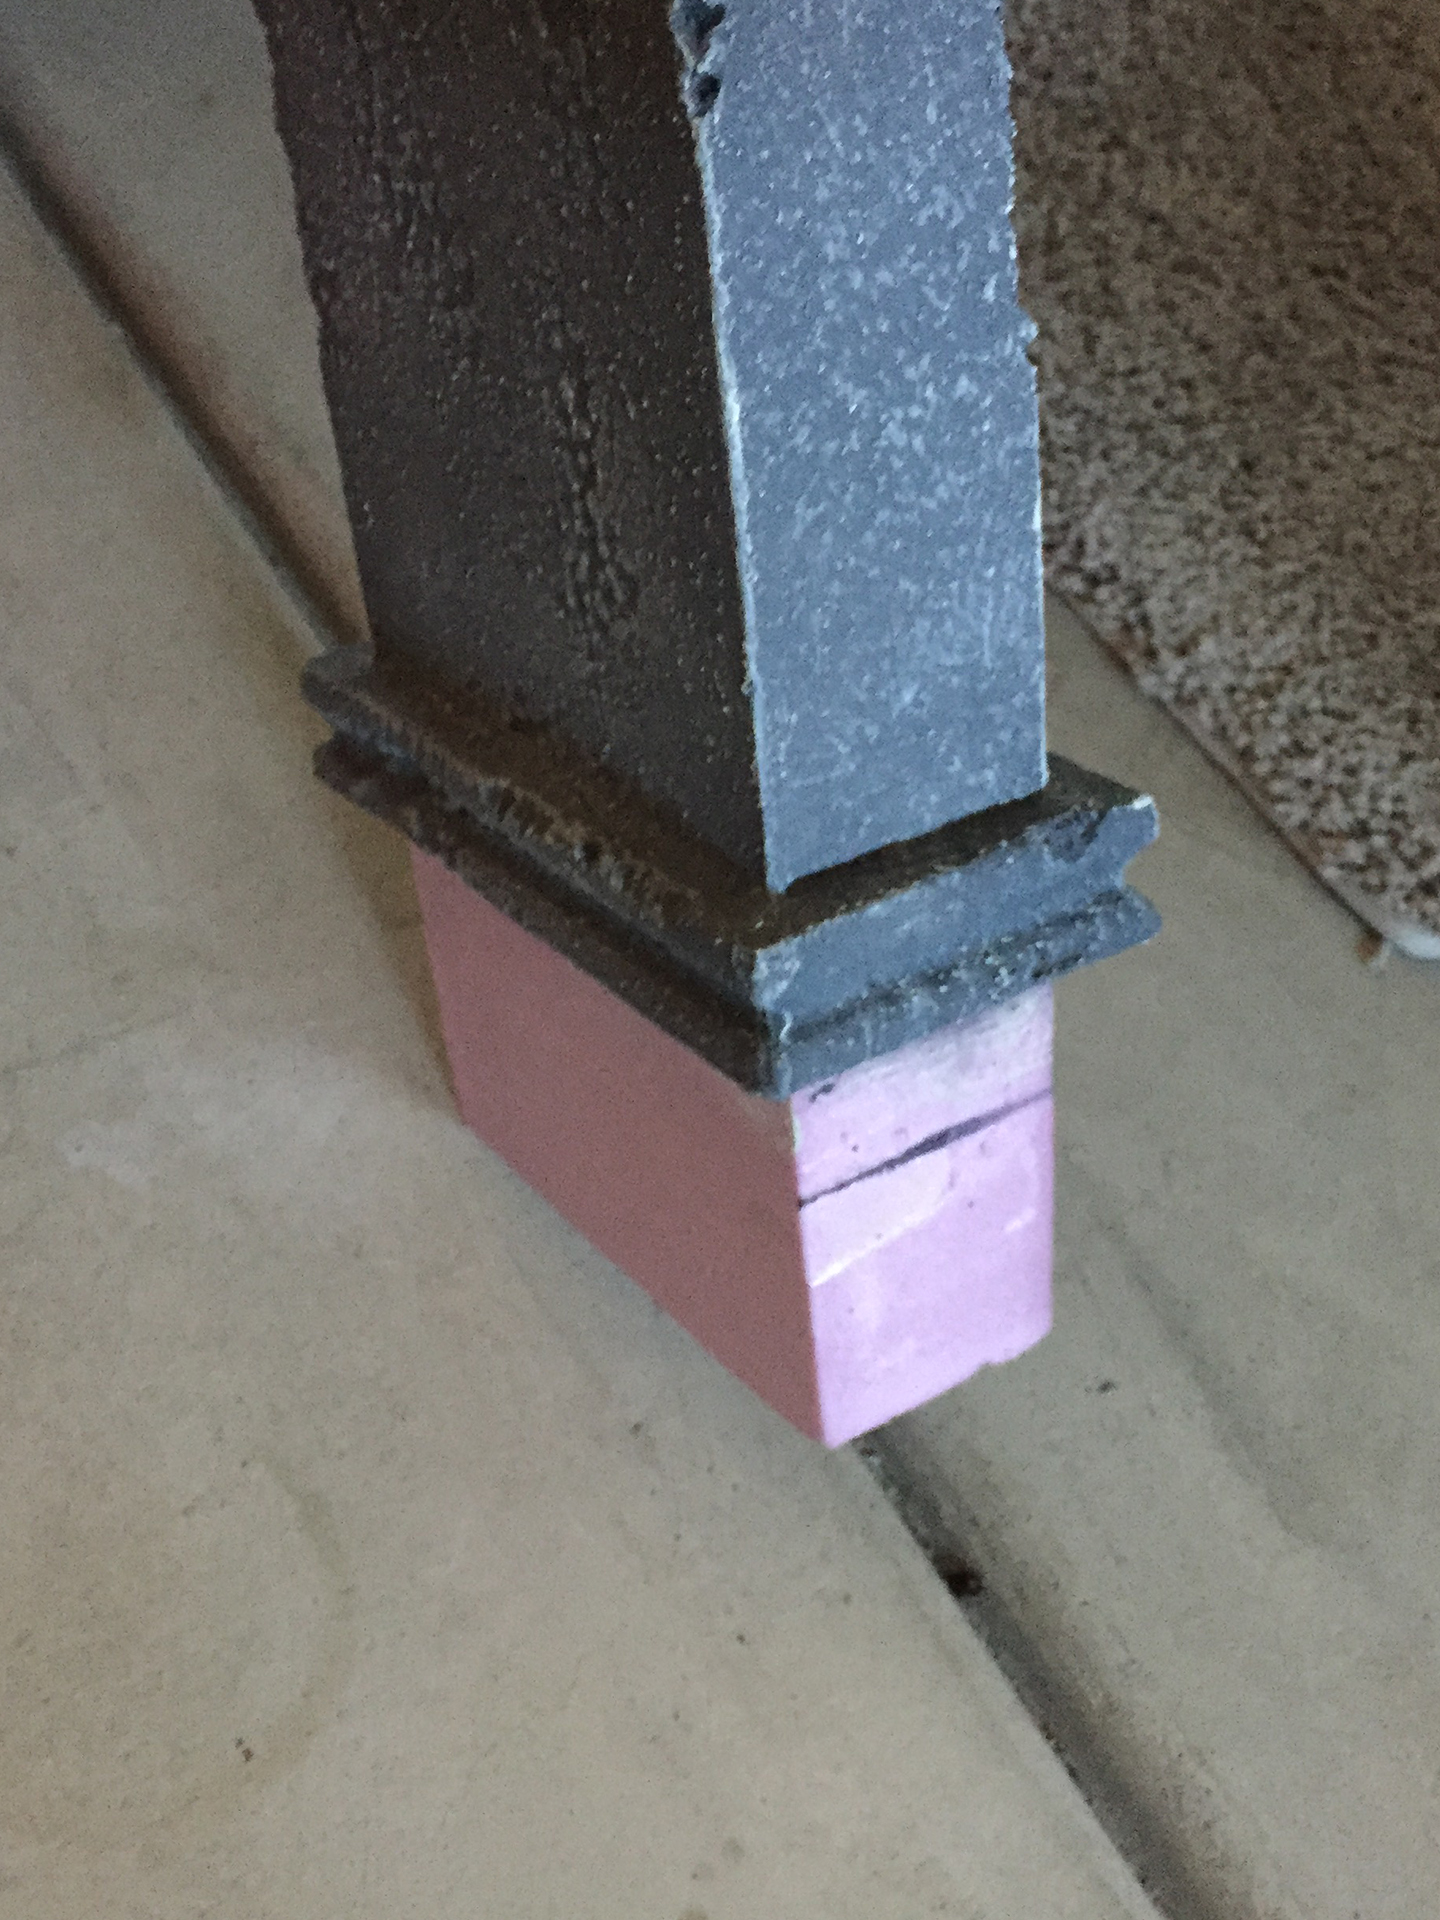
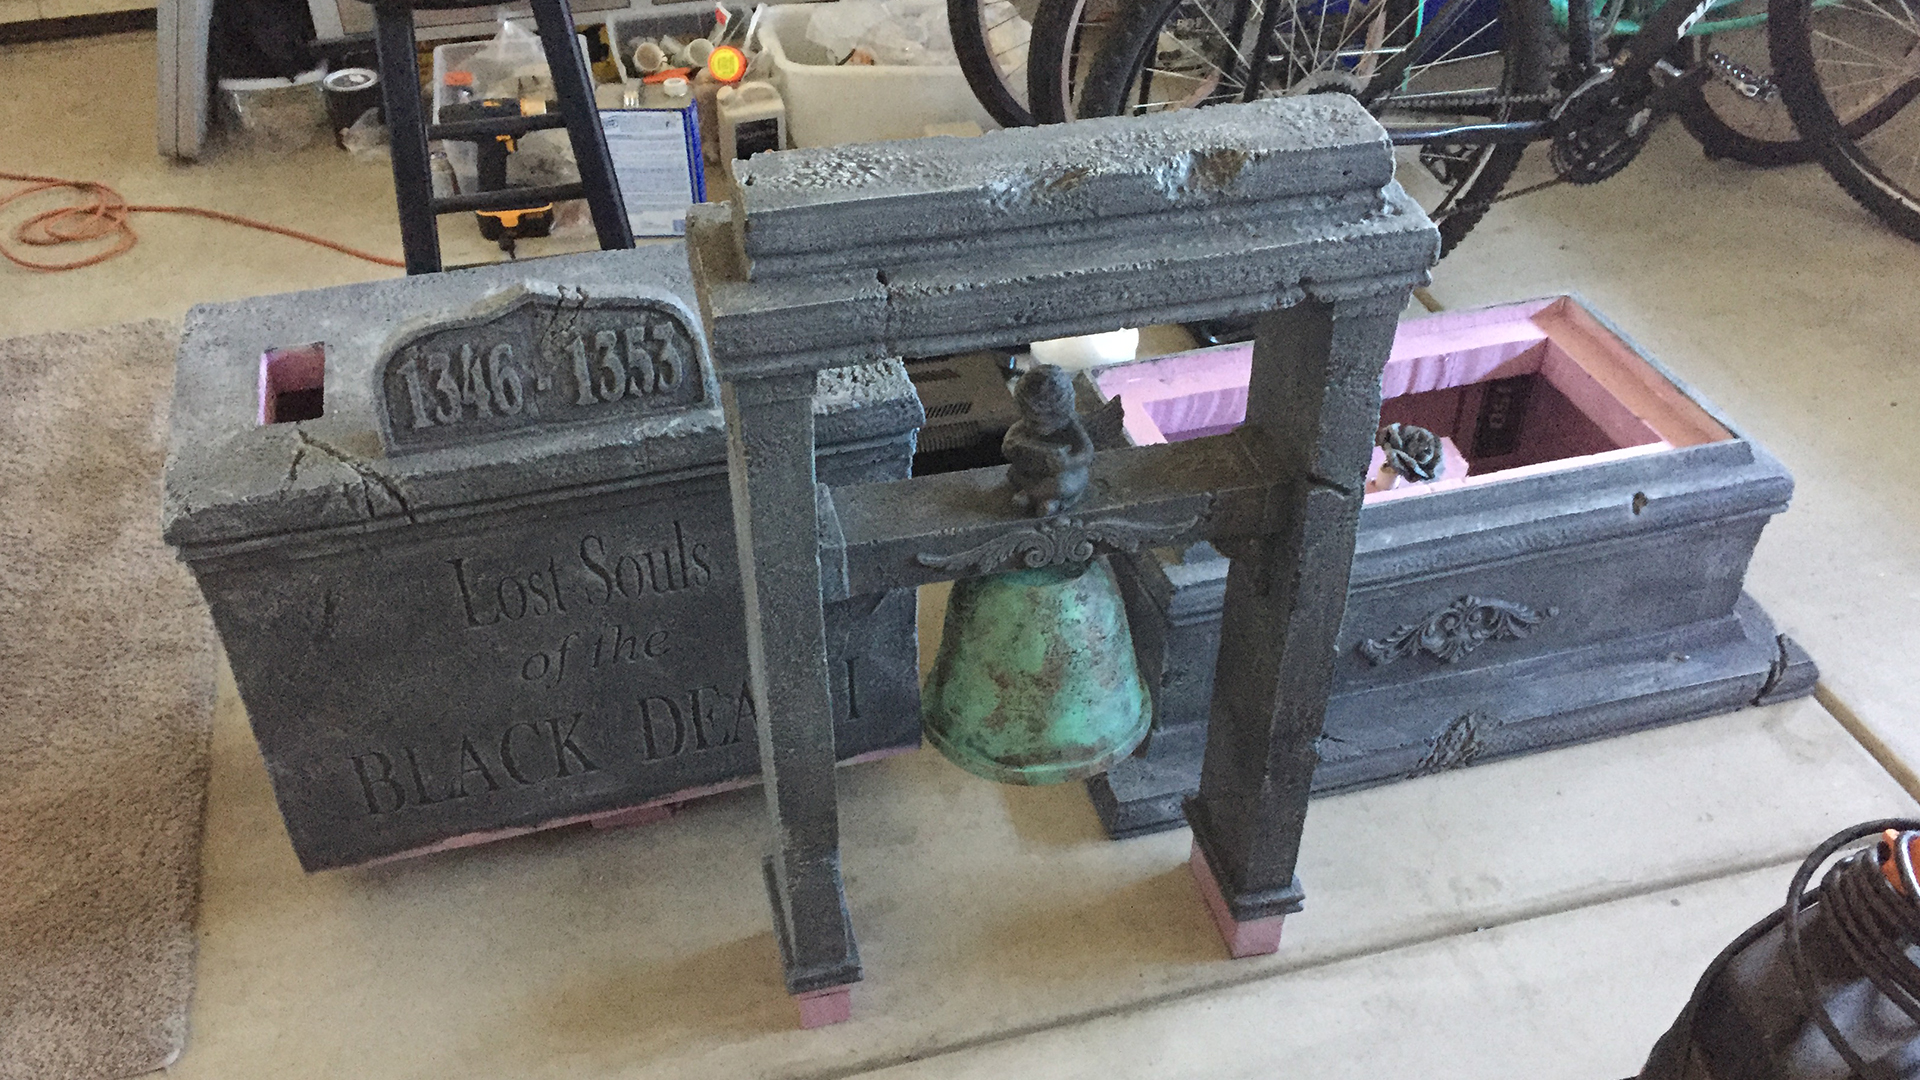
The top of the tombstone consisted of two side columns, a middle support, and a couple top sections which were also finished with the router wire. This structure was a little unstable, so I added a couple supports under the ends of the middle support section. A little winged cherub sculpture I picked up from a thrift store and a piece of scroll work from an old piece of furniture were added to the middle support (a larger scroll piece was also added to the front of the bottom section). I traced around the base of the side supports and cut those sections out of the box. This is where the posts will be inserted. Trim was attached to the bottom of the two side supports where I wanted them to stop when inserted into the middle box.
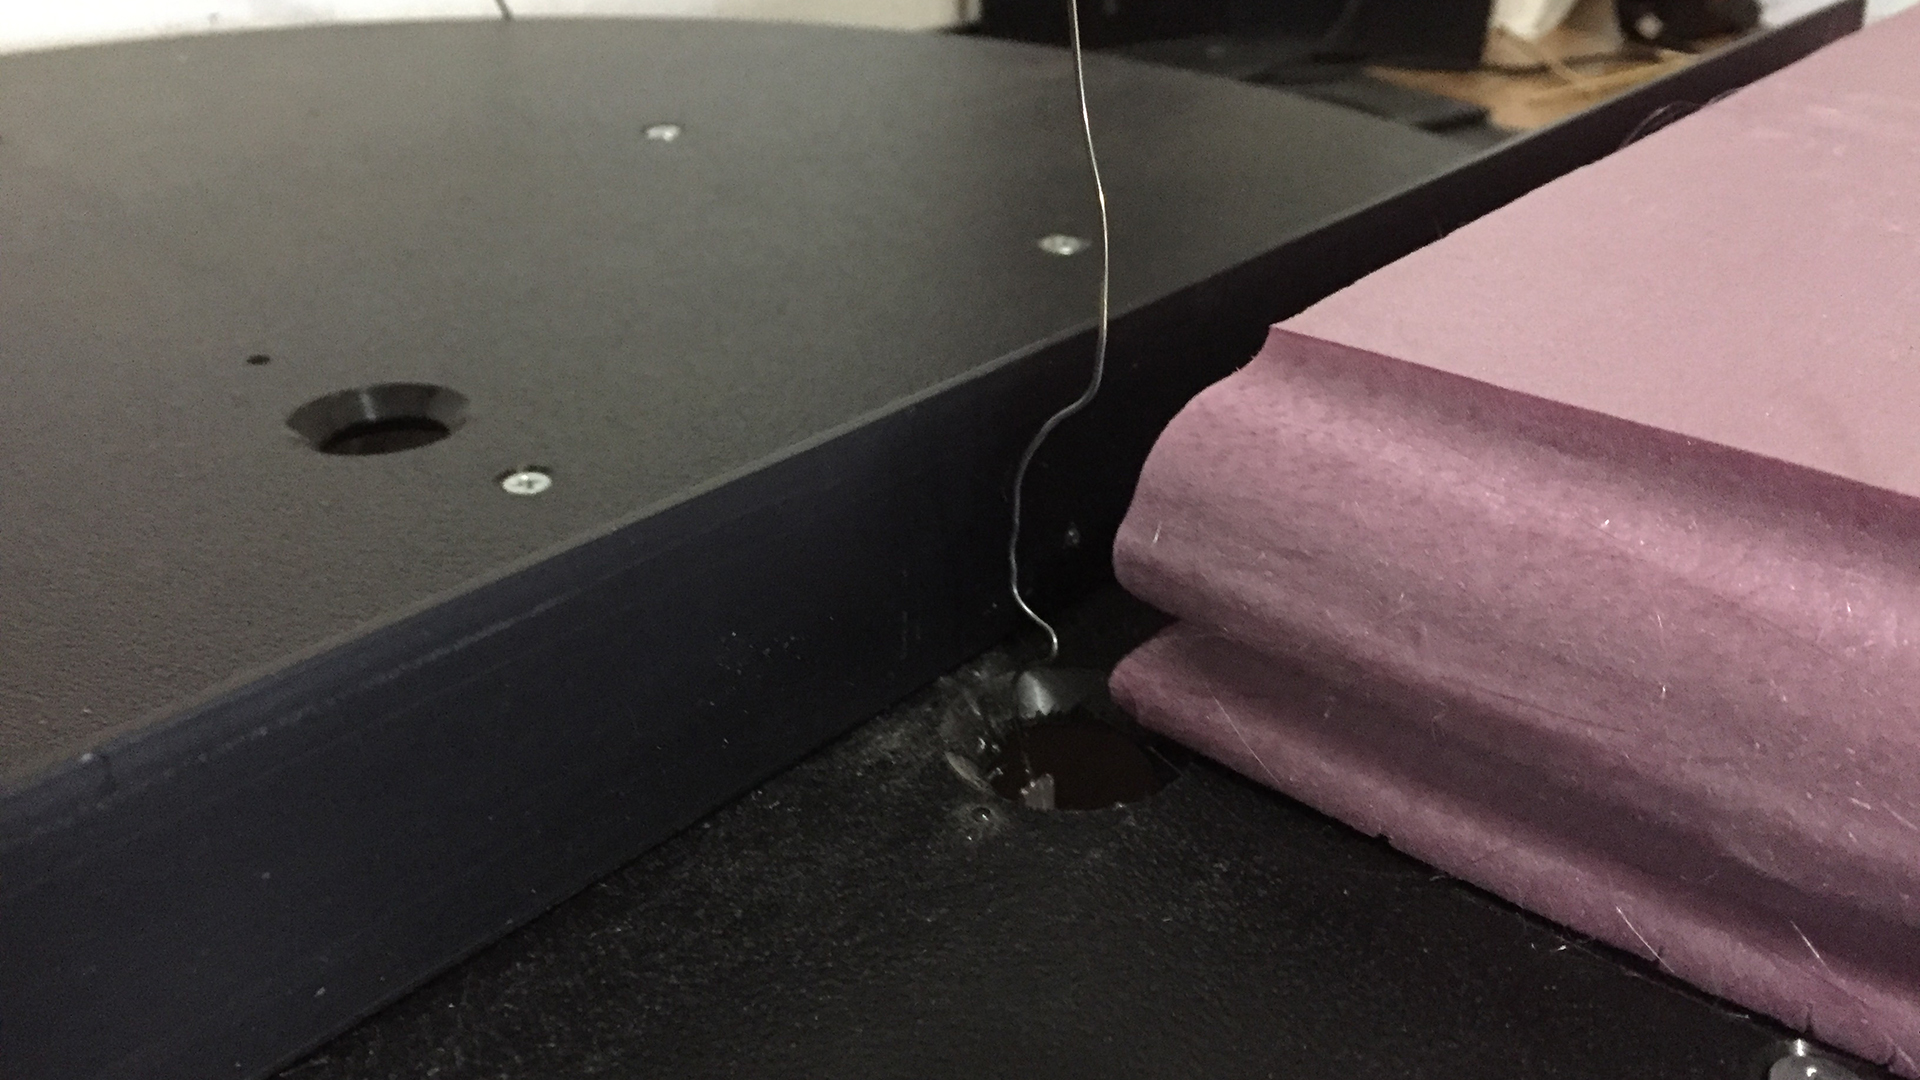
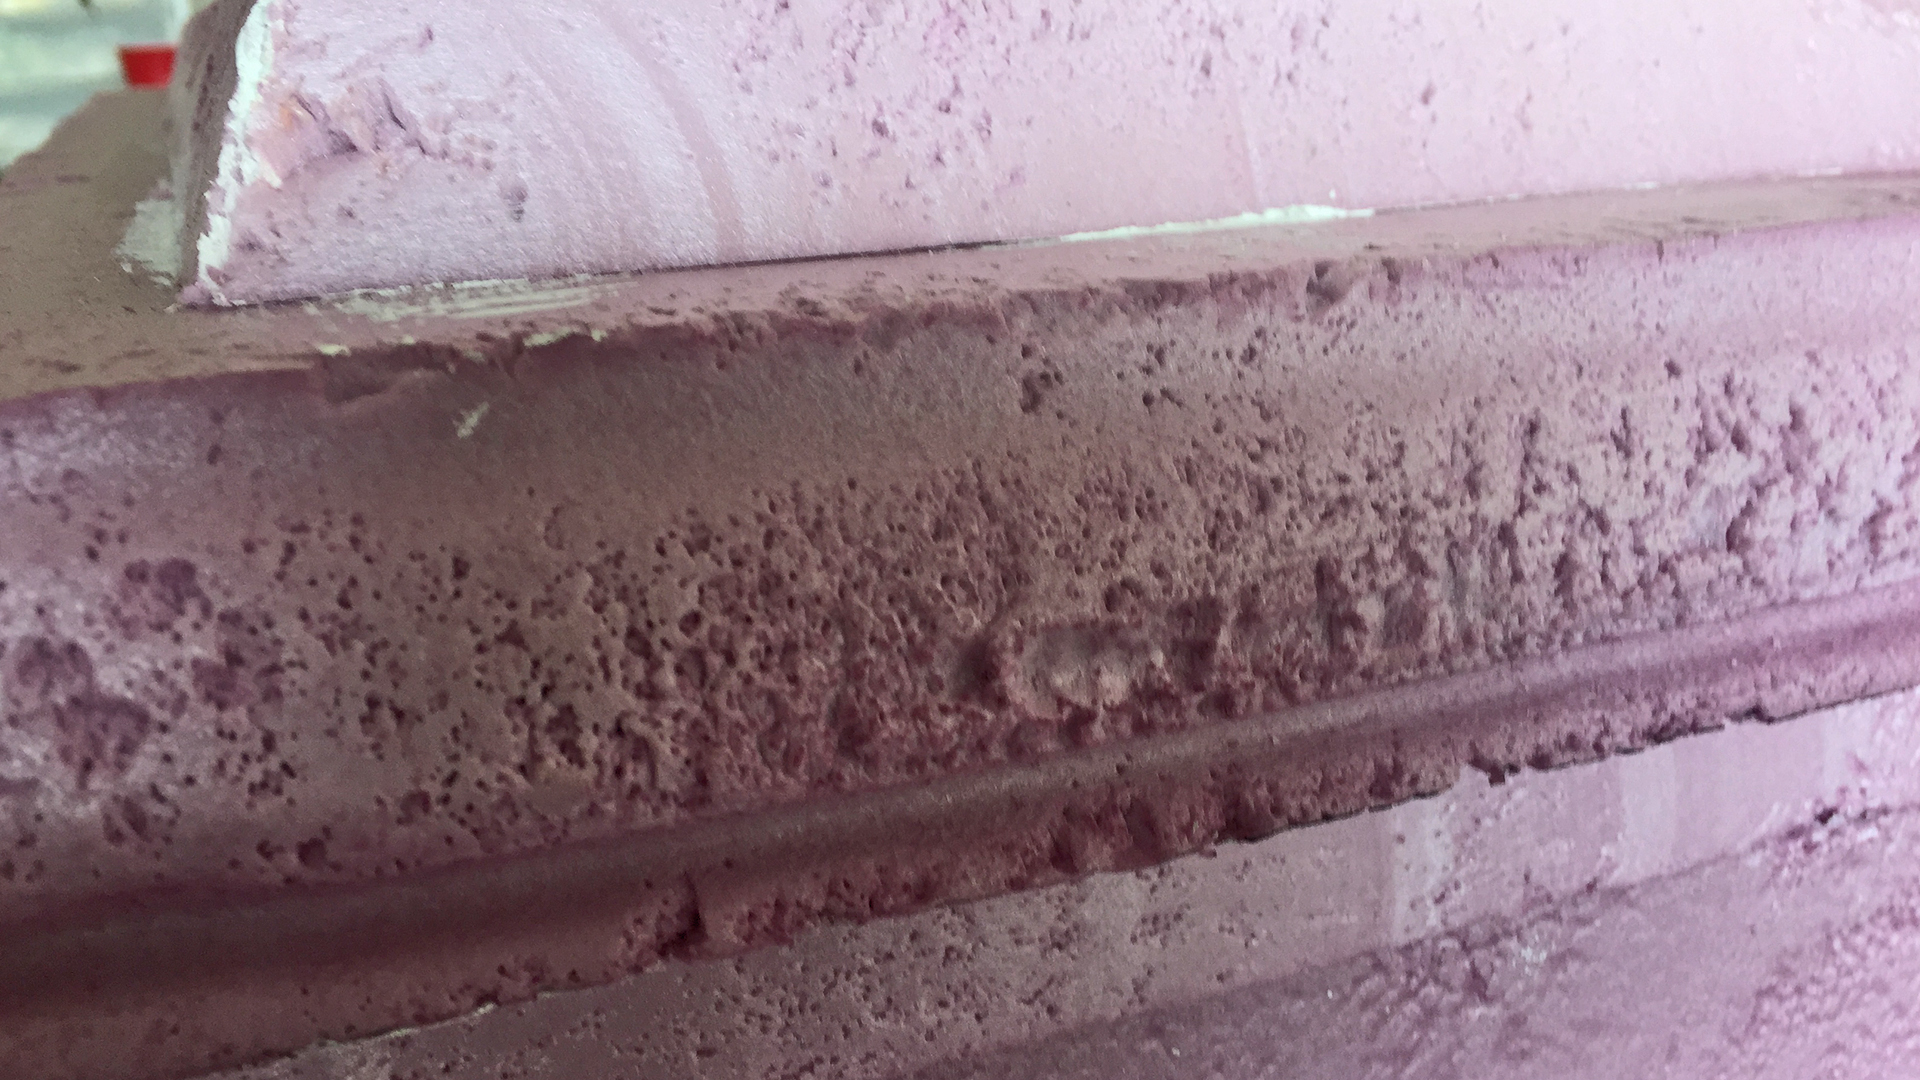
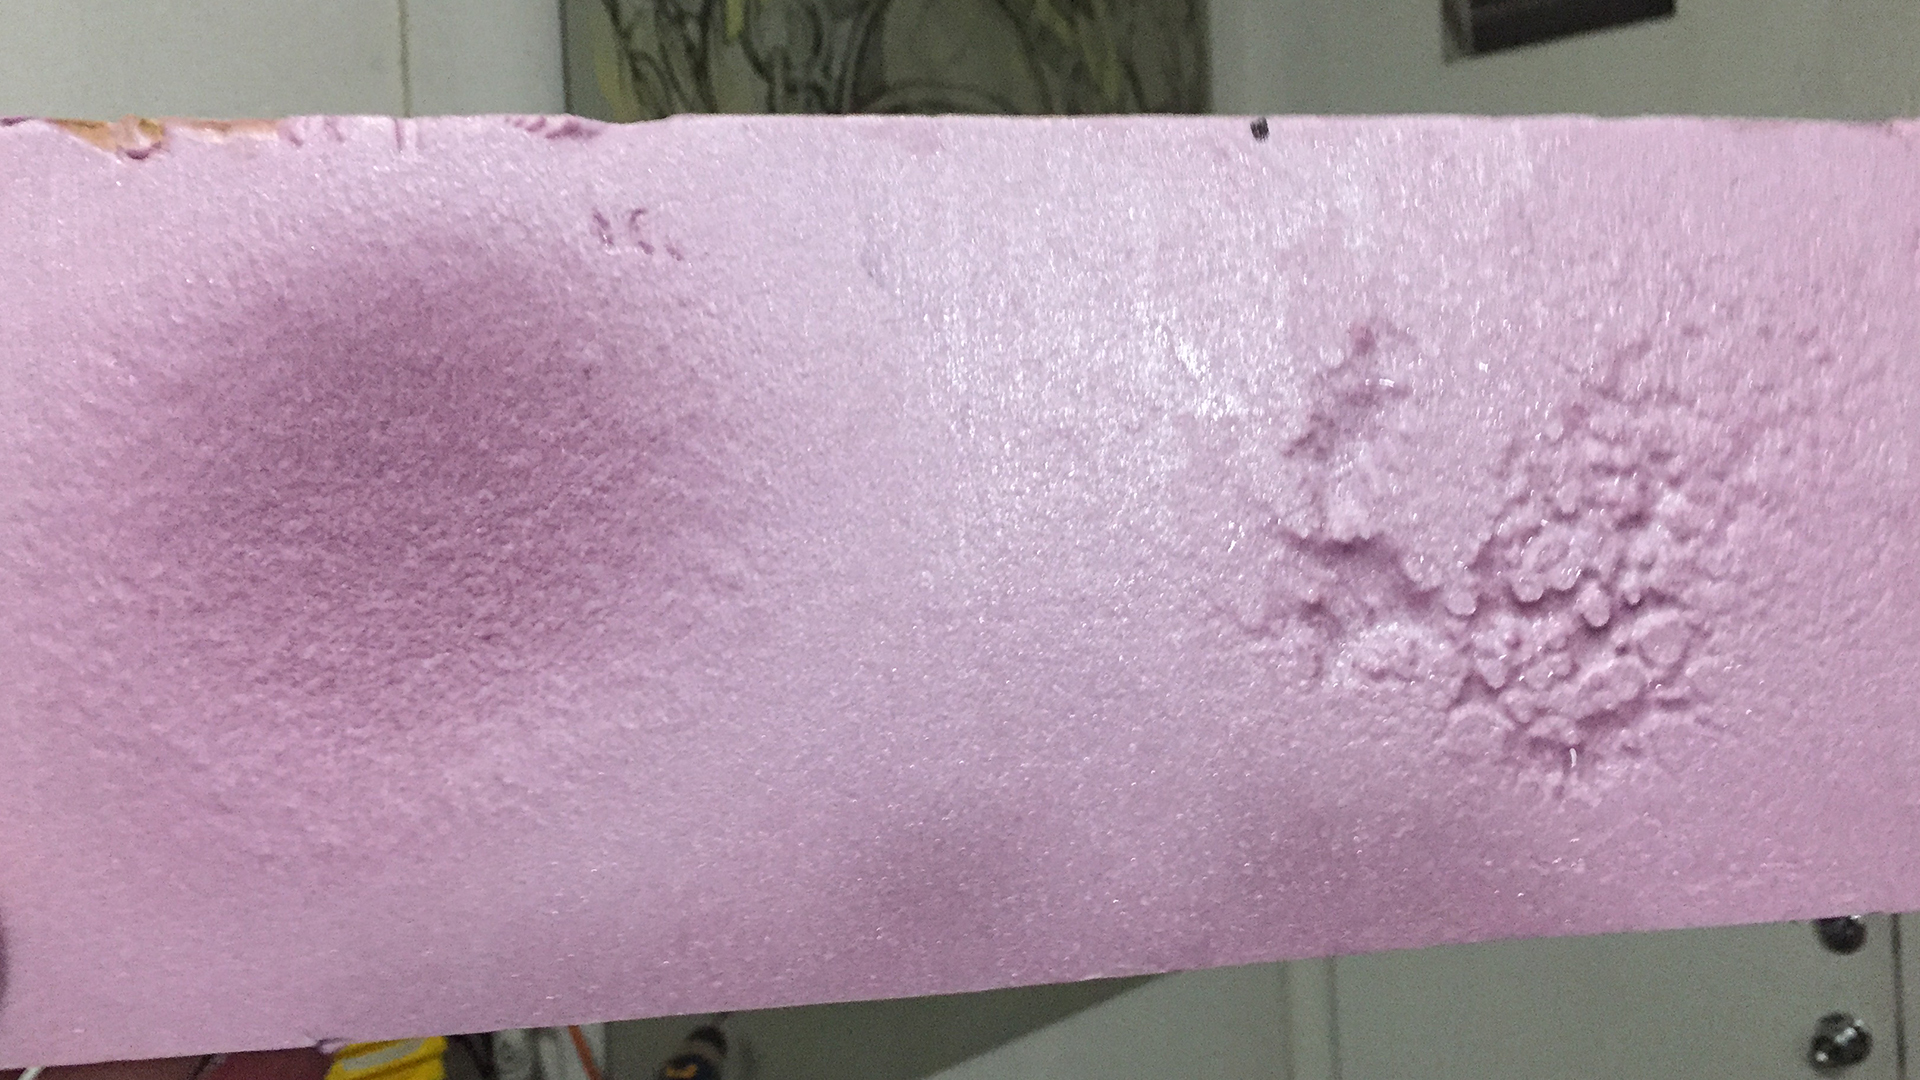
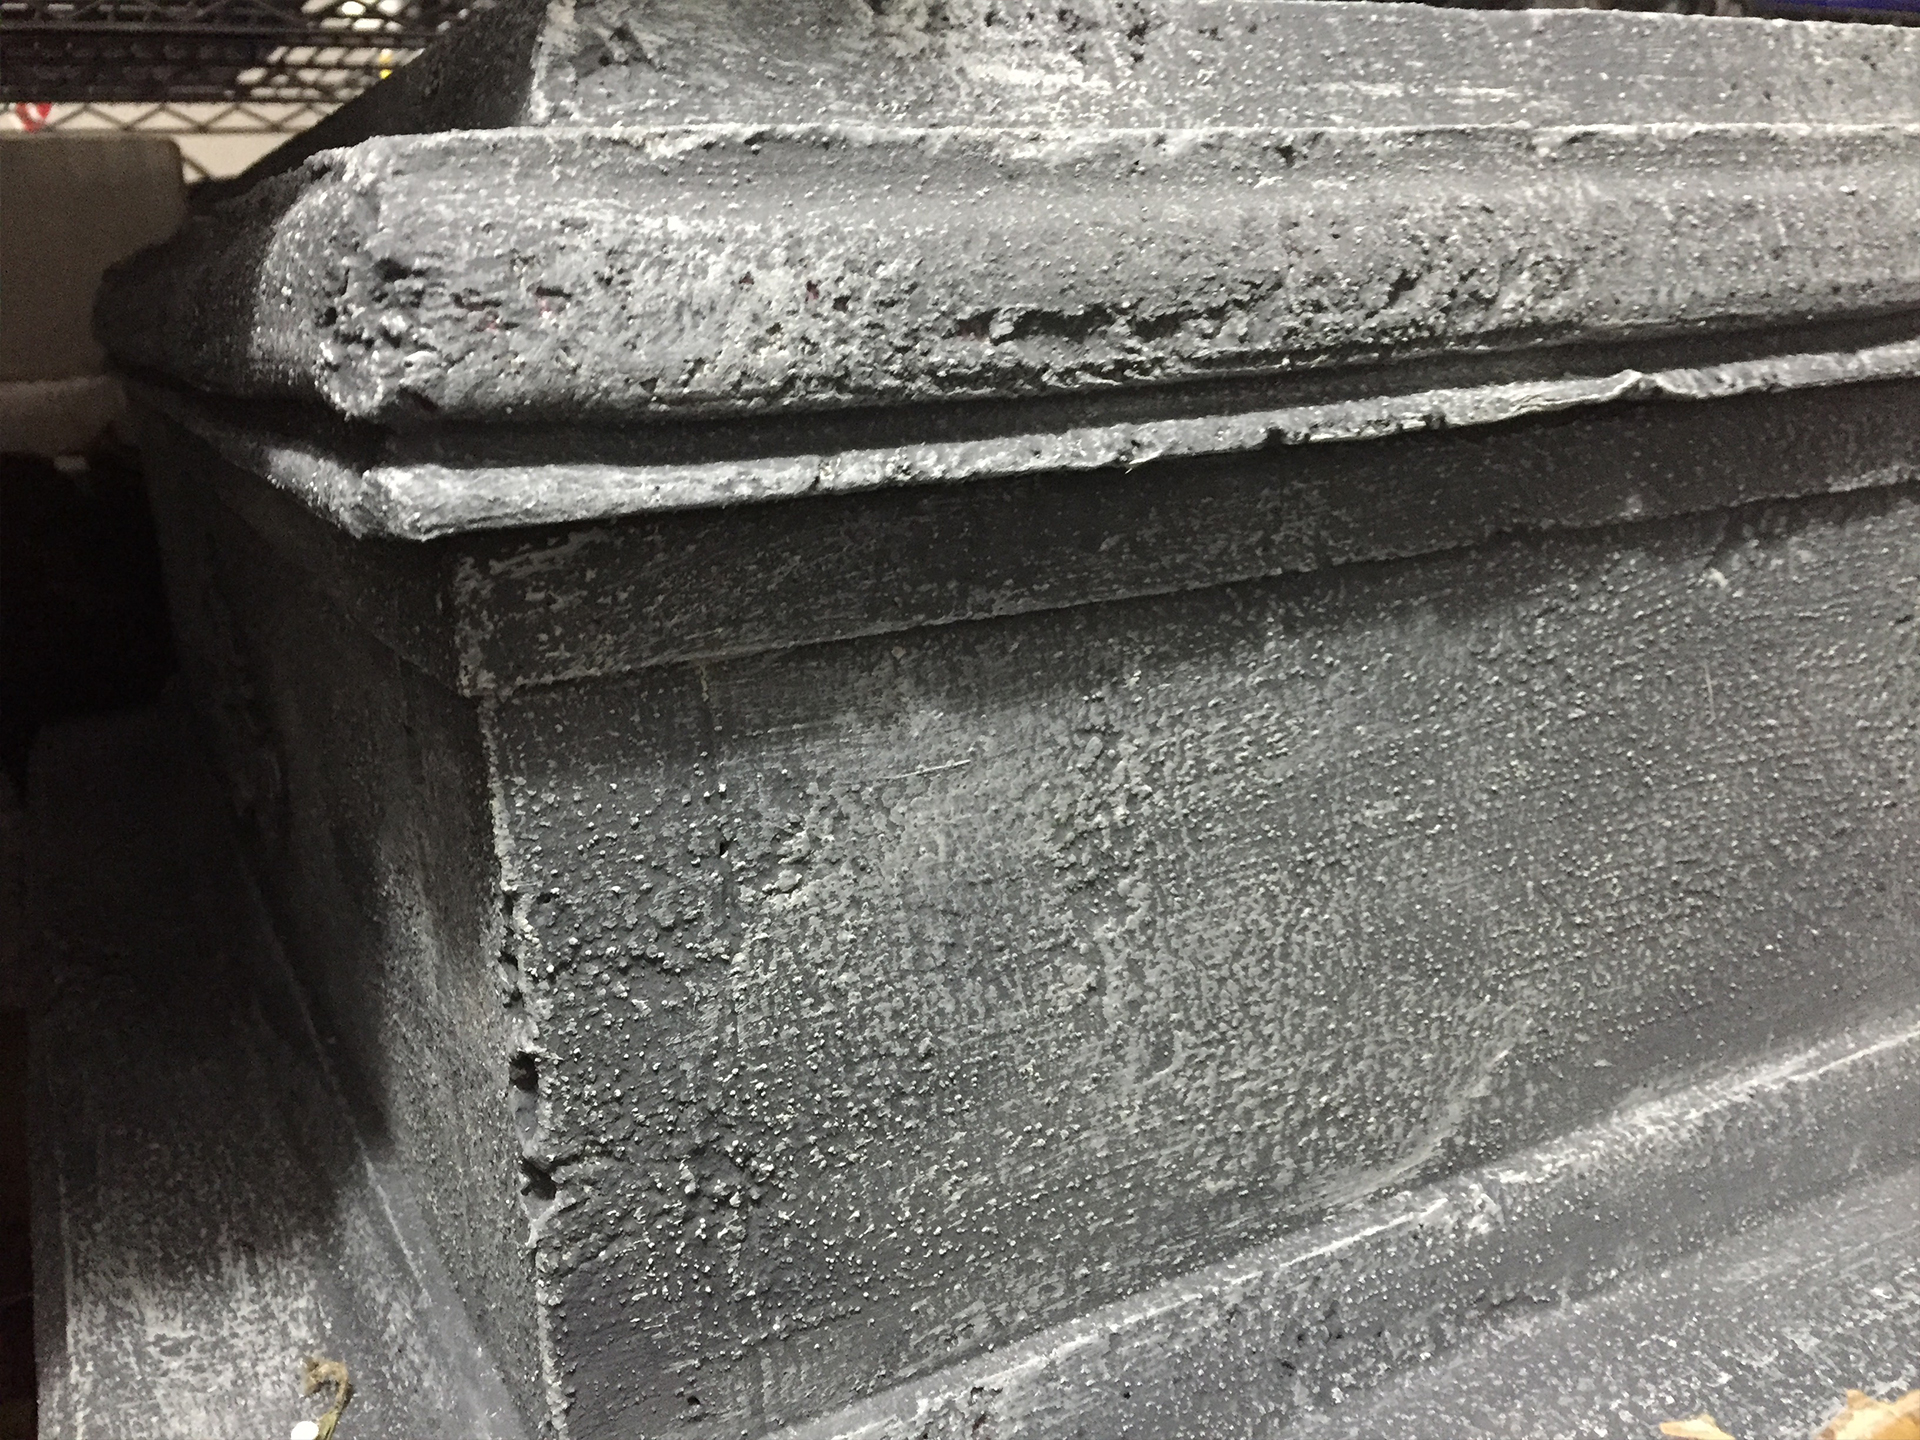
After using filler to get rid of seams and gaps, I took a large wire brush and used it to hit and scrape various areas of the tombstone to help age it. I also used a serrated knife to add different texture or to make cracks. I also used water and heat to add texture. This is a very quick way to get a realistic stone look. In the picture, you can see where I applied heat from a heat gun to the left (as you’re looking at it) side of the foam. I used a spray bottle to wet the right section with water then applied heat.
*The best advice I can give is to experiment with different tools and have fun.*
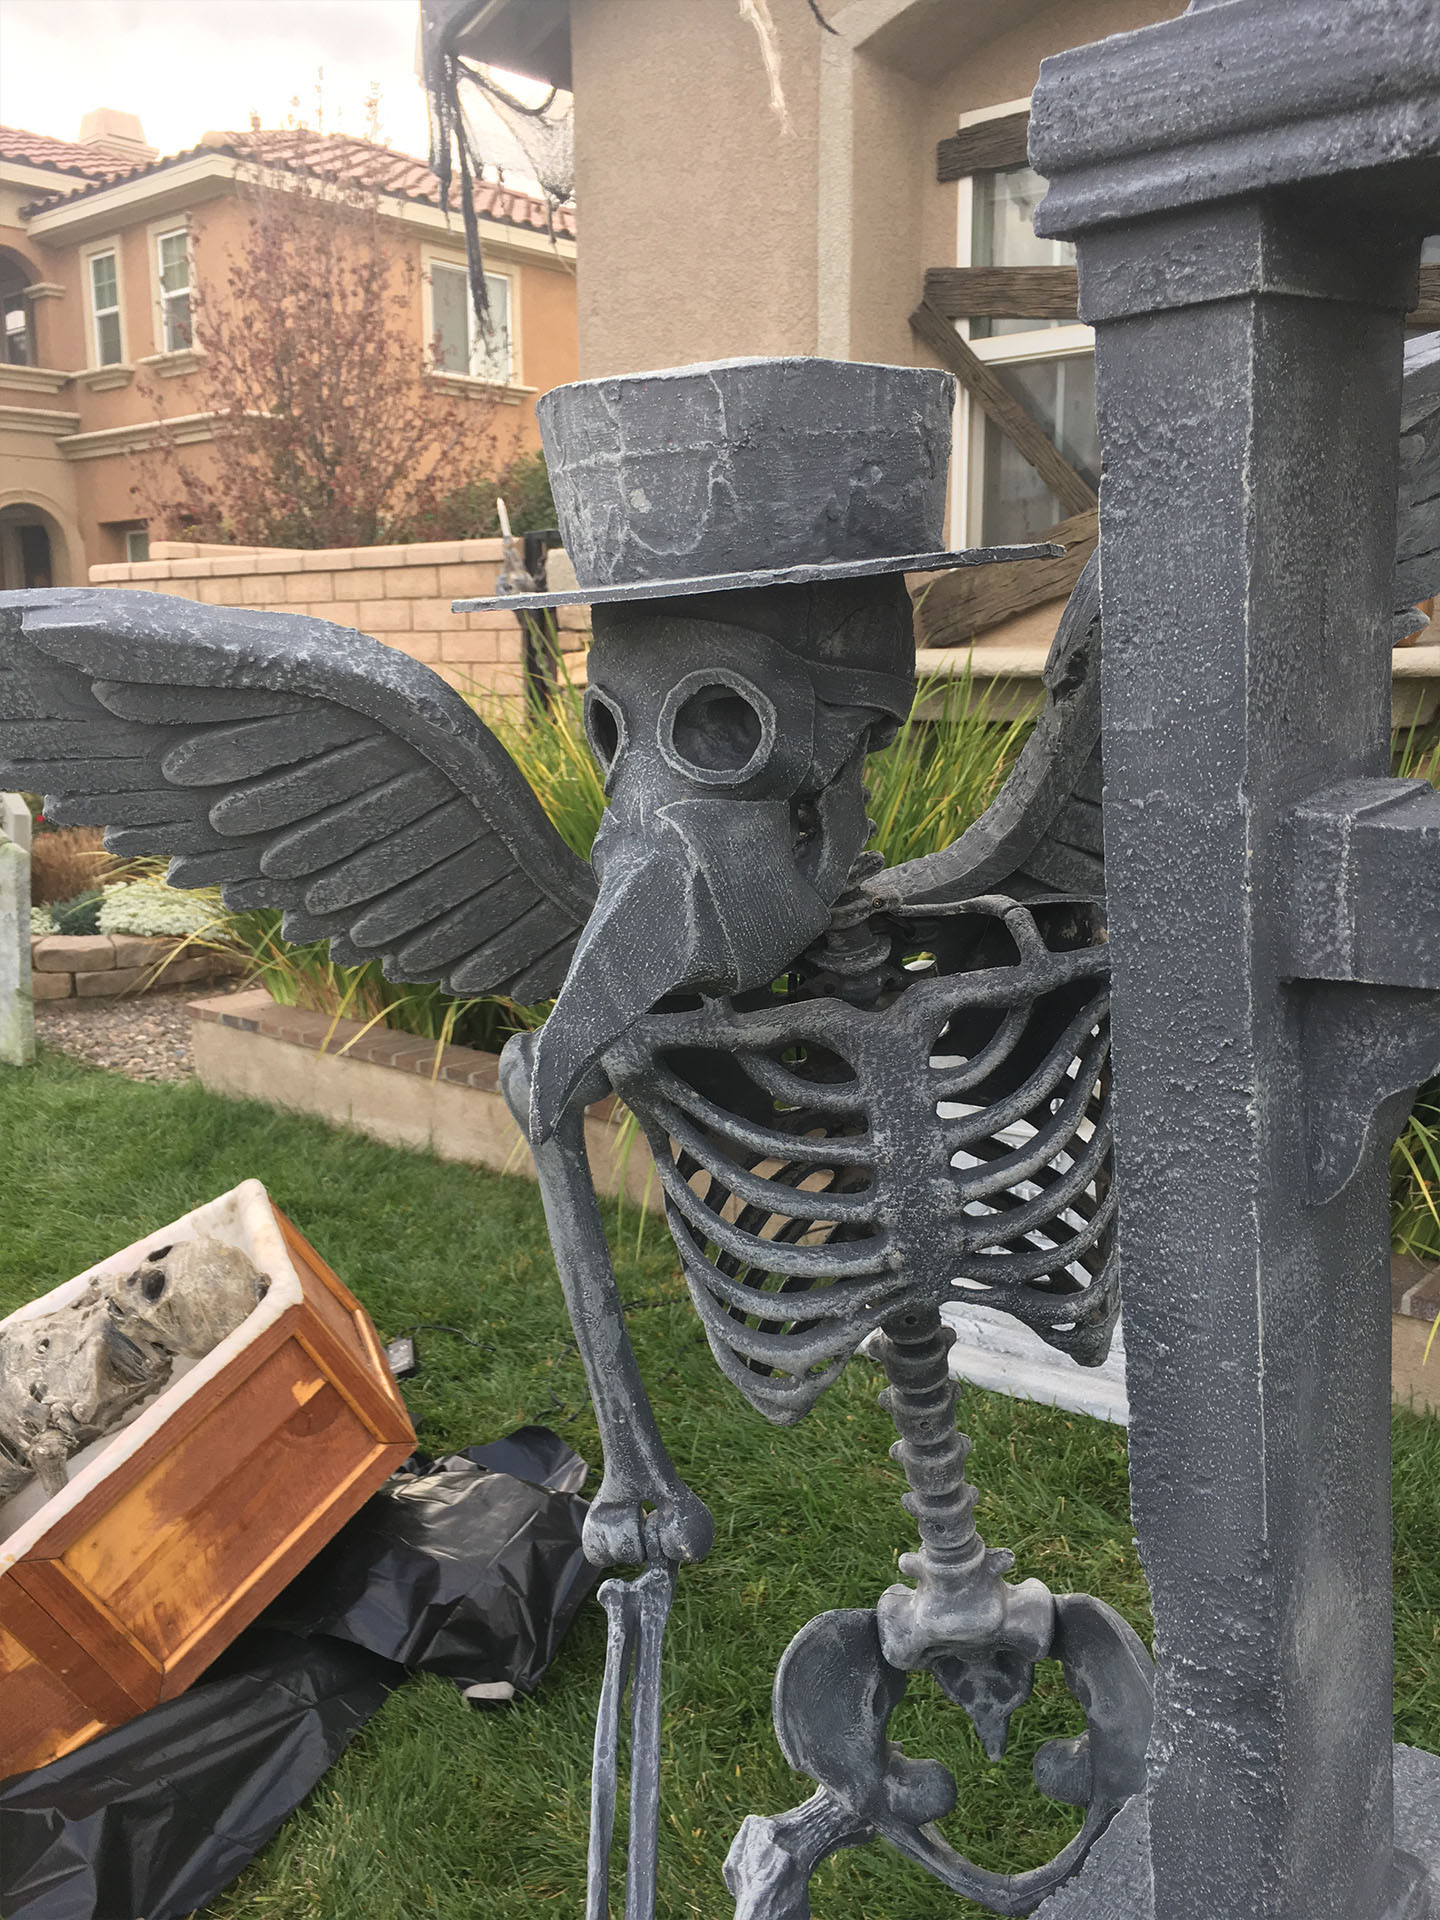
Prior to the build, I had driven past a cemetery, saw a tombstone with a bell at the top, and thought that would make an interesting feature. My bell was carved from a few stacked pieces of foam using the scroll table and a rasp. I used the scroll table to cut and create a sort of ring with the bottom piece. I then cut a ring from half inch foam which would make a lip to the bottom of the bell. Once completed, this gave the impression the bell was actually hollow as well as provided a place to attach the bell striker (small ball of foam hanging from inside). After coating the bell with a latex primer, it was spray painted with Oil Rubbed Bronze and dry brushed with copper acrylic paint. The patina was added with a mix of Bahama Blue and Foliage Green acrylic paints. I cut and shaped a beak out of XPS foam and hollowed a portion so it would fit on the face of the skull. EVA foam was used to create the rest of the mask. In addition, the top of the Plague Doctors hat was made with foam while its brim was made with foam core board.
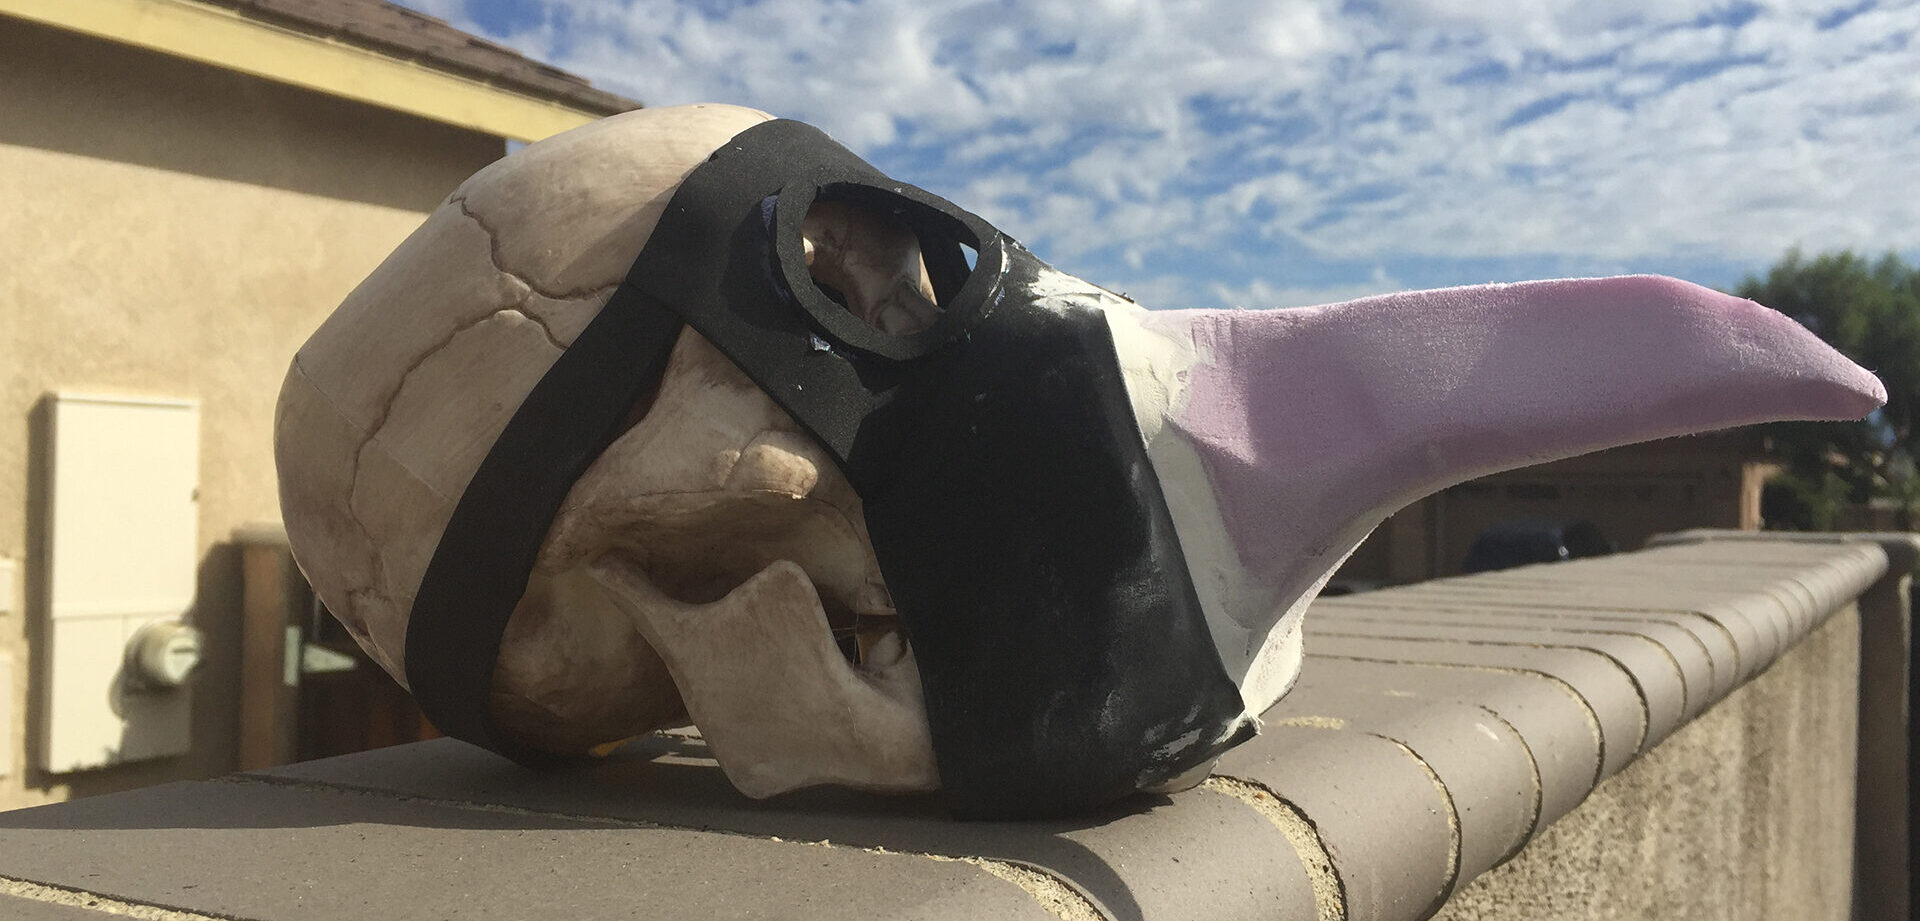
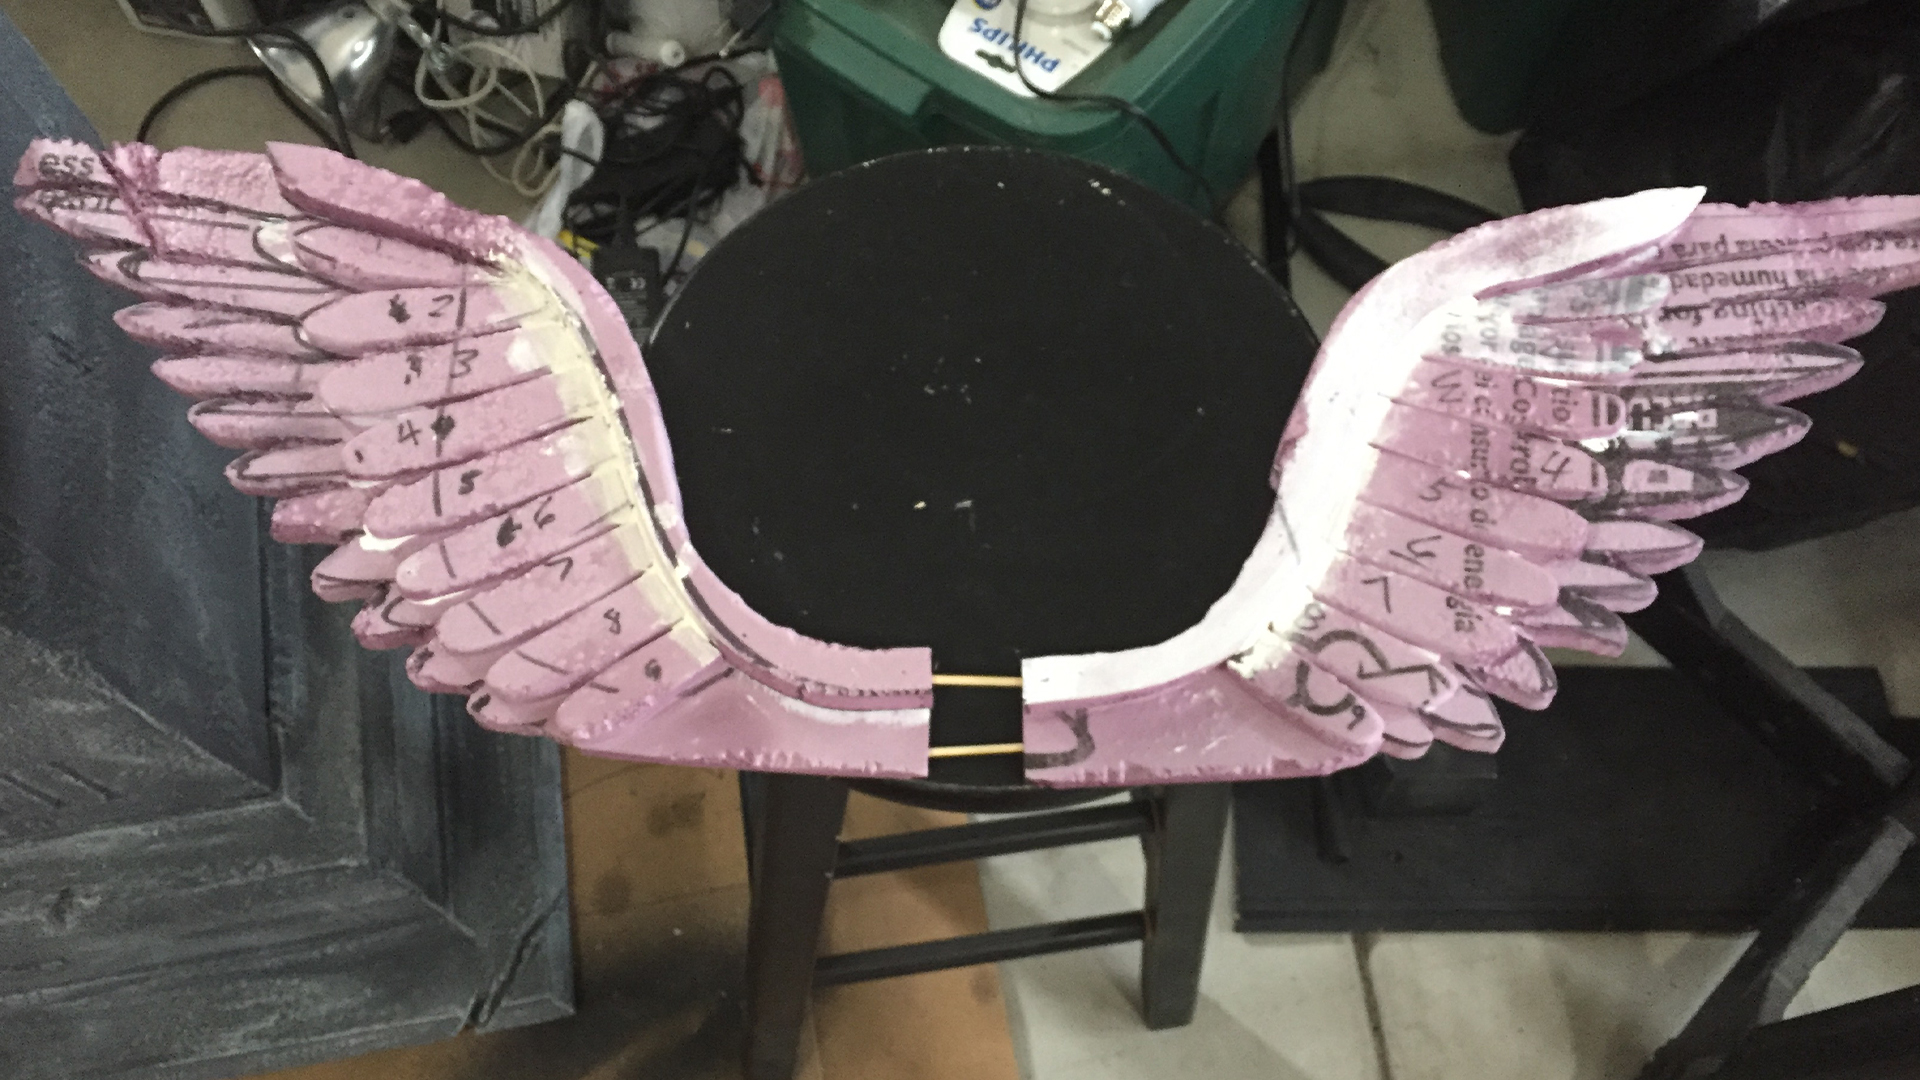
I drew the basic wing shape I wanted then cut two wings from half inch foam. I then cut the pieces the feathers butt up against from half inch foam and glued them to the wings. I cut individual feathers from half inch foam then used the scroll table to cut them in half so I would have two sets of feathers. By changing the thickness, this gives the wings a tri-level look. The edges of the wings and feathers were rounded with sandpaper. Two larger skewers were used to connect the two wings and zip ties were used to attach them to the skeleton. I painted the tombstone and Plague Doctor with gray DRYLOK that was mixed with black latex to achieve a very dark gray.
Once the paint was dry, I dry brushed regular gray DRYLOK over the whole project. Typically, I would dry brush edges, raised portions, etc. with white paint to give a better stone effect, but I didn’t feel it was needed with this project.
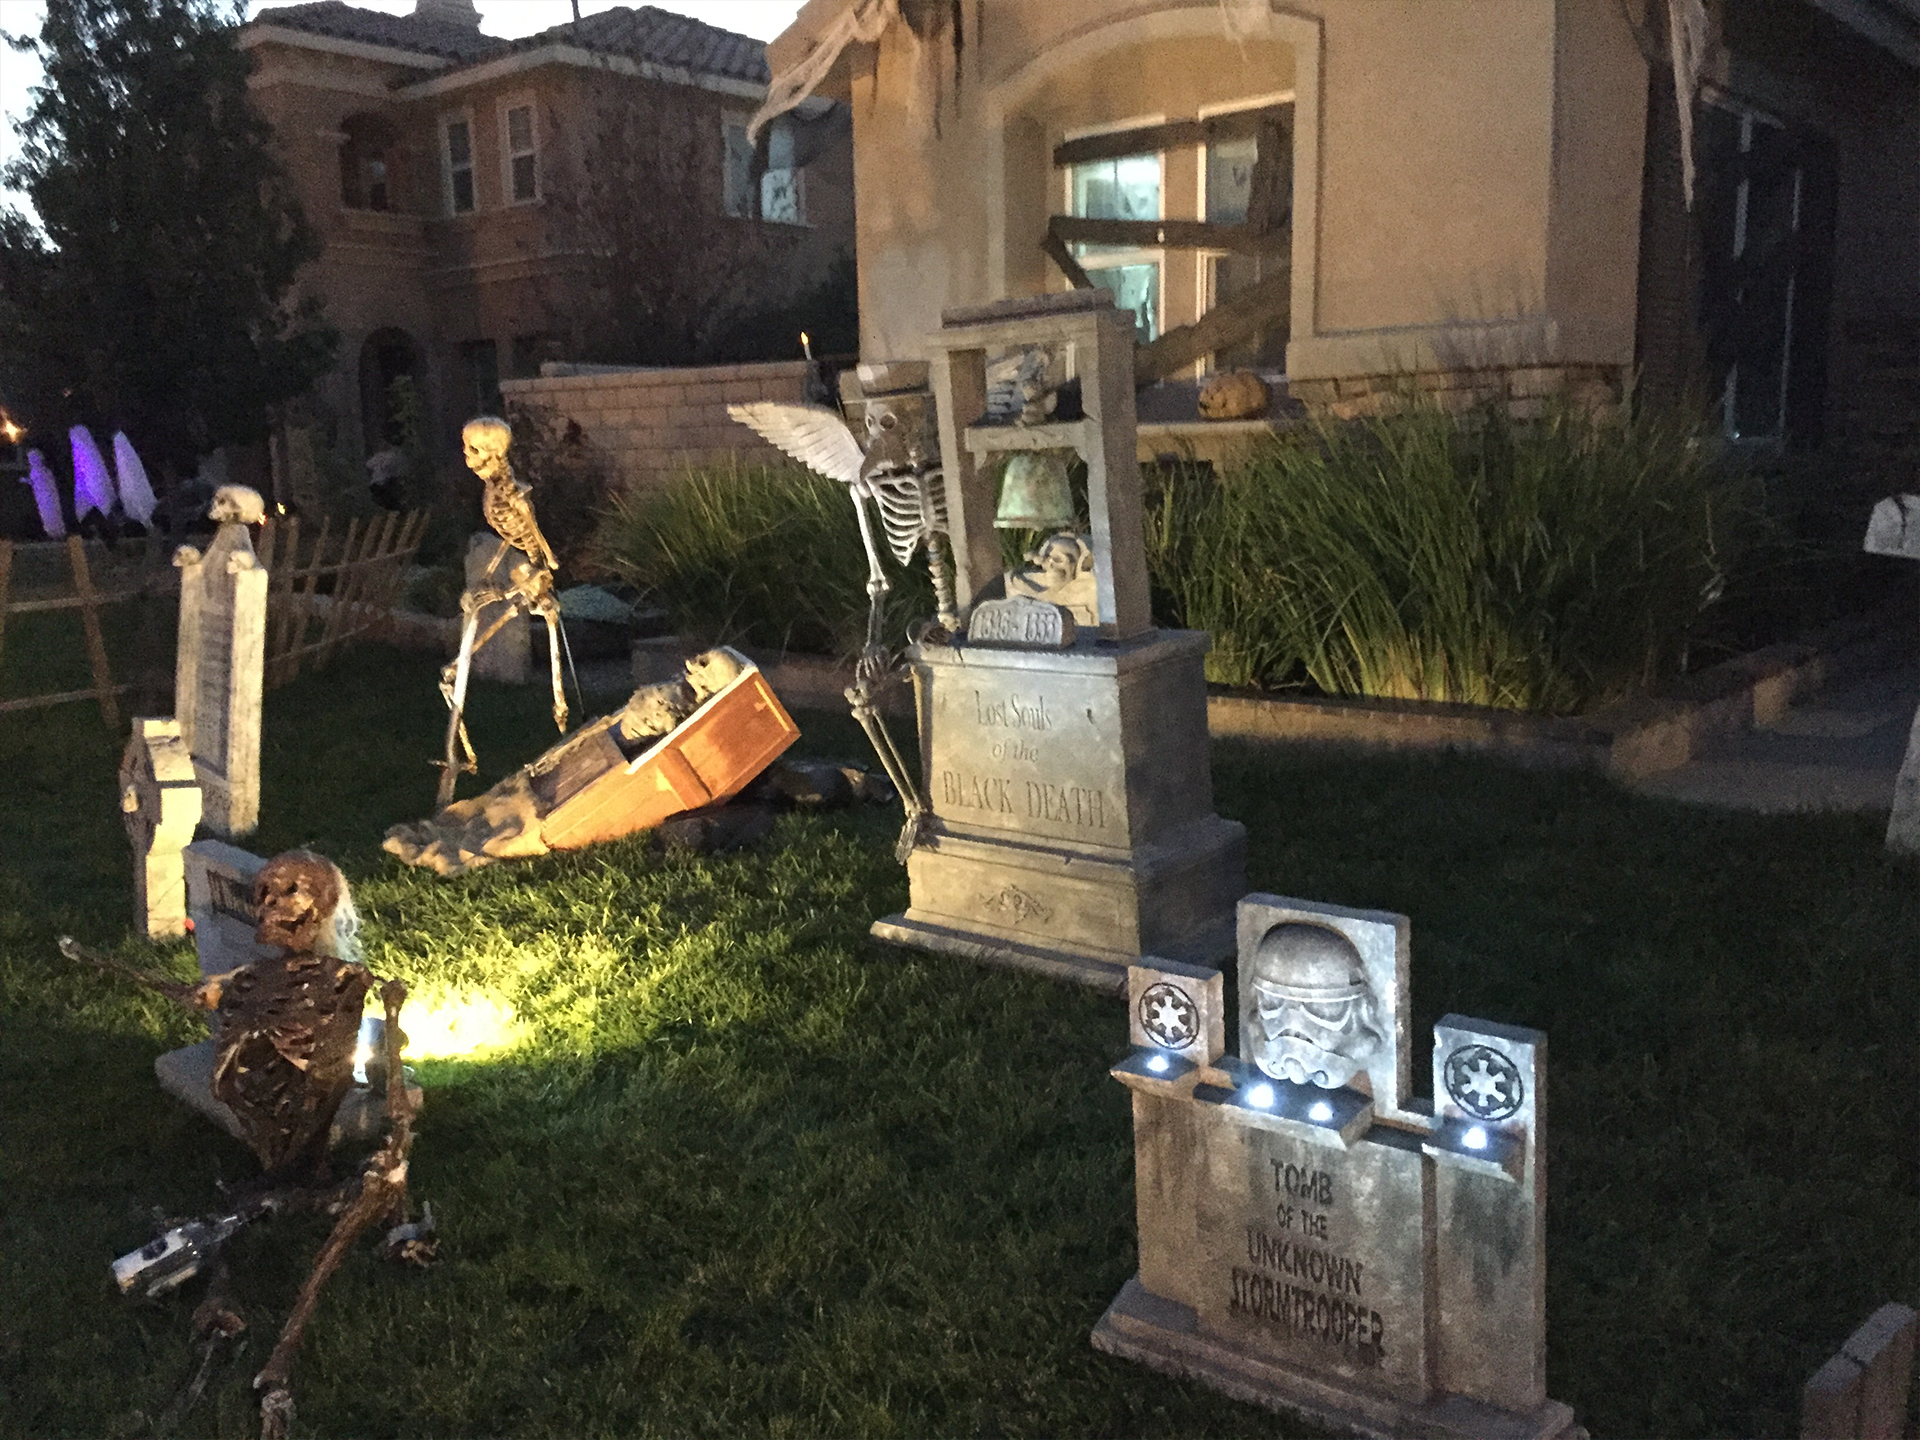
The base was placed over a piece of re bar in the ground and the middle and top sections were placed on top. The skeleton was positioned to the side of the tombstone and its back leg was zip tied to a piece of rebar. I had painted a fake rose in the same manner as the rest of the project and set this on the tombstone near the skeleton’s right hand.
This is a close up showing the color and texture of the tombstone and was a great addition to the yard and looked pretty nice with “Lightning effects.”
I’ve been home haunting and making my own tombstones for about six years. I really enjoyed Halloween as a kid and like creating memories for kids and families by creating Halloween decorations that go beyond the normal jack o’ lantern or cheap, unrealistic store bought items. The finished project was entered into the contest and I was shocked I won first place. There were so many great entries competing! I’m already starting to think of new ideas for next year, but would like to share the build of my Black Plague Memorial tombstone. I hope you like it.