Mermaid Doll Tutorial
Kevin Beers and Jan Howell
We had to make 50 mermaids for an event at work. We started with “pillow dolls” which are basically the upper half of a doll. To make the tails we of course used Hot Wire Foam Factory tools to shape the Styrofoam. I’m including some basic instructions and pictures of the two versions of mermaids we made. I’ve been a strong user of your hot wire tools for years doing D56 scenes, guides for vending machines at work and now even mermaids. Instructions are below.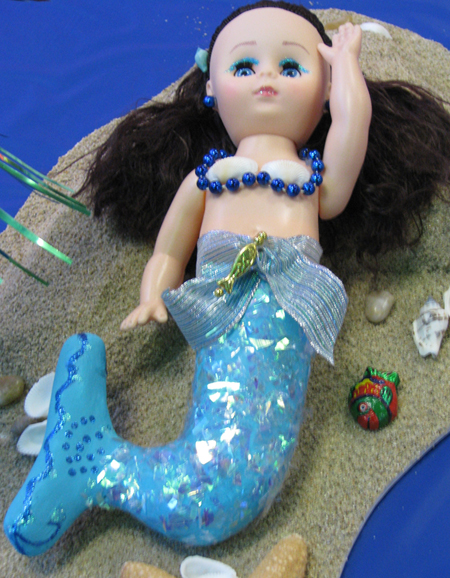
Instructions:
Step one was to take some of the curl out of their hair to make them look more like mermaids. We determined that heat would relax the hair by using a steamer on one doll. This worked but was very slow and with 50 mermaids to do we had to come up with something faster. We boiled a large pot of water on the stove and dipped the dolls hair into the water, combing out any snarls and letting them dry with the hair straight down. We did this step first so the steam from the boiling water wouldn’t cause any of the makeup, etc. to run. Once the hair has dried you need to rubber band it so it doesn’t get tangled while you are decorating the mermaid. If the hair does tangle from handling you can dip it in boiling water again and comb it back out.
We then used a dremel with a cutting blade and removed the bottom of the pillow dolls so we could attach their new tails.
Taking two inch thick Styrofoam, we did a rough cutout of the tails using the 4″ Hot Knife. I pressed the cut end of the pillow doll into the edge of the Styrofoam to make an imprint then carefully trimmed the foam (the Hot Knife or Sculpting tool will work for this) so it could be pushed into the doll at least an inch. You need to make sure this fit is tight so the tail won’t come off during the rest of the process. You can use glue to be sure the tail won’t come off if you want to.
Once the rough cutout was attached to the doll I used the sculpting tool to refine the shape of the tail. Then we sanded the Styrofoam using 100 grit sandpaper to smooth out the shape.
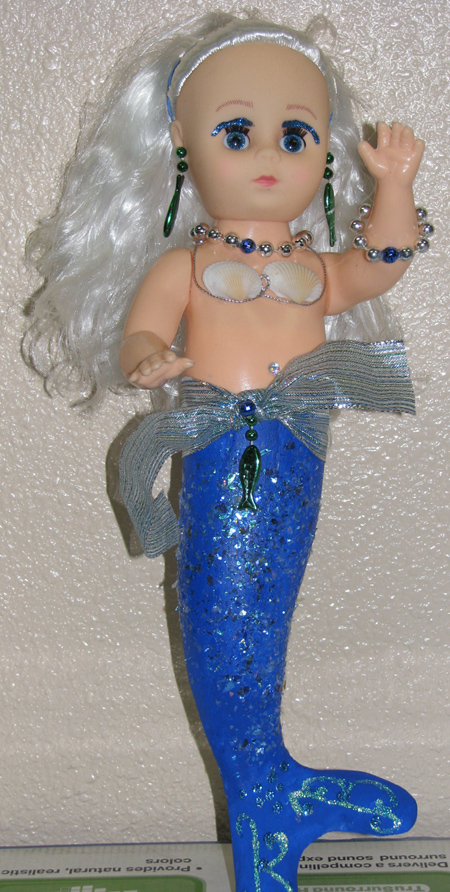
From there, you can decorate your mermaid as you like with paint, beads, shells, glitter, etc. We used a wide shimmery ribbon to hide the seam where the doll meets the tail. Be sure to use a paint that is foam-safe, like acrylic paint. These would be a great craft project at a little girl’s mermaid-themed party as a take-home favor!