Inexpensive and Easy Gaming Terrain
by Andrew Hoskins
What’s the process you go through for making your terrains?
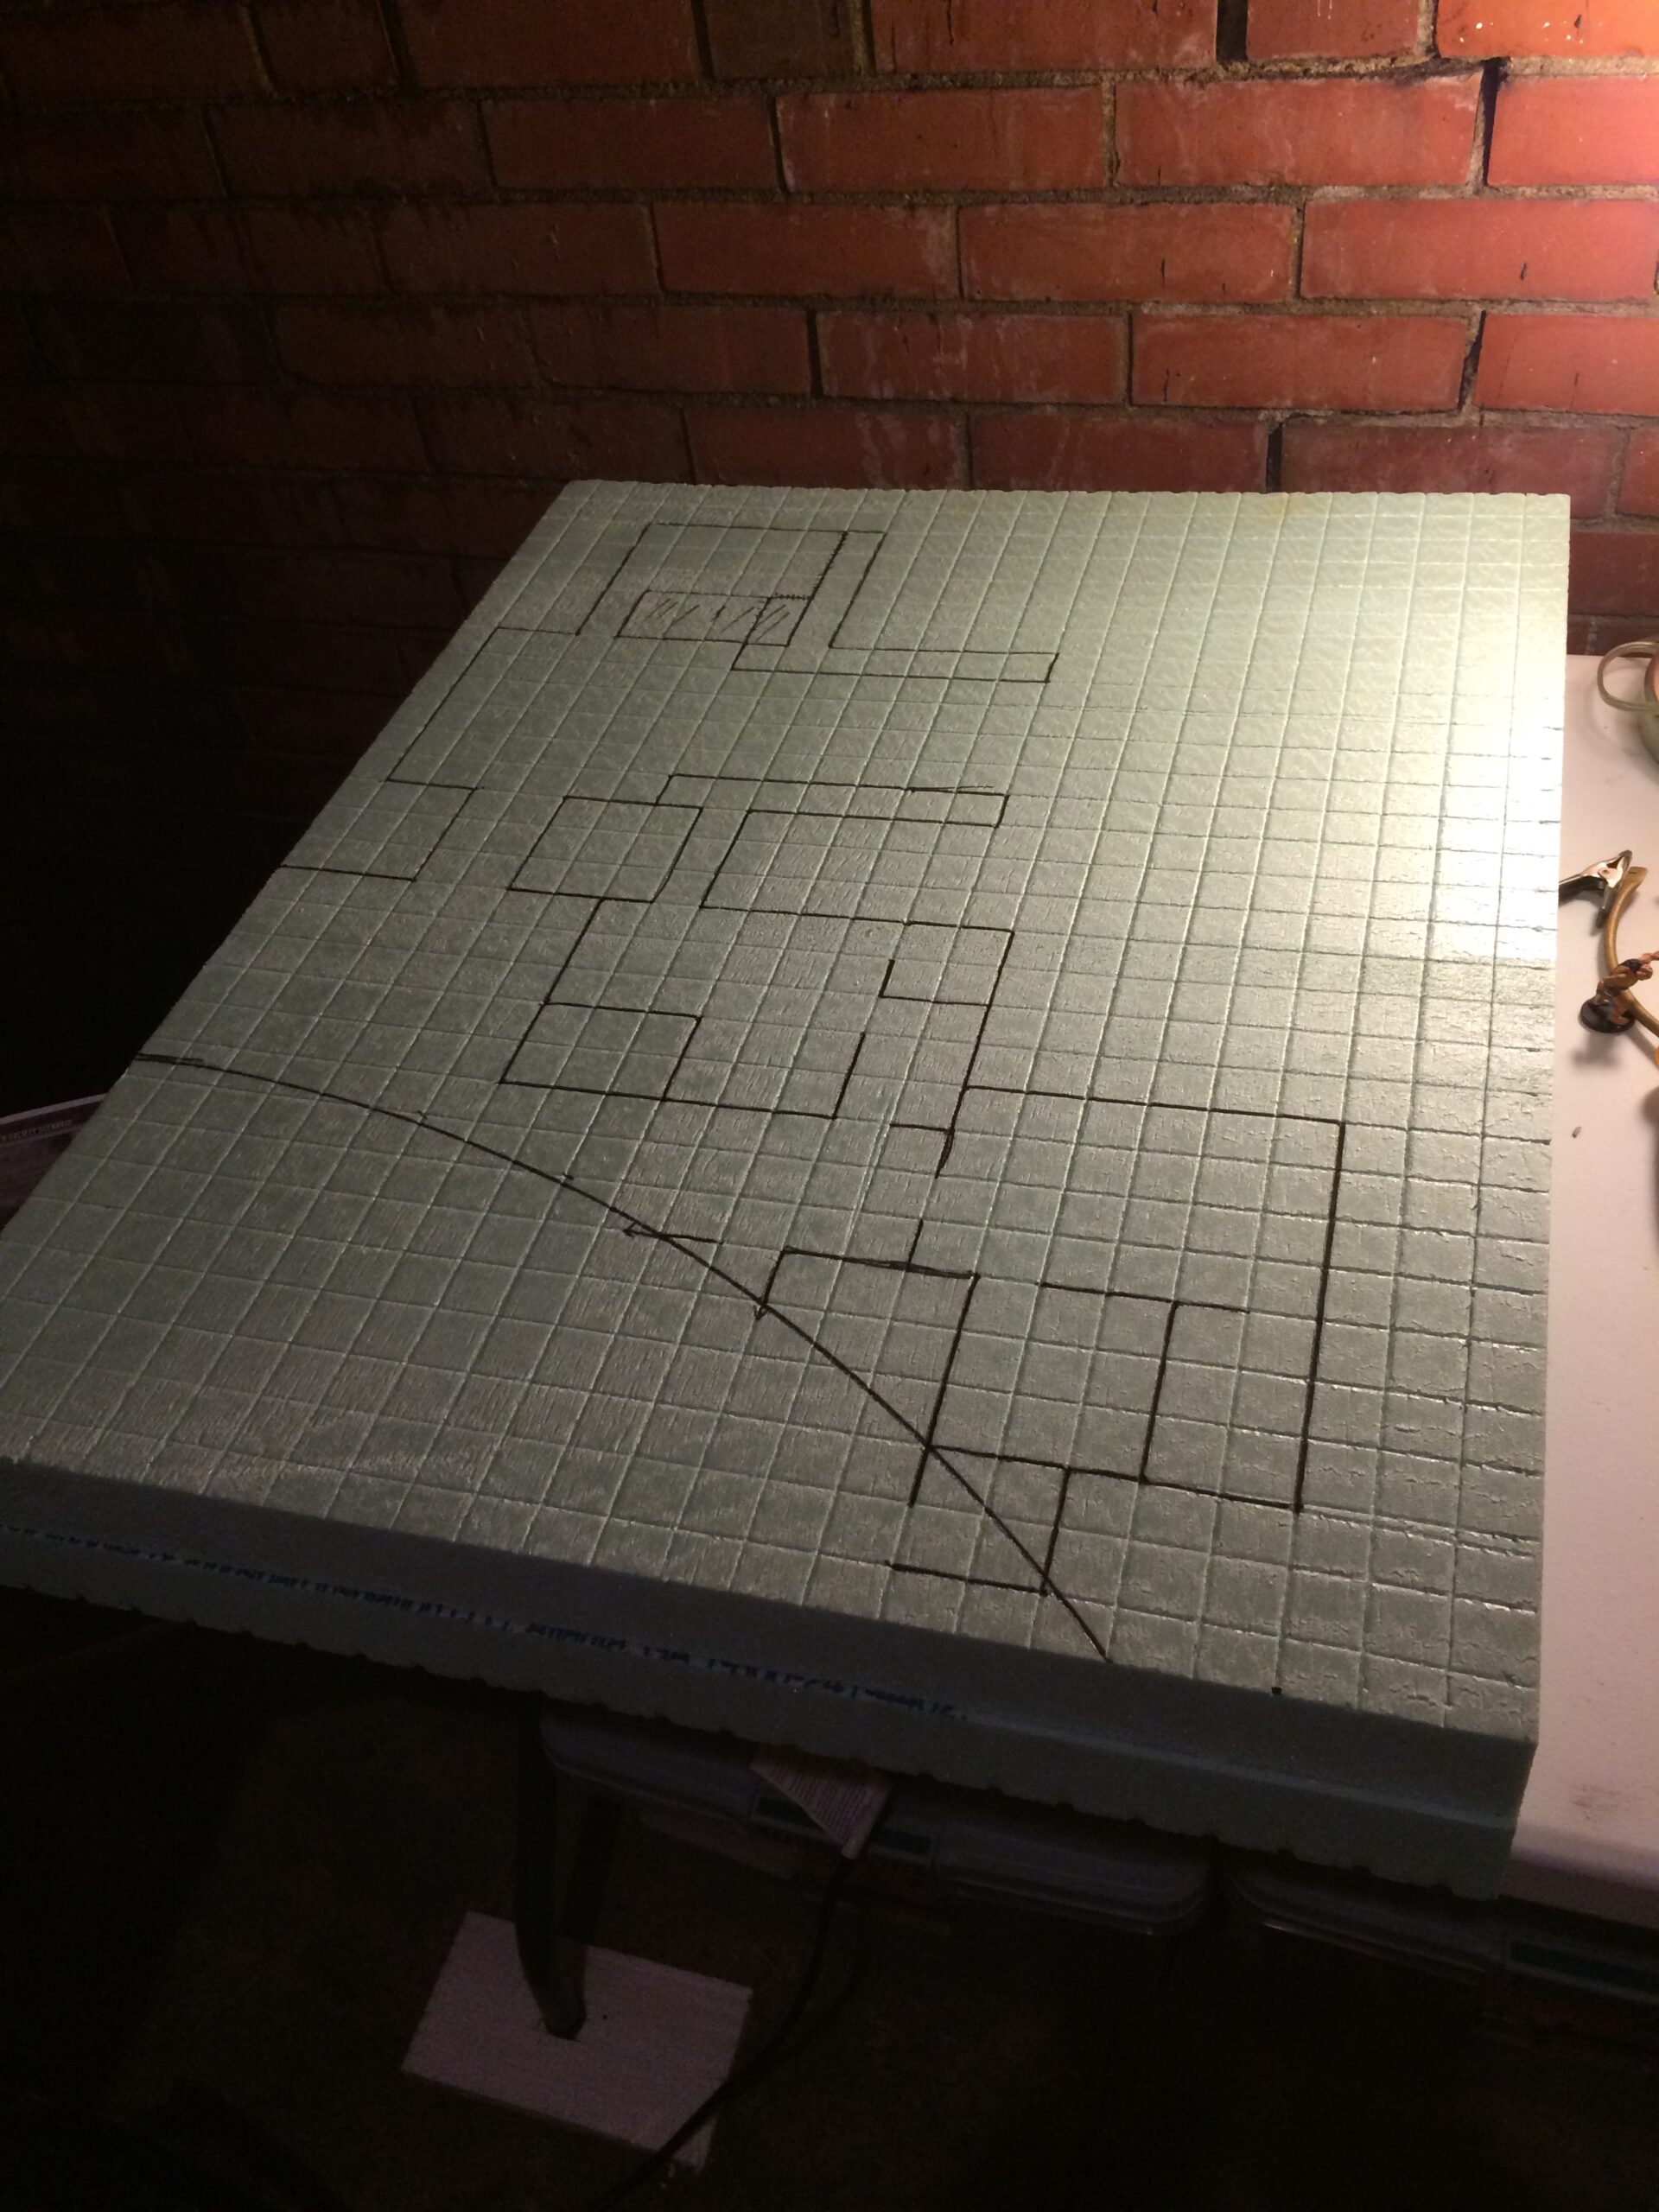
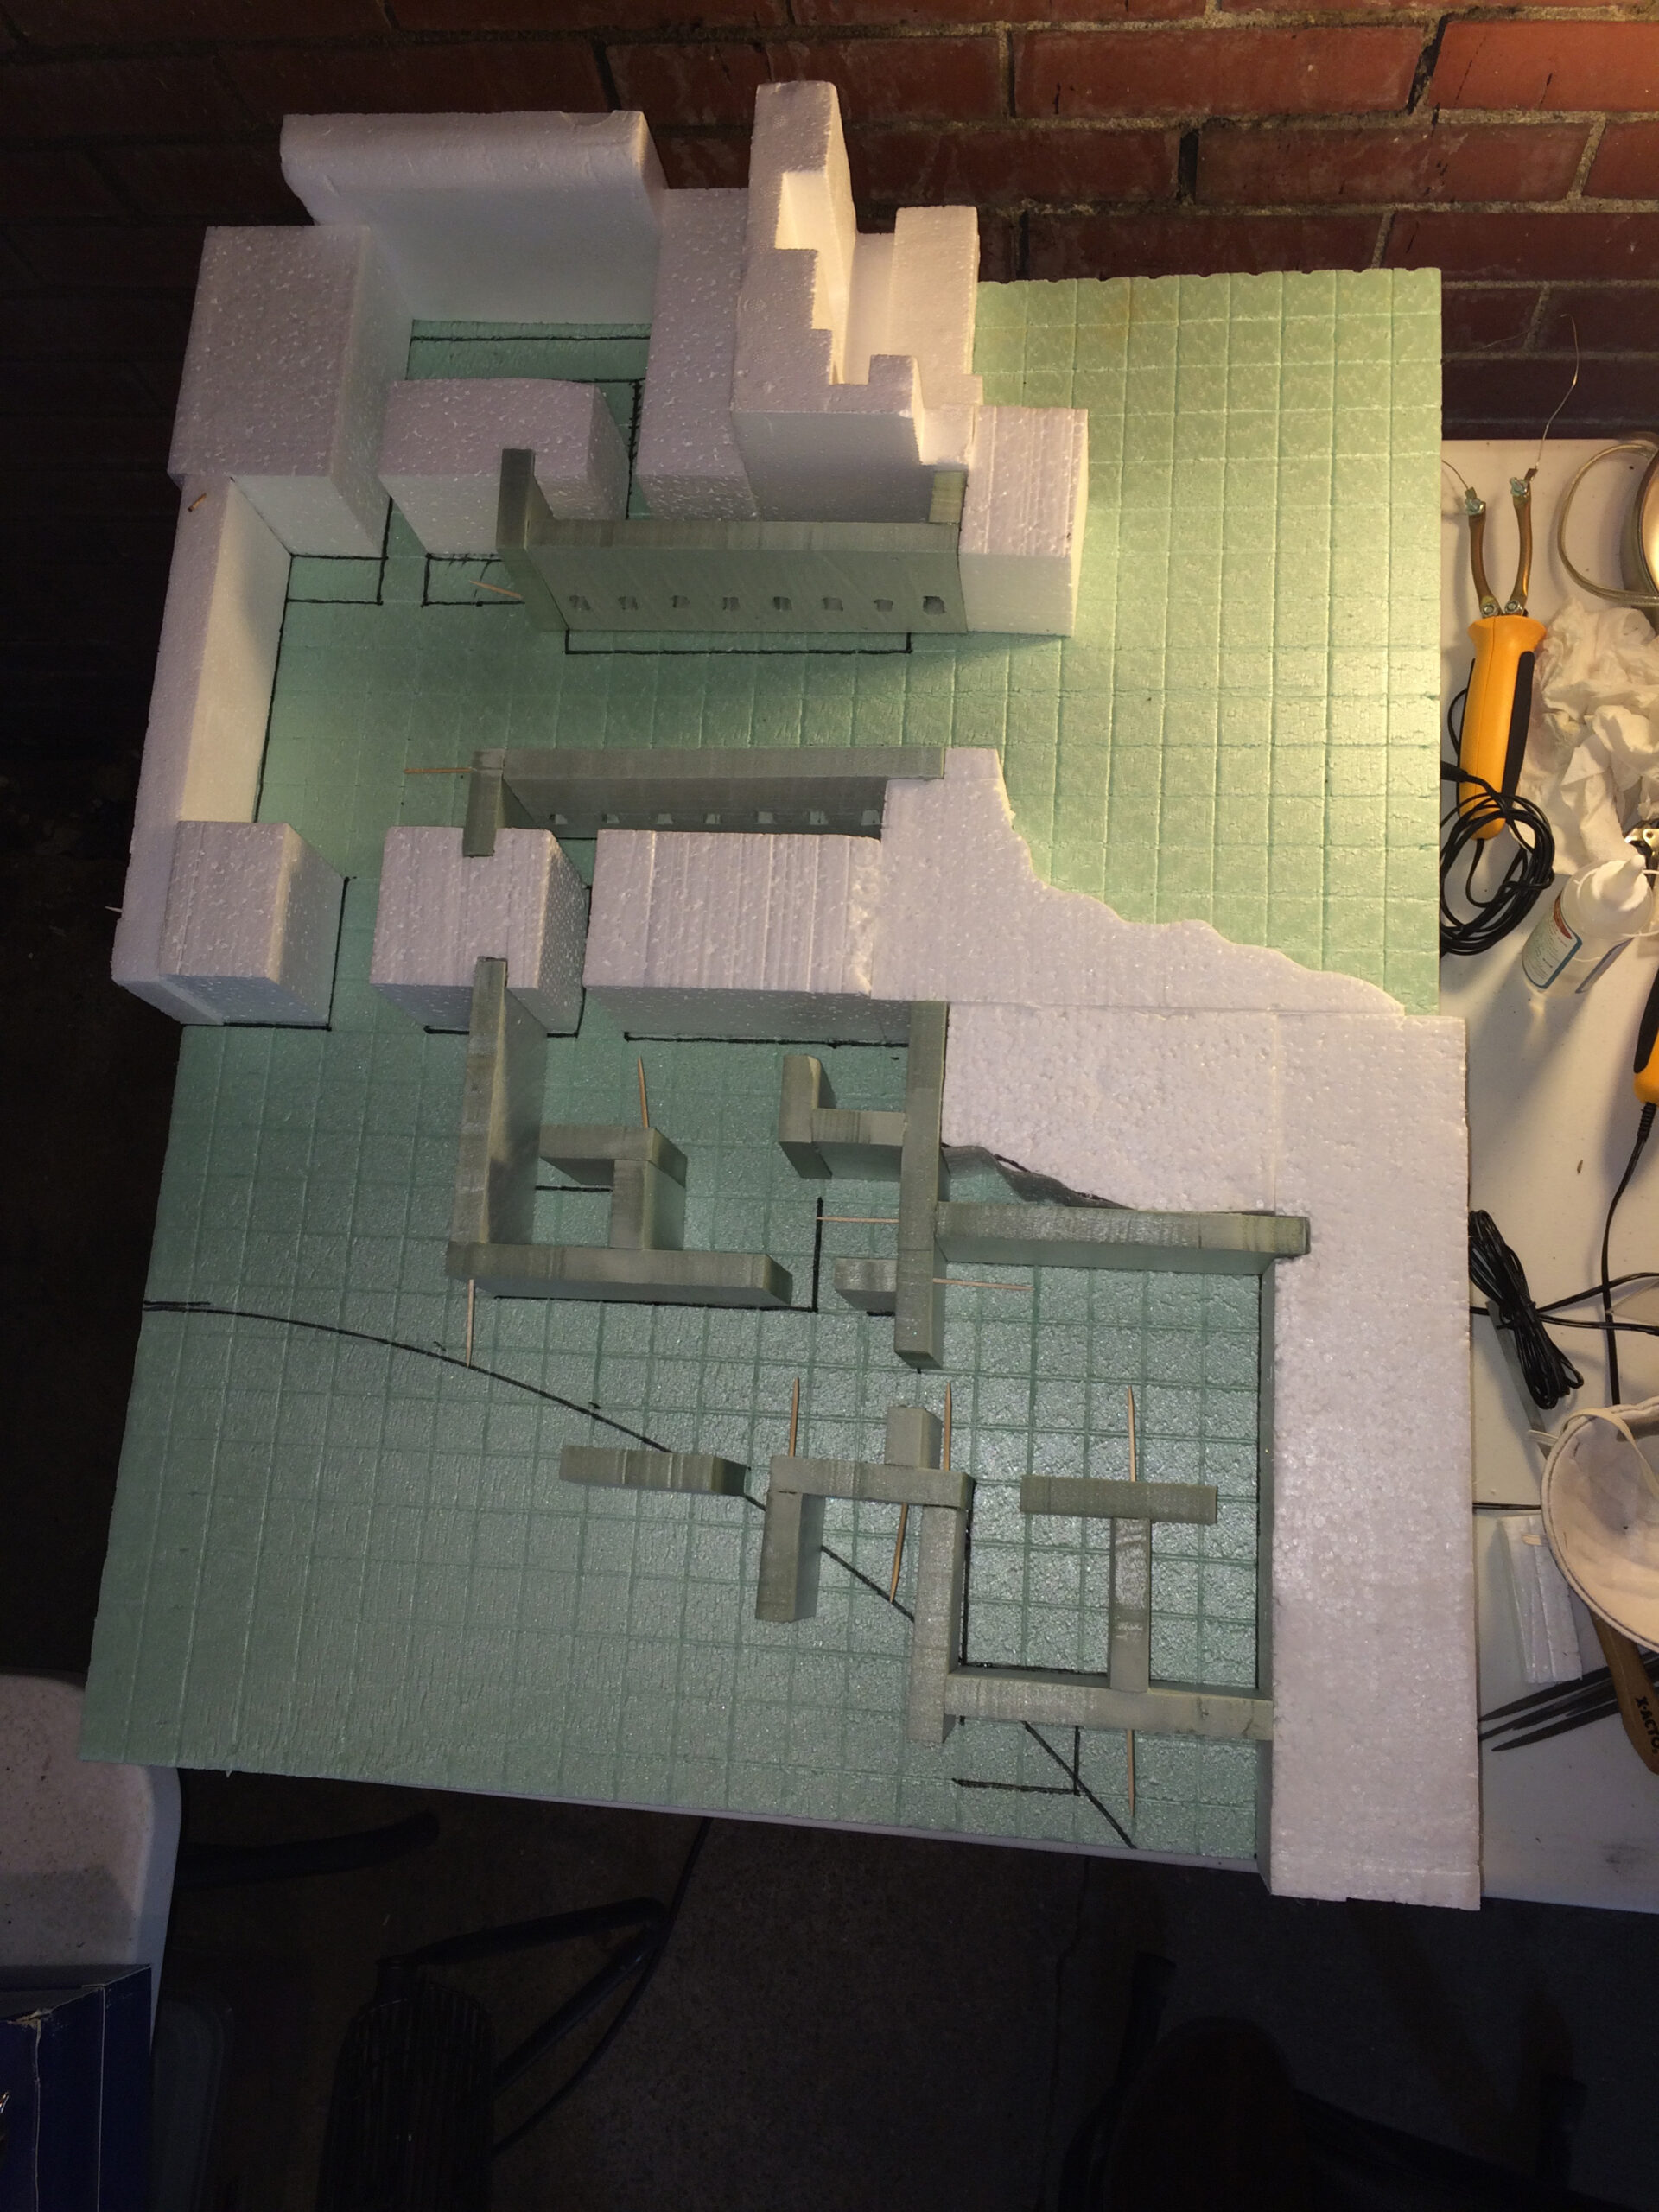
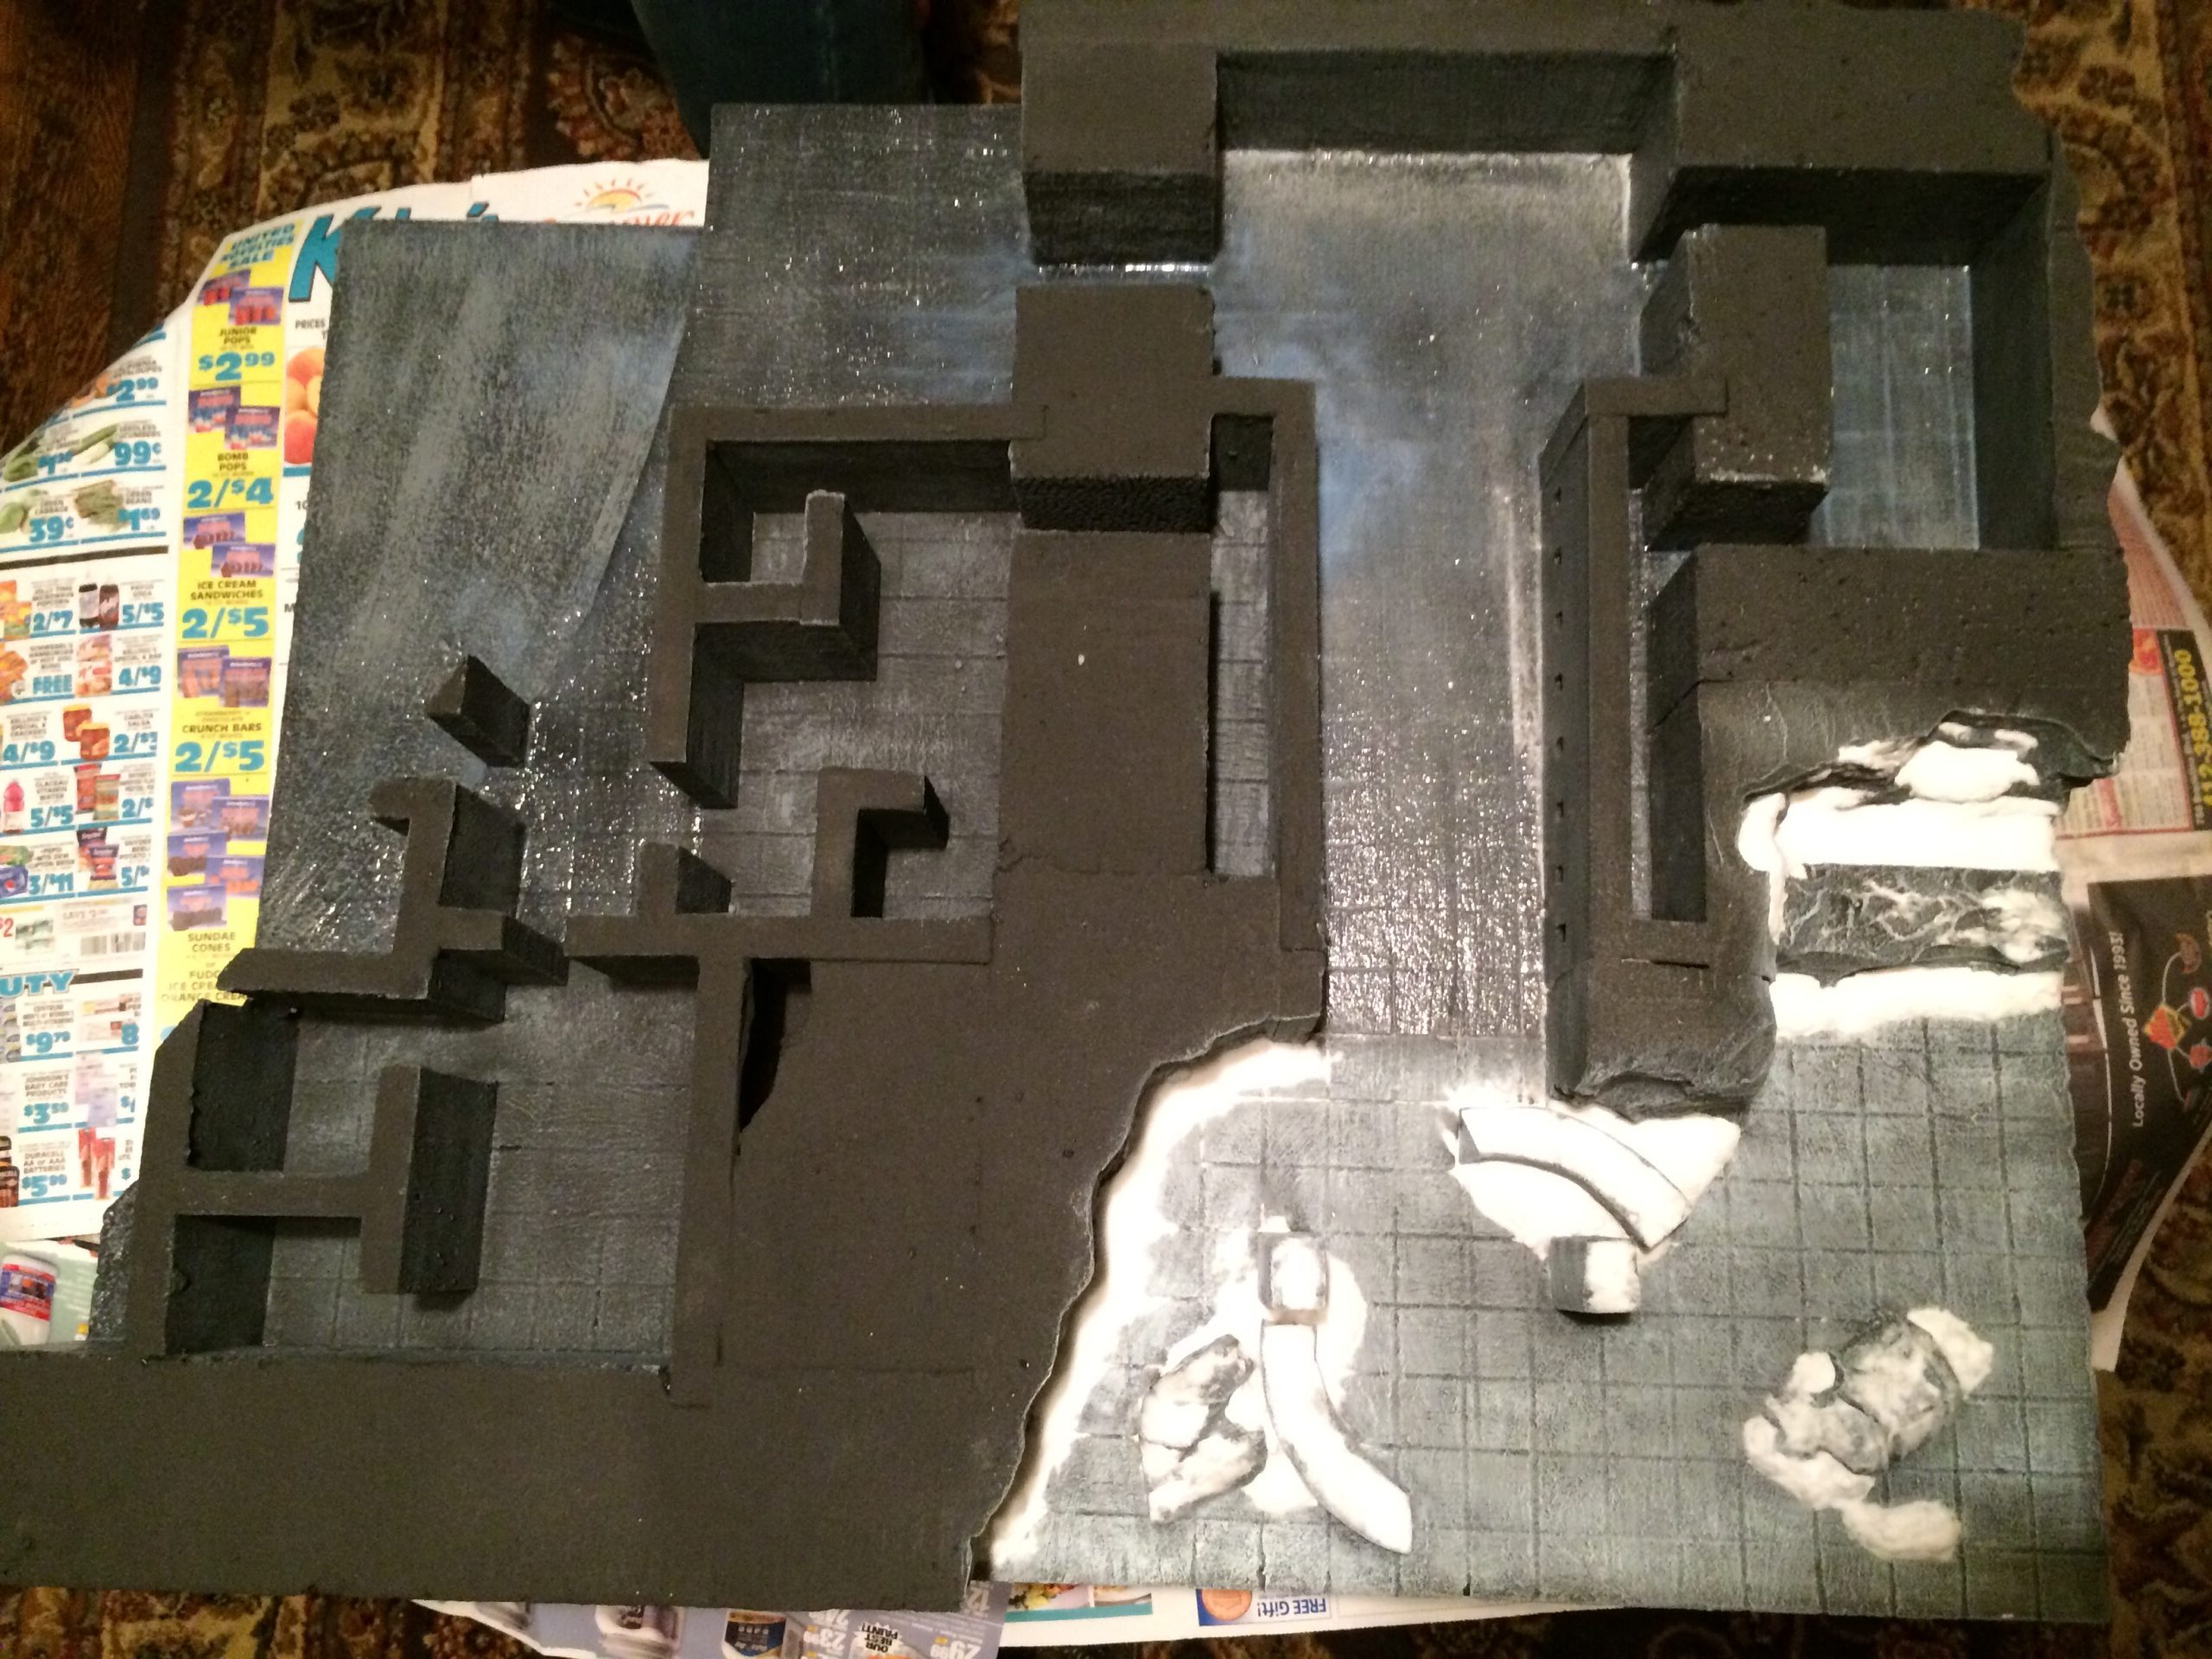
First I try and graph it out on graph paper, especially if there are a lot of walls. I honestly think the walls were too high/thick for this one and will try and use smaller walls in the future, and maybe just 1″ high to be more representative. Next you need to cut the material down. You can cut it with an appropriate saw, but my preferred method is to use hot-wire cutting tools. Using the hot wire is WAY less messy, and the cut edges are smoothed over because them melt slightly. You can use a variety of hot-wire tools to cut and shape the foam.
How much cost went into your snow covered ruin?
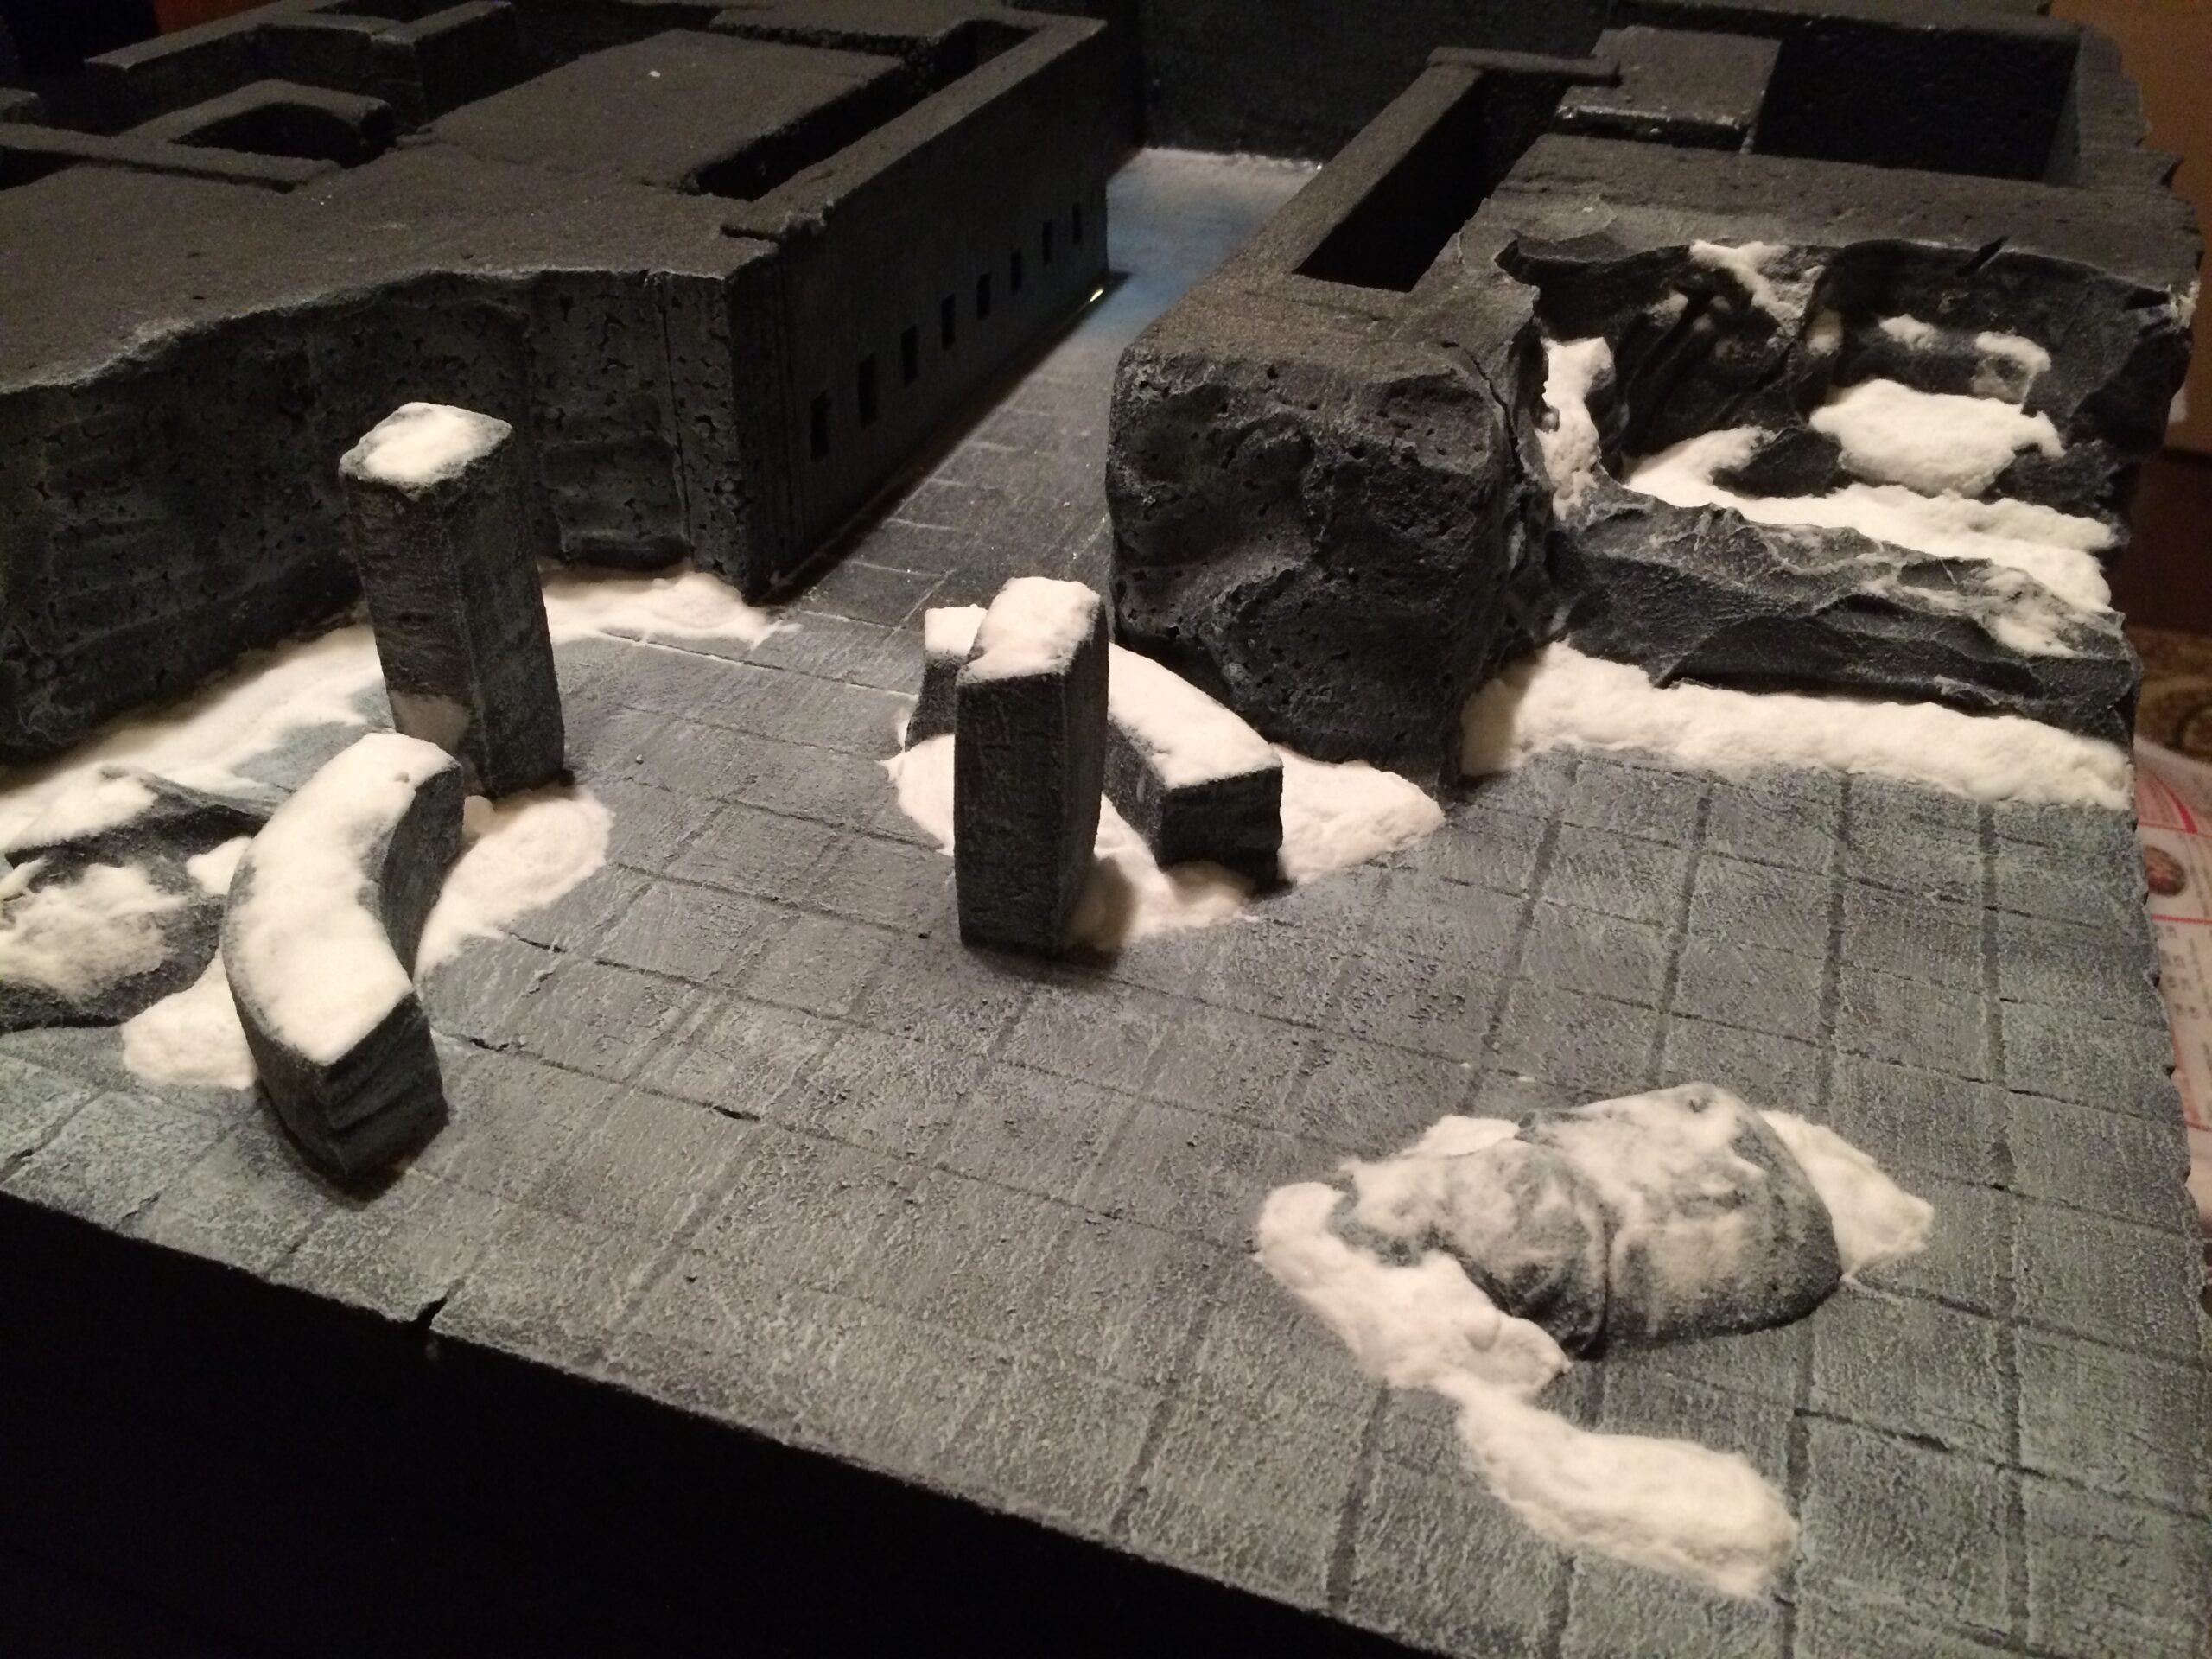
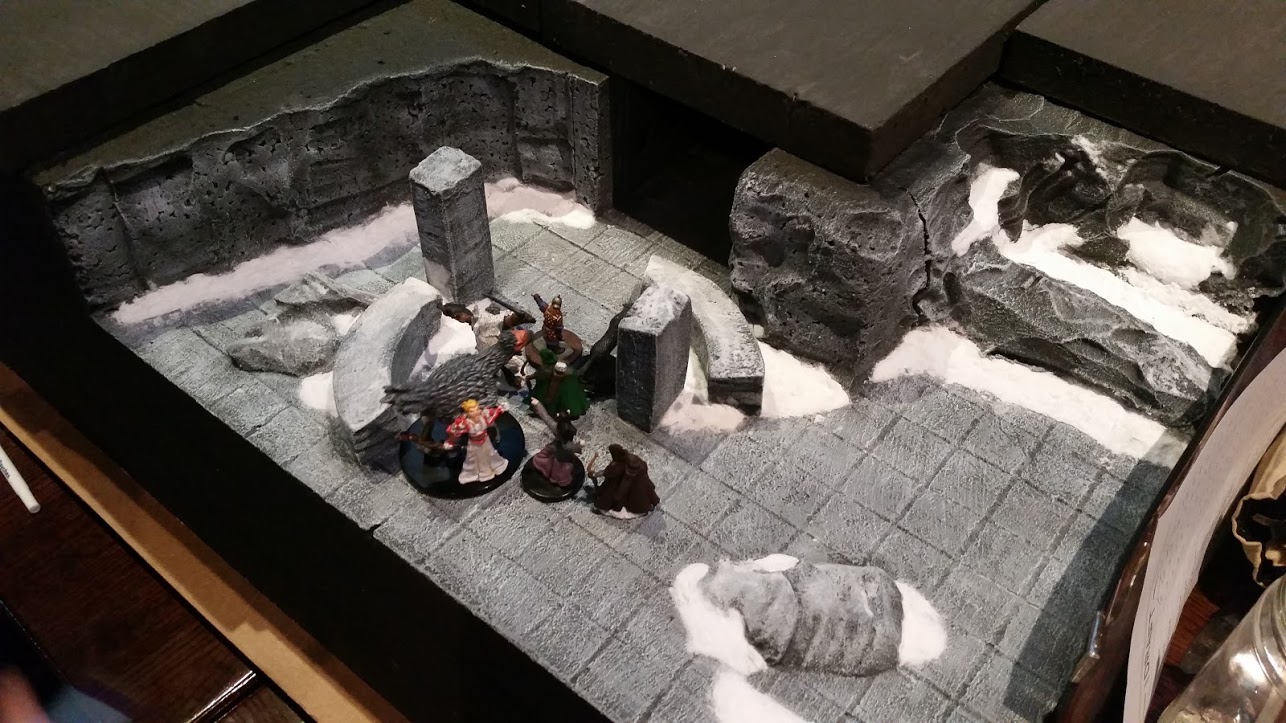
I spent about $35 on the bulk of the foam by purchasing a very large sheet of 2″ thick high-density foam at my local hardware mega-store, then having them cut it down into flip-mat size. About $25 worth of foam-coat and foam glue. A few cans of paint and varnish that probably cost me about $50, but I have tons left for future large-scale projects. You want to use acrylic and water-based paints and varnish. I got both high-gloss and matte finish wood varnish to use as top coats in various areas. The high-gloss I used for the ice effect on the floors, while the matte varnish I used everywhere else. This is important, as it will help protect against chipping. I didn’t varnish the top coverings and they got really badly damaged from all the use and transport.

And where do you go to get your material?
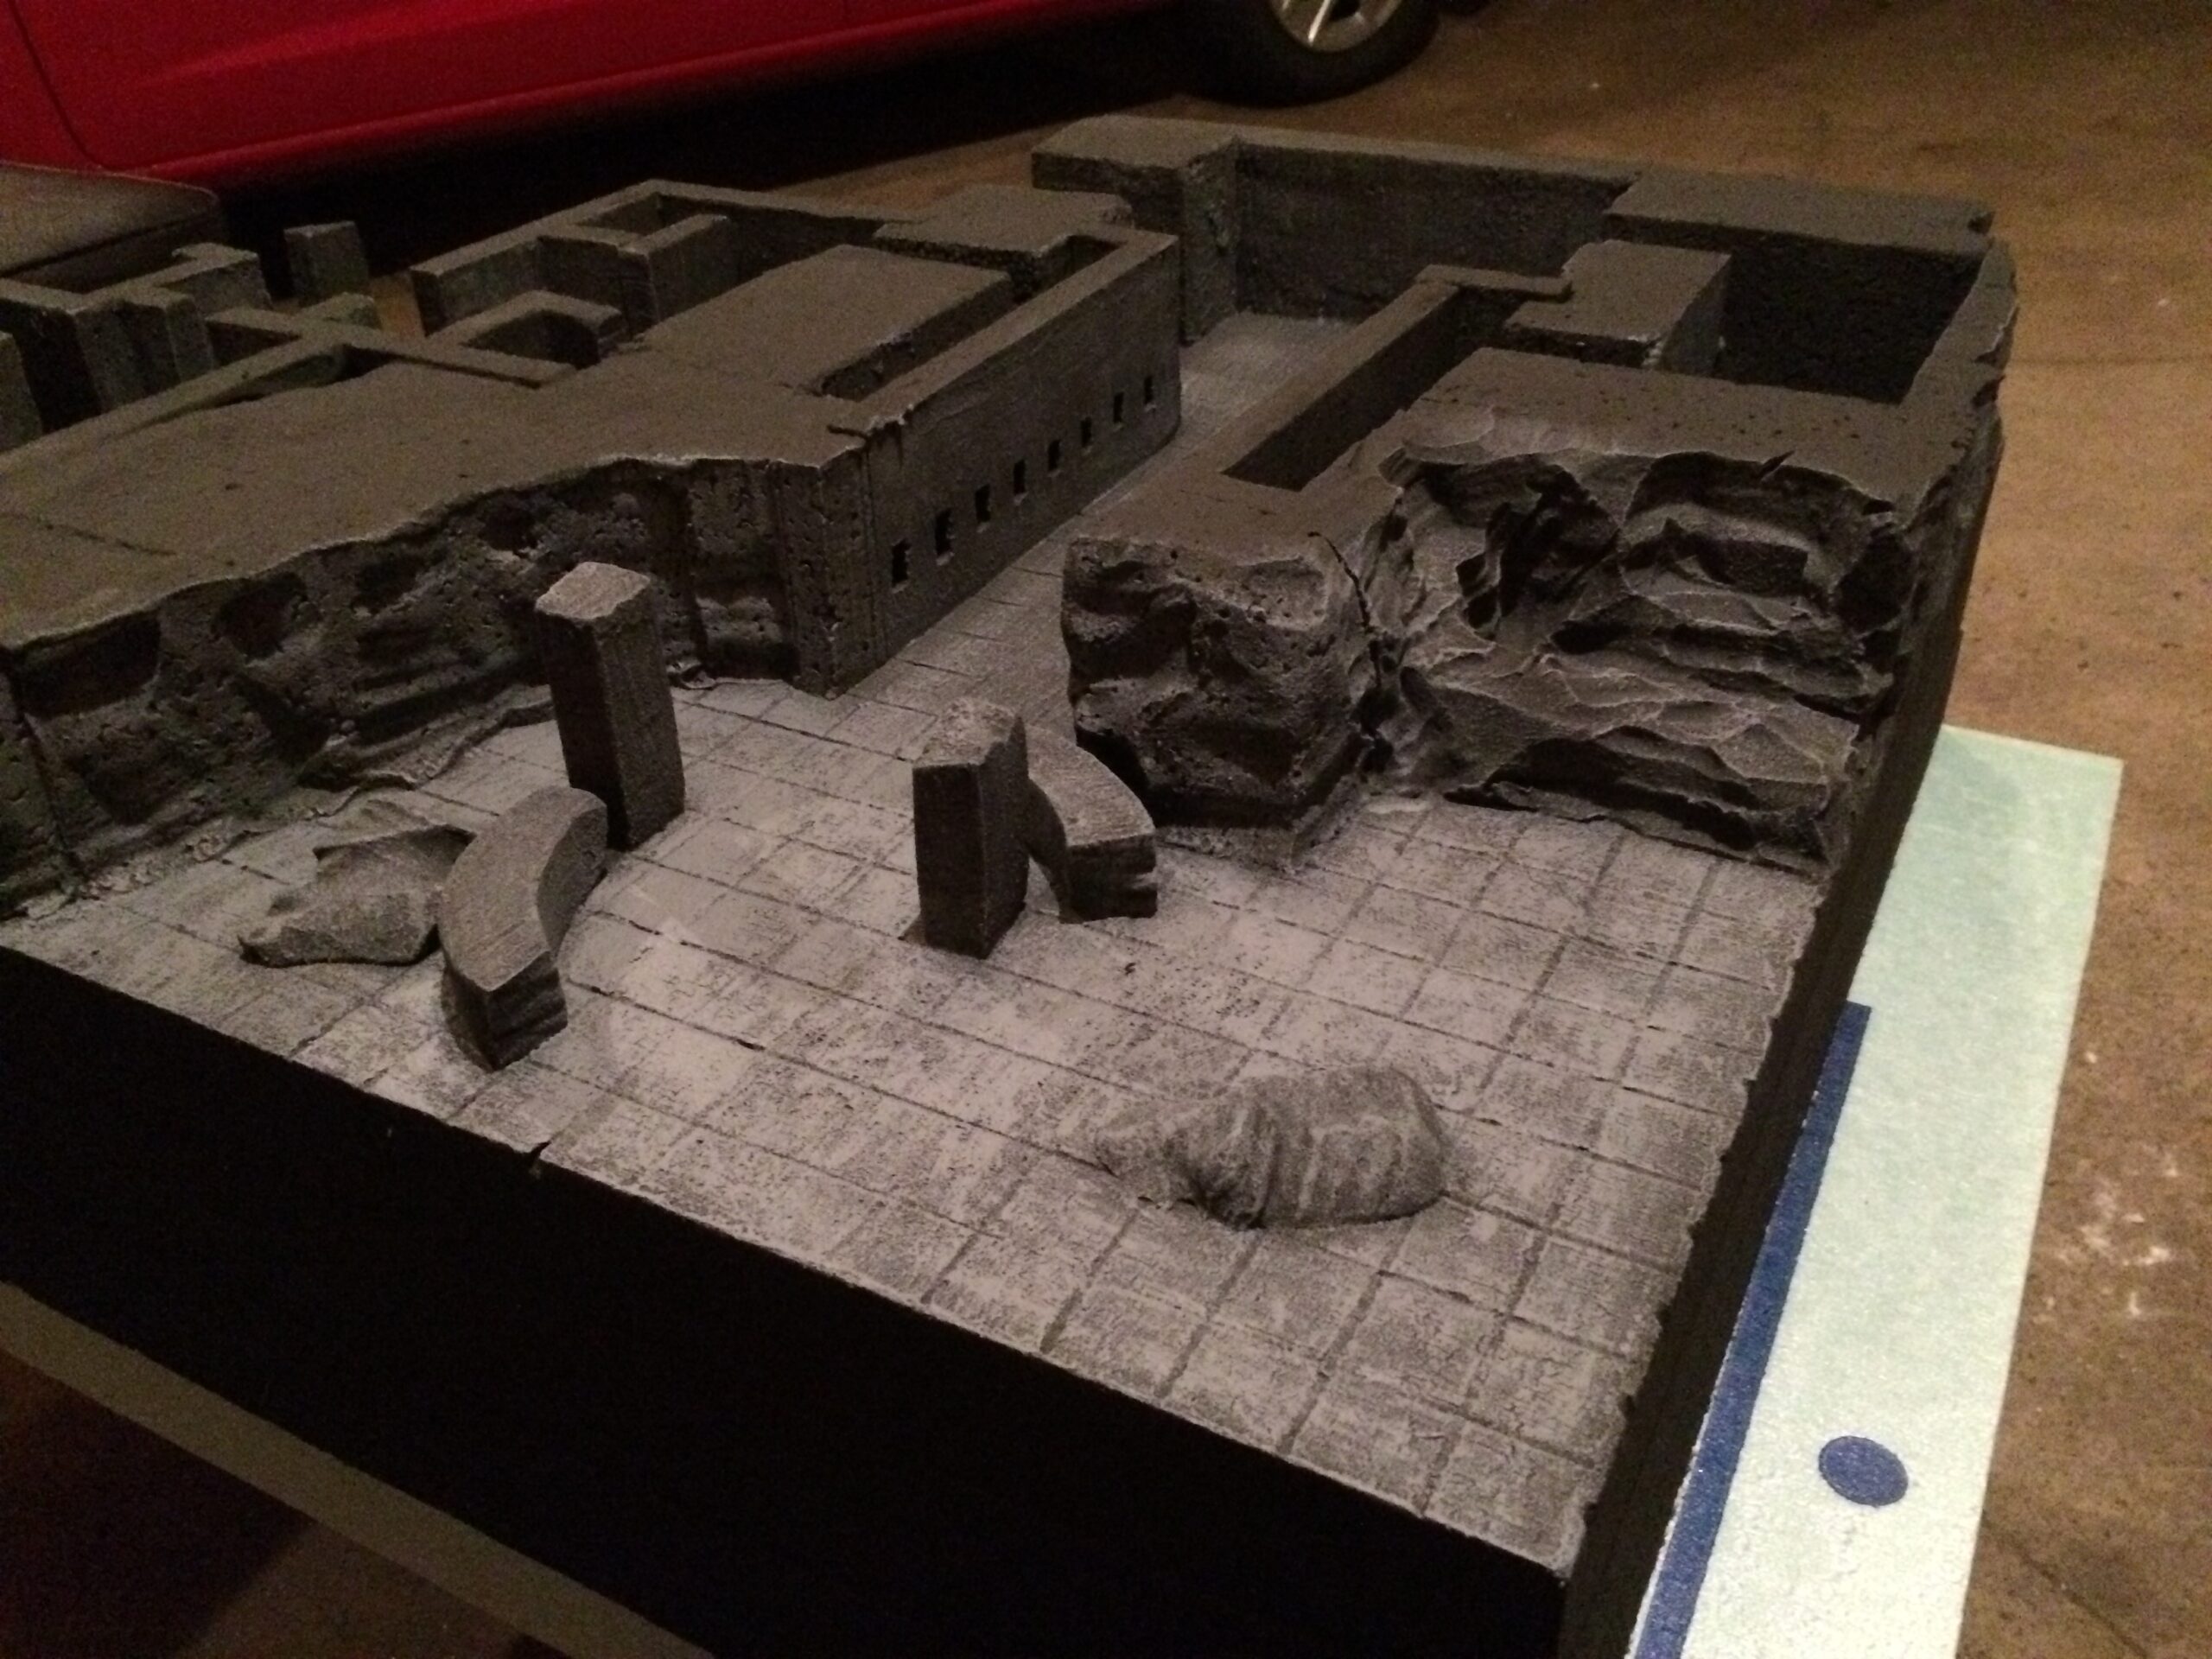
The hardware store, mostly. I used both high density (extruded) polystyrene and low density (expanded) polystyrene. The high density stuff is very firm and rigid, takes longer to cut through, and looks “smooth.” It is usually mint green or light pink. The low density stuff looks like all those compact little white balls. You can get tons of free material from packaged electronics and things, but it’s usually irregular shapes and sizes. Also, some of it is denser than others. On my terrain, some of the blocks are from a fairly loose foam, something I regret. It ended up being spongy to the touch and has easily broken off and taken damage. In the future, I’ll try to stick to high density foam, even if I have to purchase it.
For cutting tools, most of the large cuts were done with the Deluxe 24″ Table with heavy use of the Scroll Table Fence & Traveling Fence to keep cuts even. The large curved cut was done by using the Adjustable Sled Guide with the 4″ Hot Knife and attaching that to a yard stick. I was them able to rotate the knife on the stick through the foam to make a large radius curved cut. Other “detail” cuts were done by hand with the Sculpting Tool and Freehand Router. All devices were powered by the Variable Heat Pro Power Station, though usually on maximum power.

Note on cost of high density: It’s far cheaper to buy a huge sheet and just have them cut it down into a few large pieces than to buy all the smaller sheets of large pieces.
Last thought: you can also use foam-core boards from your local craft store for the base and walls. These are pretty cheap, and you can pull the paper off if you want, but don’t have to. I haven’t worked with them much, but they’re a good quick/easy way to make terrain.