Arizona Model Railroad Scenery
By Arizona Rock & Mineral Co.
www.rrscenery.com
Very realistic scenery can be achieved by covering the foam terrain with the real thing. Paint the foam with a diluted mixture of white glue, then spread granulated rock from Arizona Rock and Mineral over the wet glue.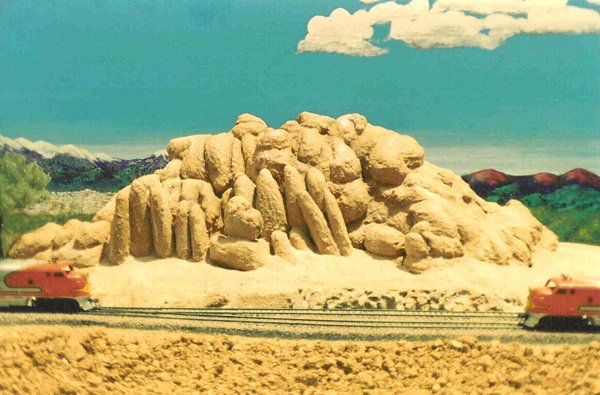 This powerful scenic is what it looks like in real life! In fact, the foam is actually coated with granulated rock that came right from the site.
The rocks were all made with the Sculpting Tool and Hot Knife. Some were made individually, then glued in place, and reshaped to blend in.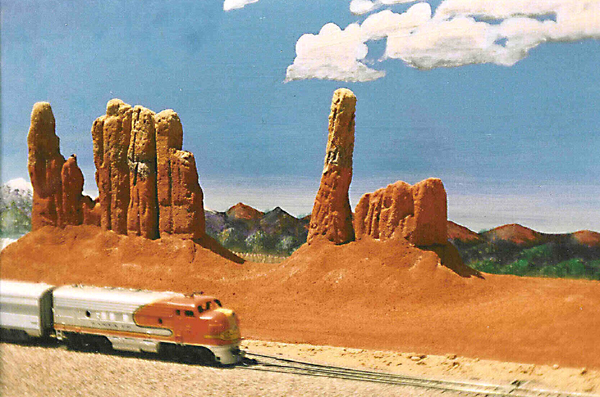 We were building scenery on an “O” scale layout down in Tucson, Arizona. There were a few new techniques that I wanted to try, as always. What would be different this session was the use of the Hot Wire Foam Factory tools. It takes certain tools for obtaining the right effects. Our goal was to duplicate prototype scenes of Arizona for the layout. Arizona Highways magazines are a great source of ideas as I built Indian ruins in Canyon de Chelly, Monument Valley, a stretch of the Berde River and it’s sand and stone banks, and some concrete viaducts that framed in a desert diorama. All this was made possible with the different cutting tools.
We used white polystyrene foam board of 1″, 2″ and 3″ thickness. The foam was cut to shape and then used as a pattrern for the layer above. The pieces were then glued with Carpenters Wood Glue and stacked up in the order we made them. Toothpicks were used to hold them together and left in the foam as they were pushed completely below the surface.
The edges and surface of the foam were scribed on for surface detail using the Hot Knife and Engraving Tool. Any so-called ledges were slanted and rounded to represent natural rock. the river banks had rivulets cut in up-and-down strokes of varying widths to show erosion.
The next step was to seal and/or color the surface. When simulating a worn and weathered surface, coat the foam with Foam Coat. After this dries, coat it with our Rock Powder Pigment. This is a powder mixed with white glue and water that becomes a paint. By the way, this paint can also be used as the only protective coating for the foam surface in itself. The colors are ground from real rock and dry with a flat finish.