Skull Mountain Village Display
Mike Melius
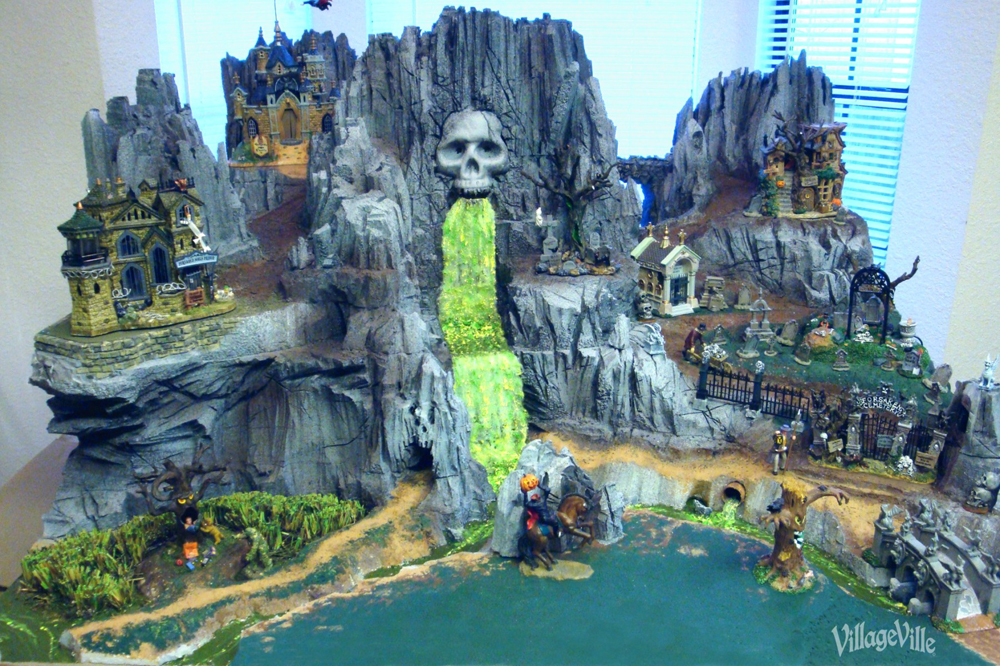
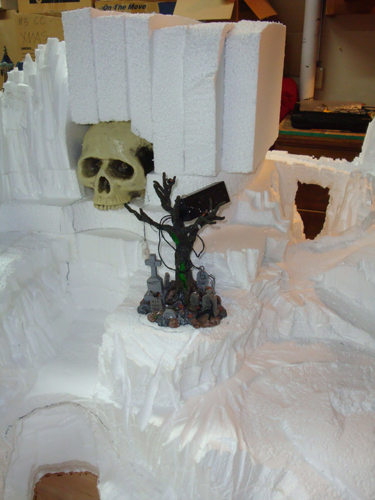
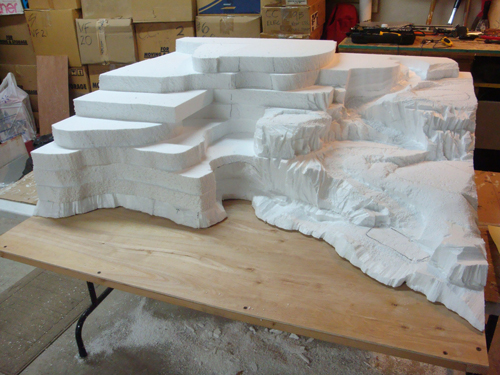
This was a 4’x4′ panel with a finished vertical of 2′-3″ so the person I built it for could get it through doorways. It’s a stand alone layout but he has three more 4’x4′ panels that attach to this in the form of a Halloween city.

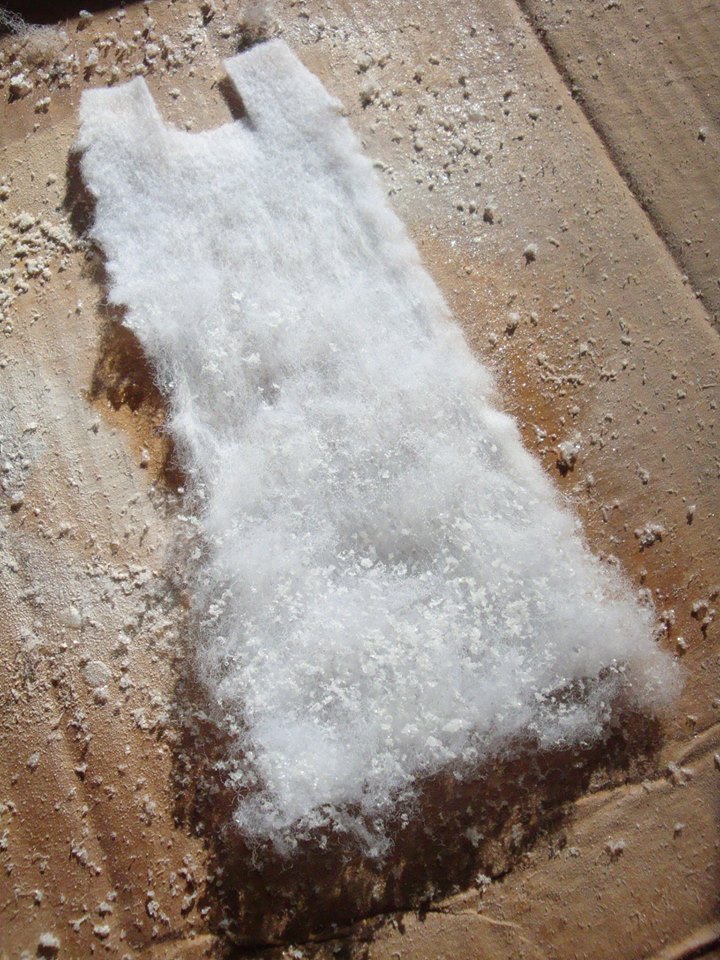
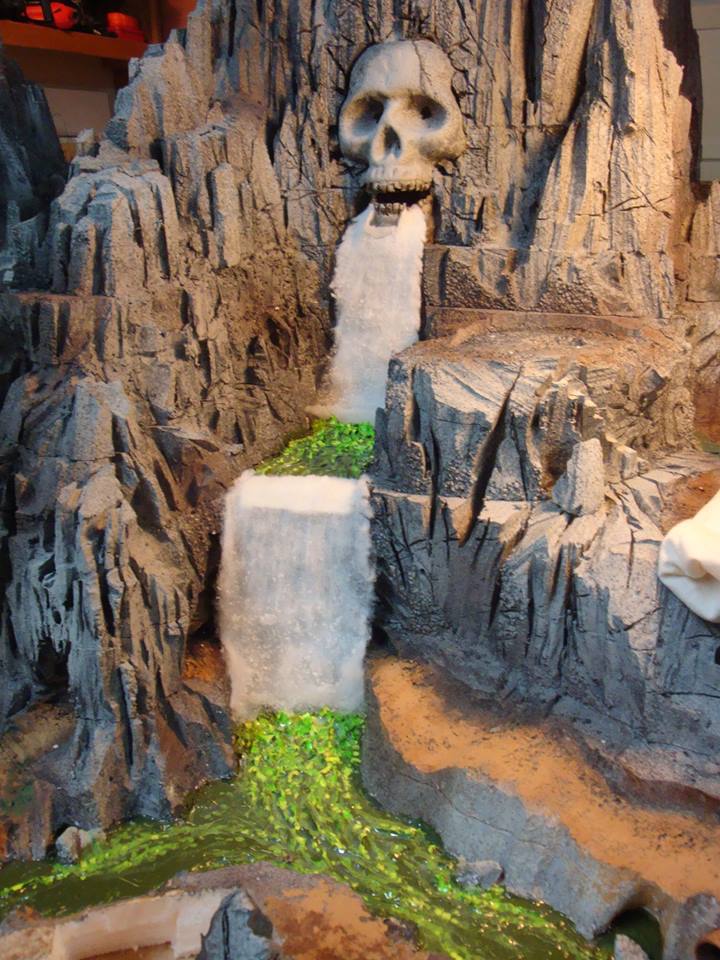
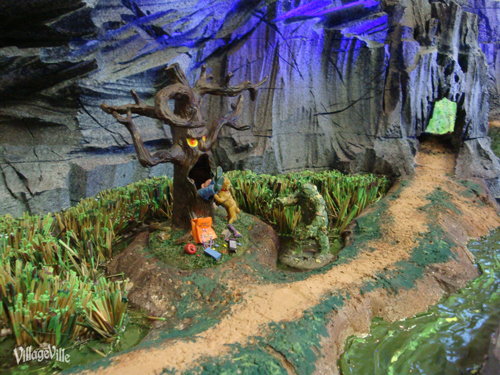
The waterfall has a backing of ceiling light plastic, cut to size. I then spray glue one side and apply a thin piece of cotton. After it sets up I distress it with an xacto saw blade pulling the blade sideways from top to bottom in straight strokes to create the “foam” at the bottom. Sometimes I lightly spray glue the cotton with “snow”, usually near the bottom of the falls to give the impression of splashing. Clear silicone is used near the top to round off the edge, or I heat the plastic and roll the edge before applying the cotton. Color is applied sparingly, but in the case of the polluted waterfall on Skull Mountain, LOTS of glow colors were used because on a Halloween Village, black lights make all the colors jump out. Skull Mountains waterfall is even backlit and different colors can be turned on or off. Every waterfall I build can take on a different look, depending on the length, width and just how fast the water is. Experiment and you’ll have a great looking falls in no time!
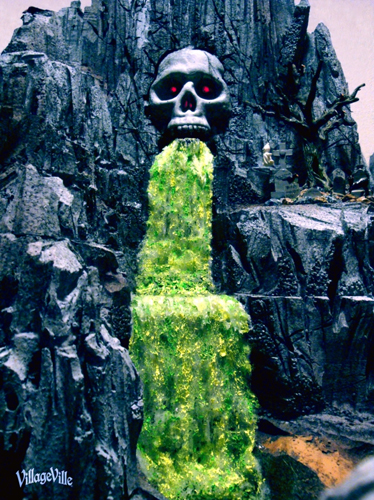
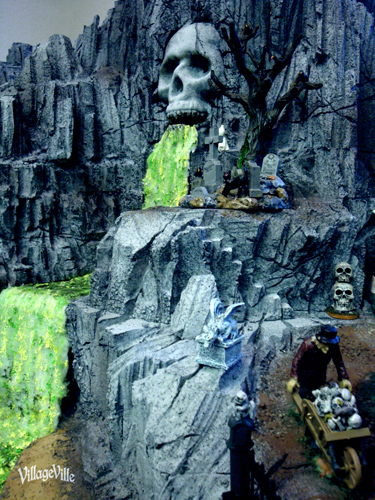
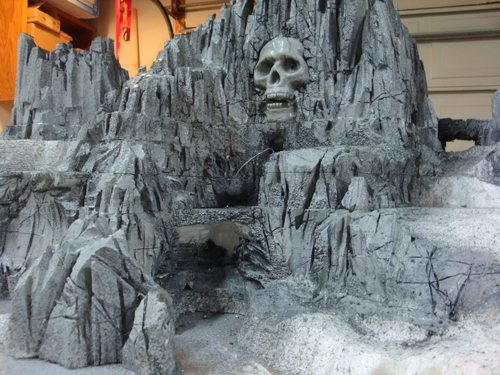
The skull is front-lit by floods hidden in boulders, interior lit with red 12v bulbs and the waterfall is backlit with yellow and green 12v bulbs. All can be turned on or off separately. Mix this with the black light floods on the layout and the colors are off the charts in visual assault, as you might expect. I have about 100 hours in this panel alone, but that is ALL fabrication time, beginning to end.