Nutcracker Display
By Hot Wire Foam Factory
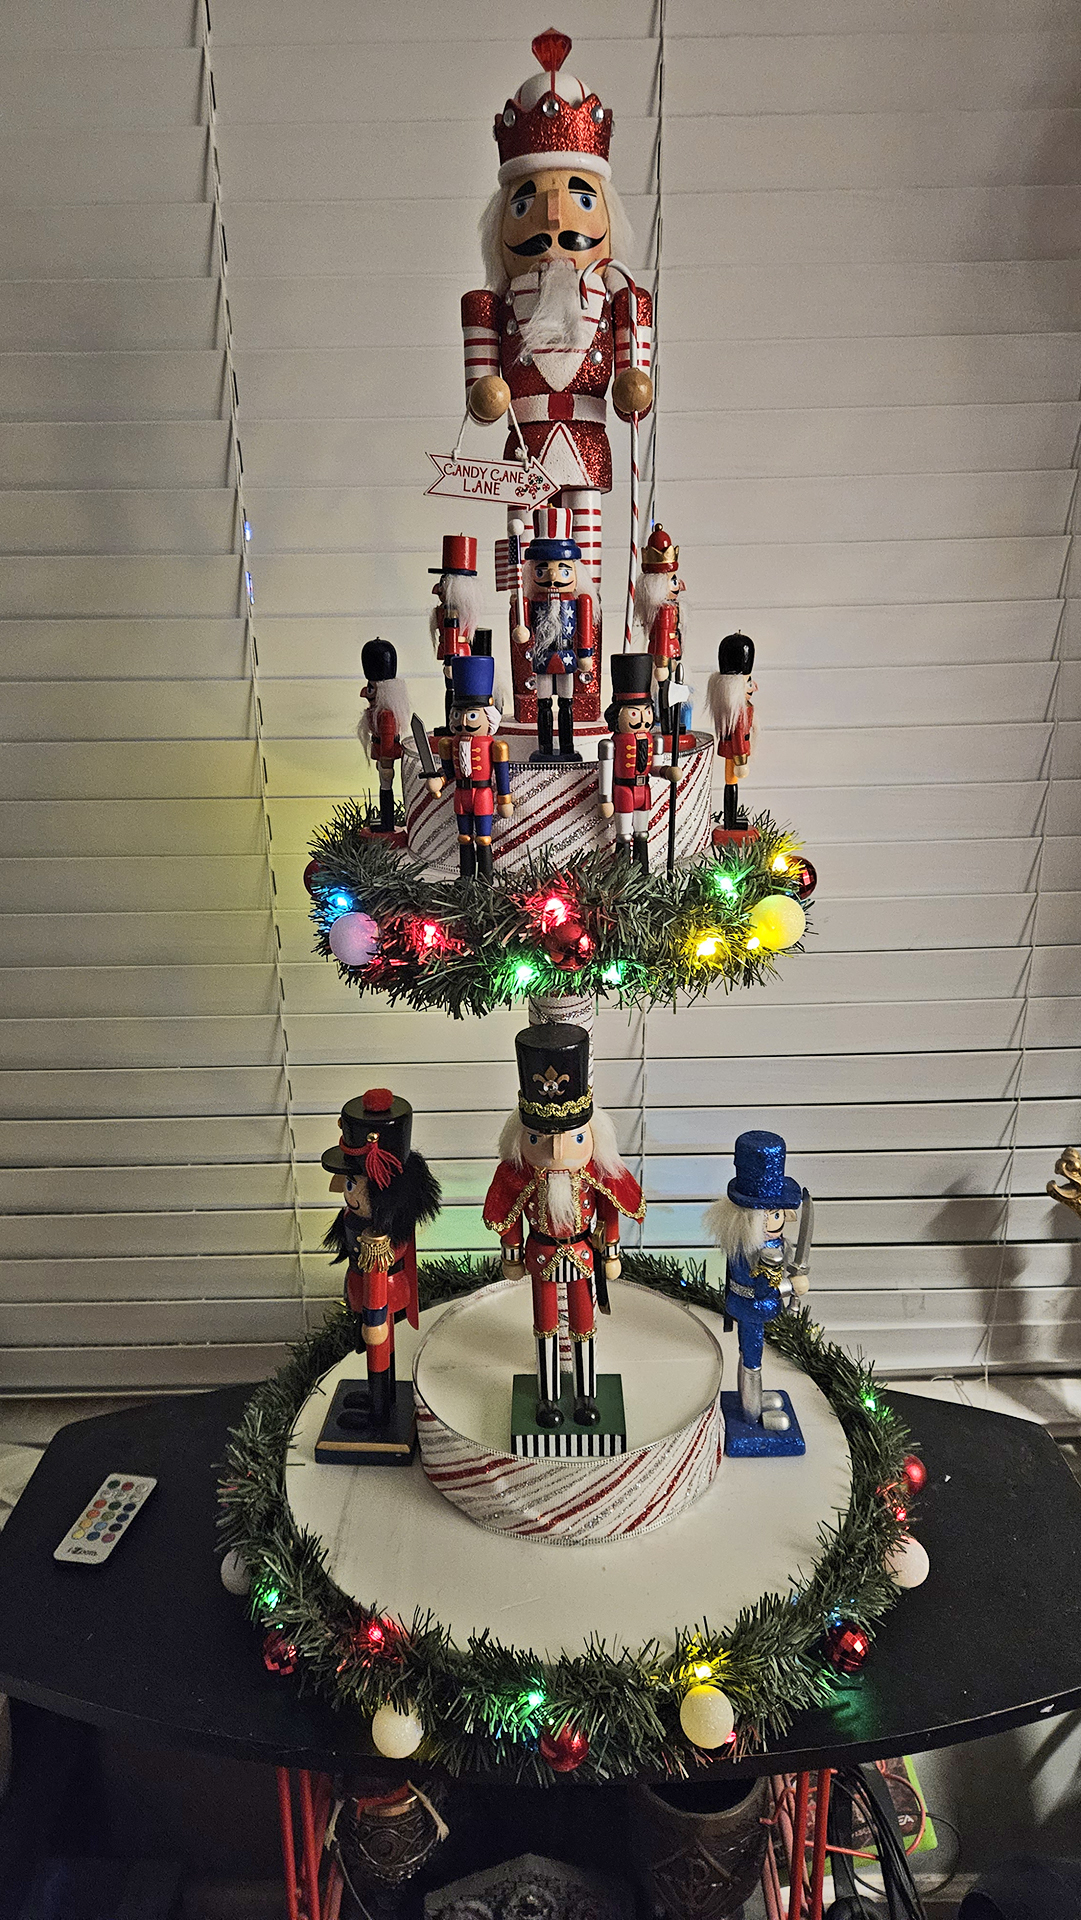
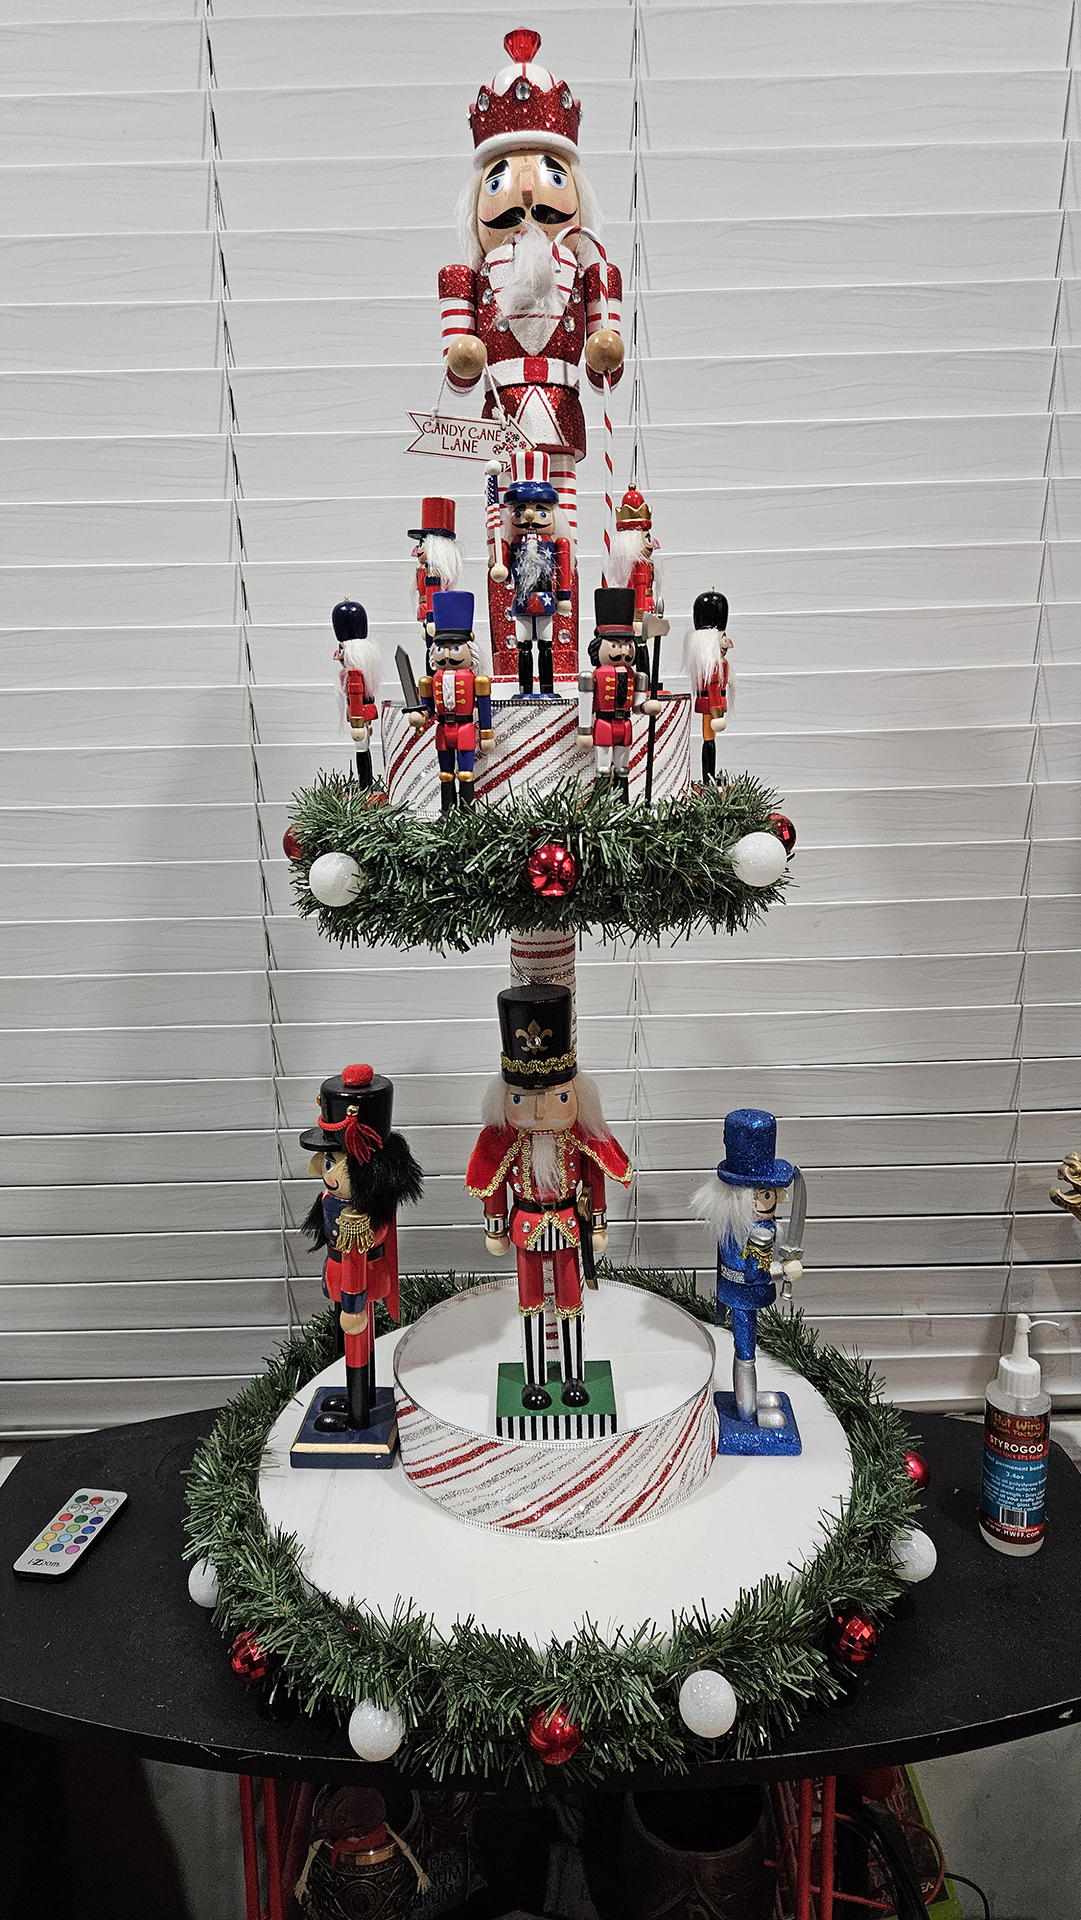
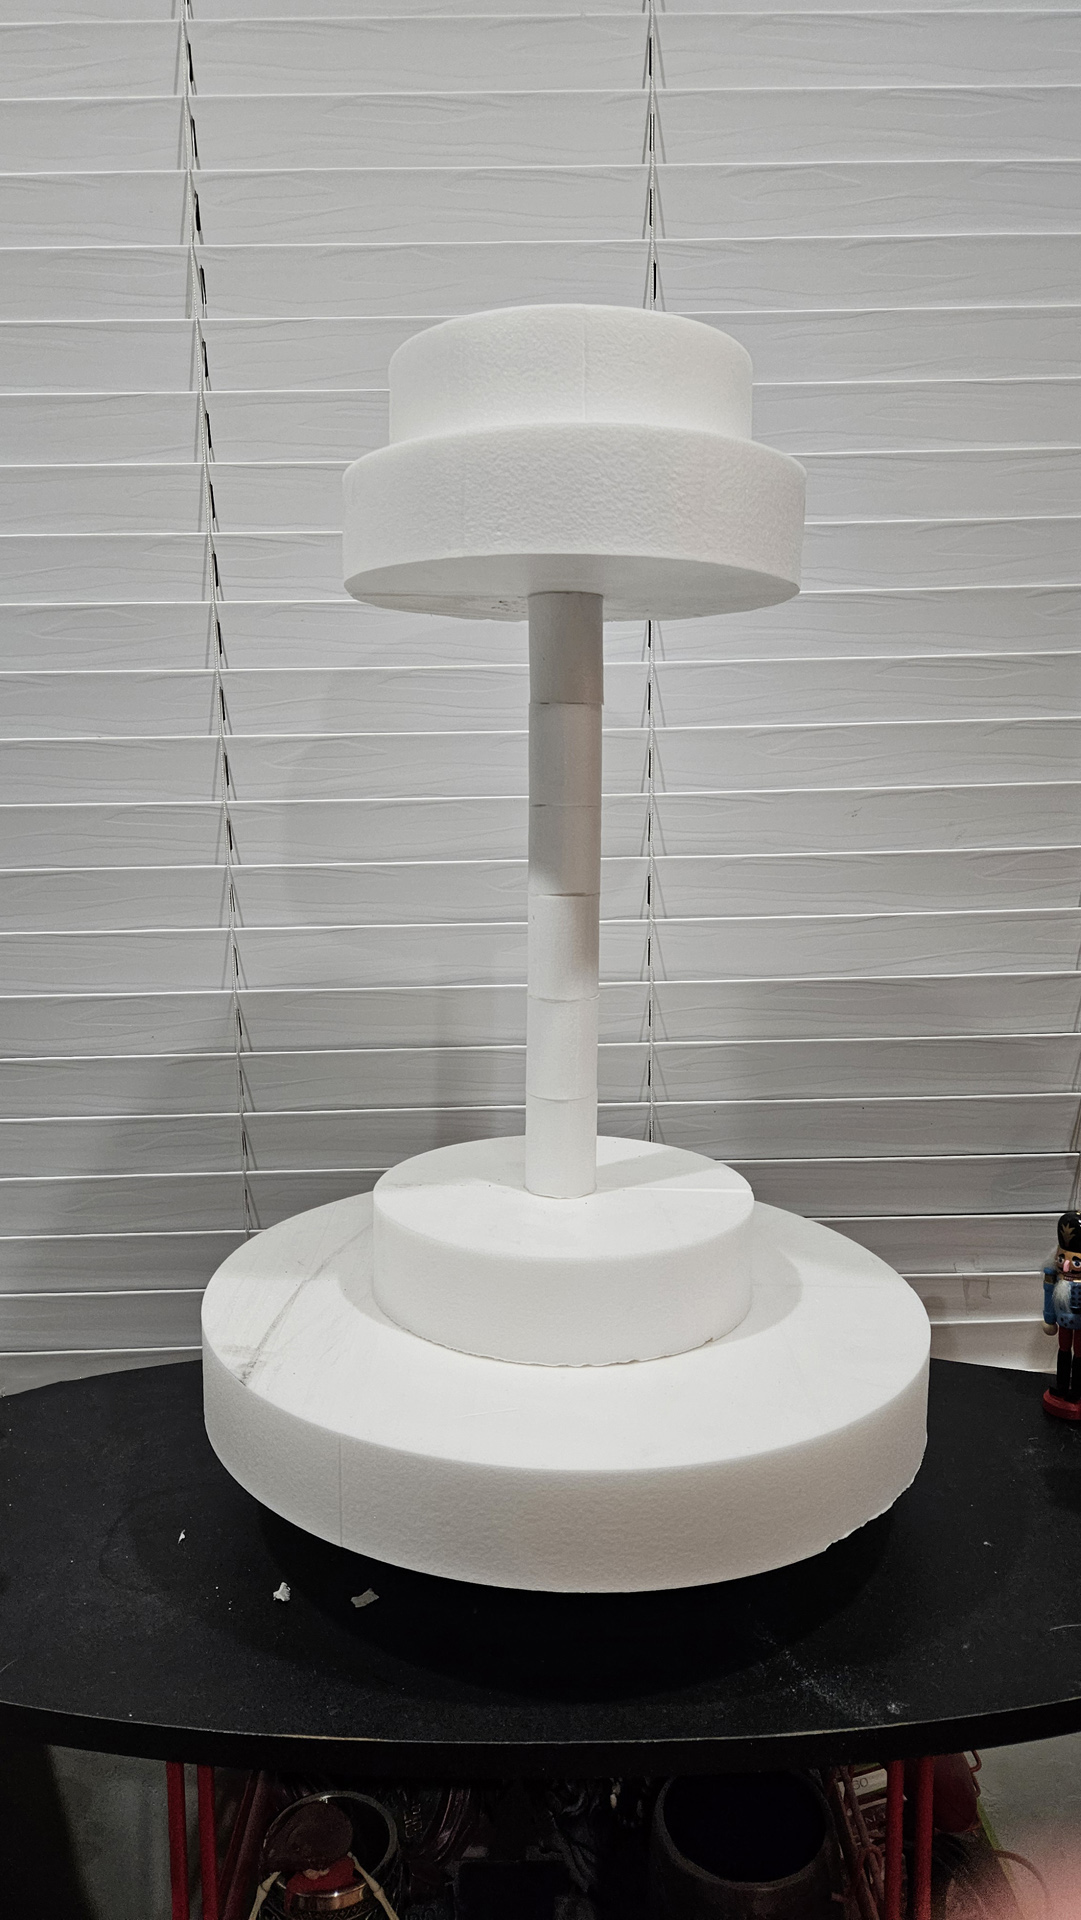
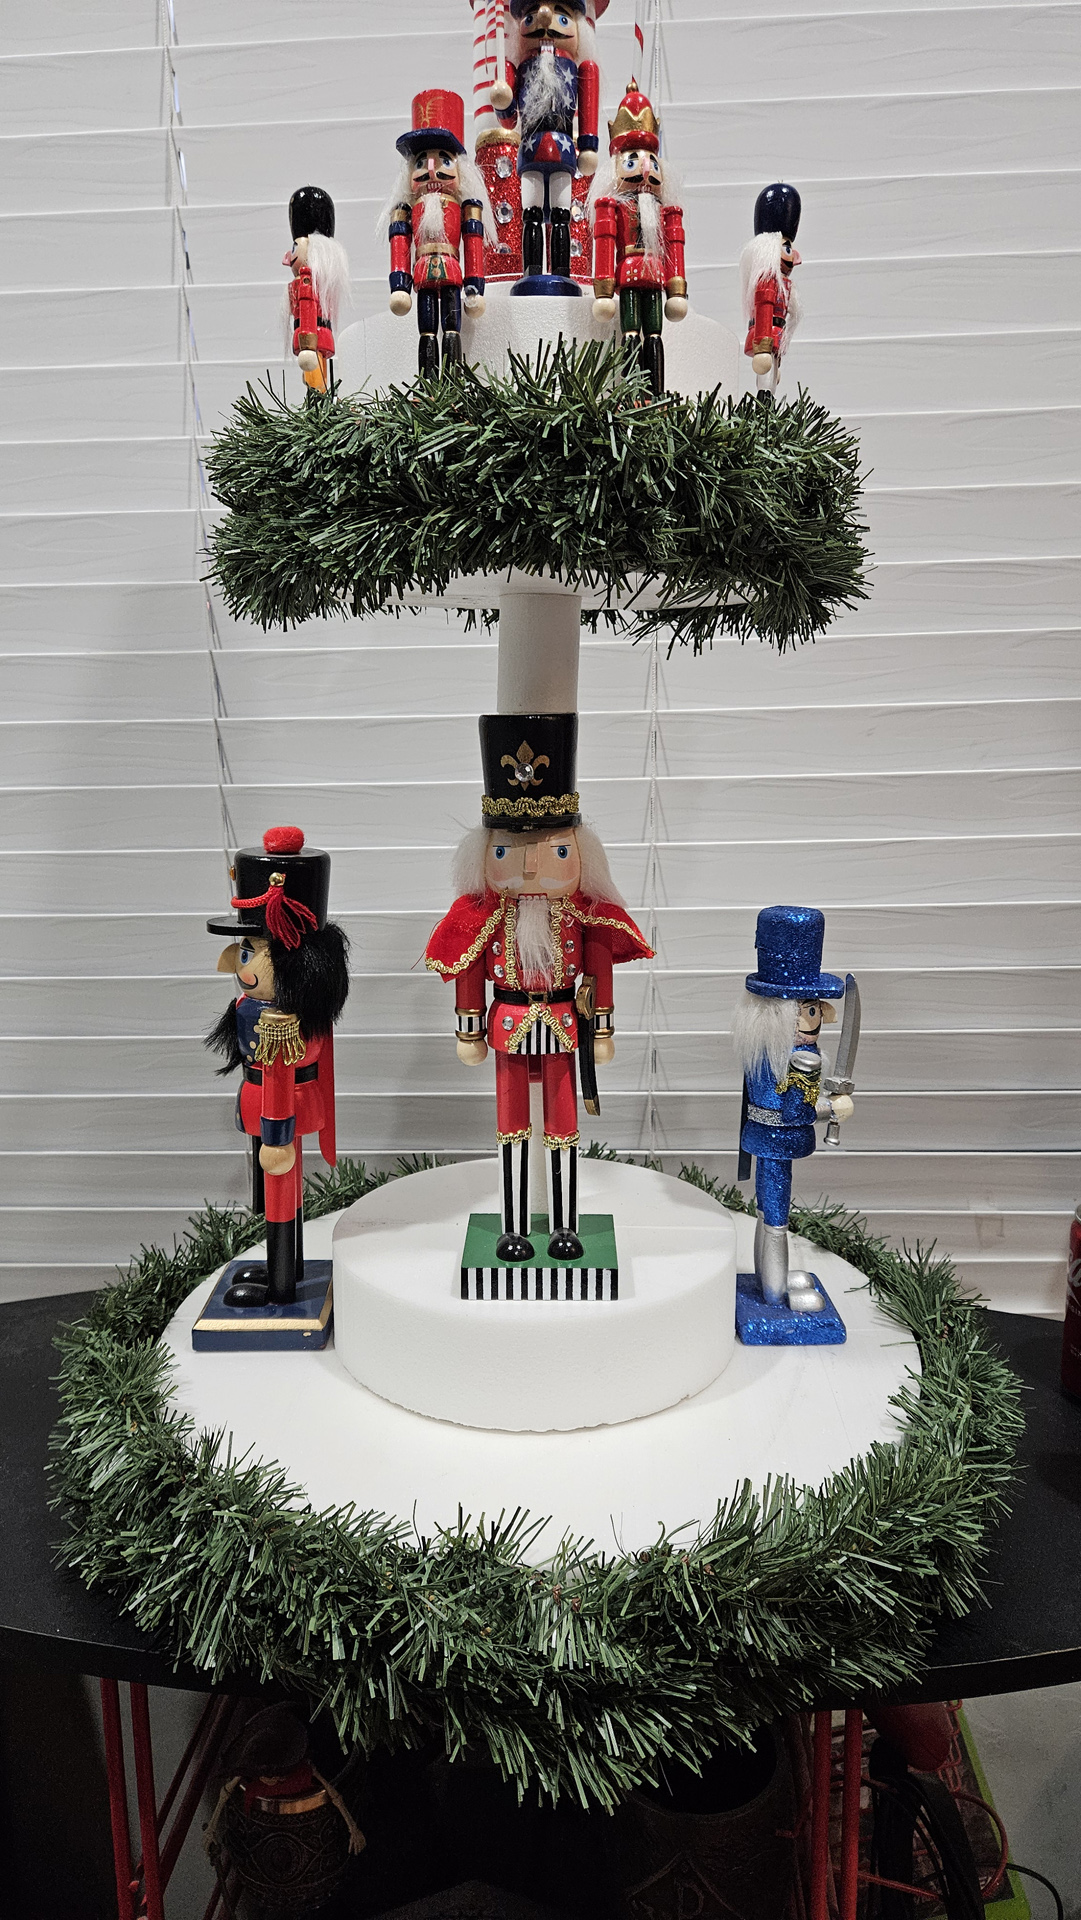
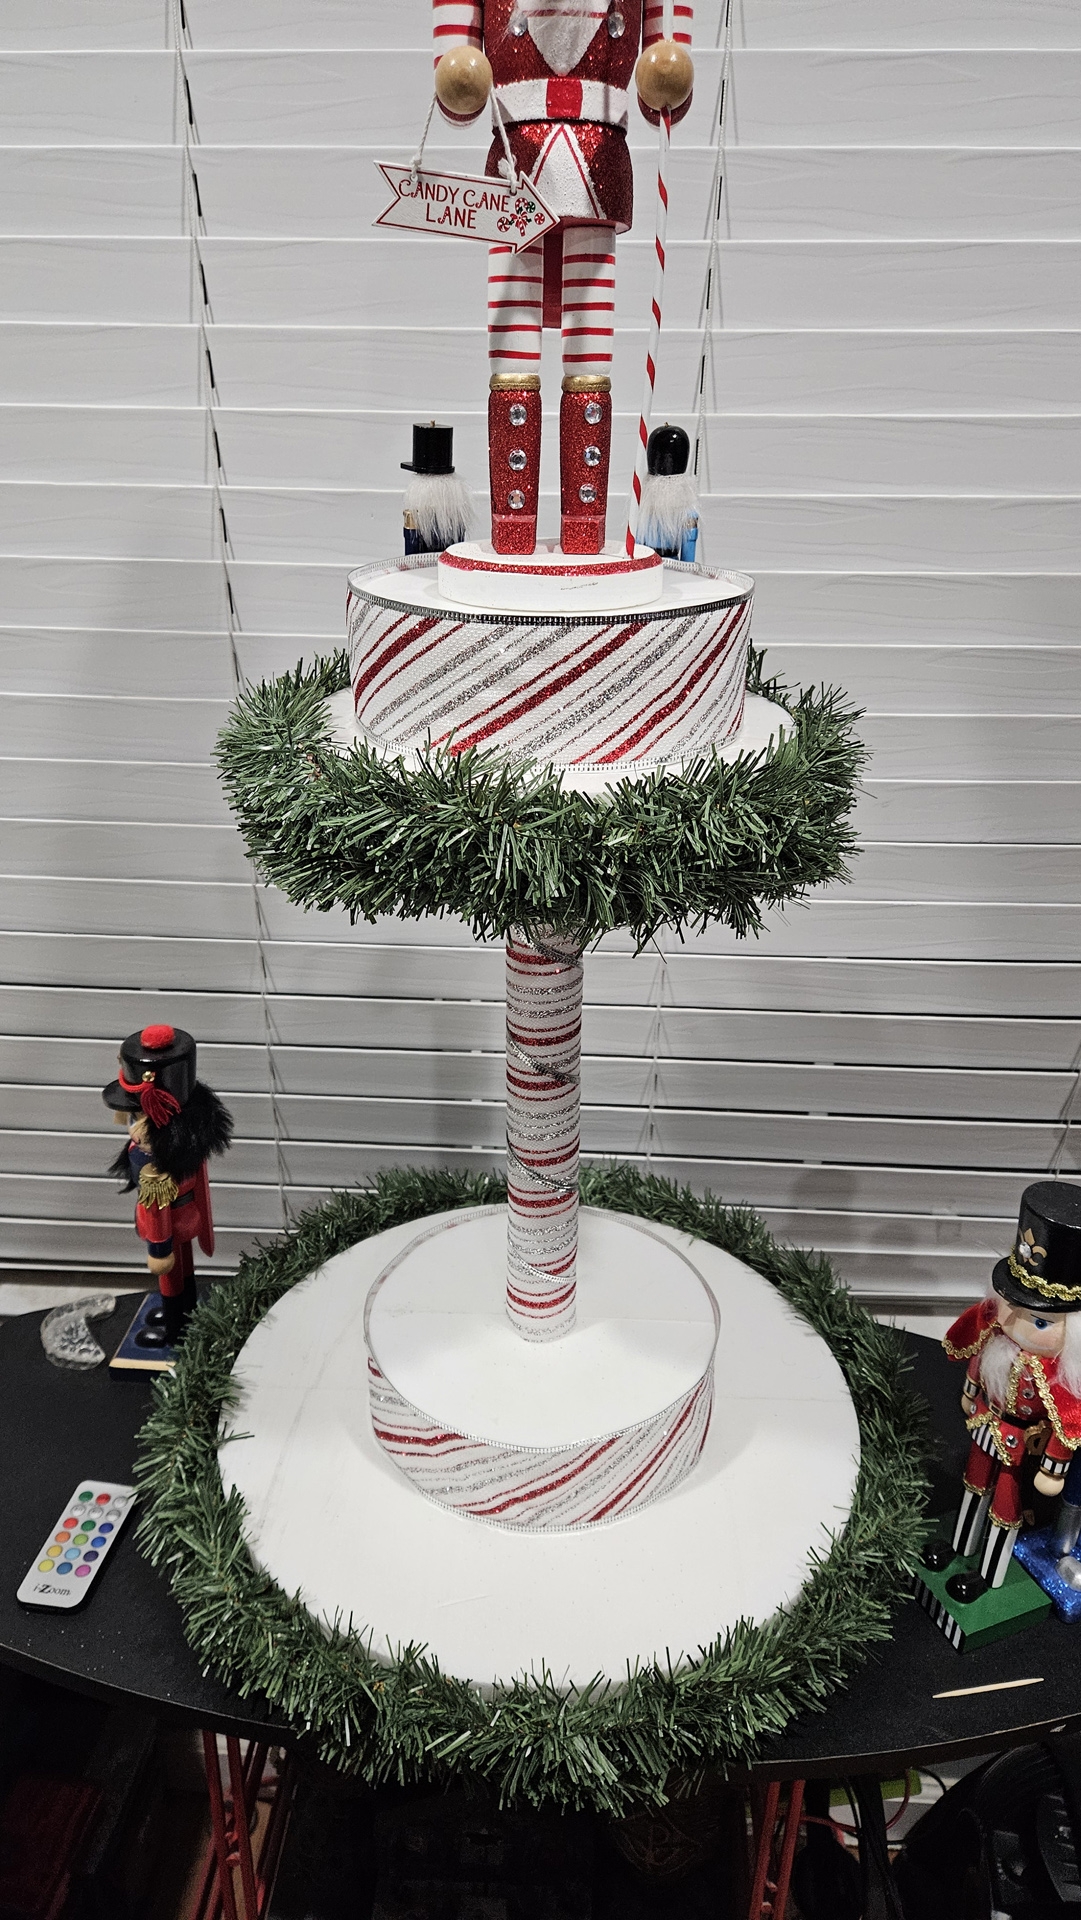
Our graphics and marketing guy, Shane, made this festive multi-level nutcracker display stand using XPS foam. The entire display is attached to a turntable, allowing you to easily rotate the display and see it from all sides.
“I decided to cut the pieces for this display out on one of our CNC machines. These can also be cut out with one of our Scroll Tables, but I had time constraints and the CNC made things quicker and easier. If you were to mass produce something like this, I’d definitely recommend going with a CNC over a Scroll Table, but a Scroll Table would be the better choice if you’re just making one or two.”
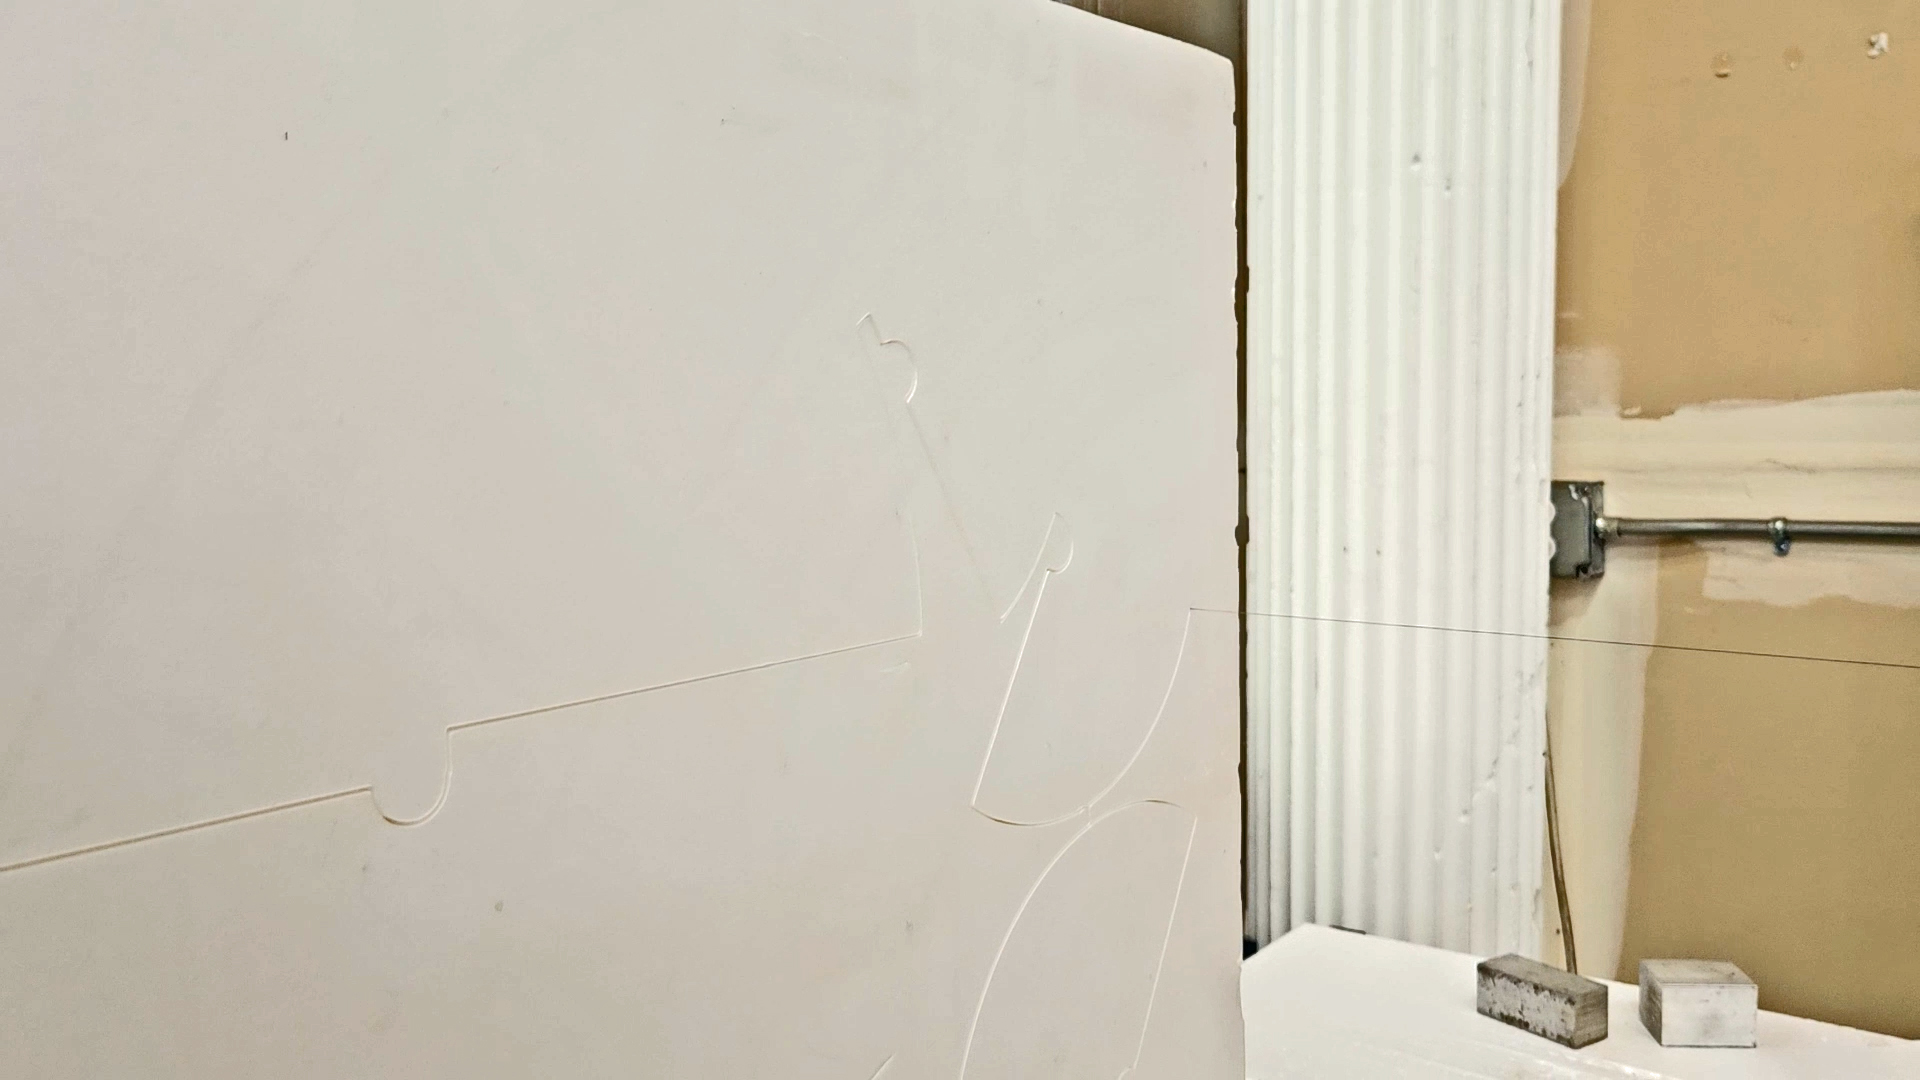
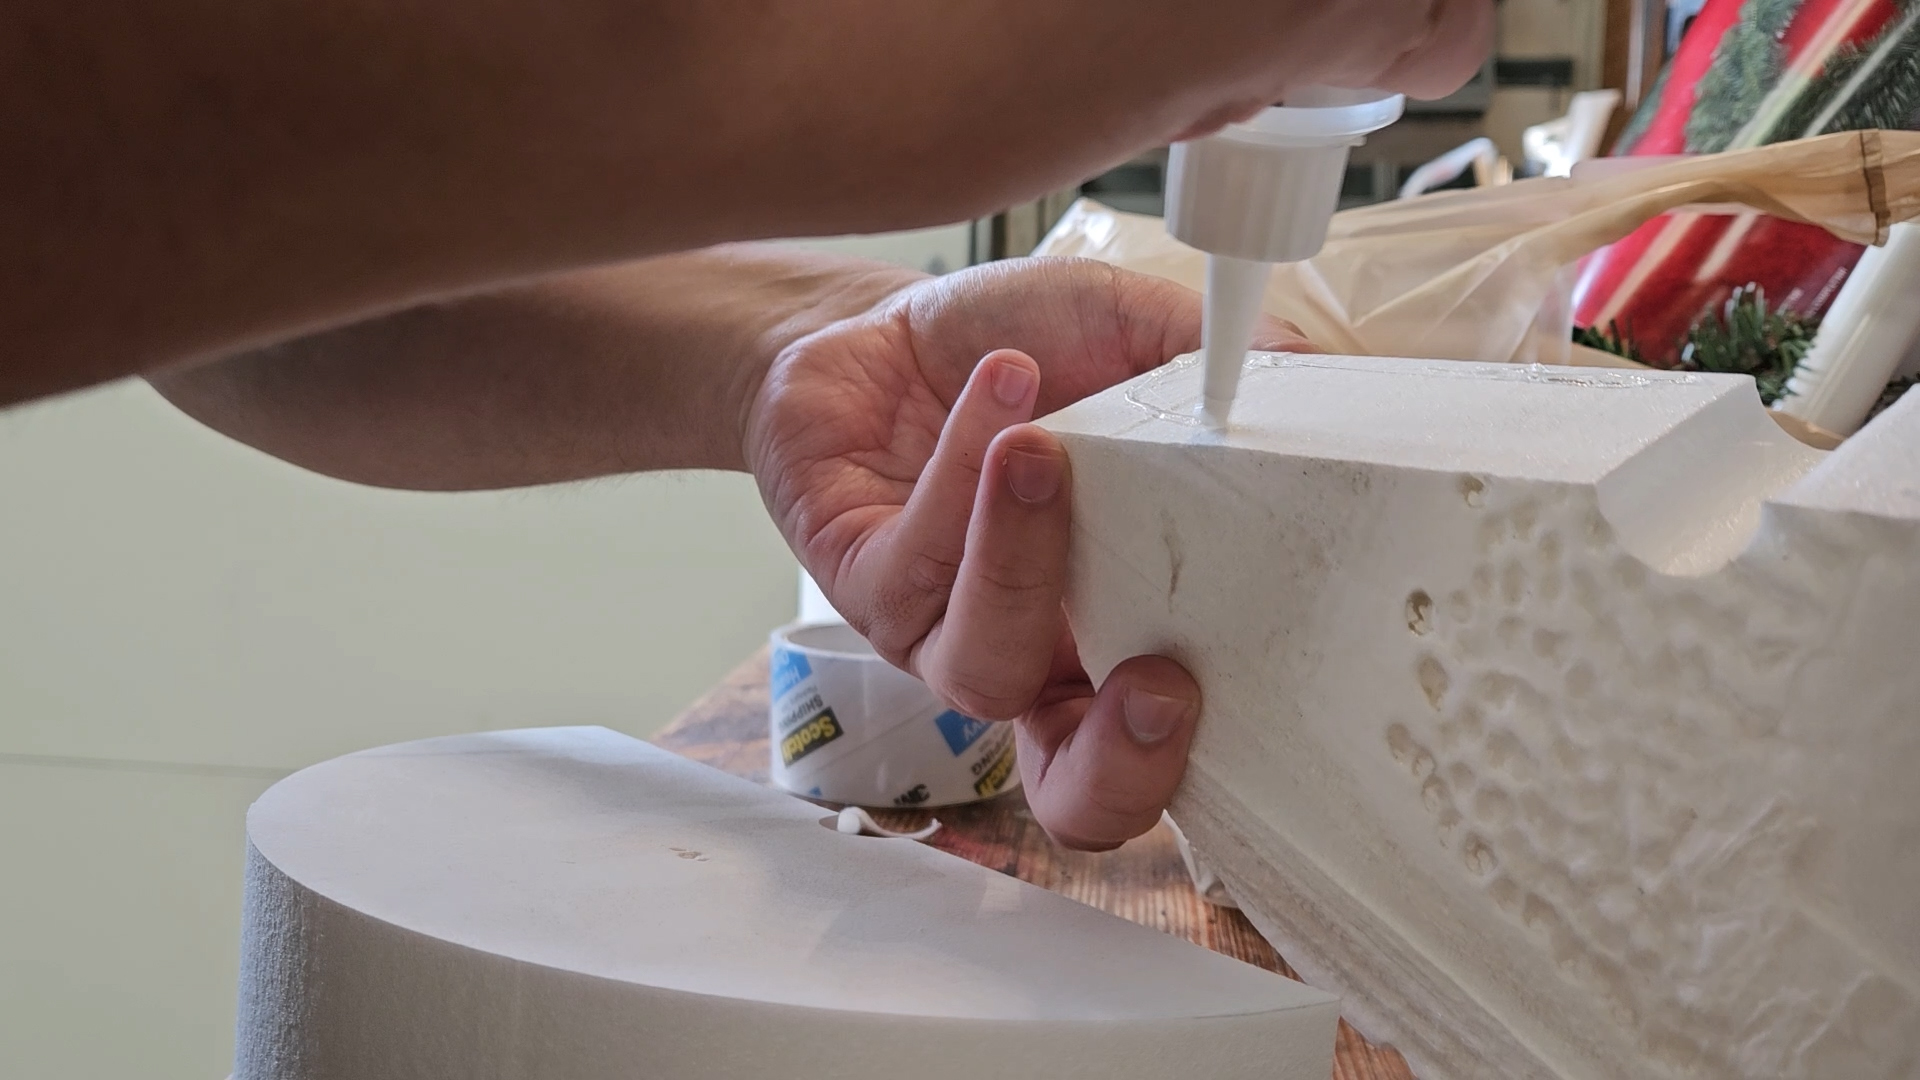
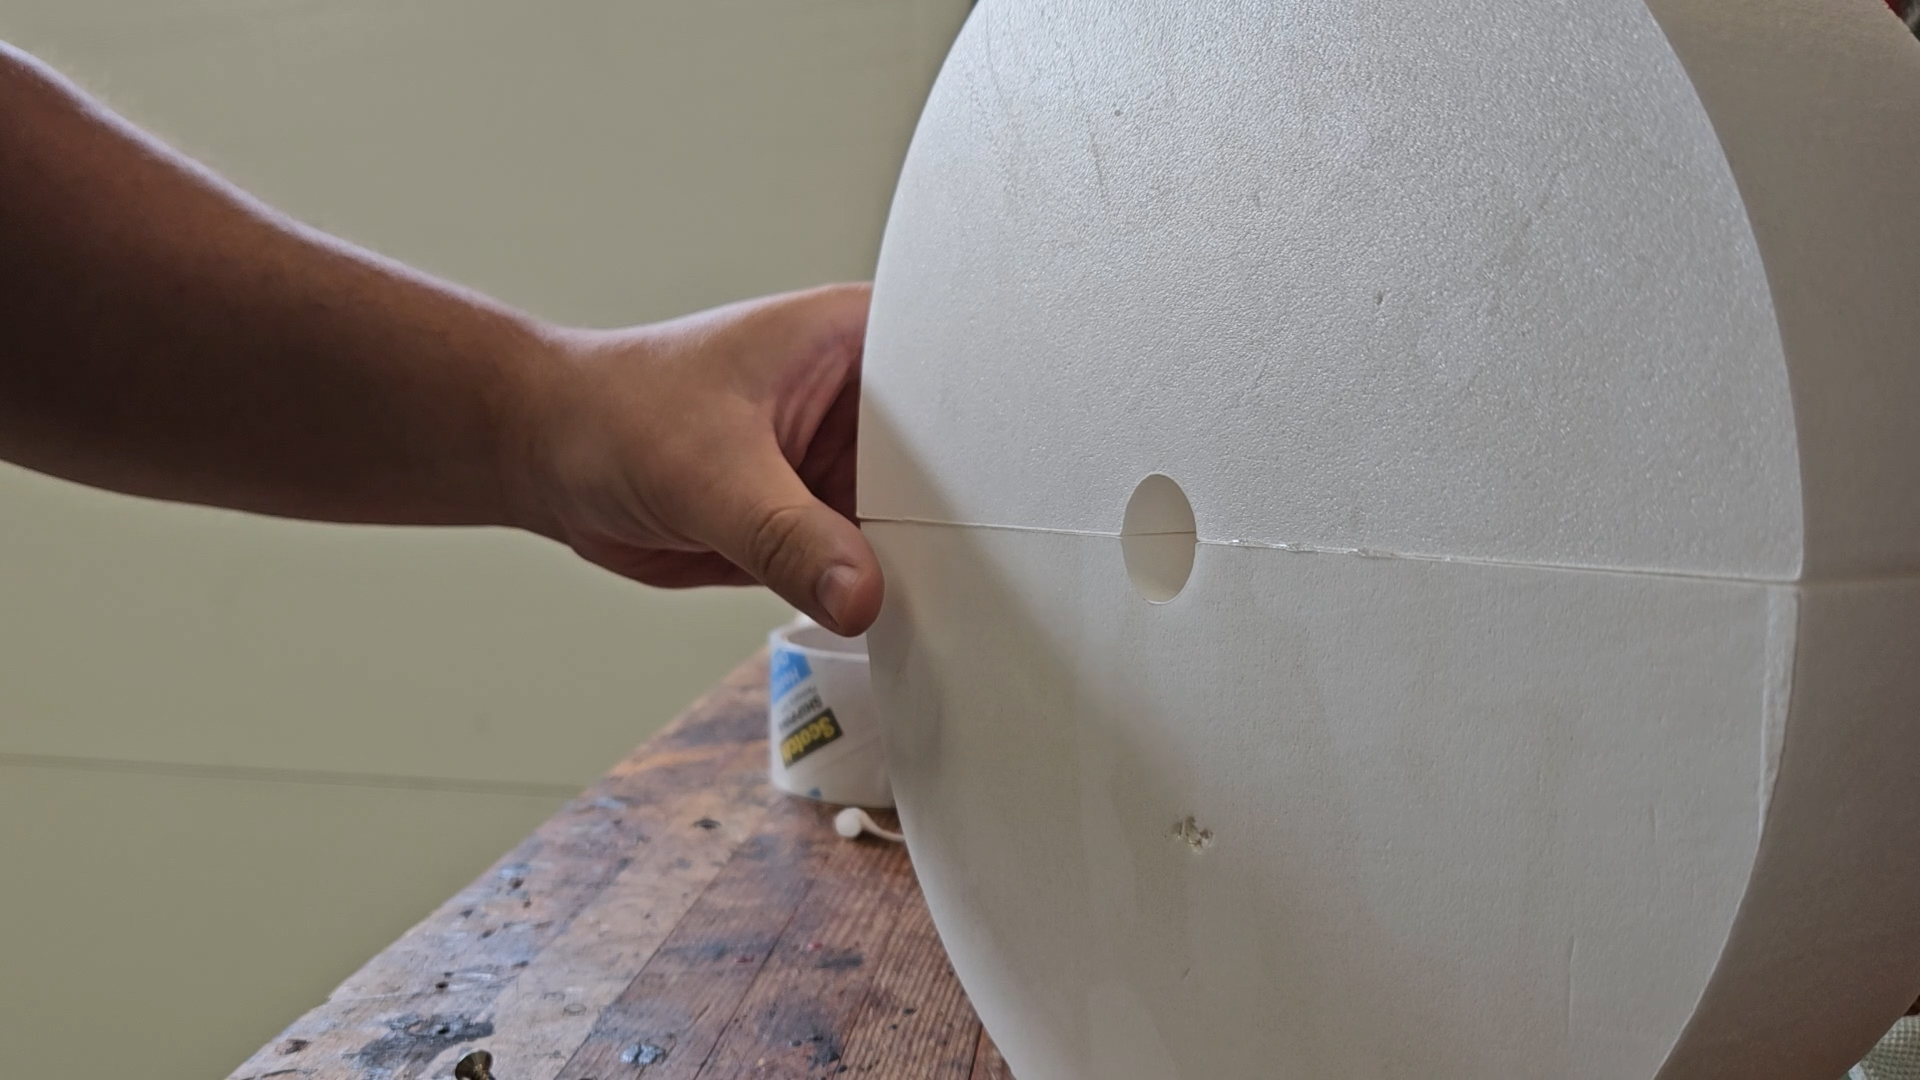
“I designed all the platforms to be cut out in halves which made it easier to fit all the pieces onto a 24″ x 24” sheet of XPS foam. This also eliminated the curf that would’ve been made by the CNC wire cutting through the platforms to make the holes in the center. With all the pieces cut out, I used StyroGoo to glue the halves together.”
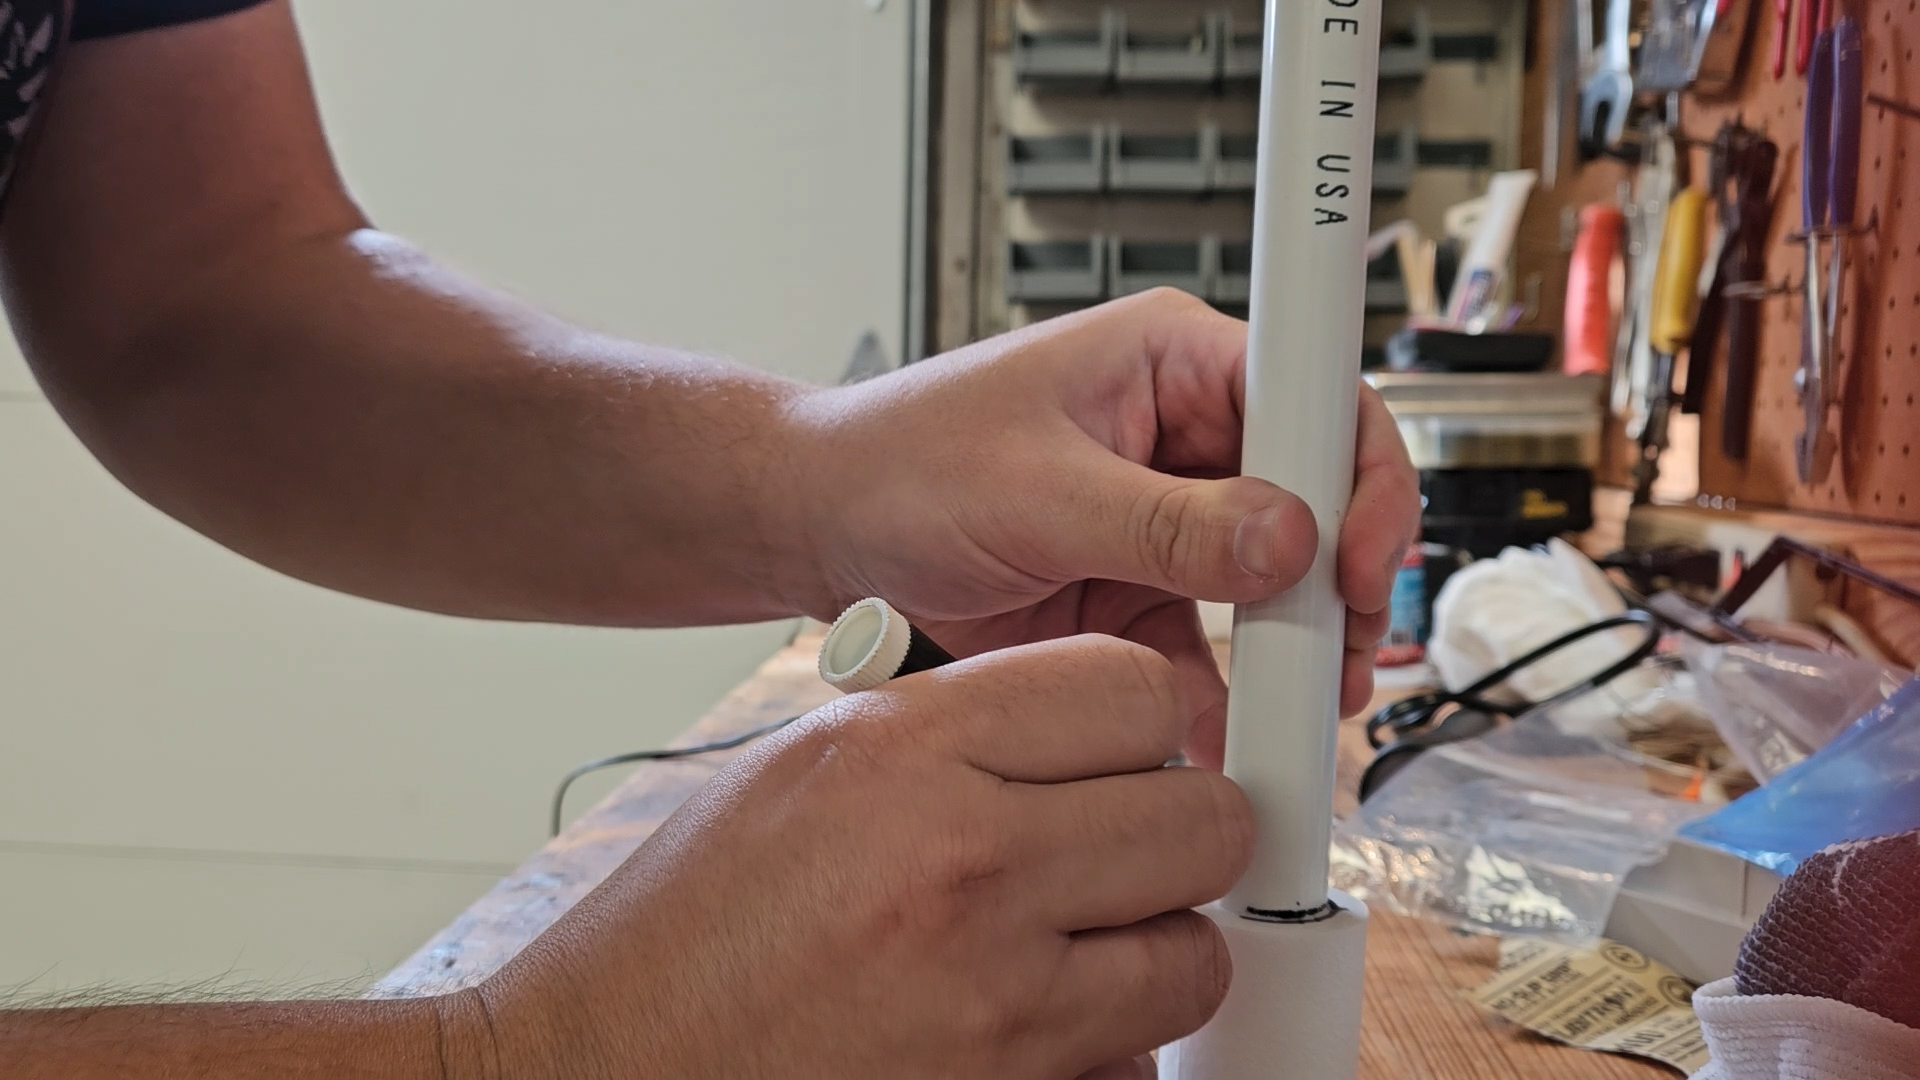
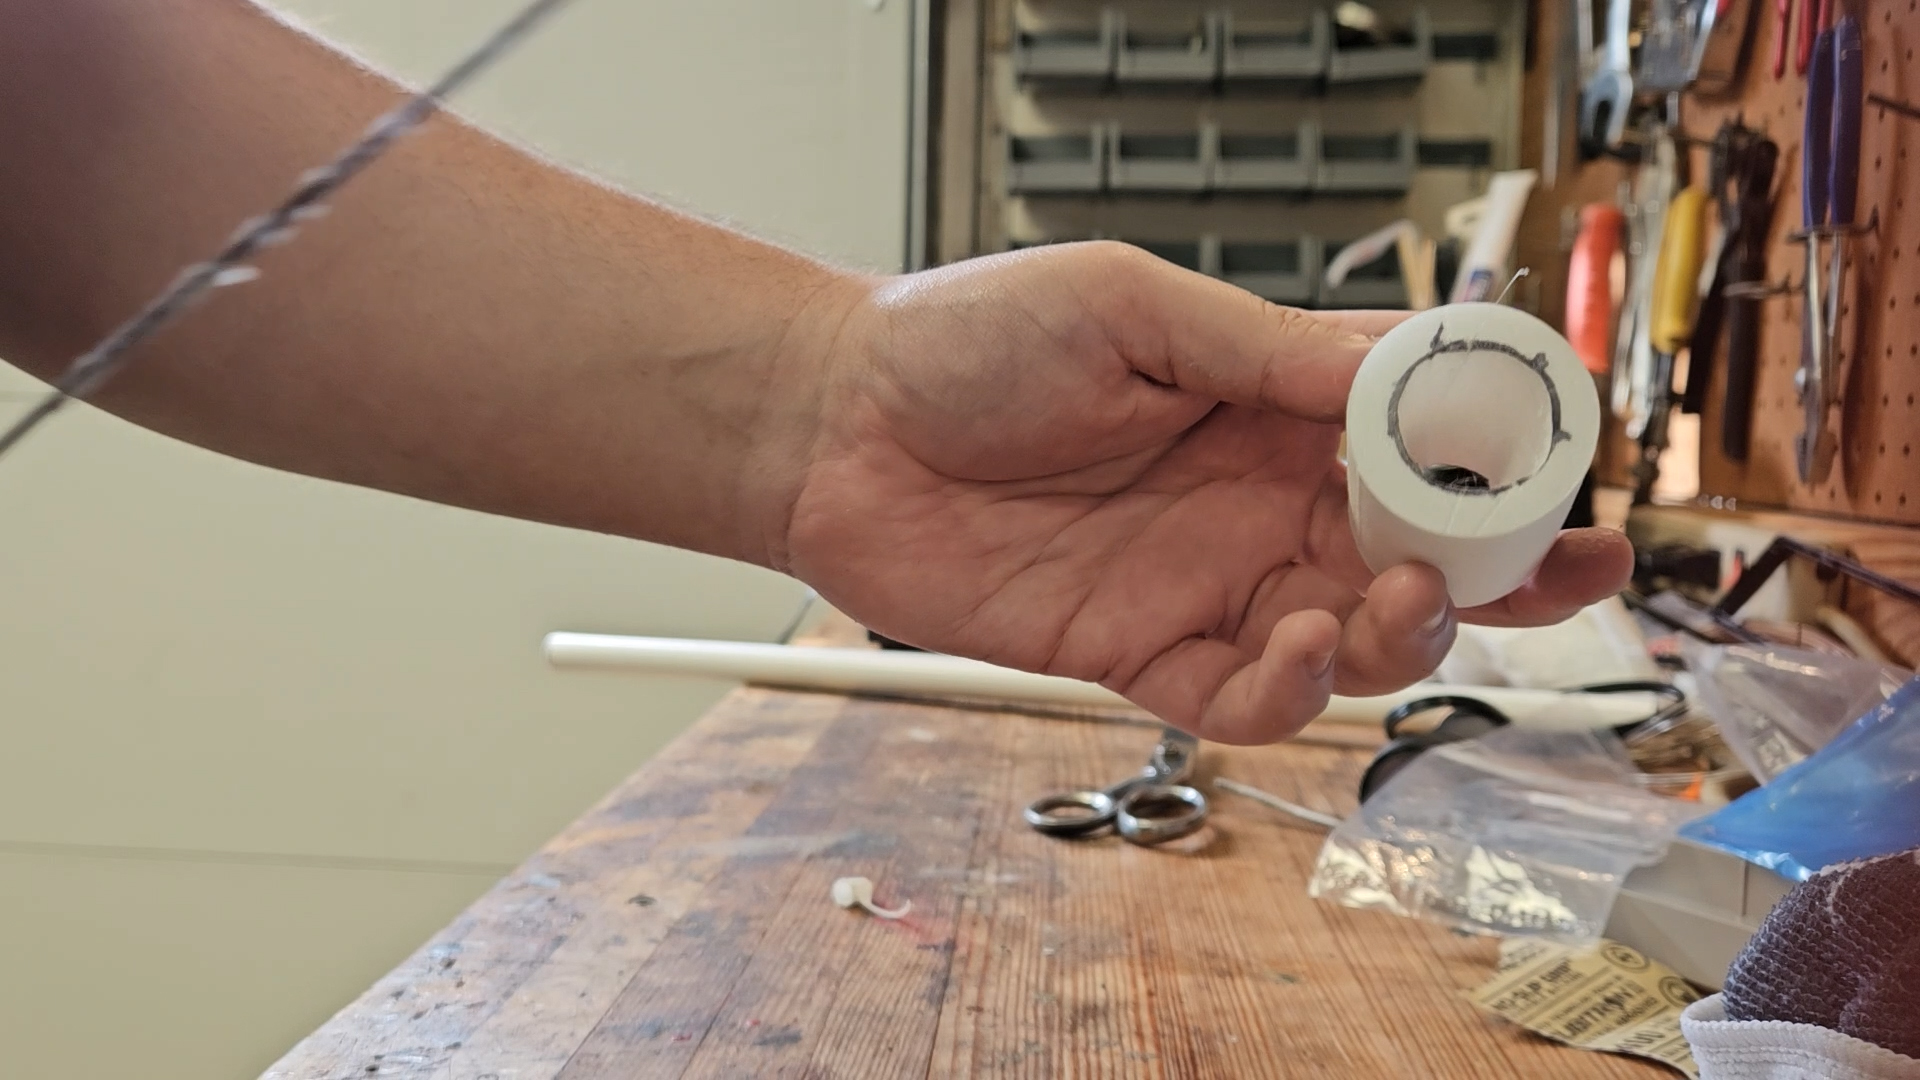
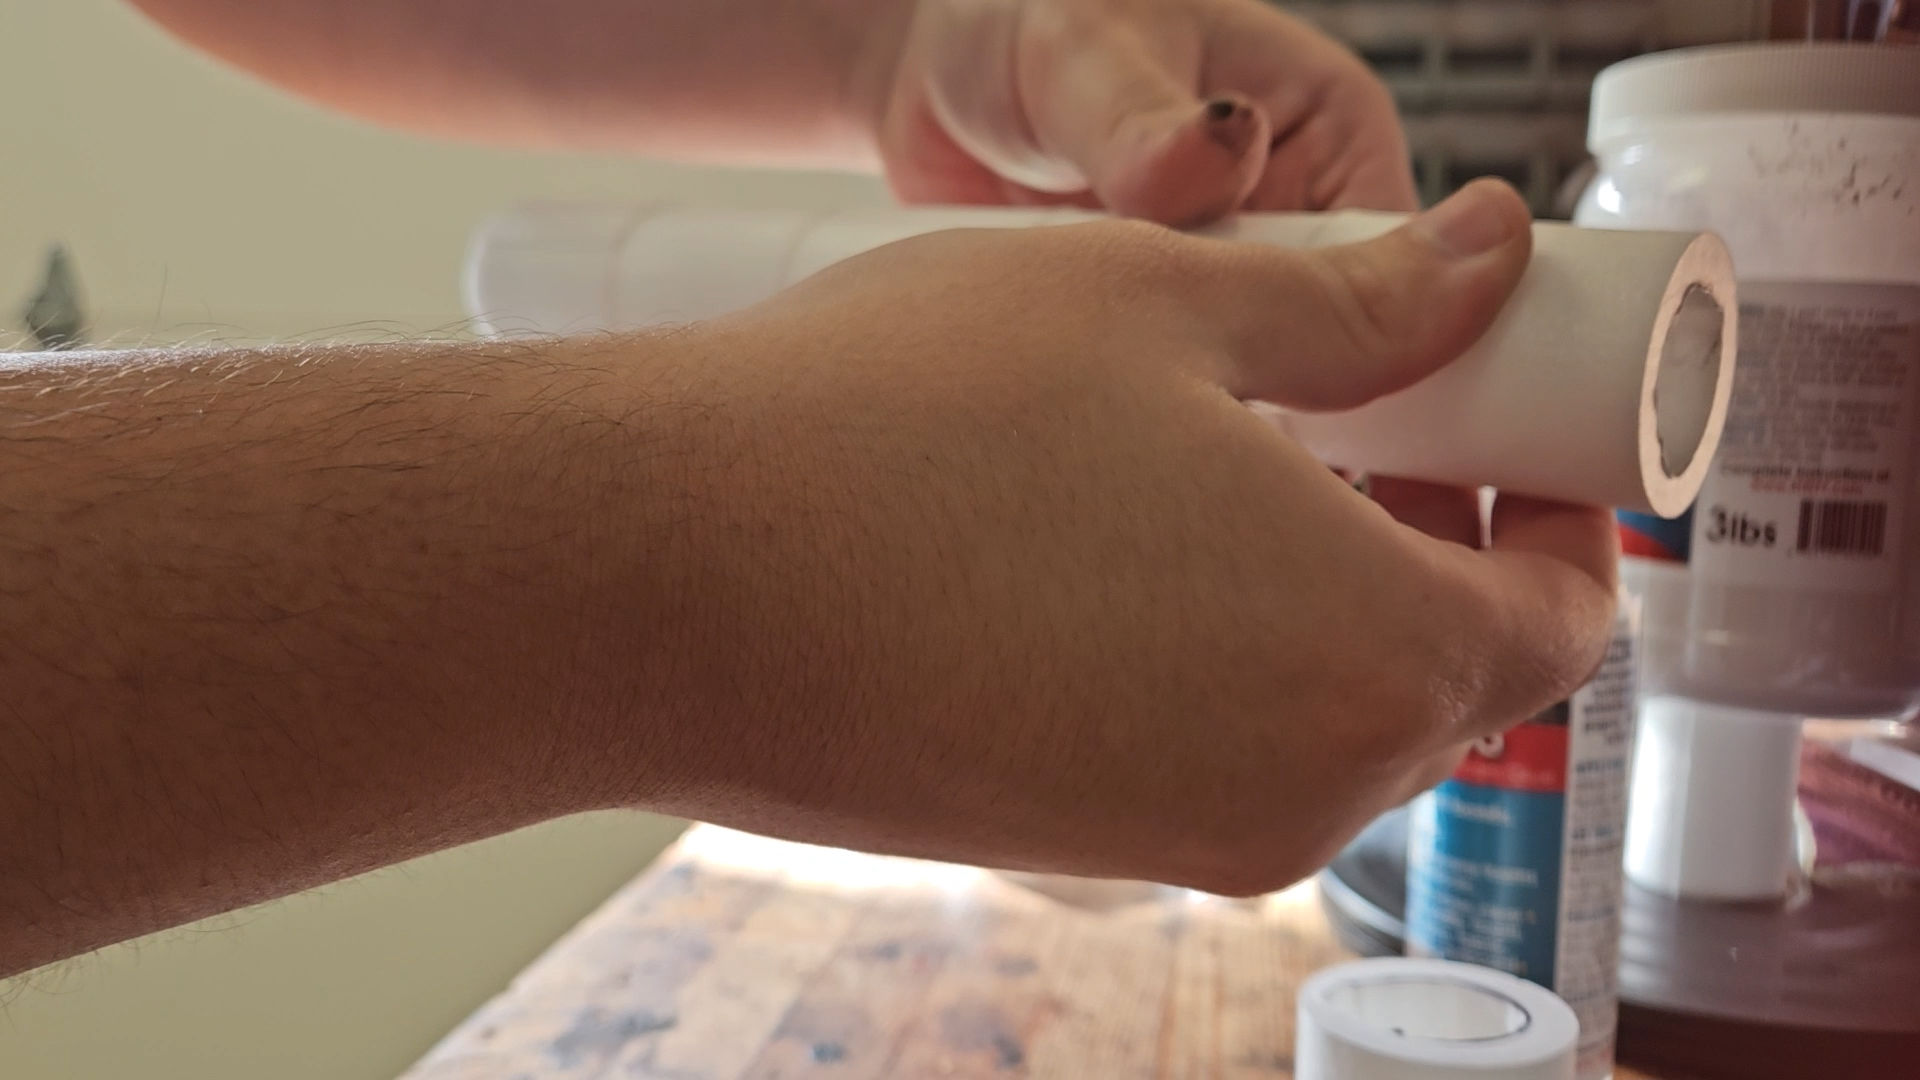
“The entire stand is supported by a 1/2-inch PVC pipe, and I needed to design a spacer to keep the top platform from falling down. I cut the spacer out in 2-inch segments, cut holes in the center for the PVC pipe with a 3-Inch Hot Knife, then glued the segments together with StyroGoo.”
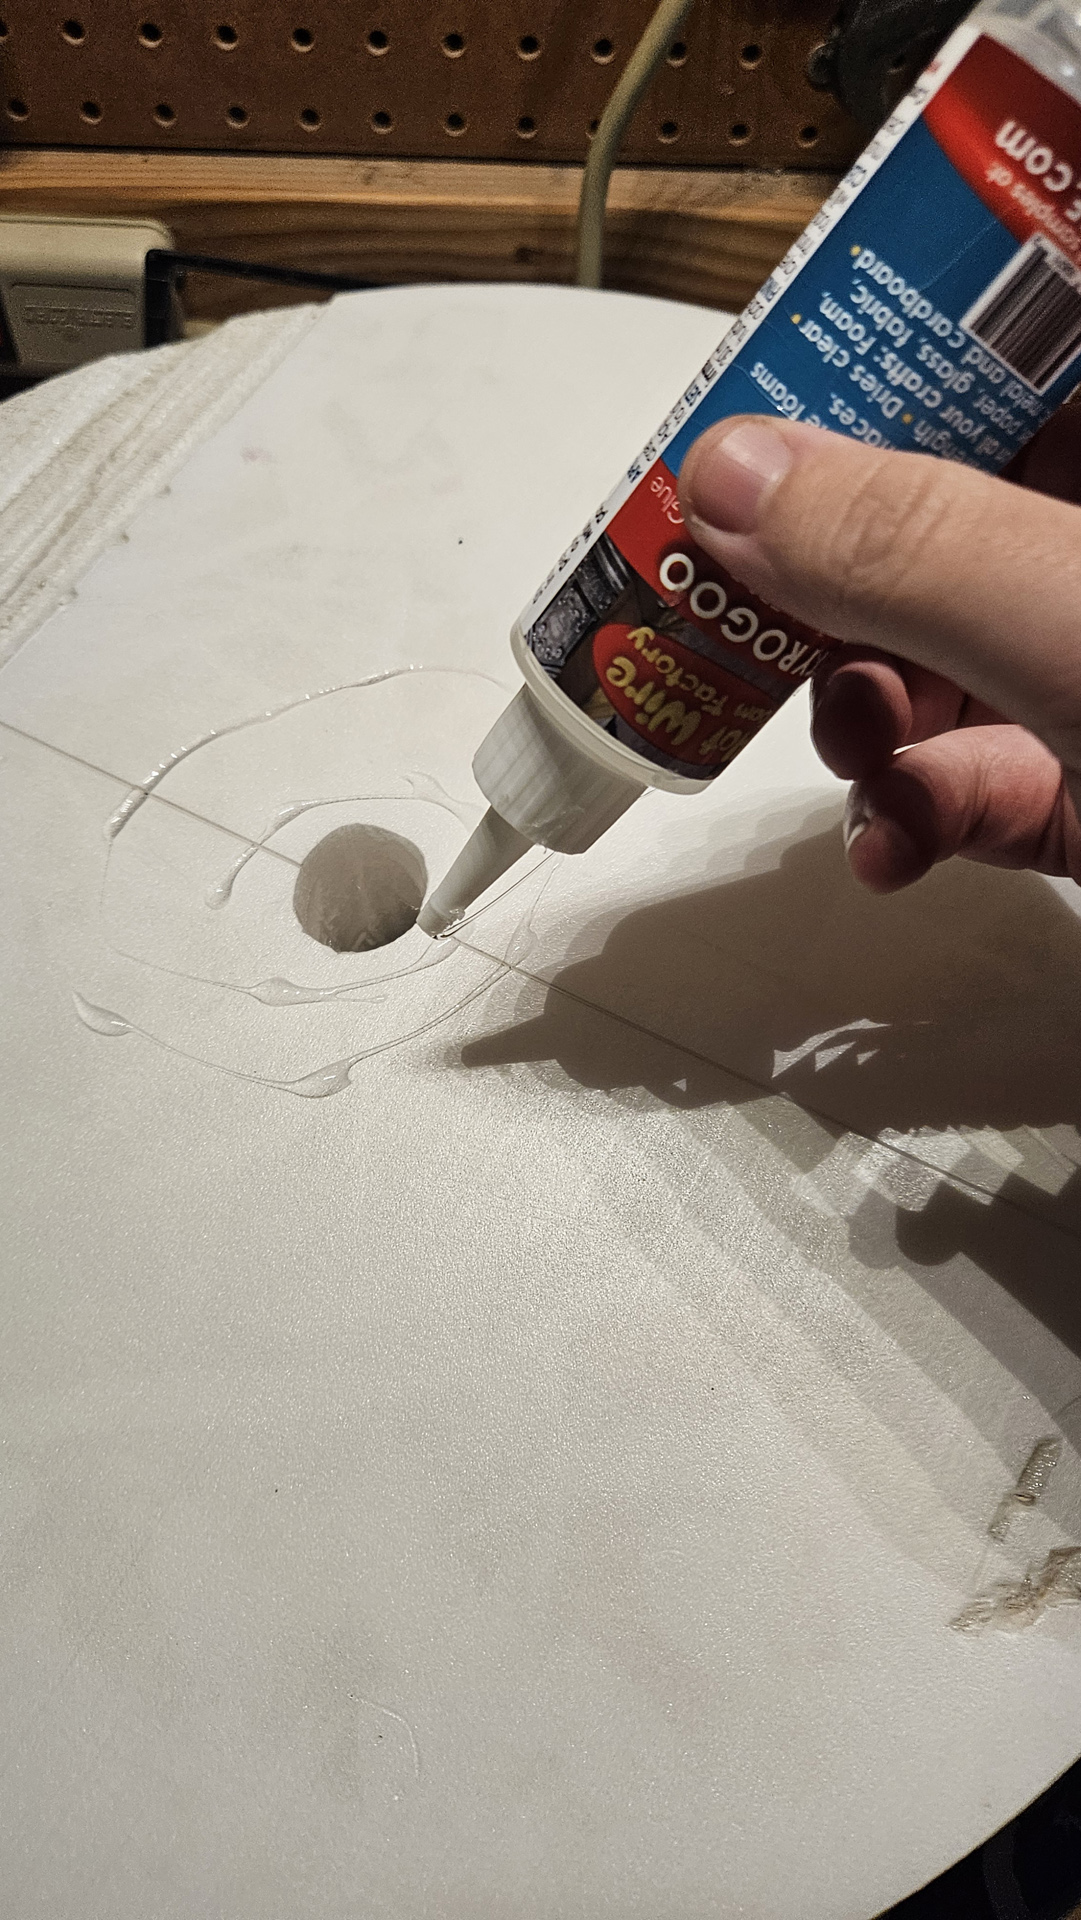
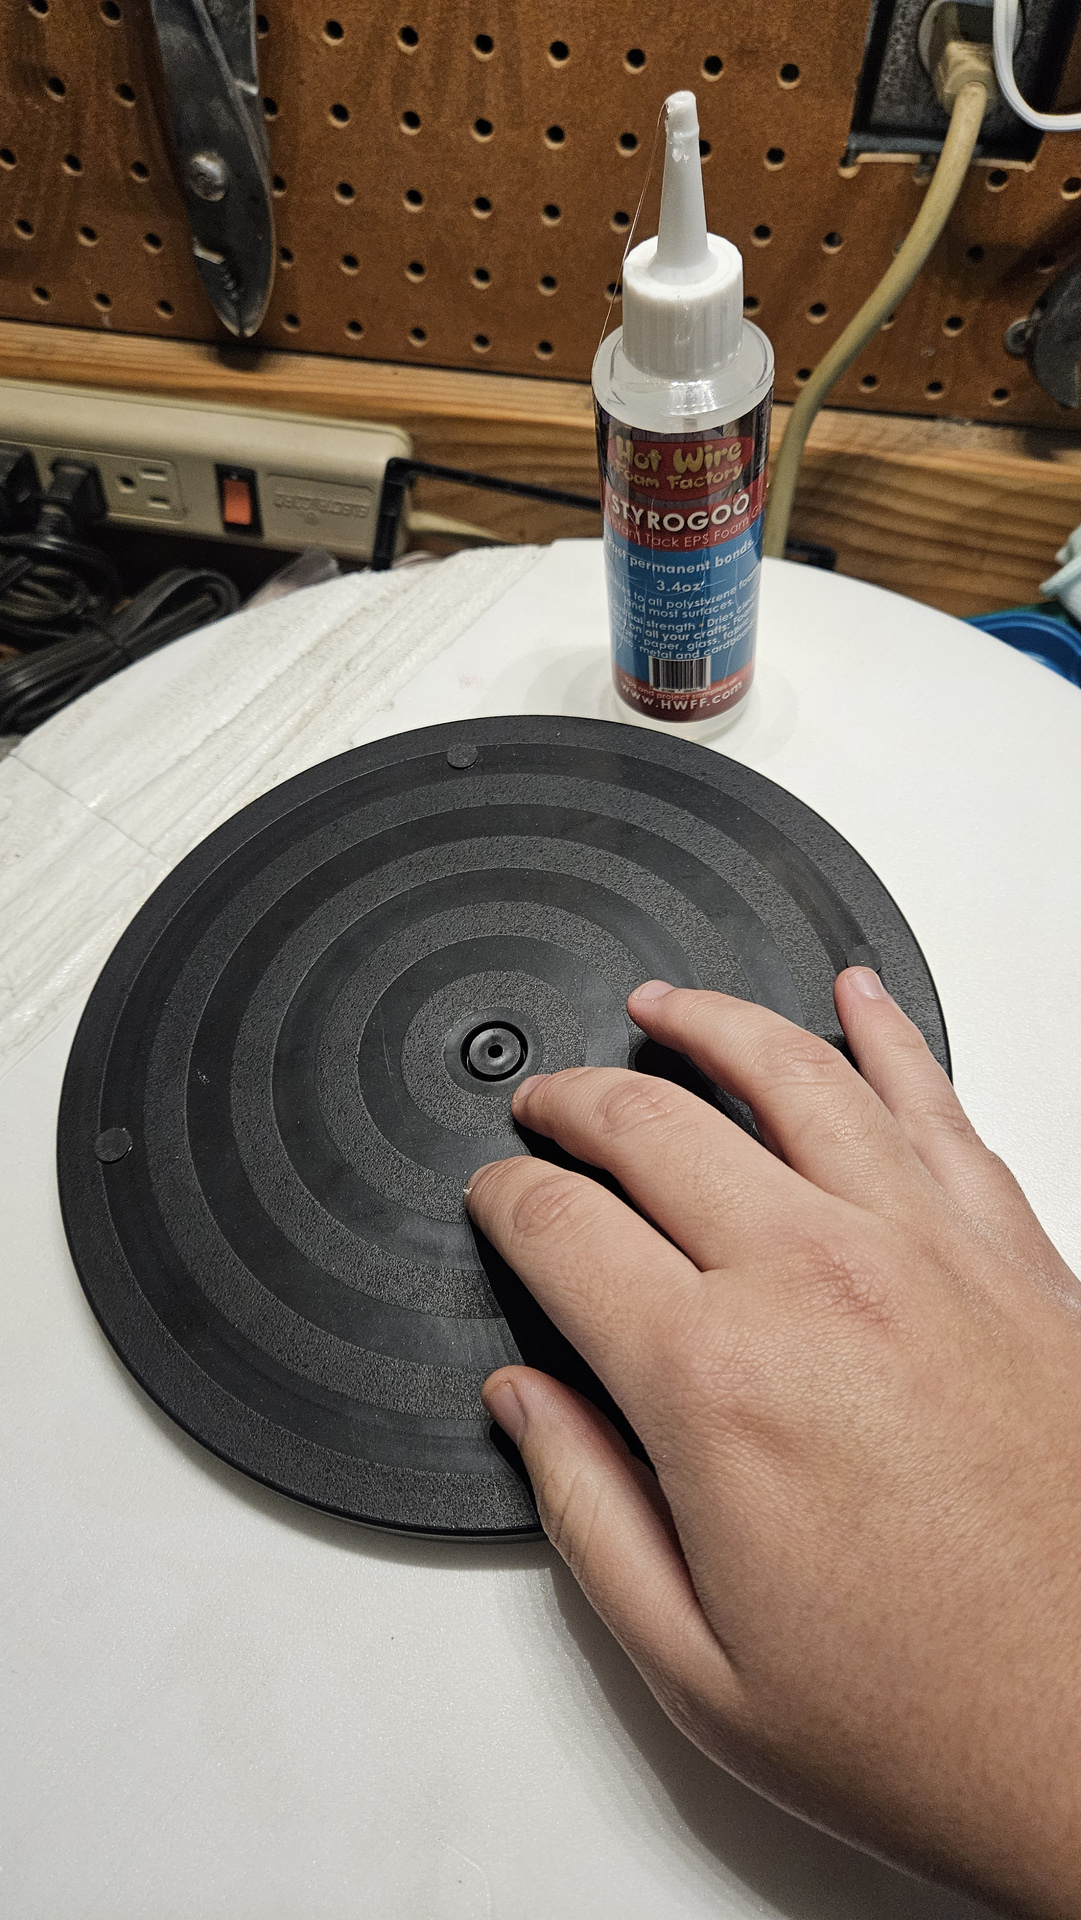
“From there, I took the bottom platform (which has about a 15-inch diameter) and glued it to the turntable with StyroGoo.”
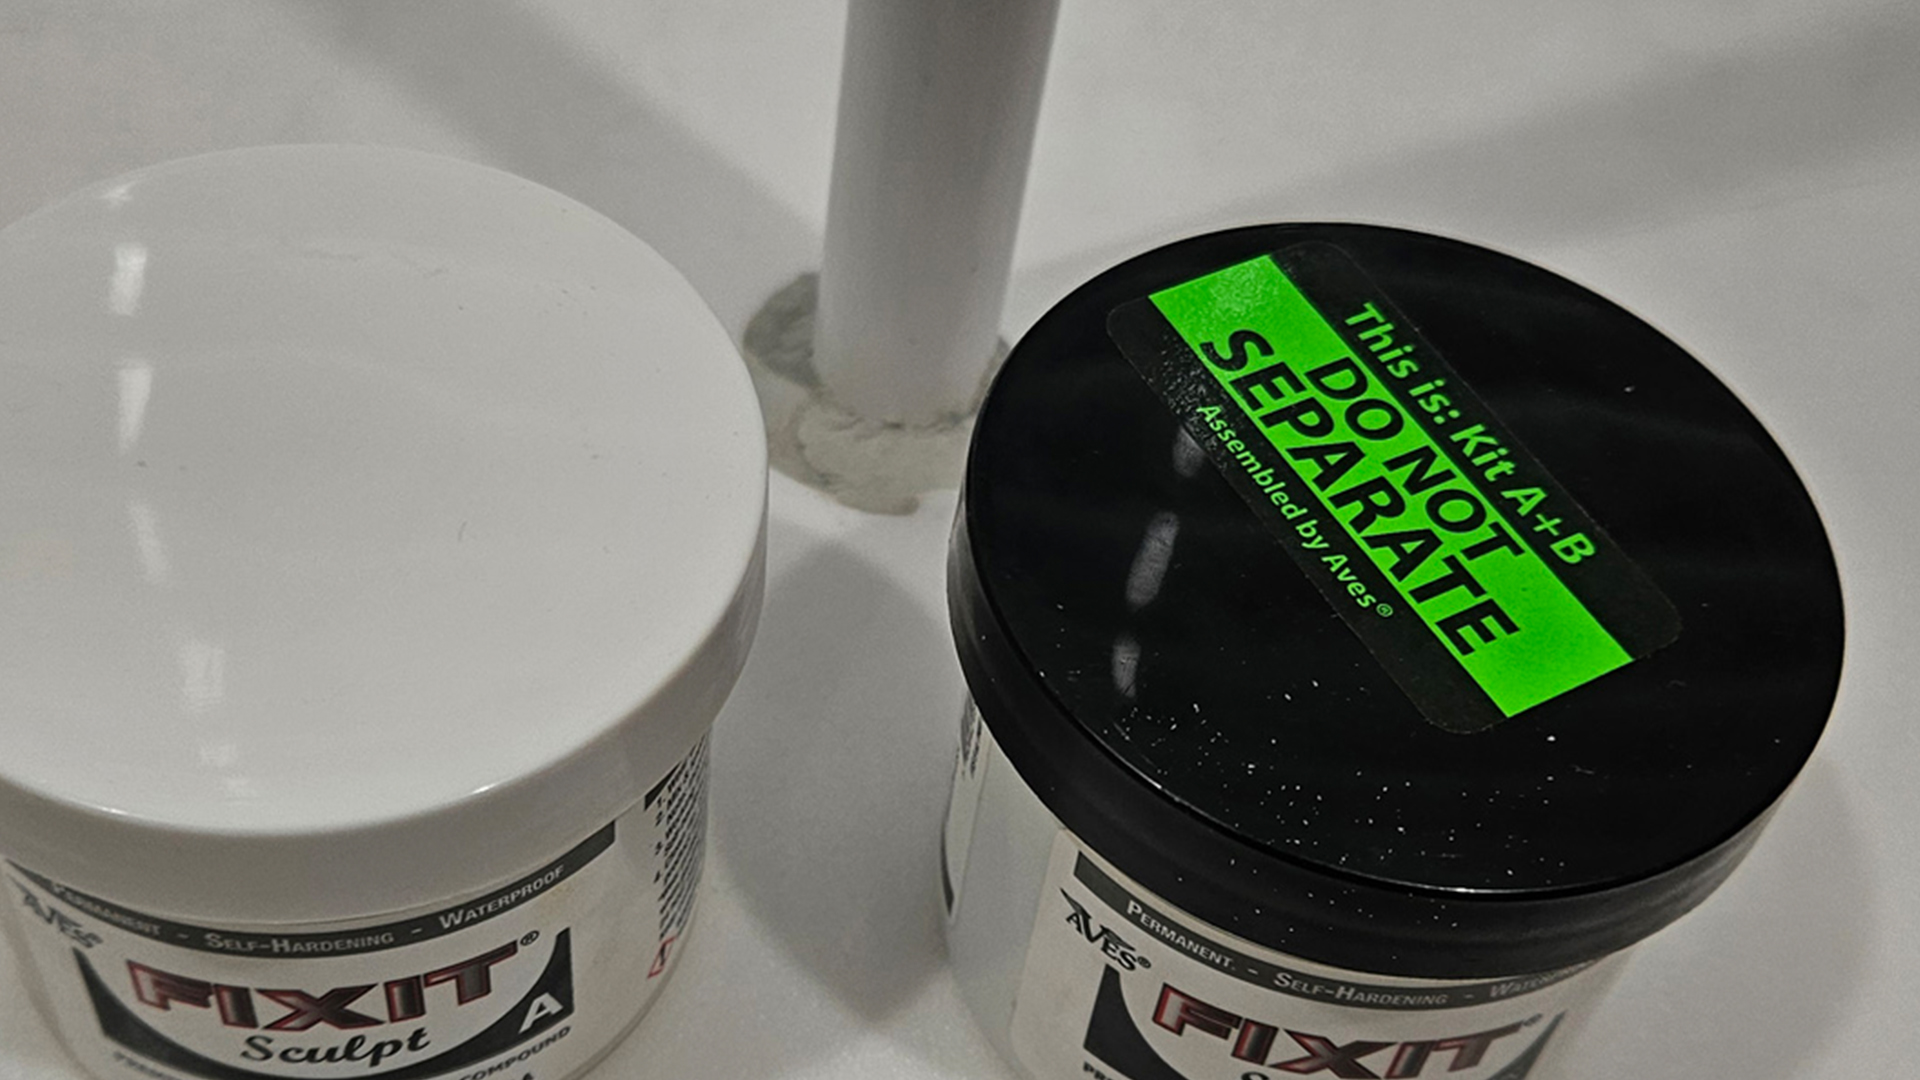
“After the glue dried, I stuck the PVC pipe down through the middle of the bottom platform and attached it with some JB Weld and along with some Fixit Sculpt to hold it in place.”
“From there, I did a quick assembly of all the pieces to make sure everything fit together properly and that it was actually strong enough to support the nutcrackers.”
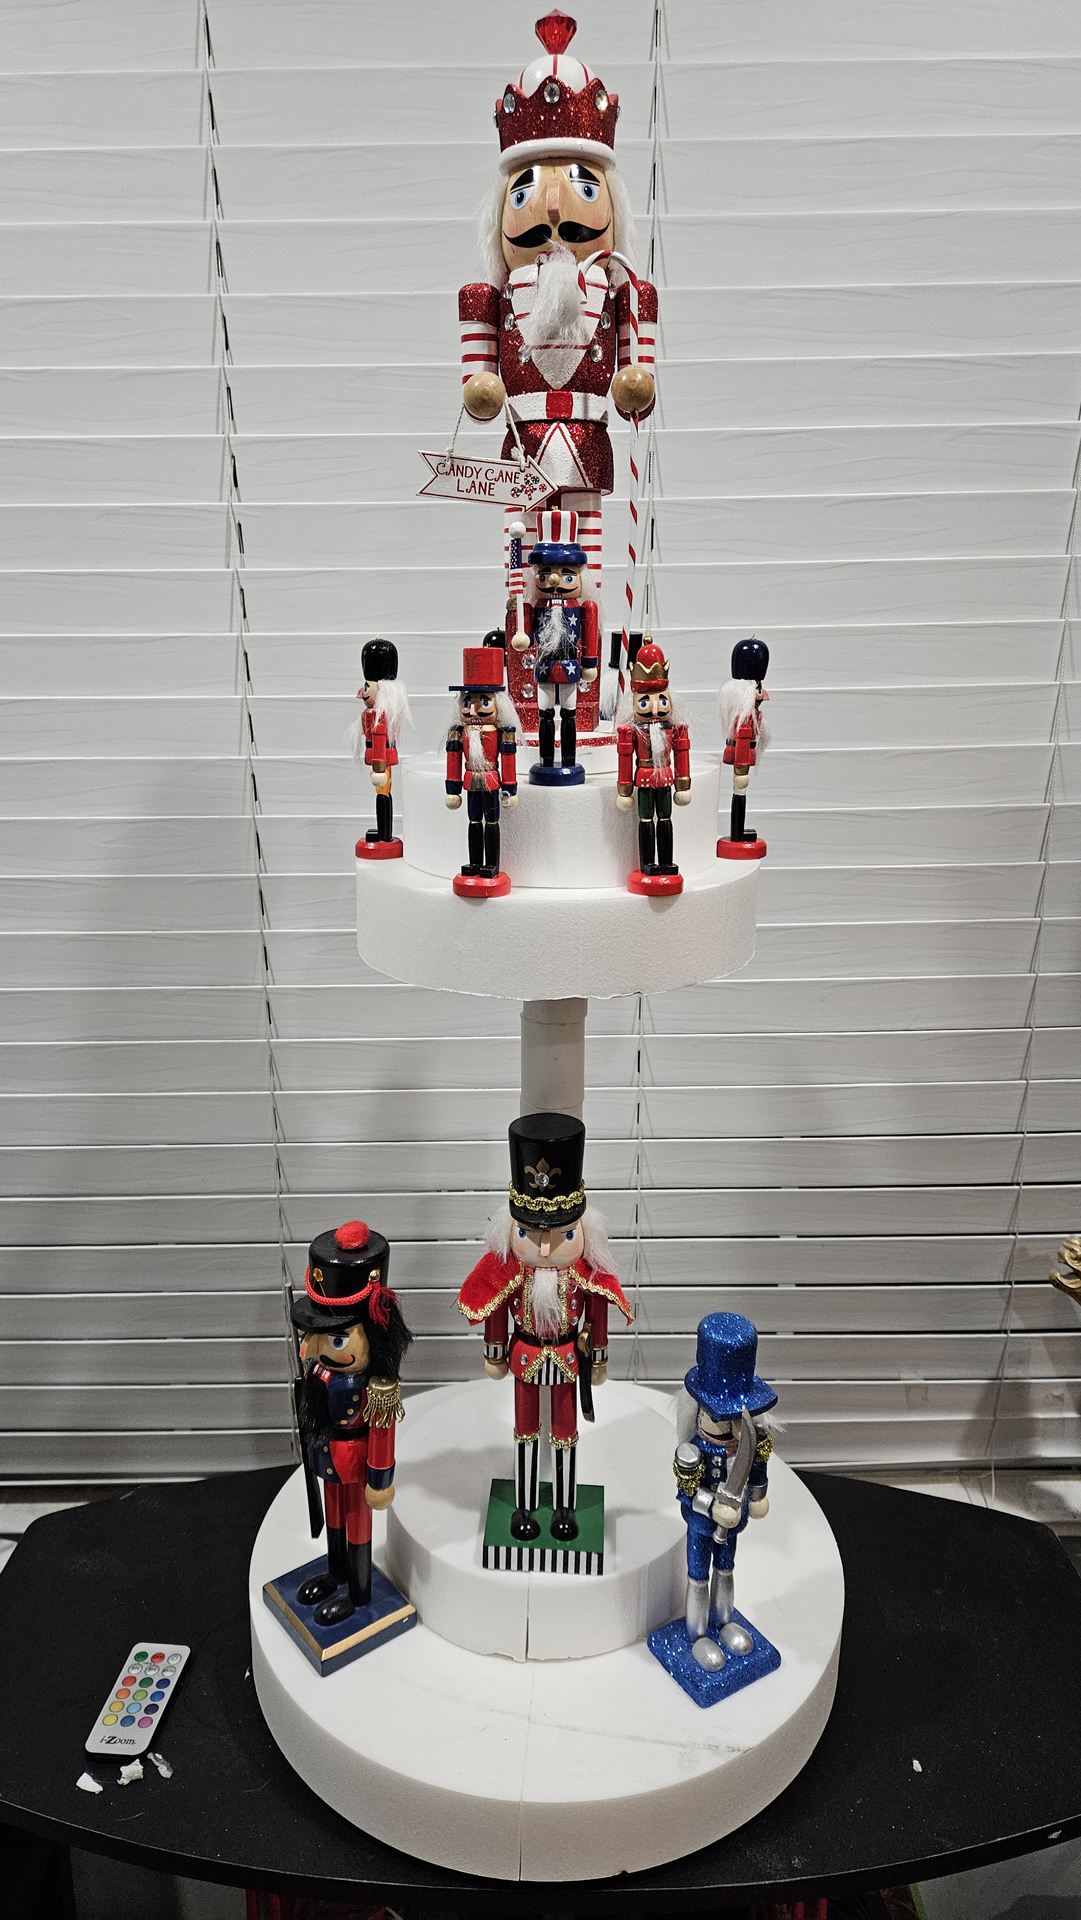
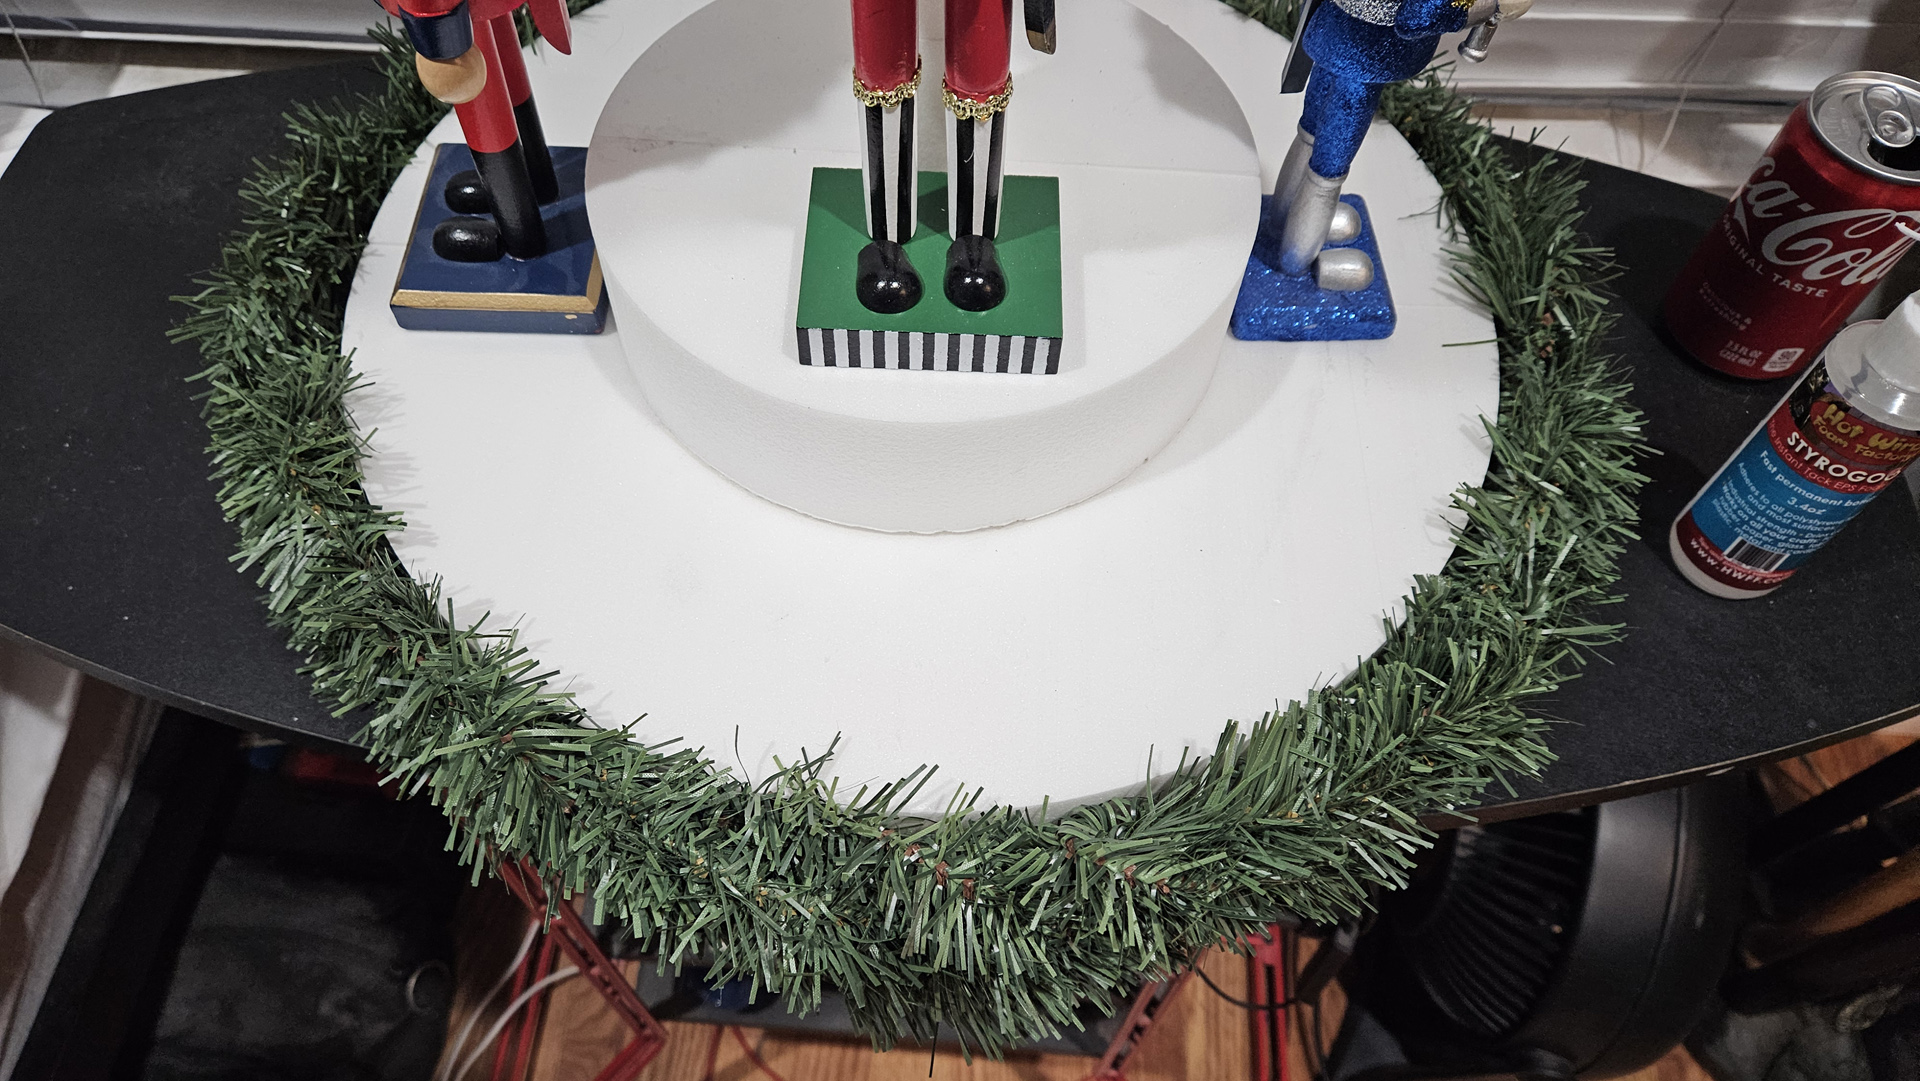
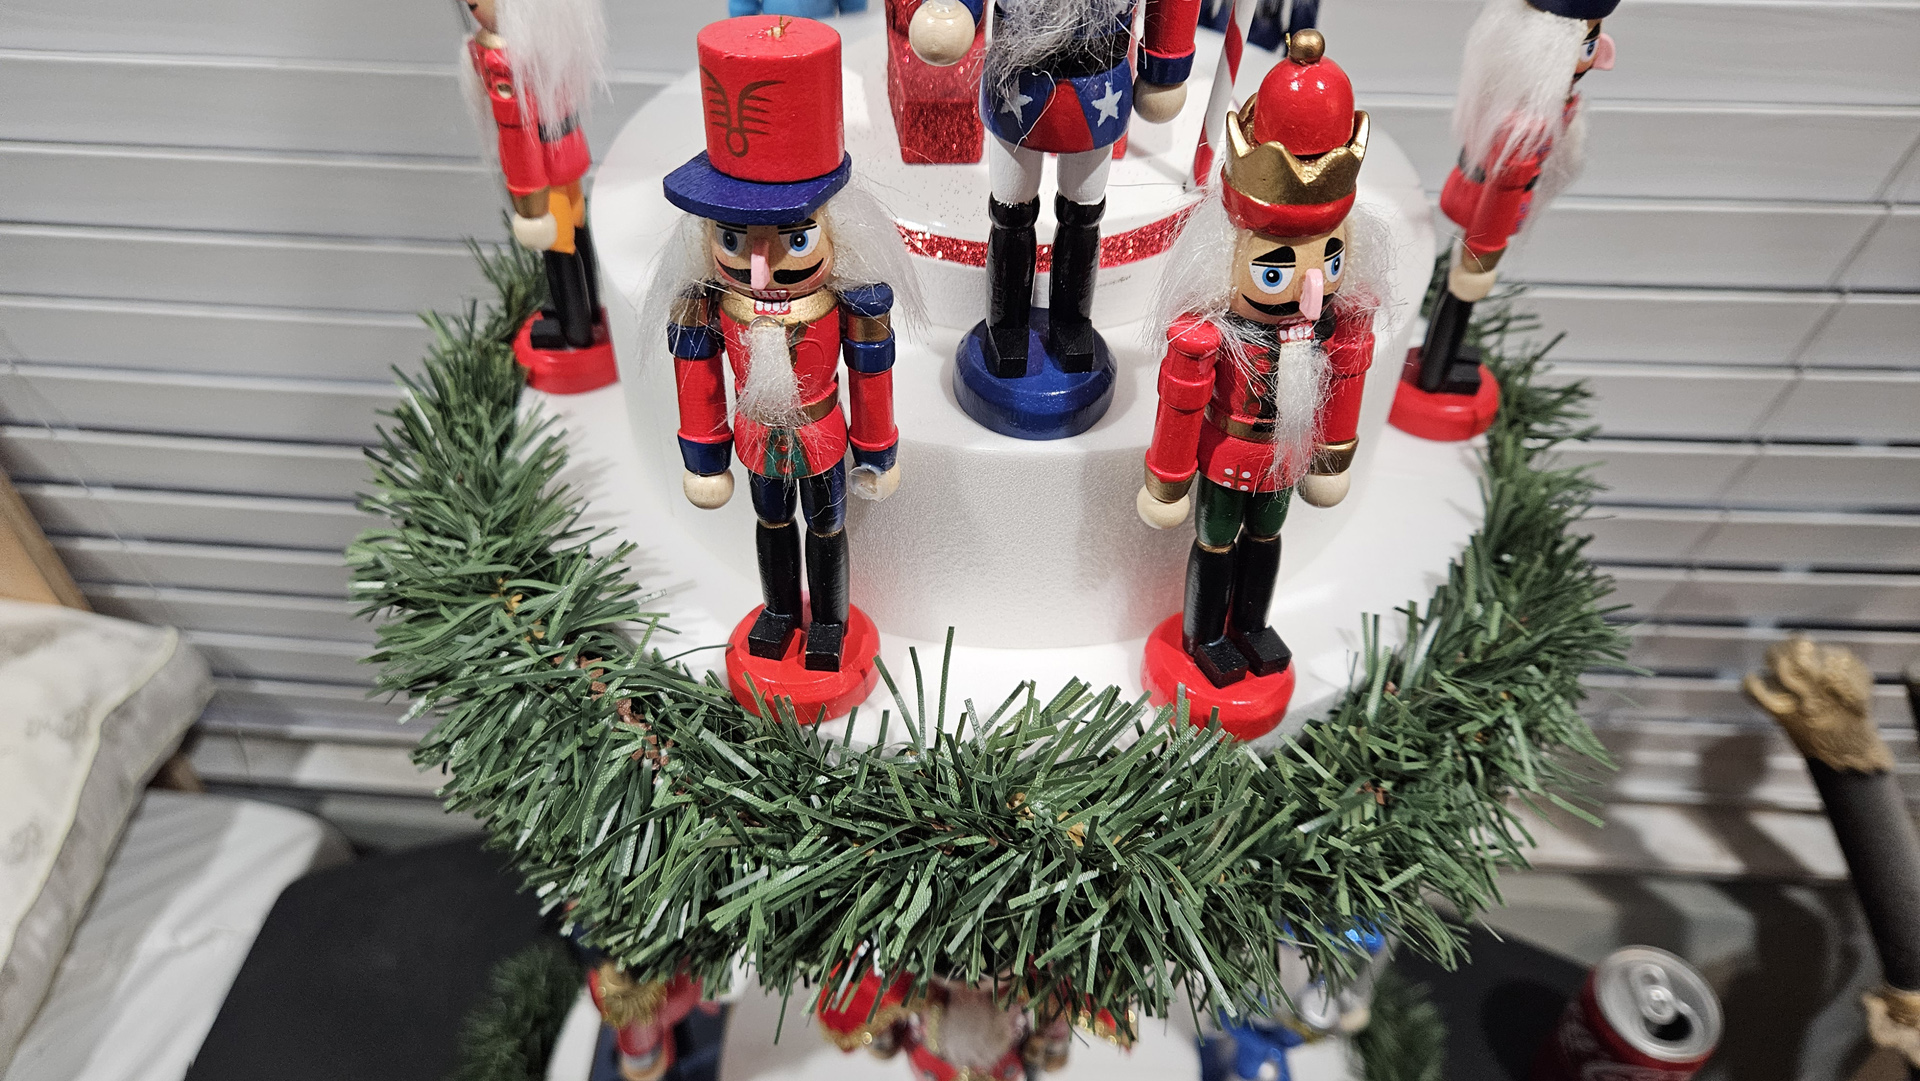
“Now to start decorating the display. First, I wrapped the top and bottom platforms with just a plain green Christmas garland. I didn’t want any with lights built in because I was going to have to trim them to the size I needed and having lights would’ve made that more complicated. I was able to attach them with out glue by stabbing the exposed end of the bendable wire into the platforms, wrapping them all the way around, then hooking the other end around the exposed wire. After that, I tucked all the branches under the bendable wire to make it look neater.”
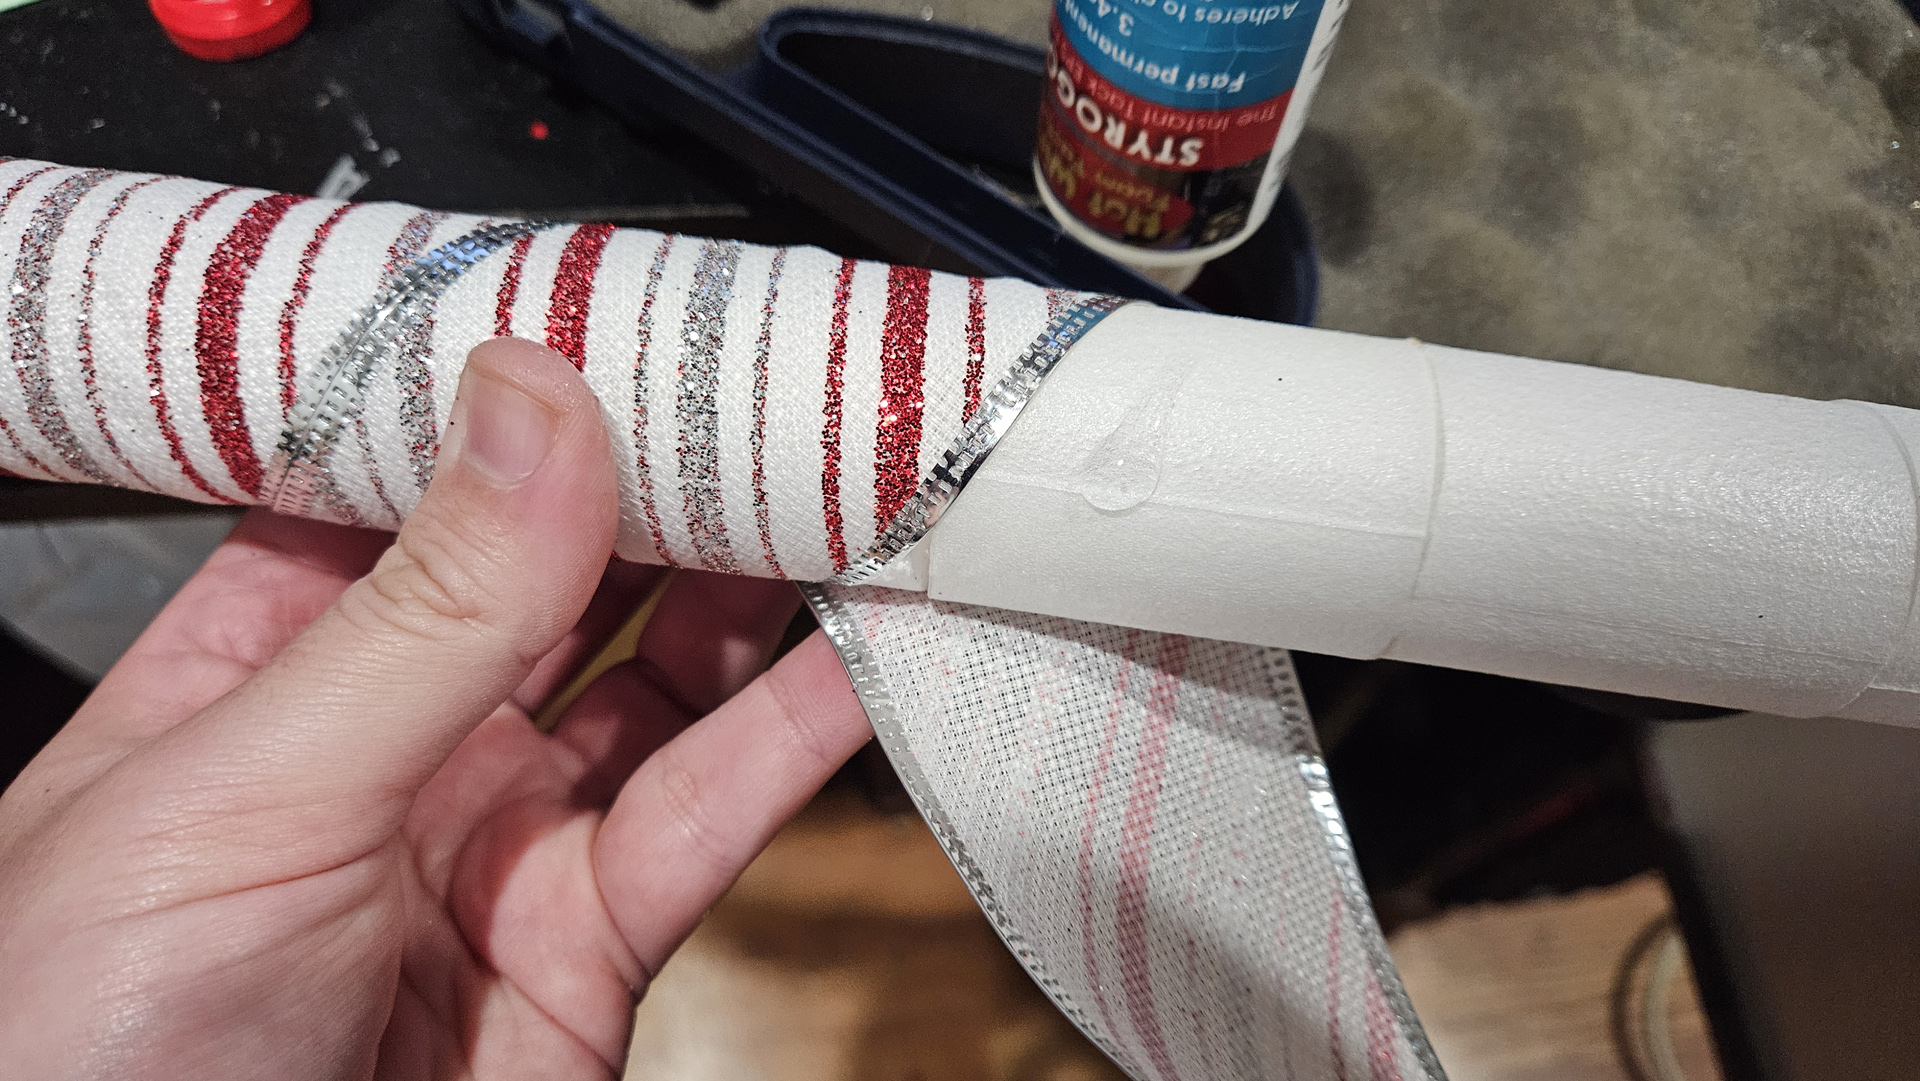
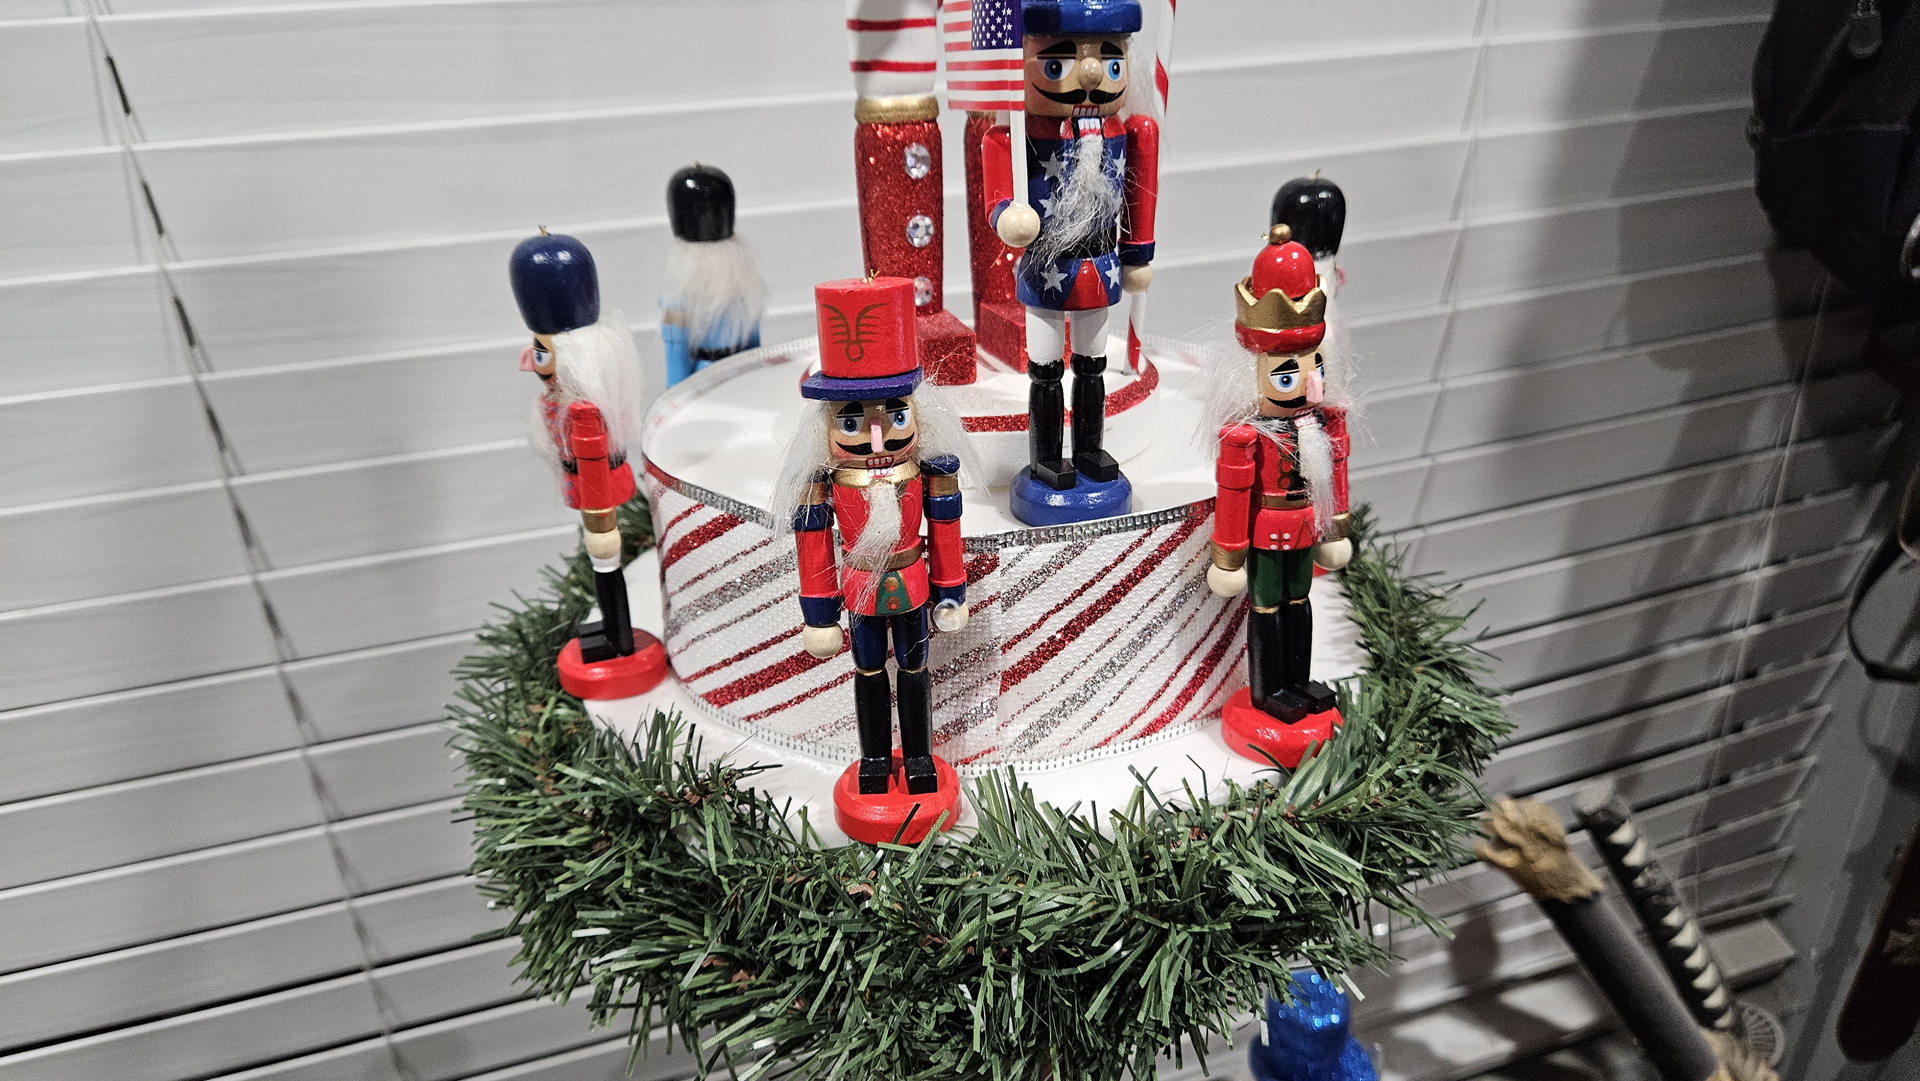
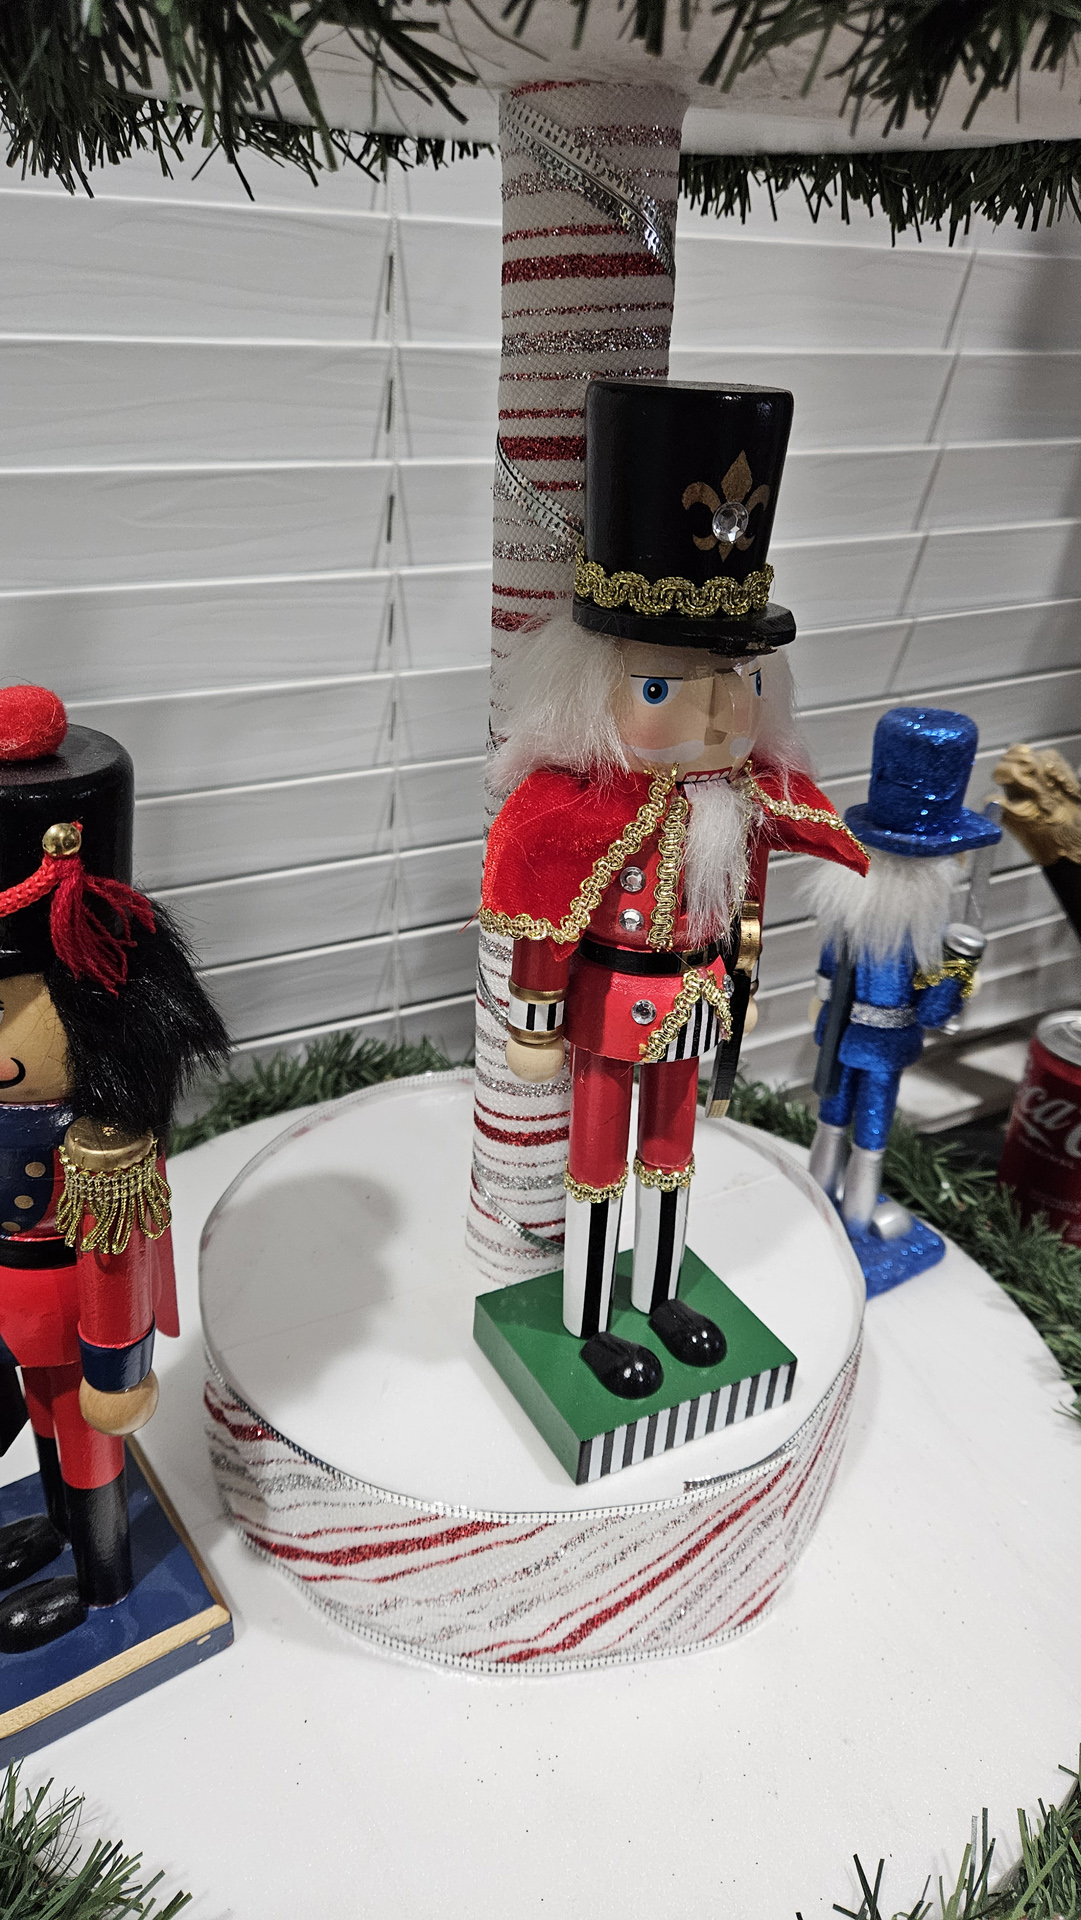
“Next, I found some old Christmas ribbon lying around for gift wrapping that I thought might make a cool design for the platform steps and the column spacer. I wrapped it around those pieces and glued it down with StyroGoo.”
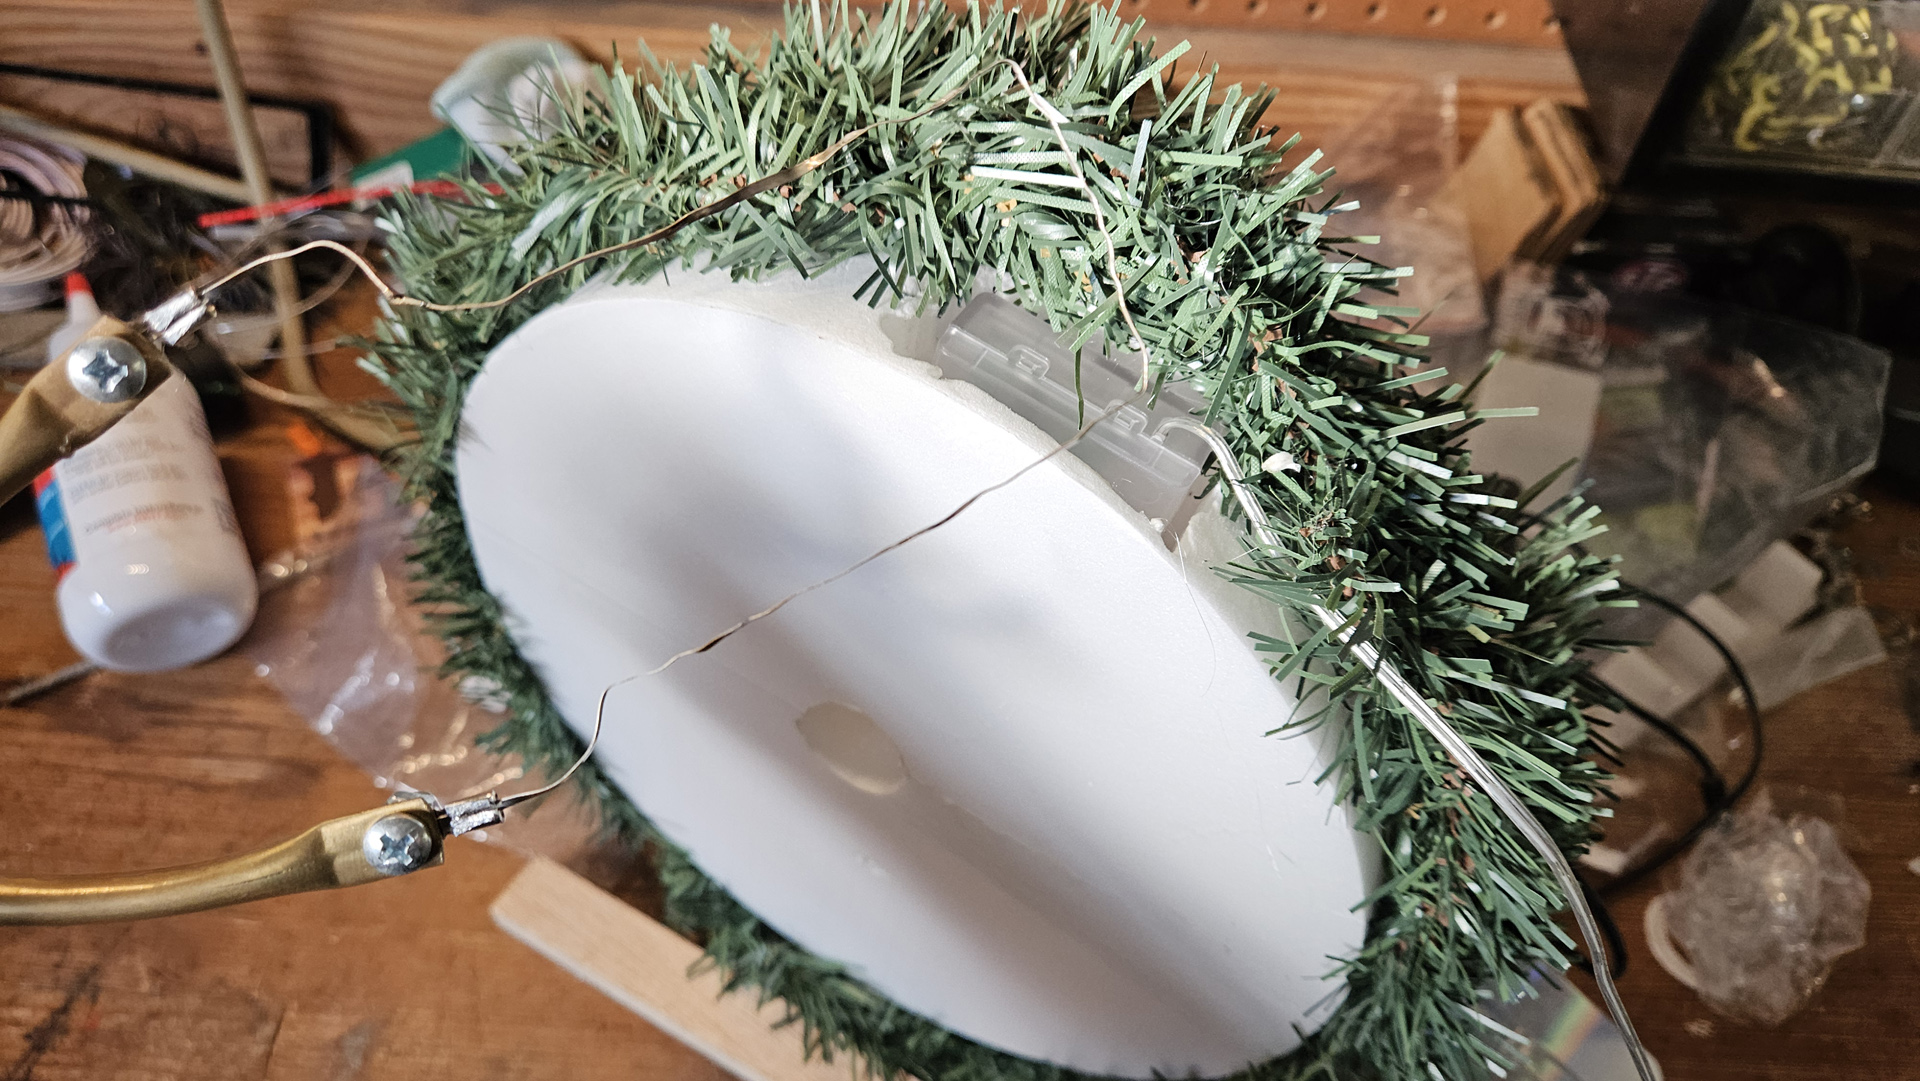
“Next up, I added battery-powered light strands to the garlands. For the bottom platform, I was able to tuck the battery pack underneath the garland, but the top platform was a bit more complicated due to its smaller size. I took my Freehand Router and cut out a little compartment for the battery pack.
Pro tip: Make sure the side of the battery pack with the power switch is facing upward before wrapping the lights around. That way, you don’t have to nearly disassemble the hole thing to turn the lights on. You just pull the battery pack out slightly and use something like a pencil or screwdriver to move the power switch. You may also need to add weight to the other side of the platform to counter-balance the battery pack. I just stuck some 1-inch nails into the bottom of the platform until it balanced out.”
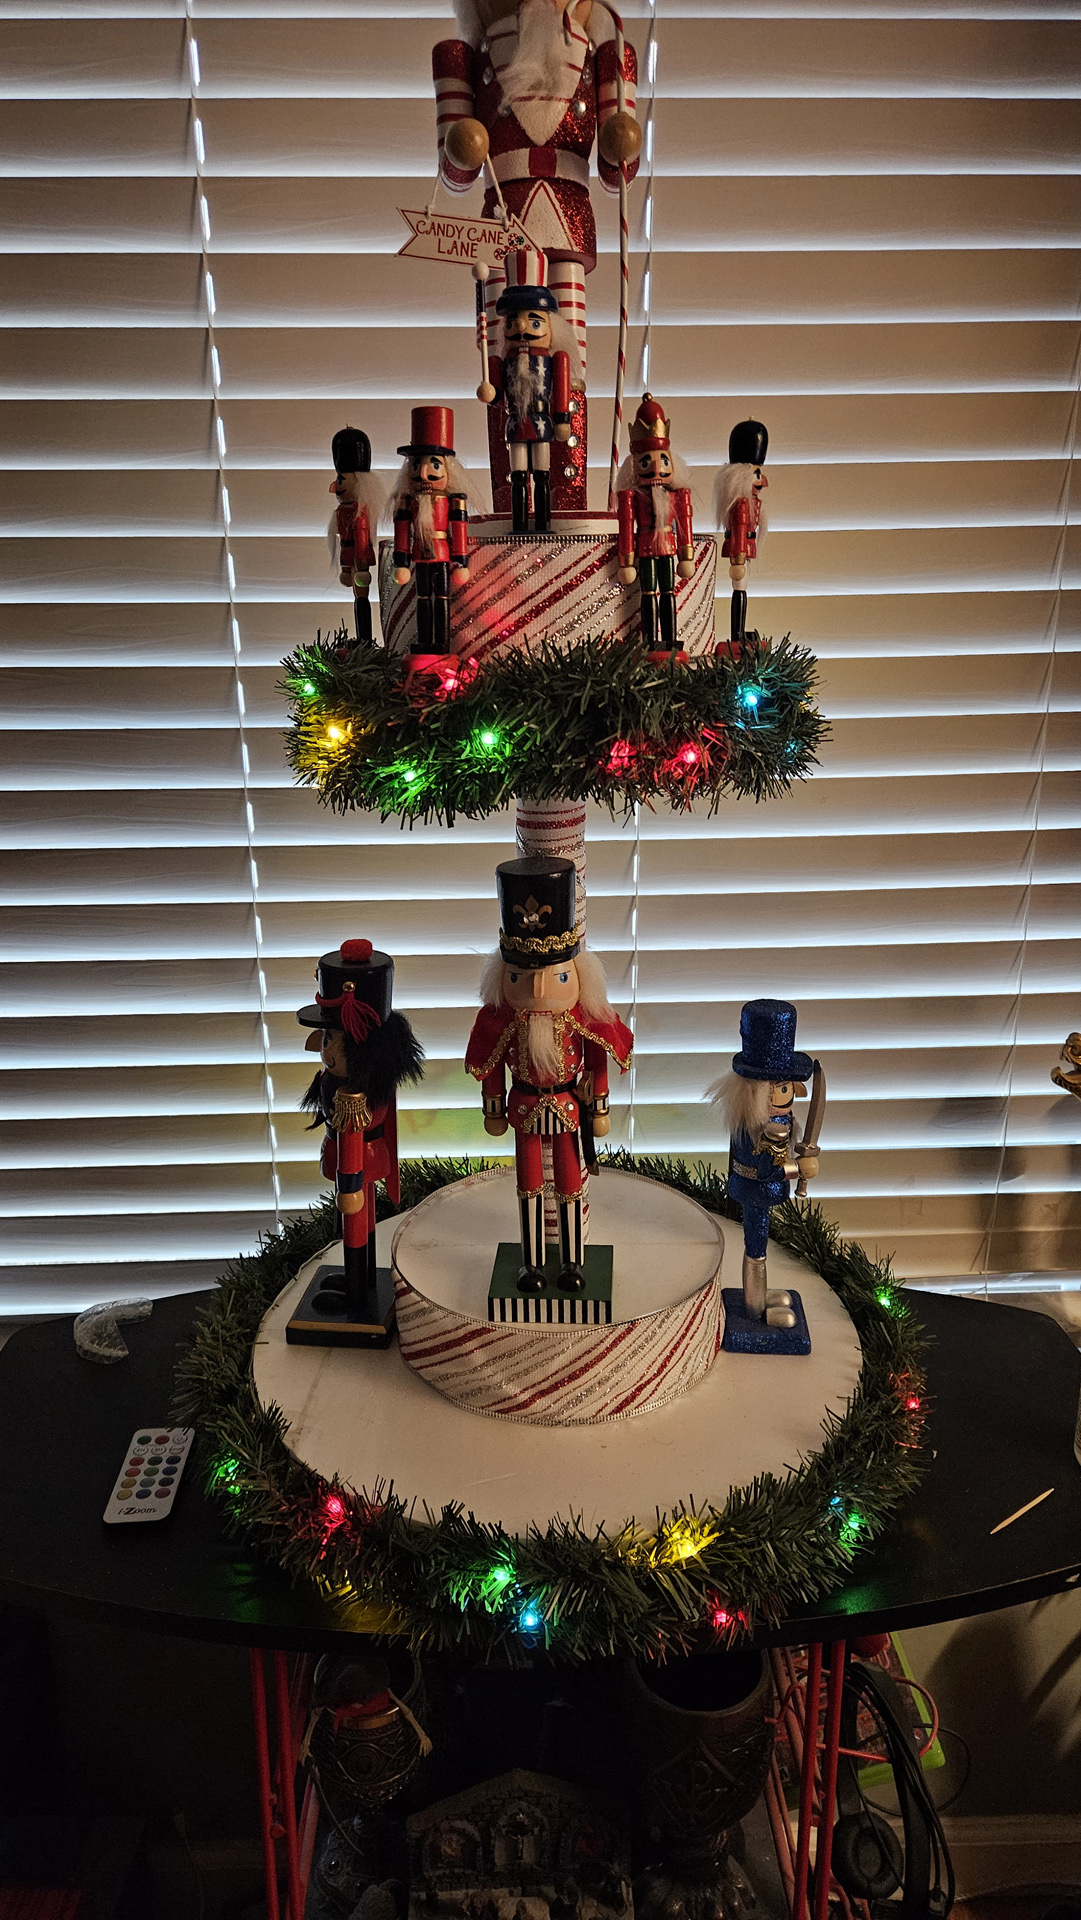
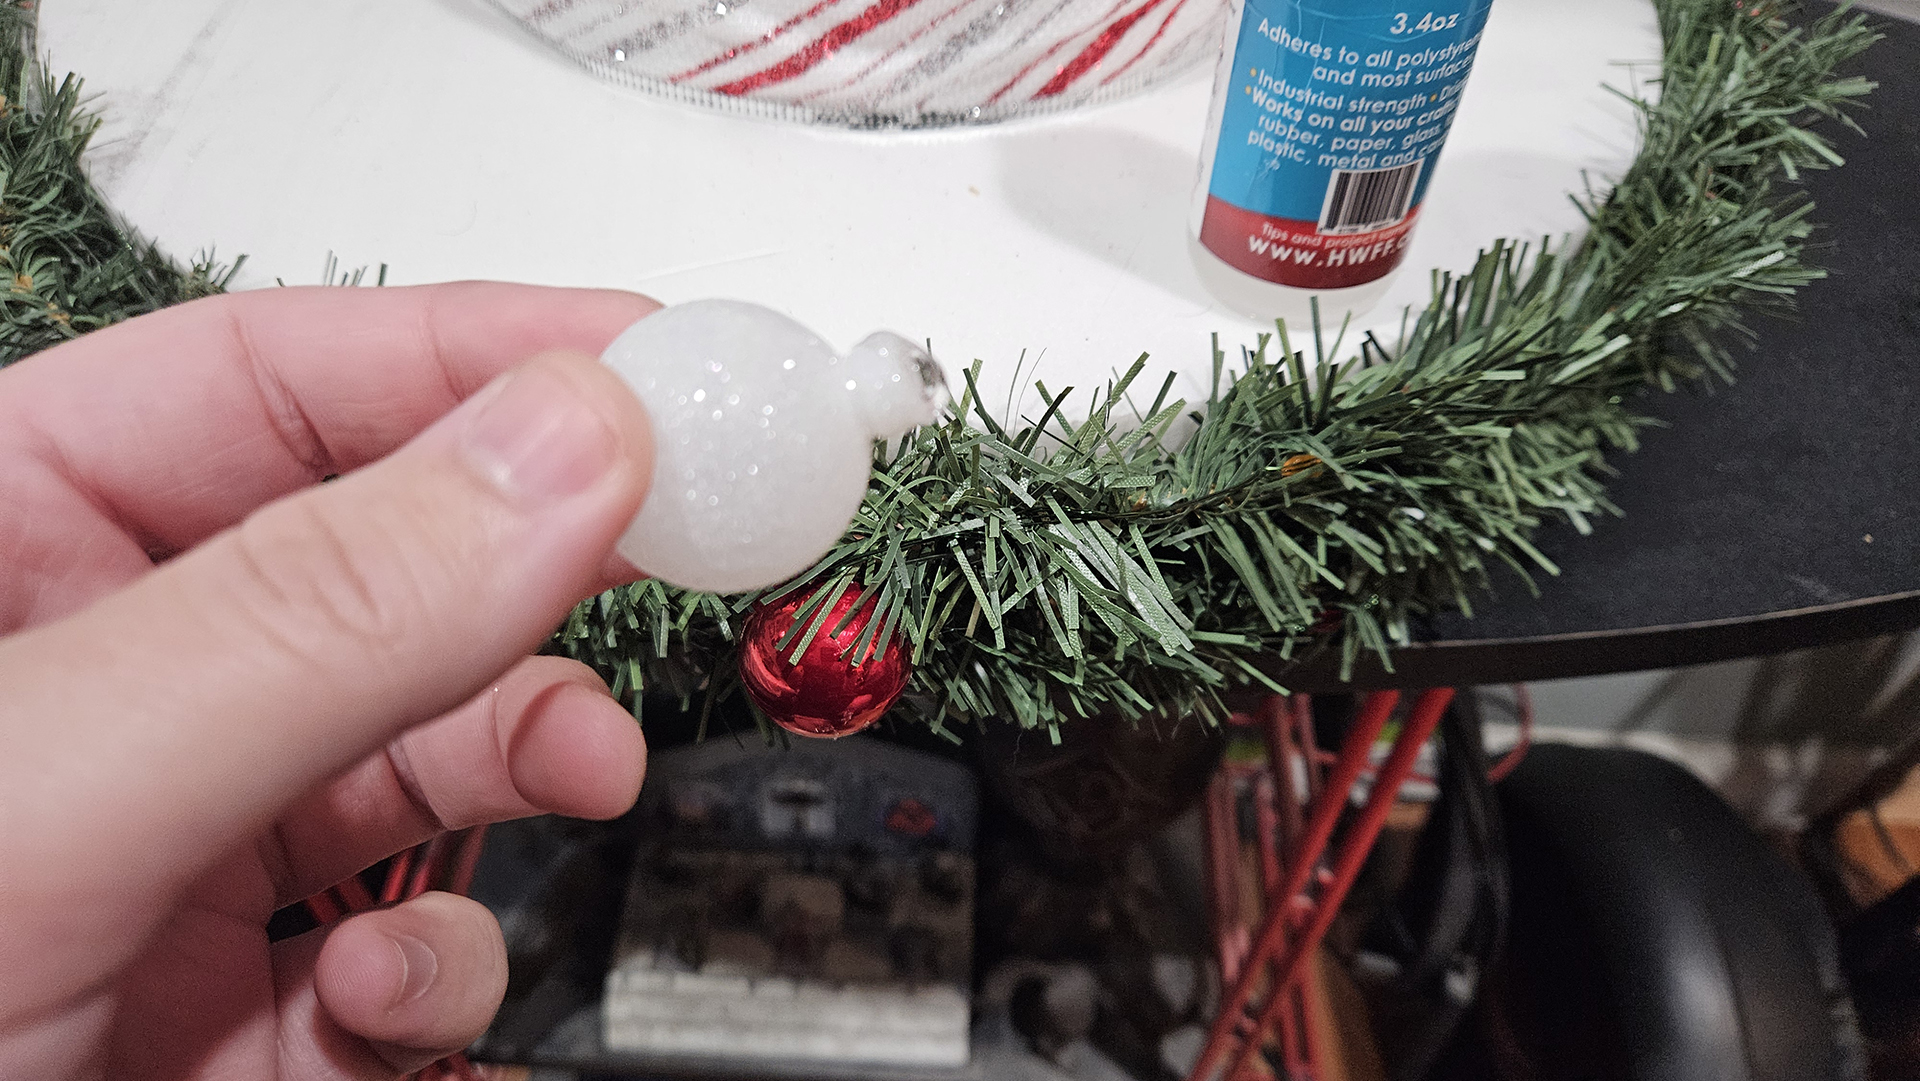
To finish it off, I glued some red and white Christmas bulbs to the garlands, which makes it look nice even when the lights are turned off.
