Route 66 Sign
Hot Wire Foam Factory
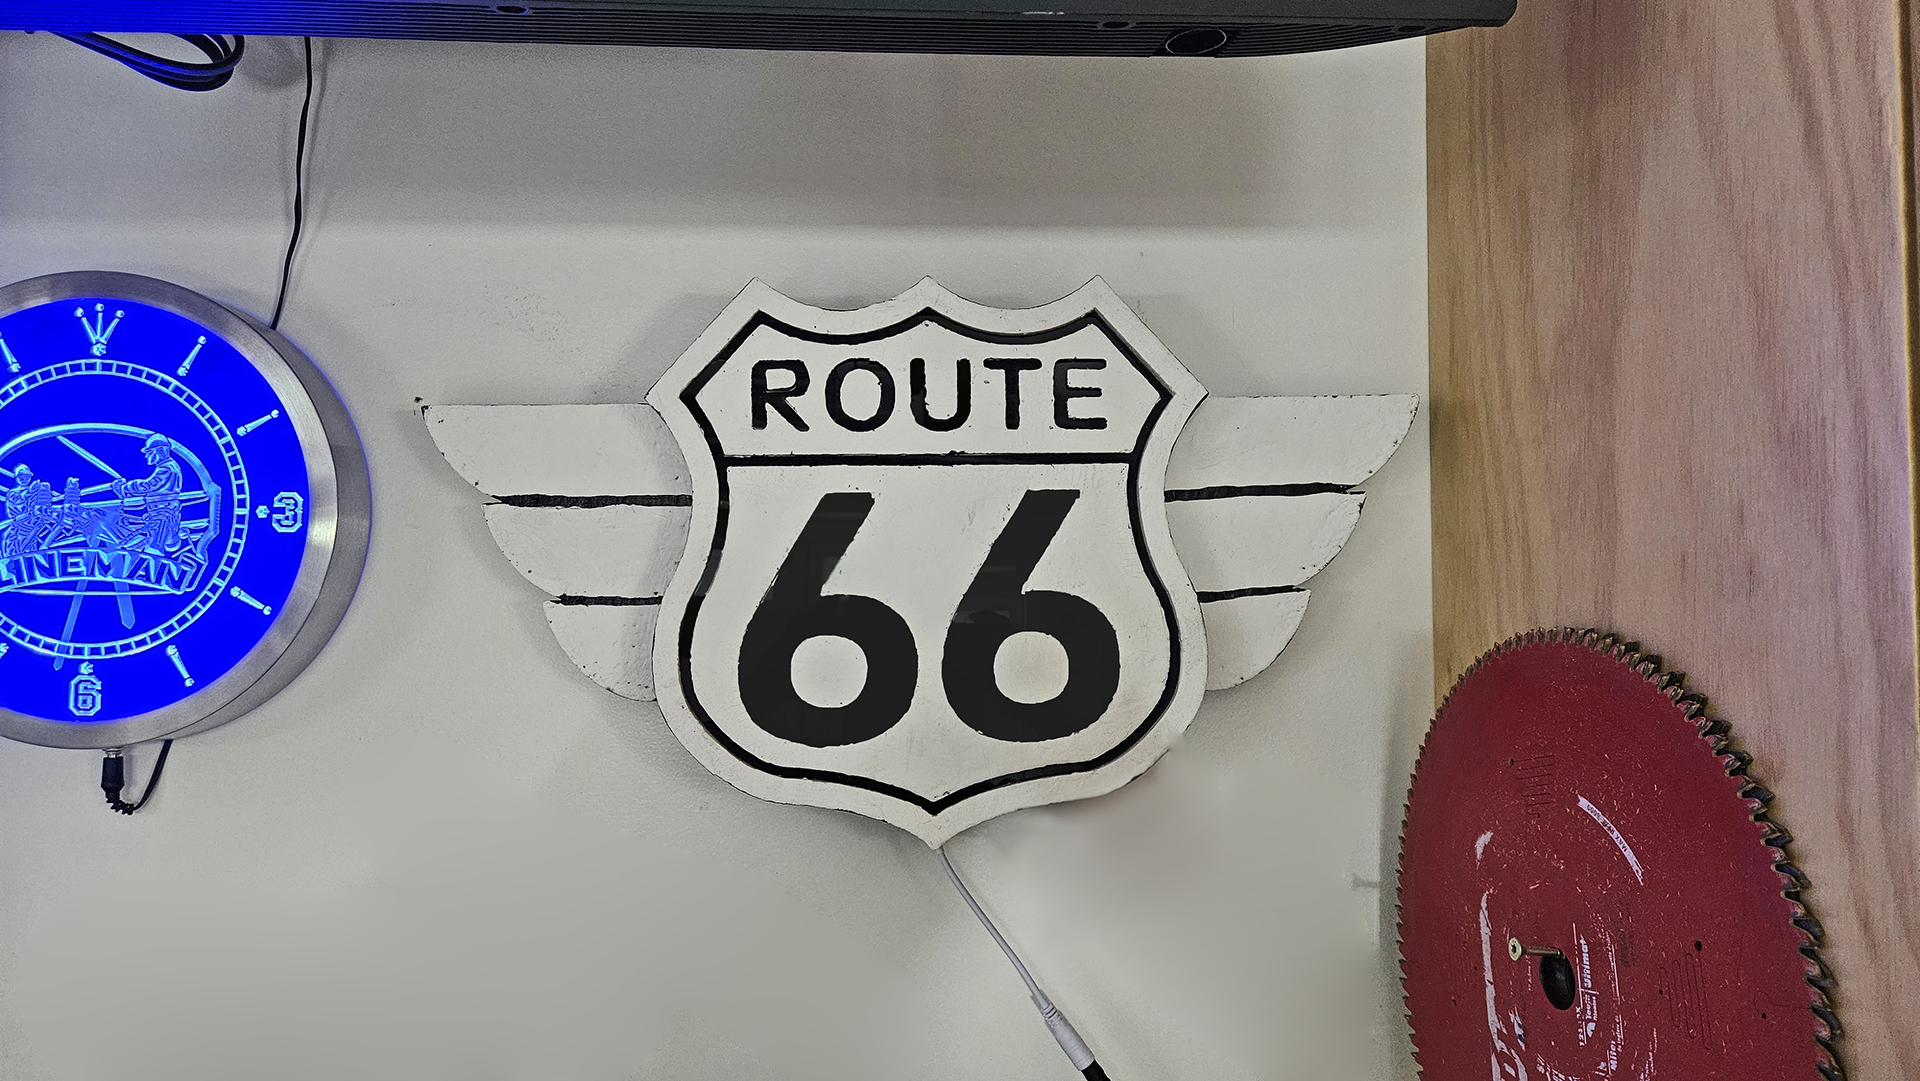
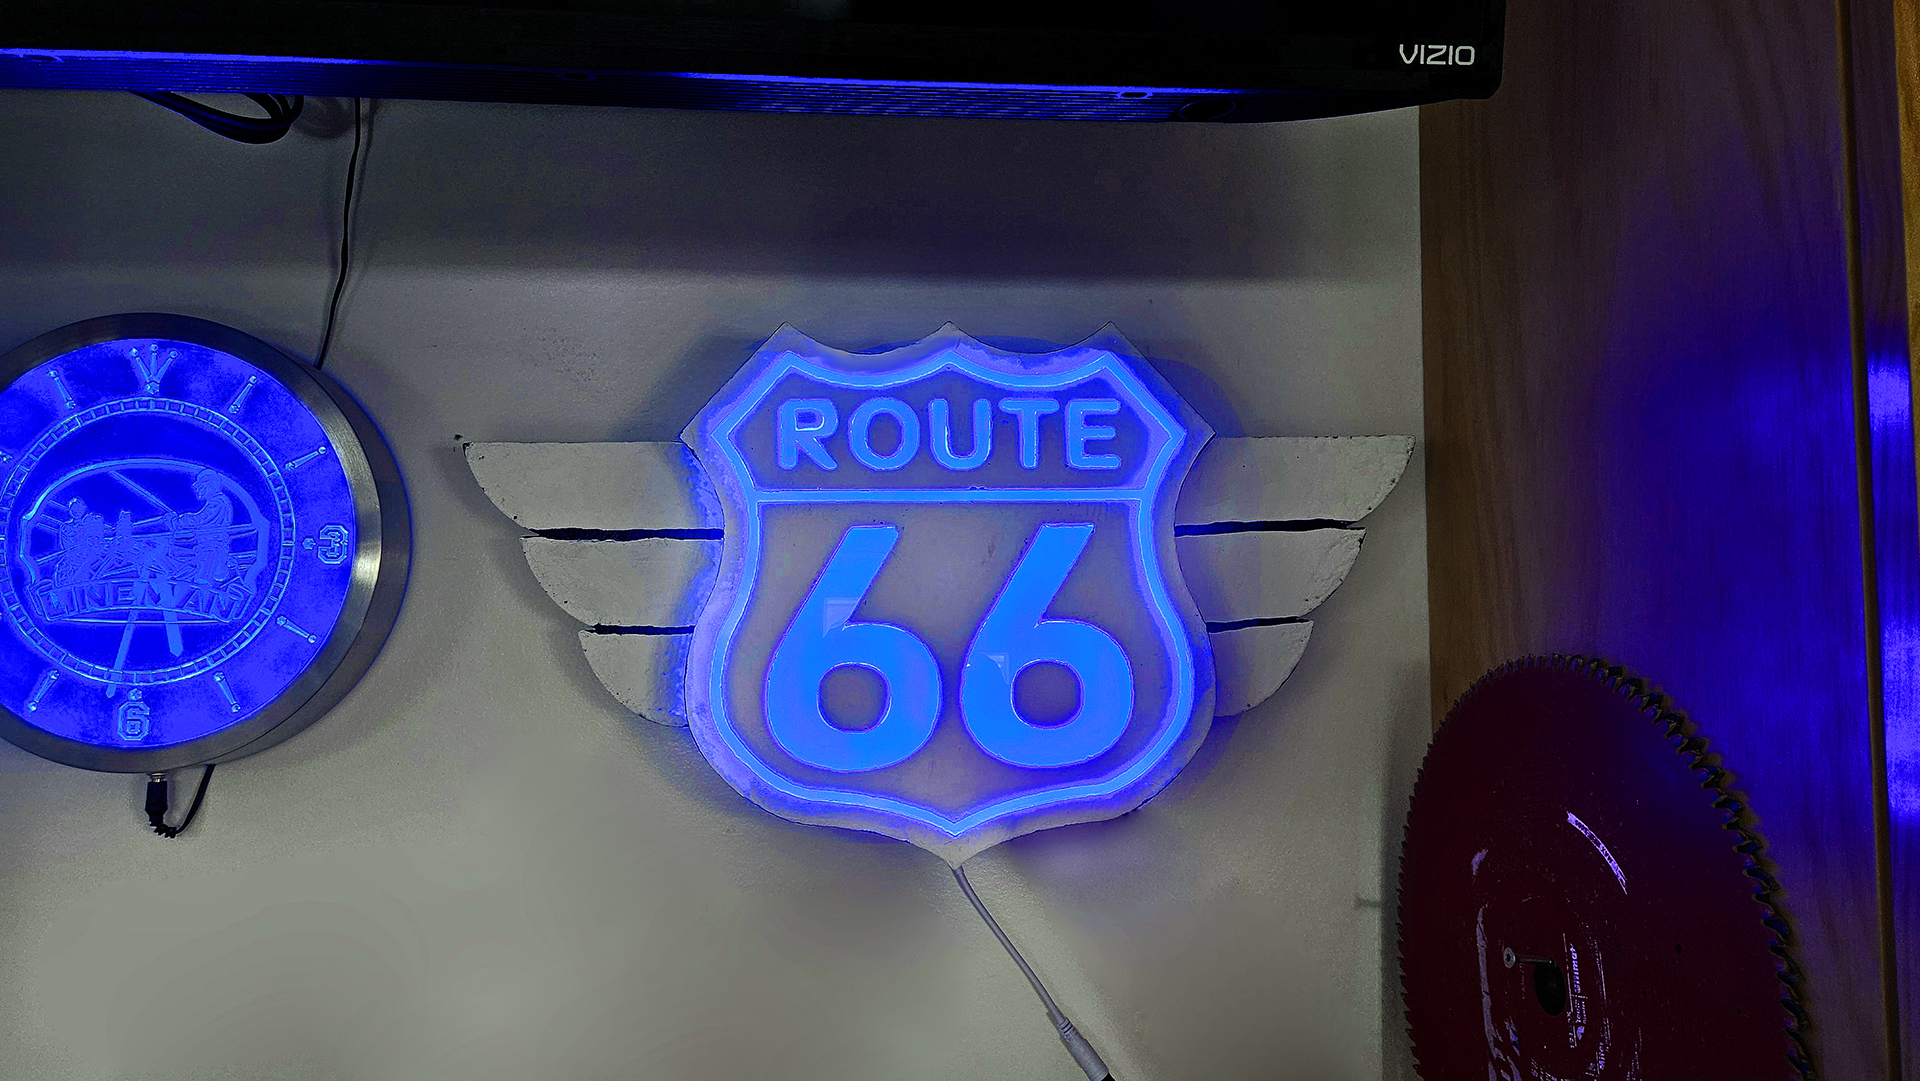
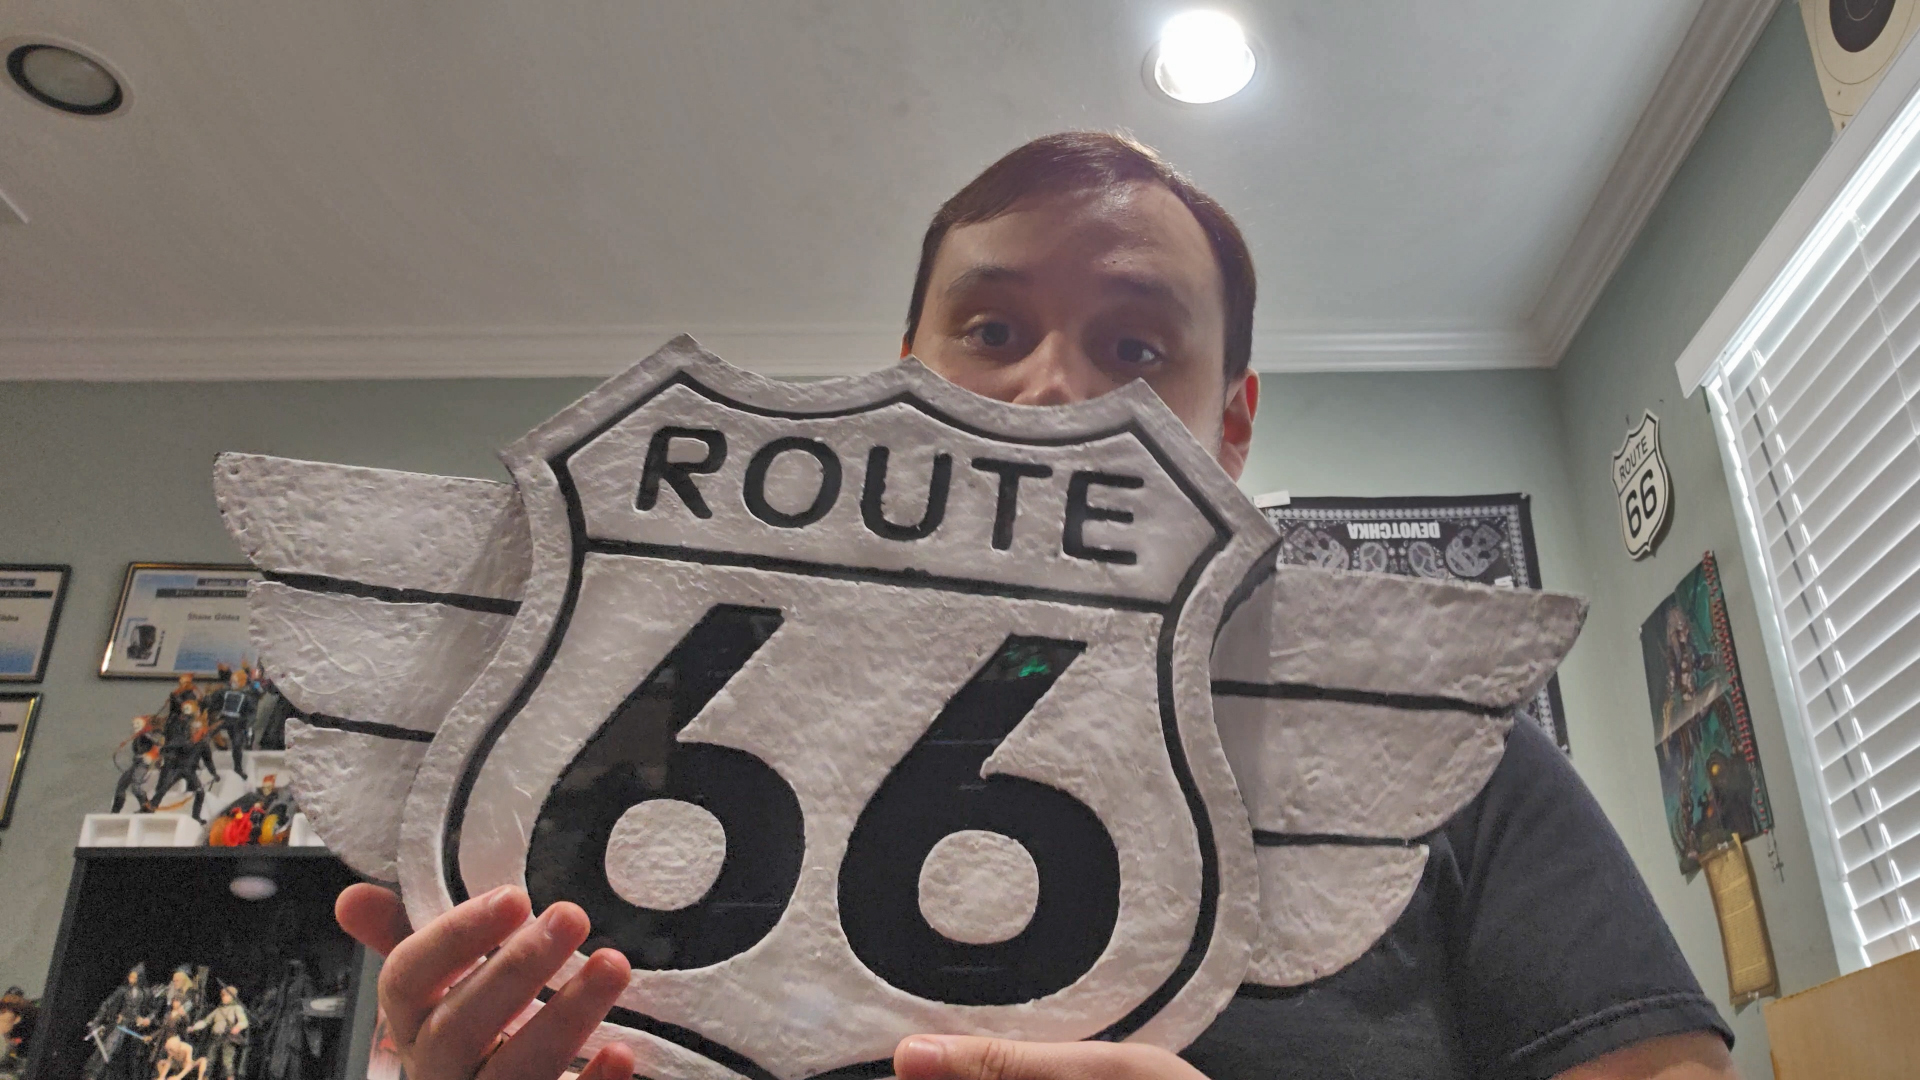
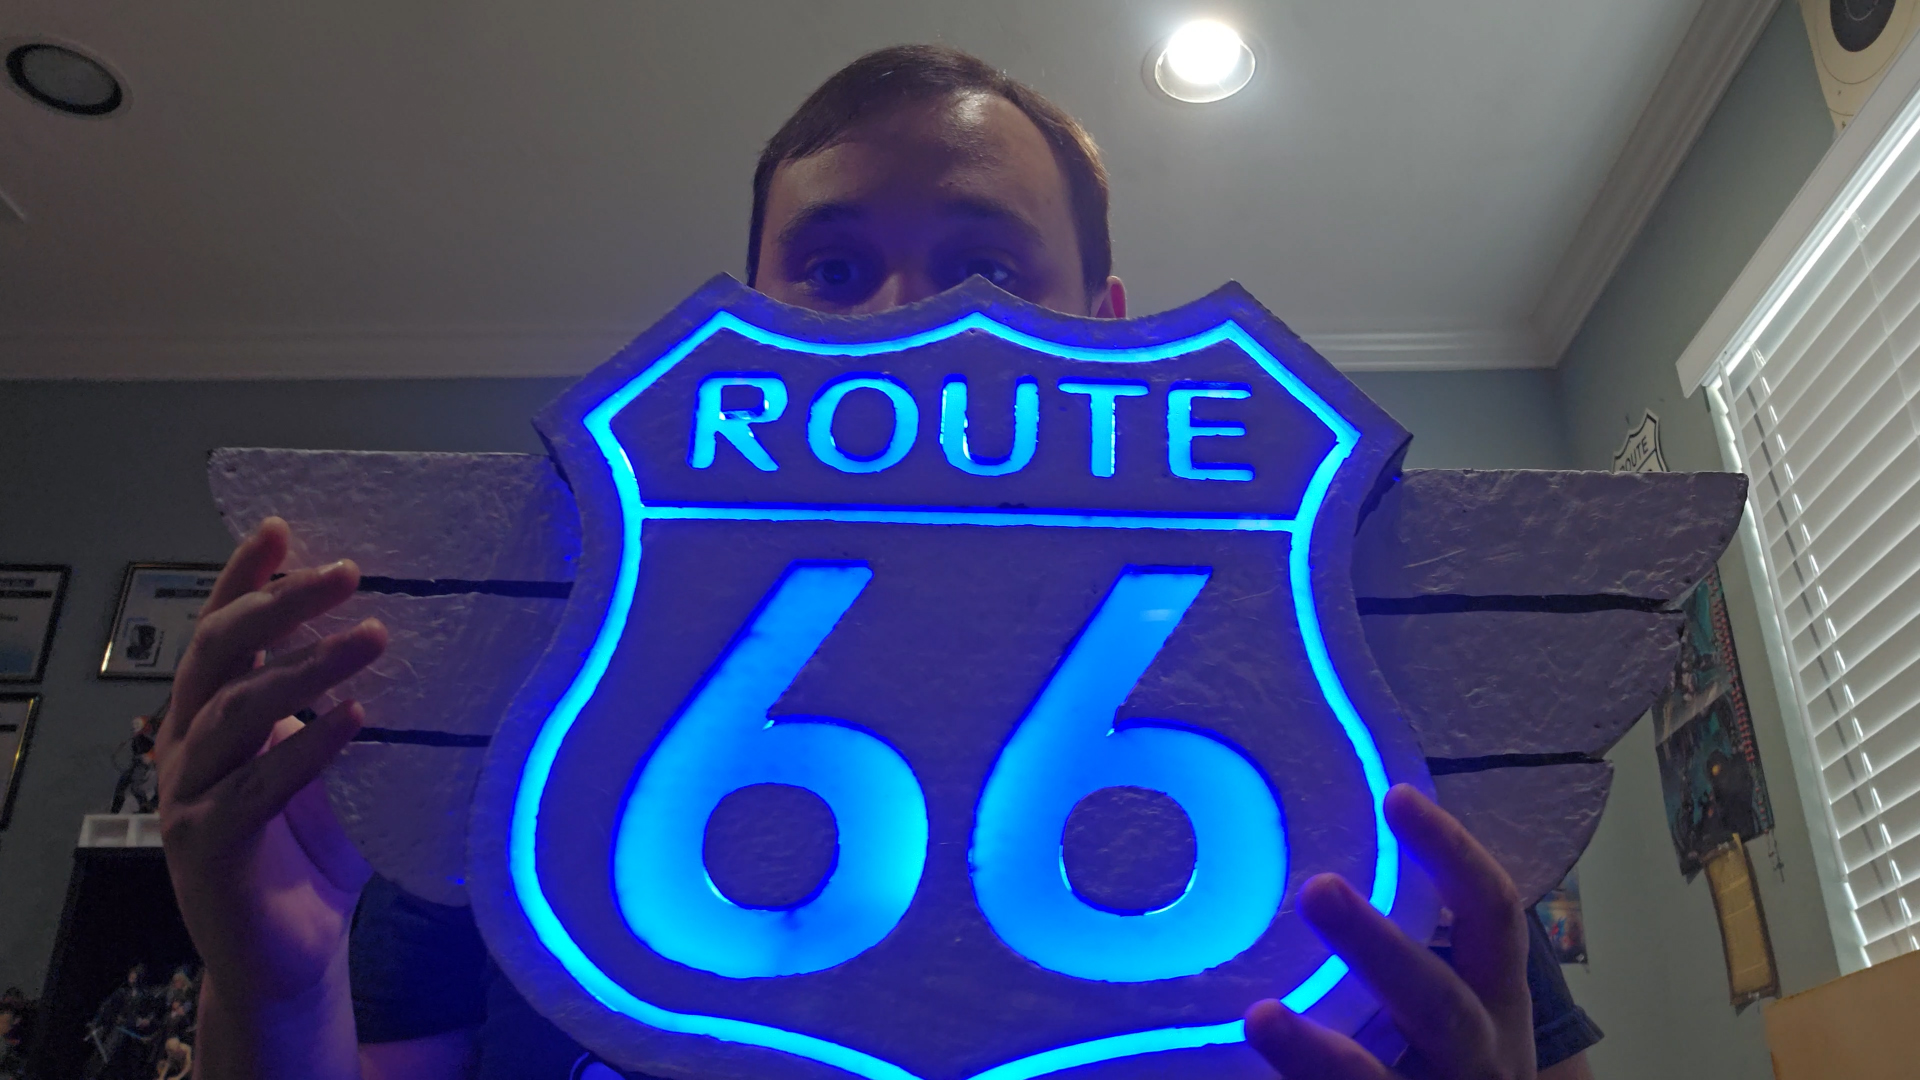
Our graphics and marketing guy, Shane, crafted this light-up Route 66 wall sign out of EPS foam and black LED acrylic.
Templates:
“My dad and I have gone down Route 66 4 different times, so it holds a special place in our hearts. I decided to make him this sign for his birthday to hang up in his new workshop. I went with blue for the LEDs because he’s color blind but can still see blue very well.
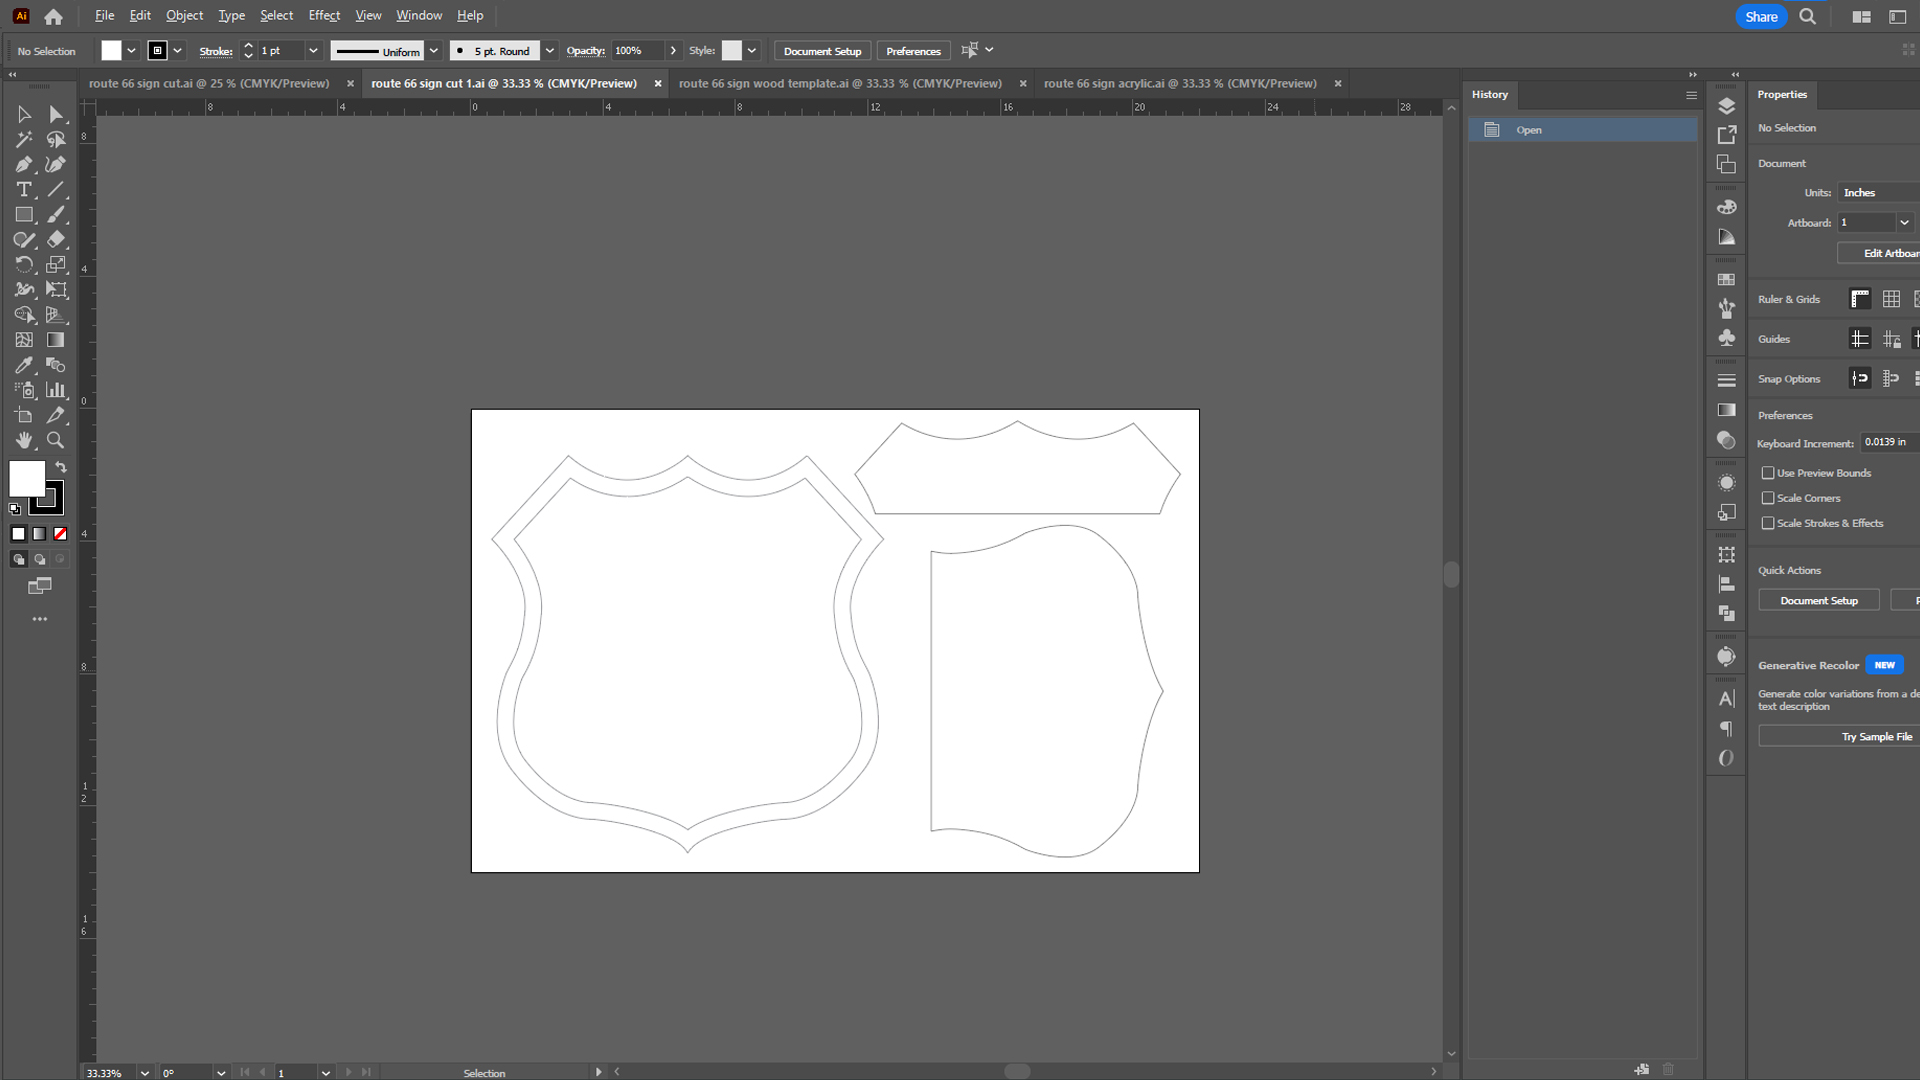
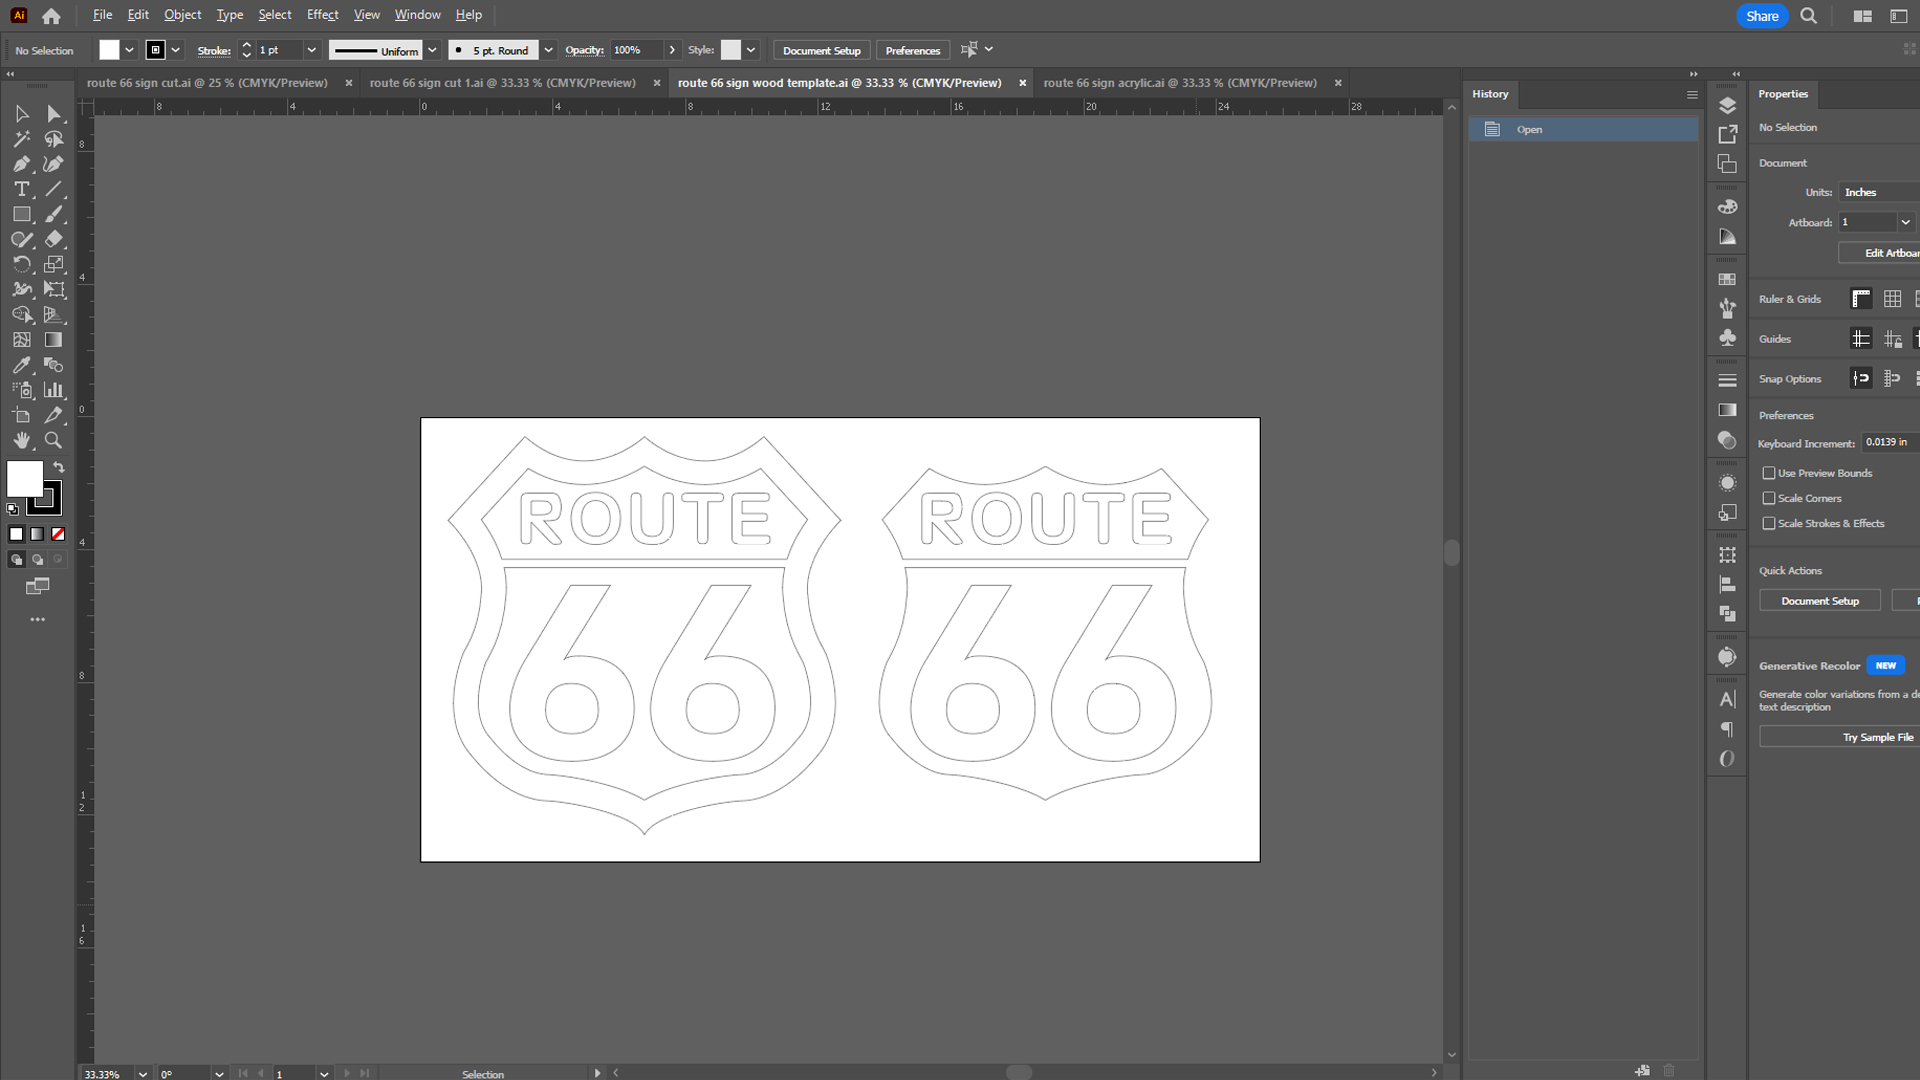
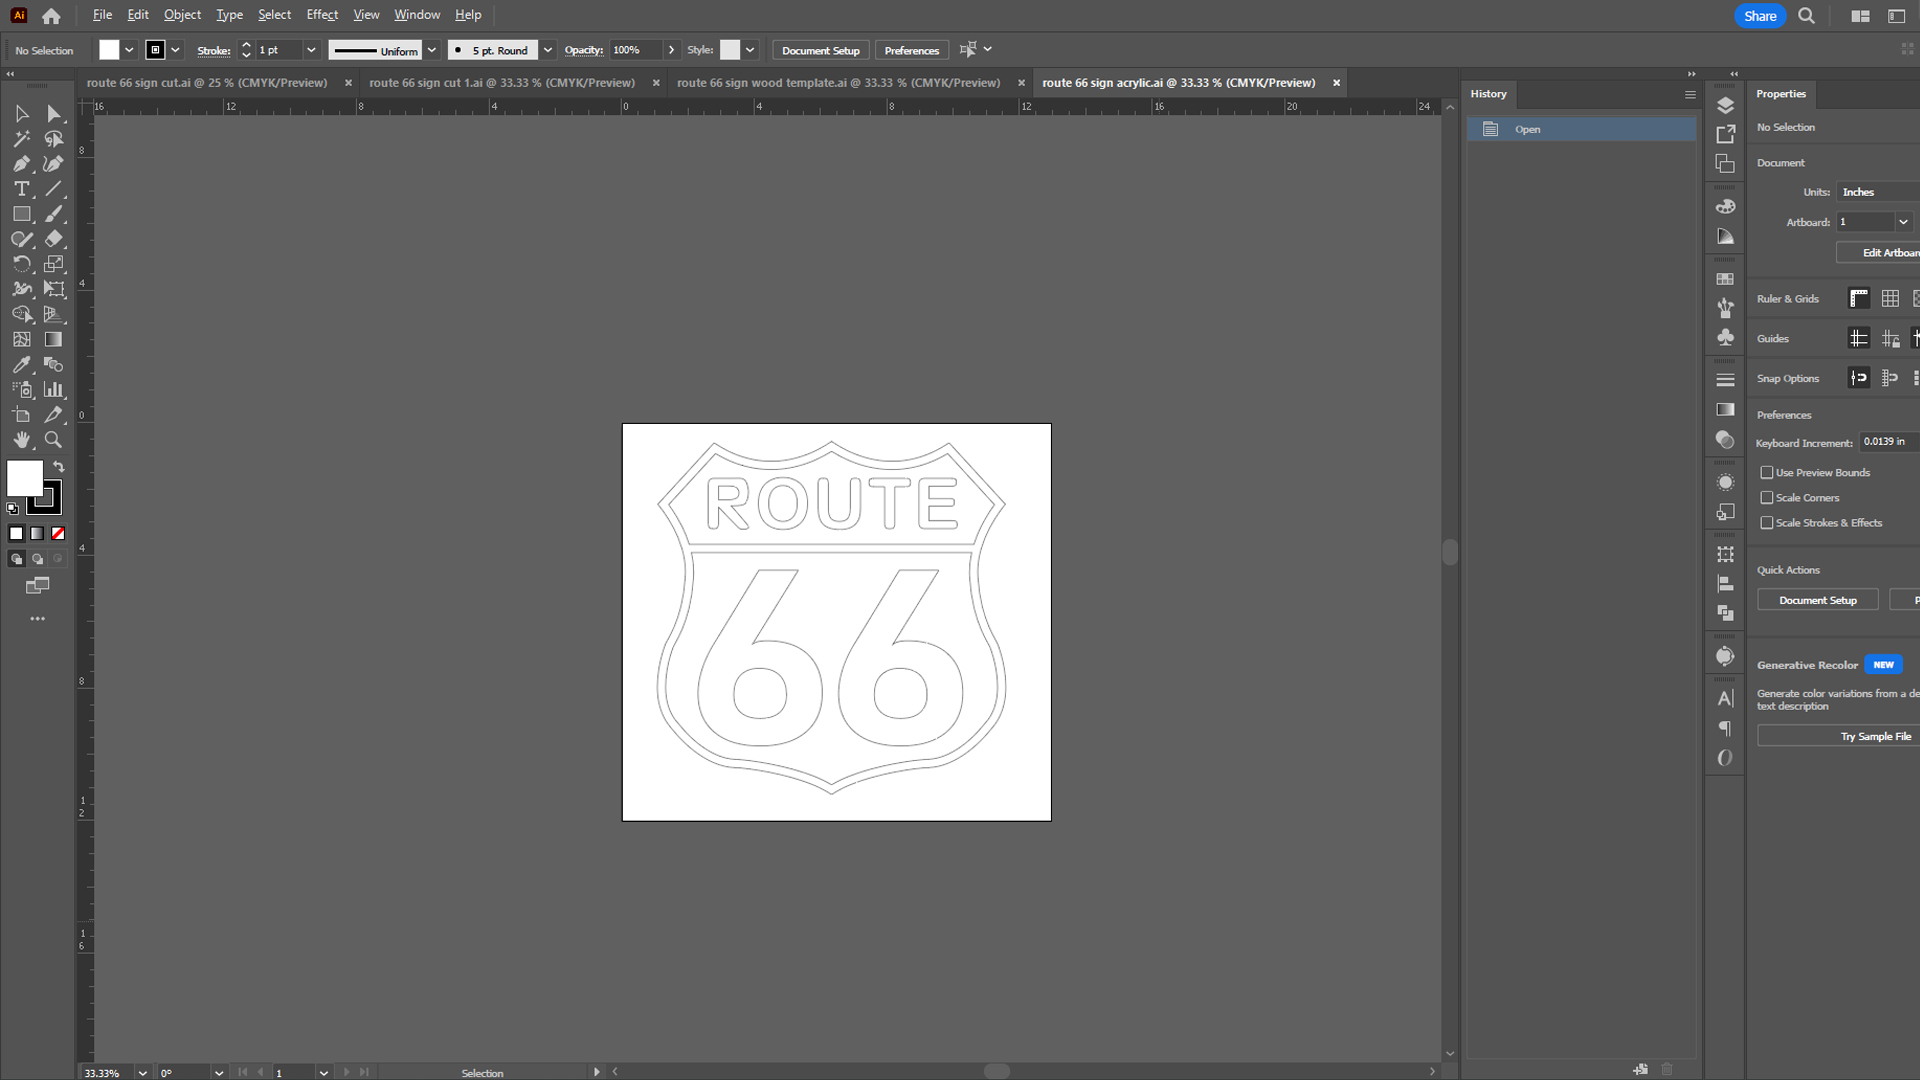
First, I drew up all of my files in Adobe Illustrator. I had 4 in total: 2 for the foam pieces, 1 for wood templates, and 1 for the acrylic sheet.”

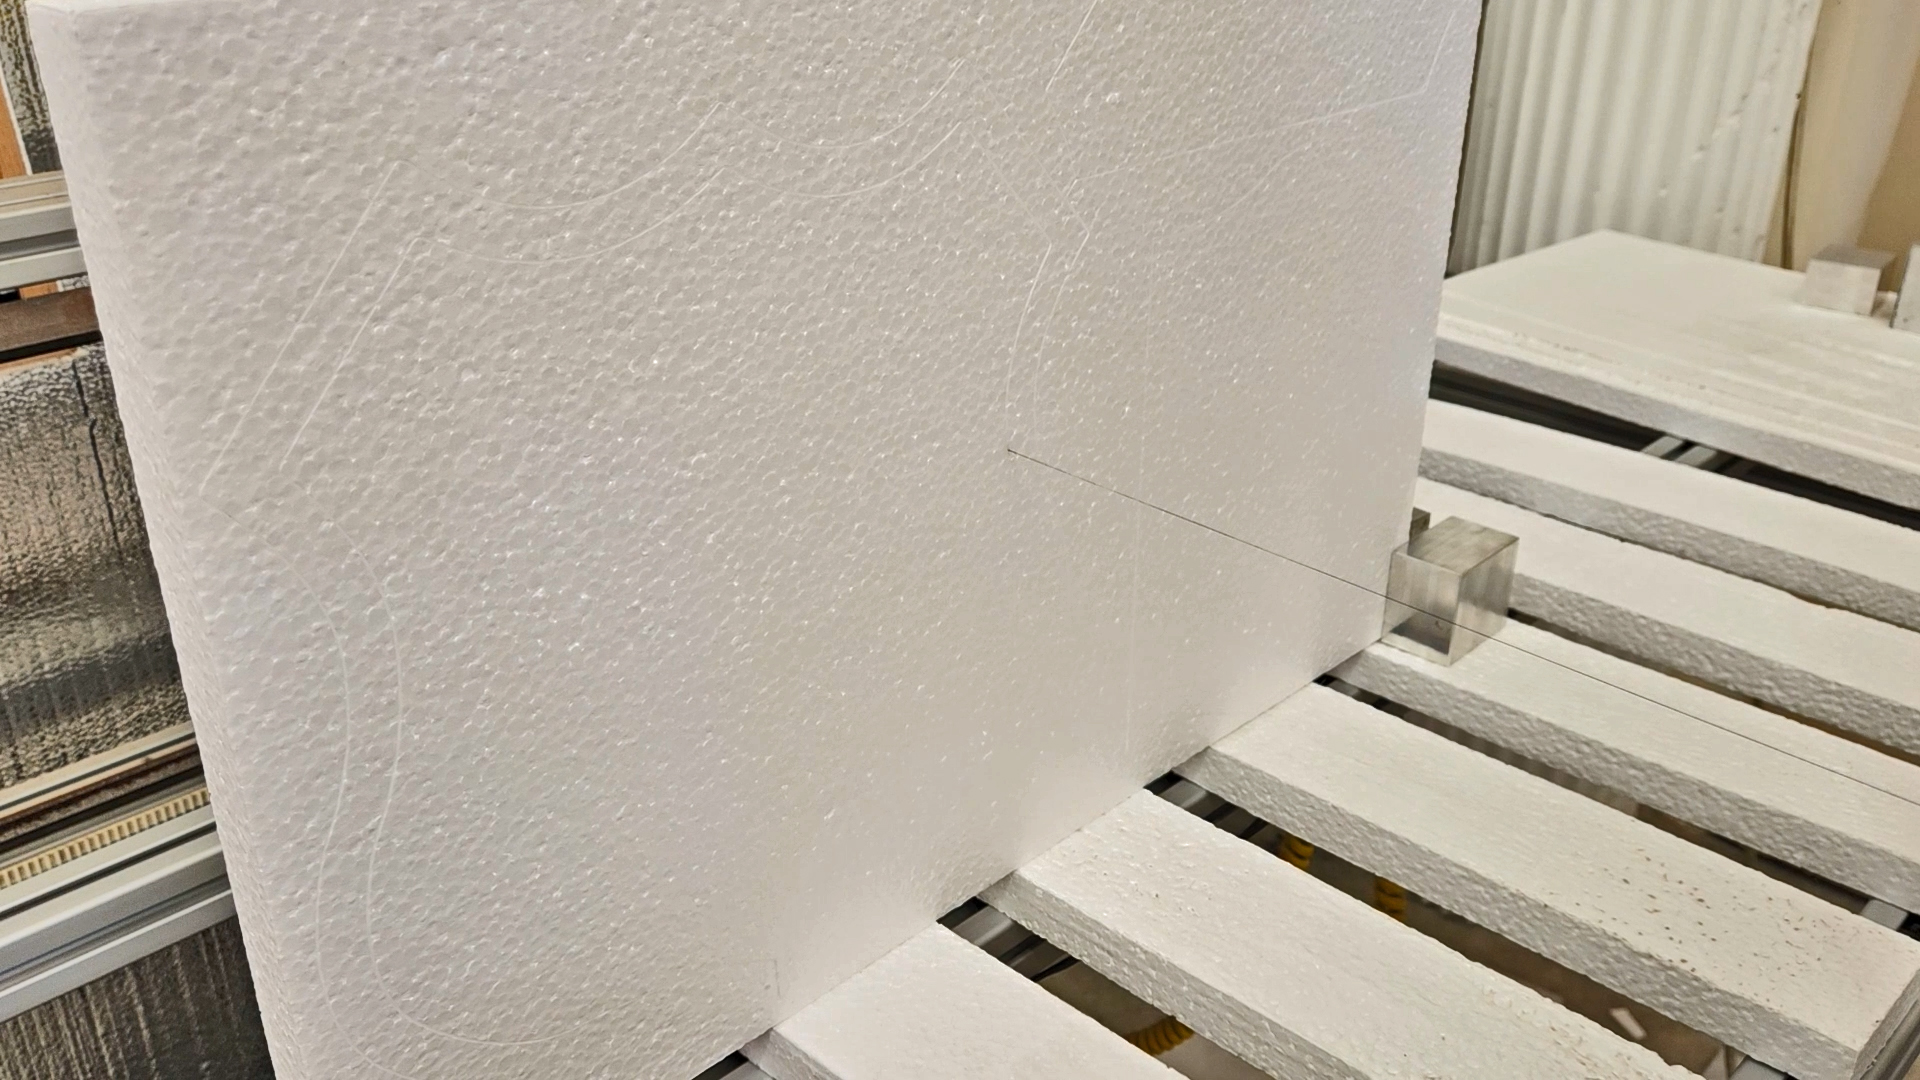
“Joseph in the CNC shop helped me setup our foam cutting CNC to cutout all the foam pieces. We setup the CNC to enter from the bottom point when cutting out the inner area of the top layer so I can slide the LED power cord through the little curf that it creates.
This can also be done with any of our Scroll Tables with either a steady drawing hand or wood/paper templates.”
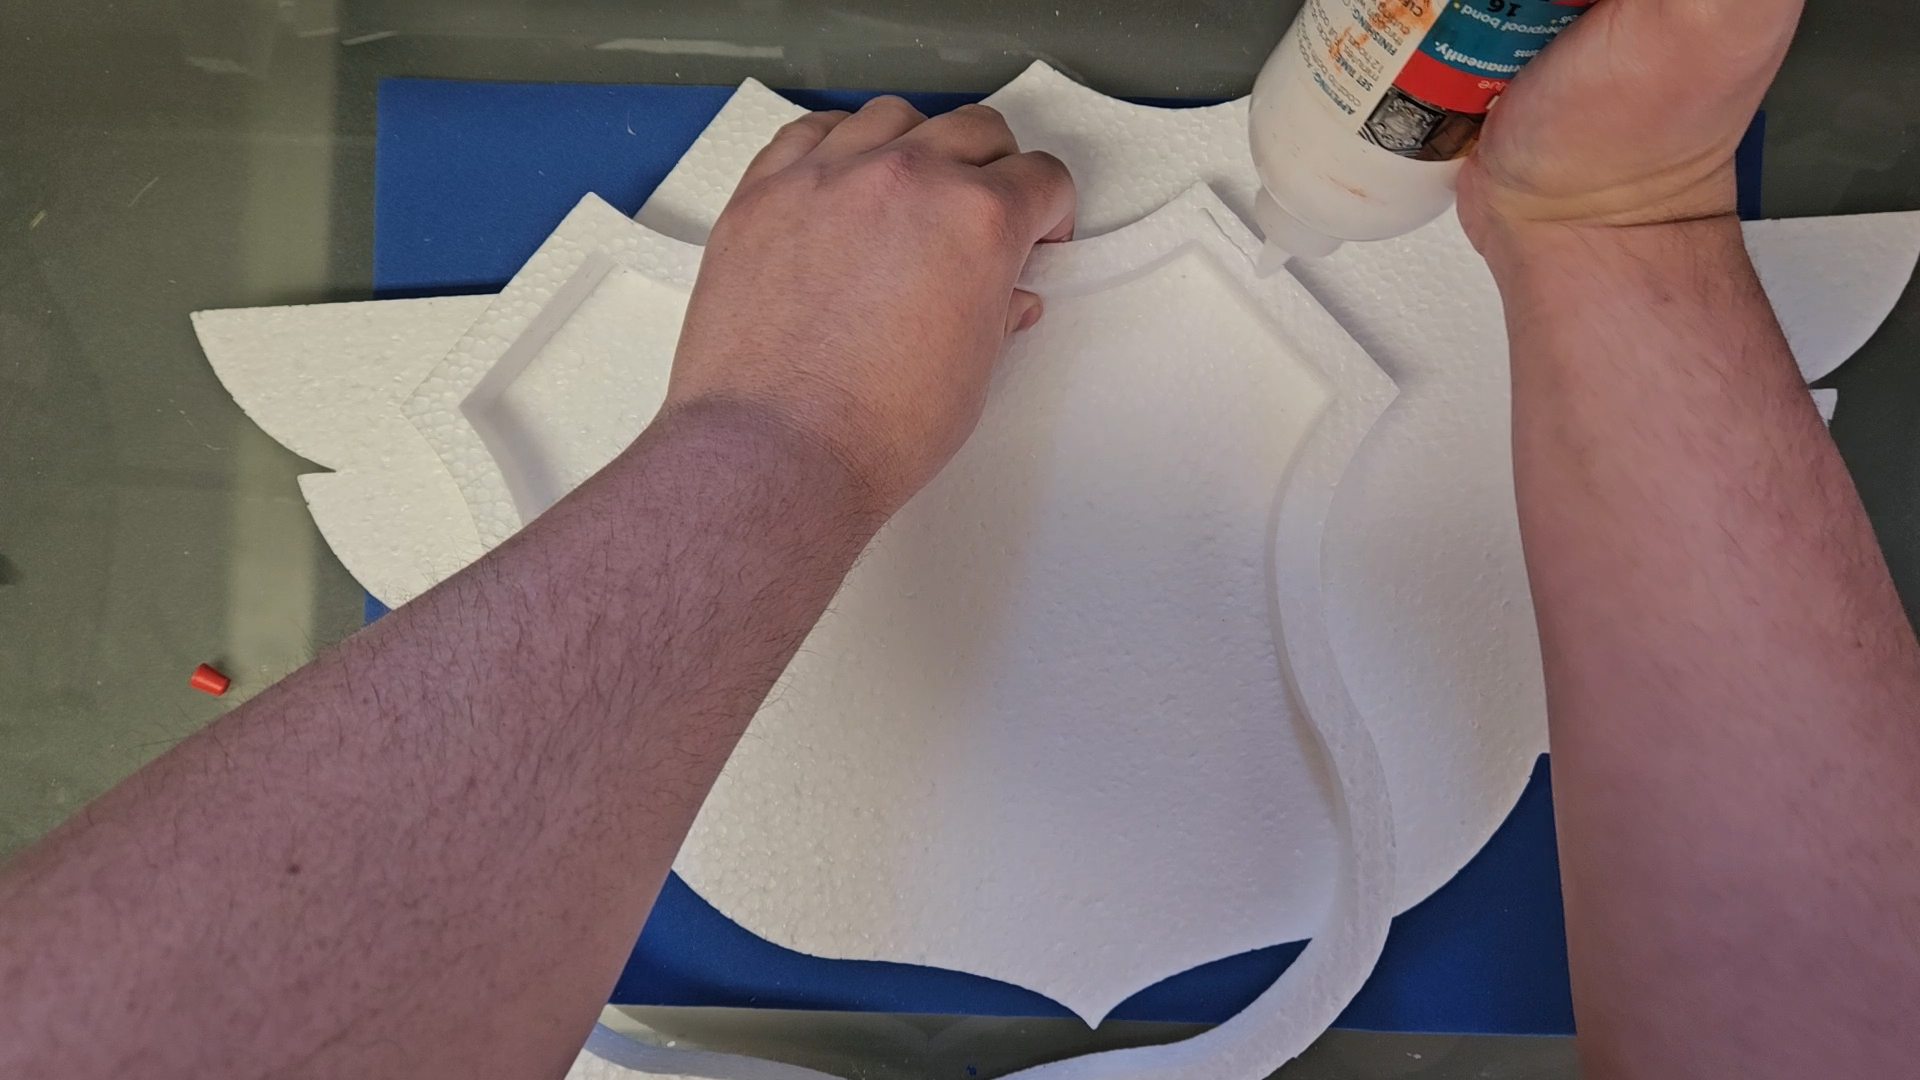
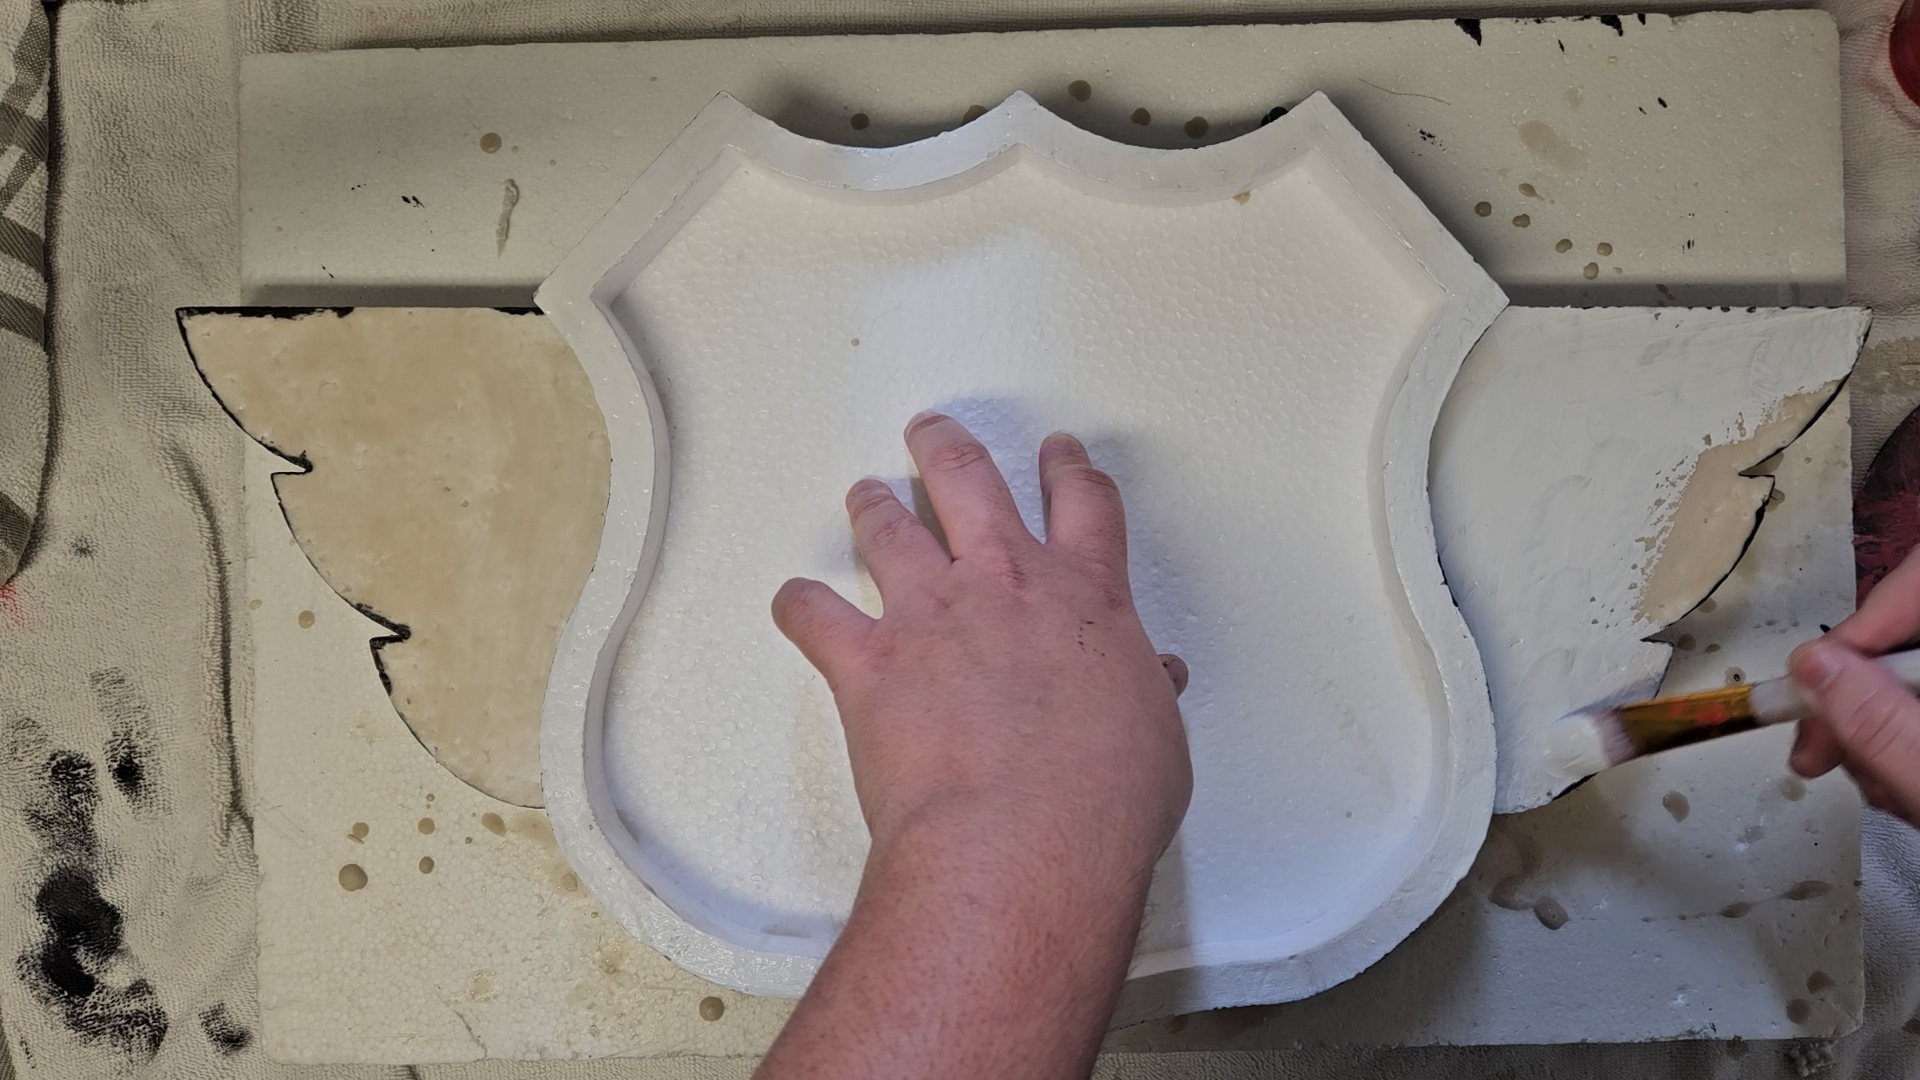
“Once all the pieces were cut out, I glued the top layer down with some Foam Fusion.”
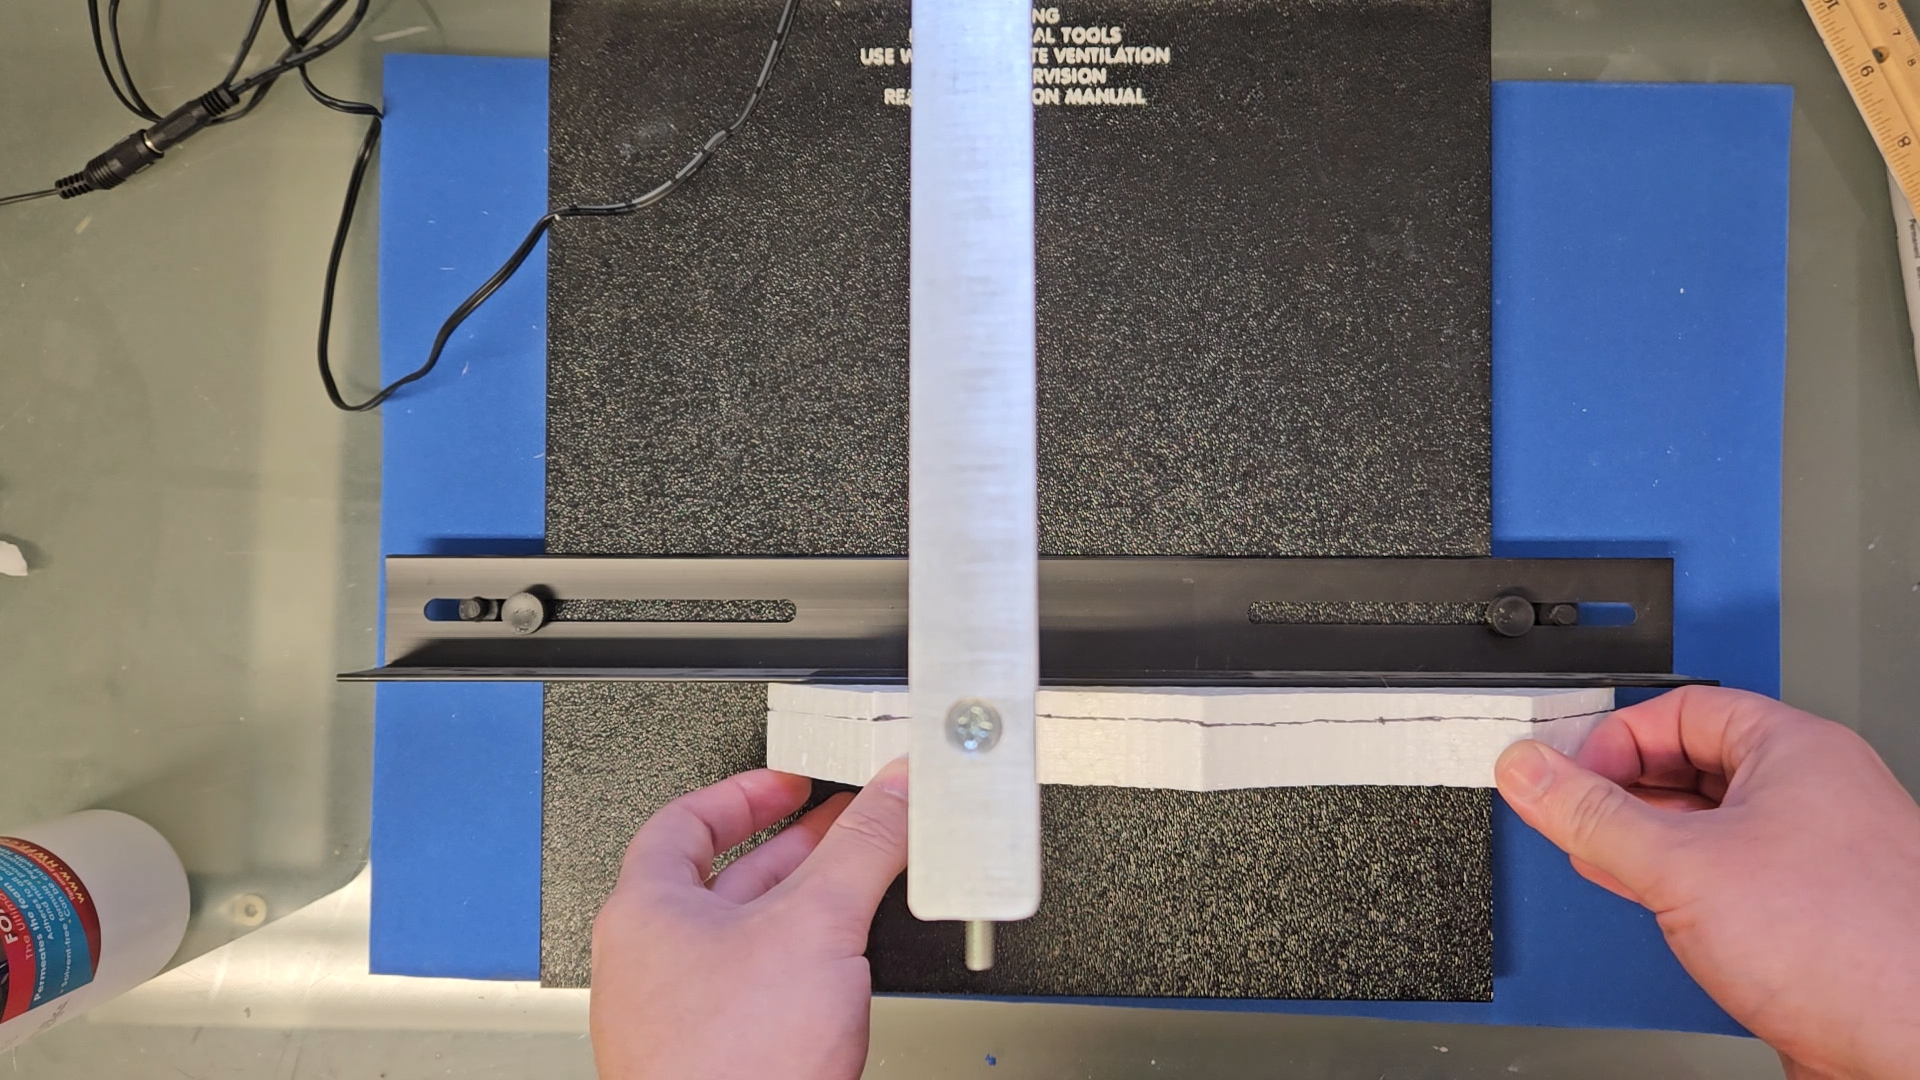
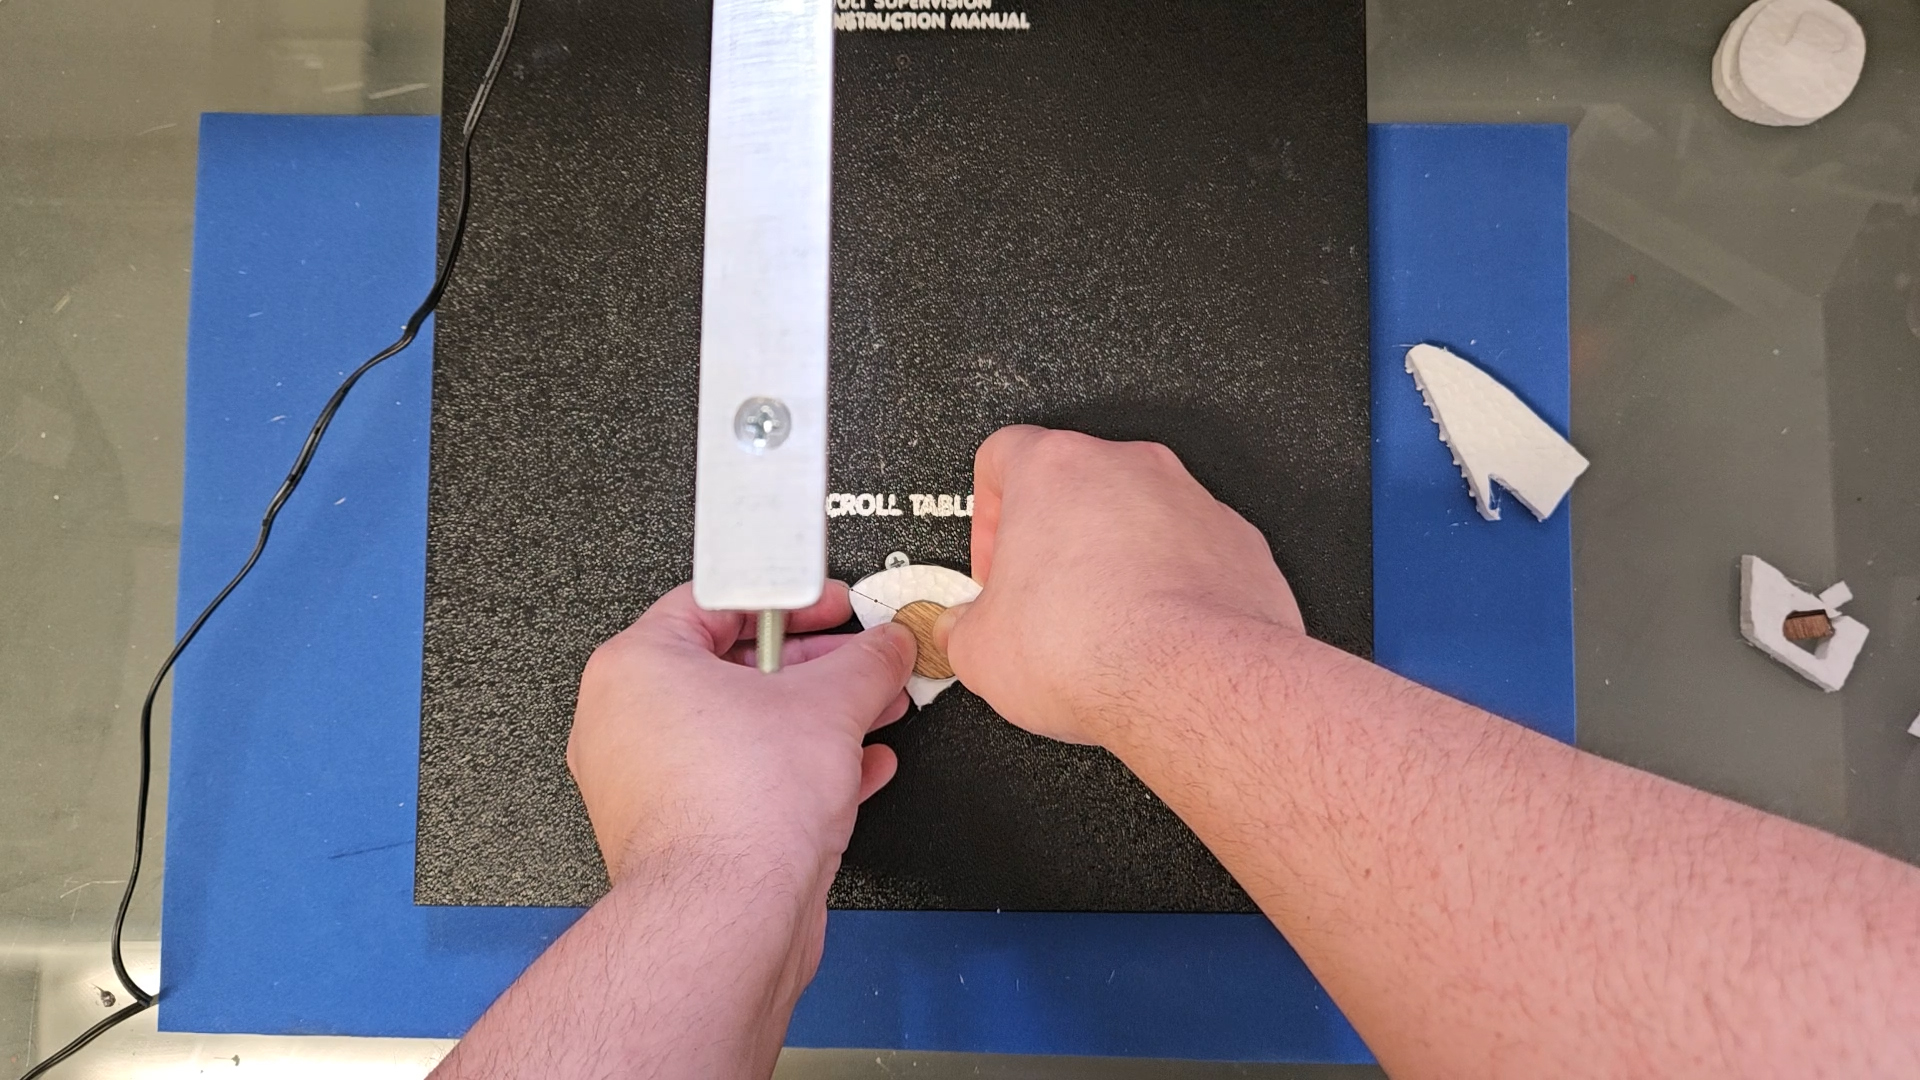
“For the middle pieces, I had to trim the thickness down to about 1/4” to make room for the LED strip. I measured it out then trimmed the pieces down with a Scroll Table.”
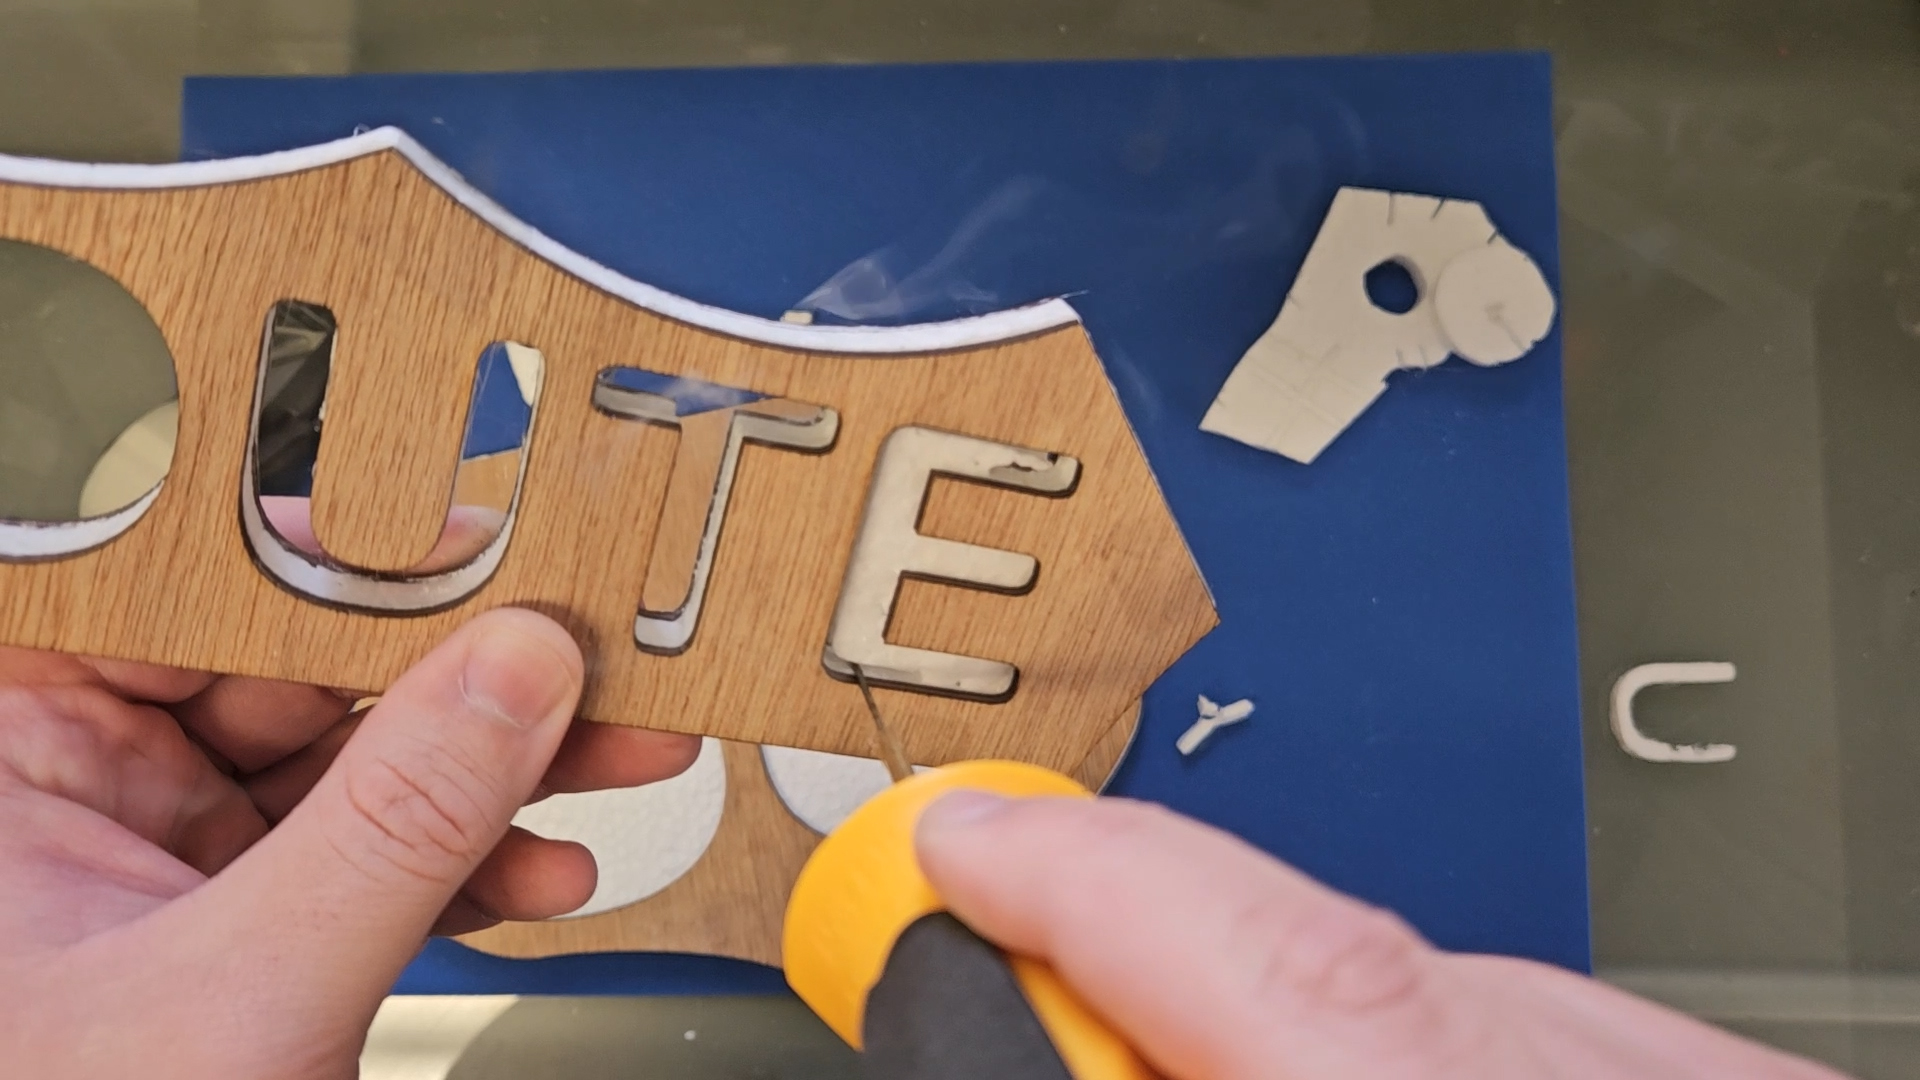
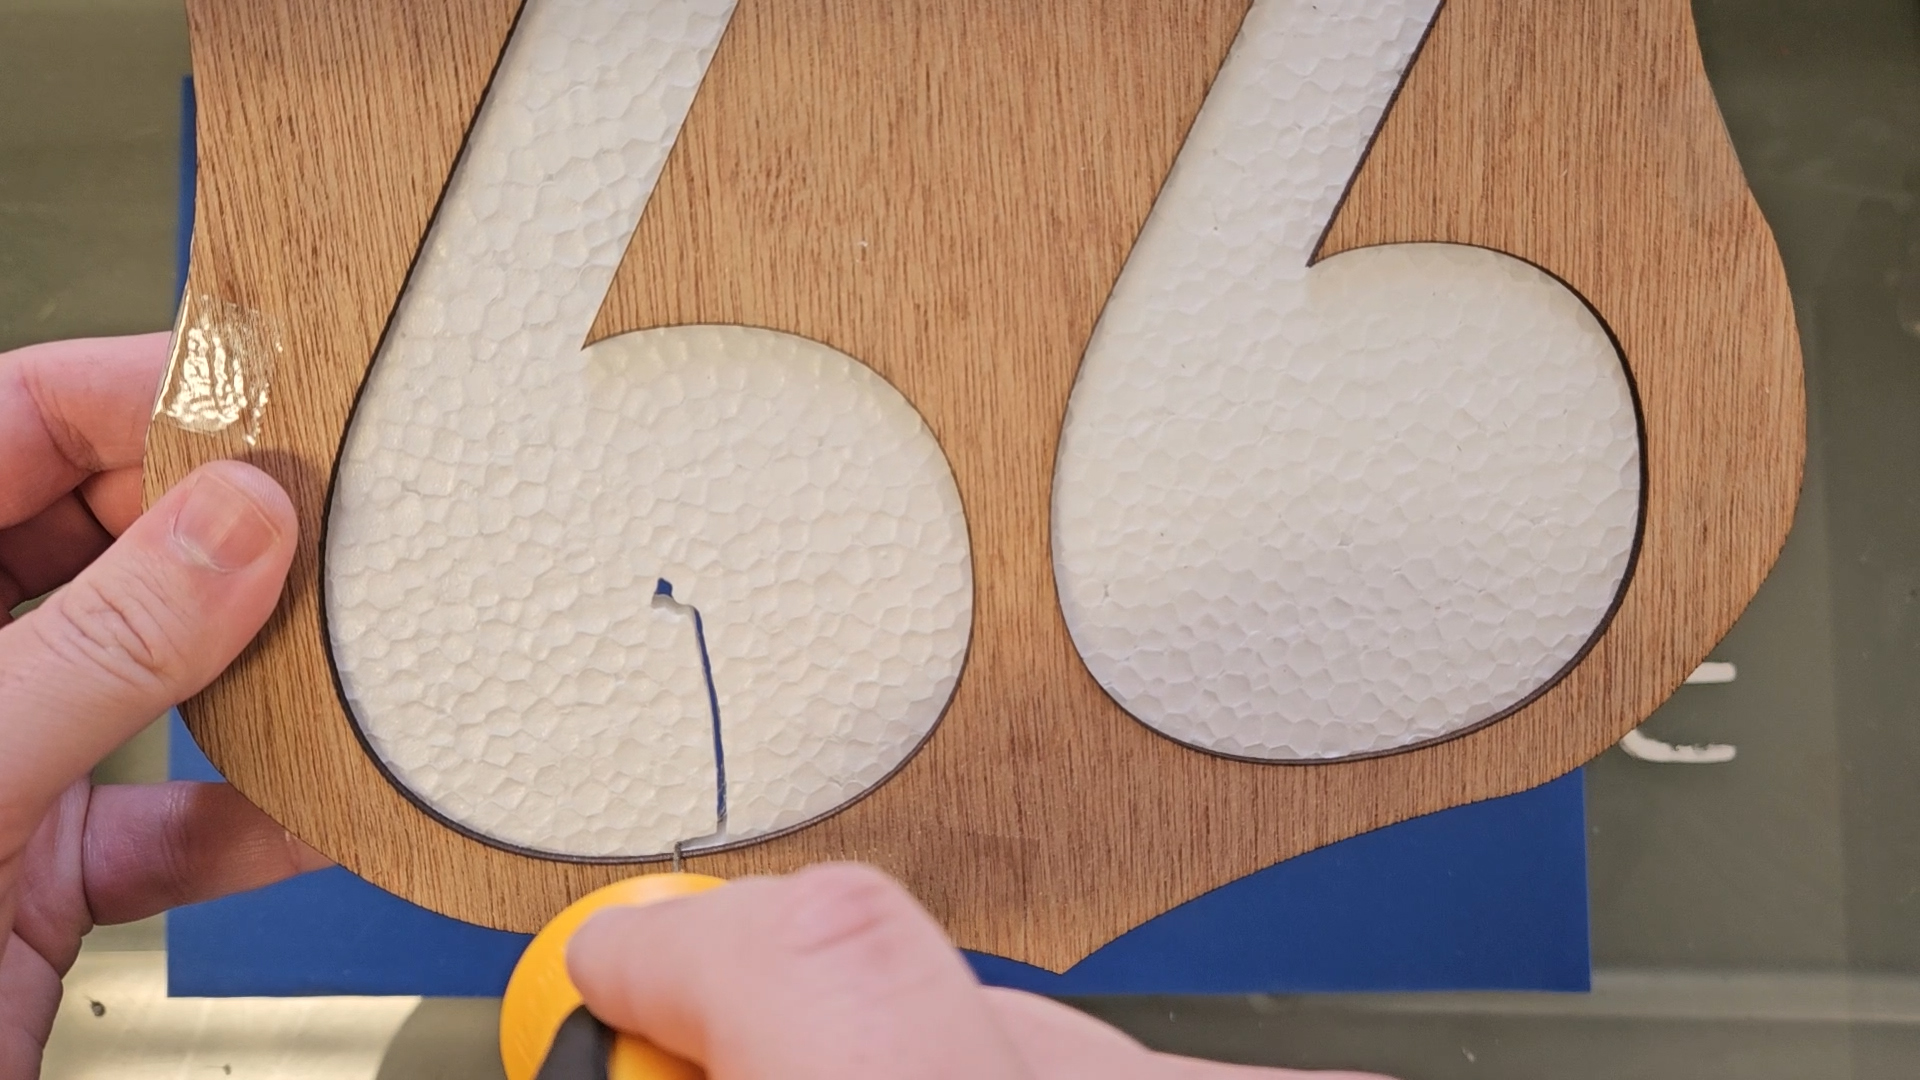
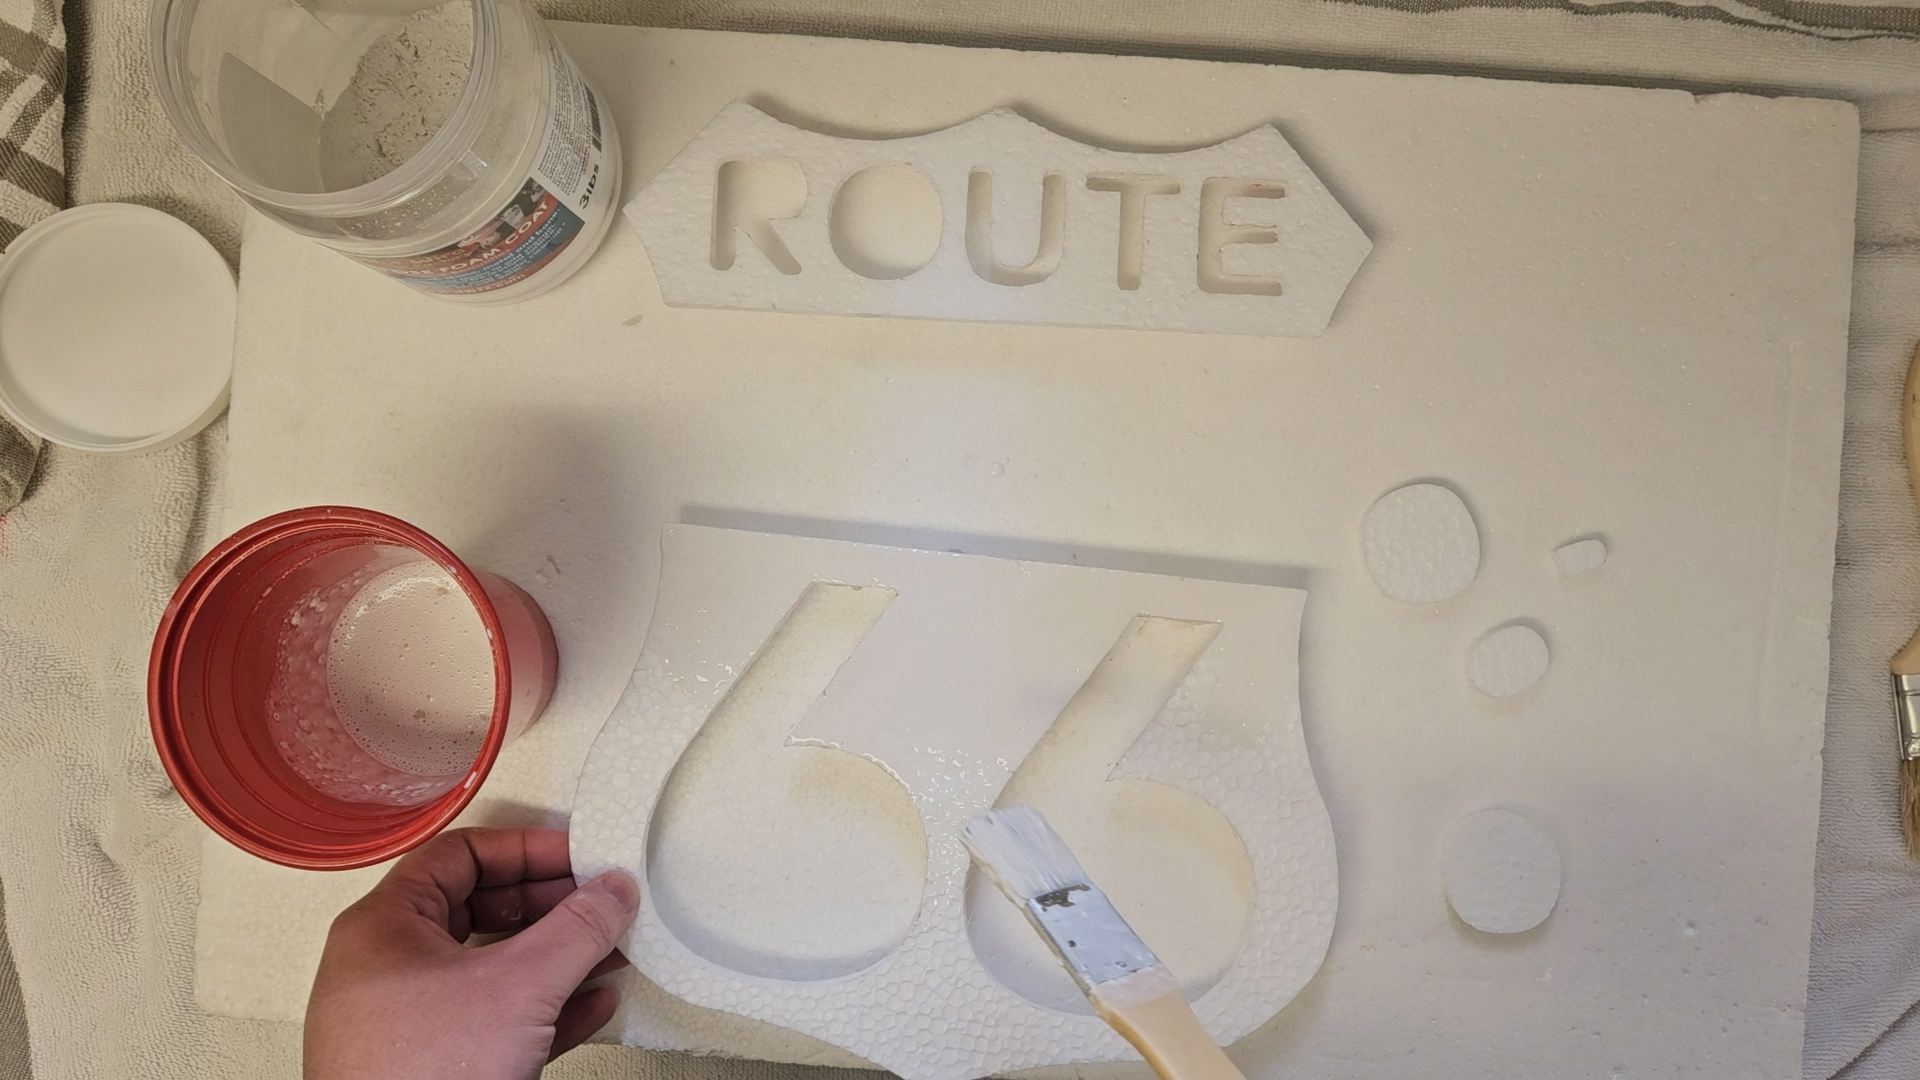
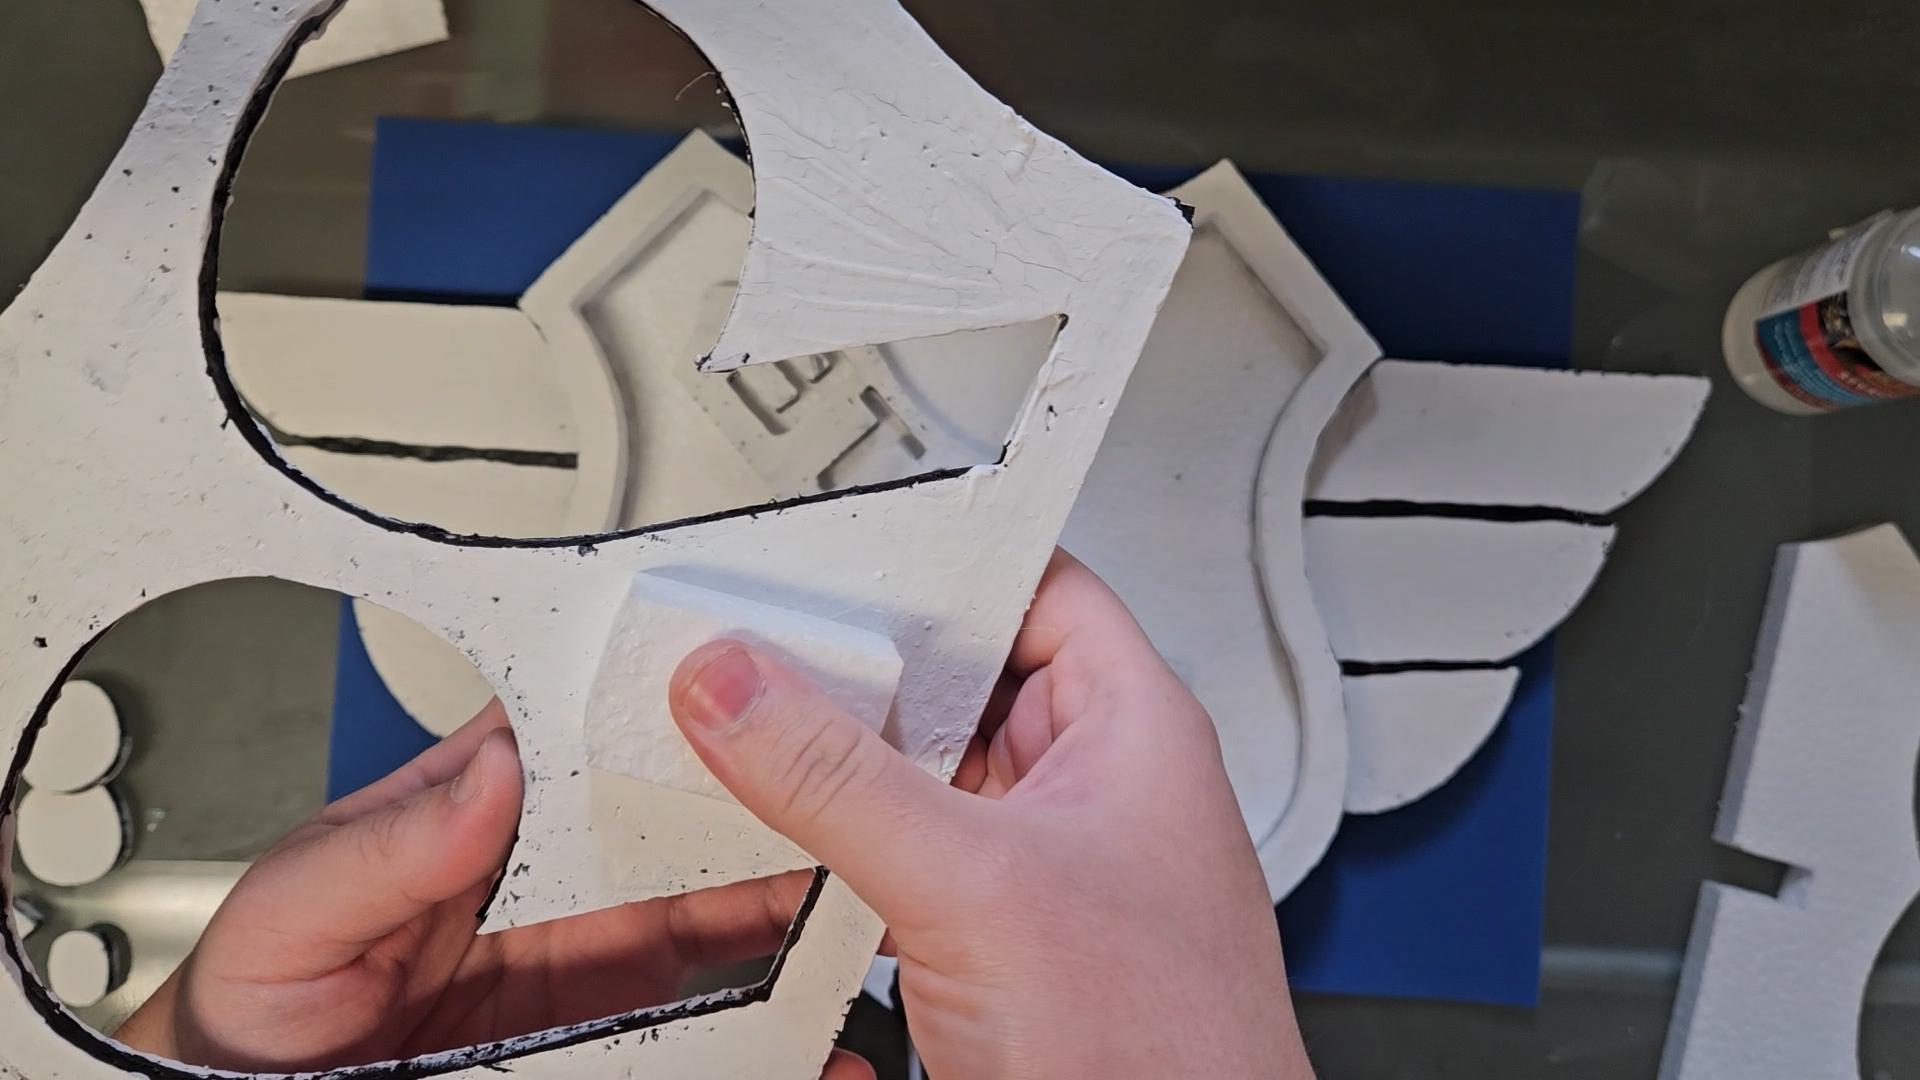
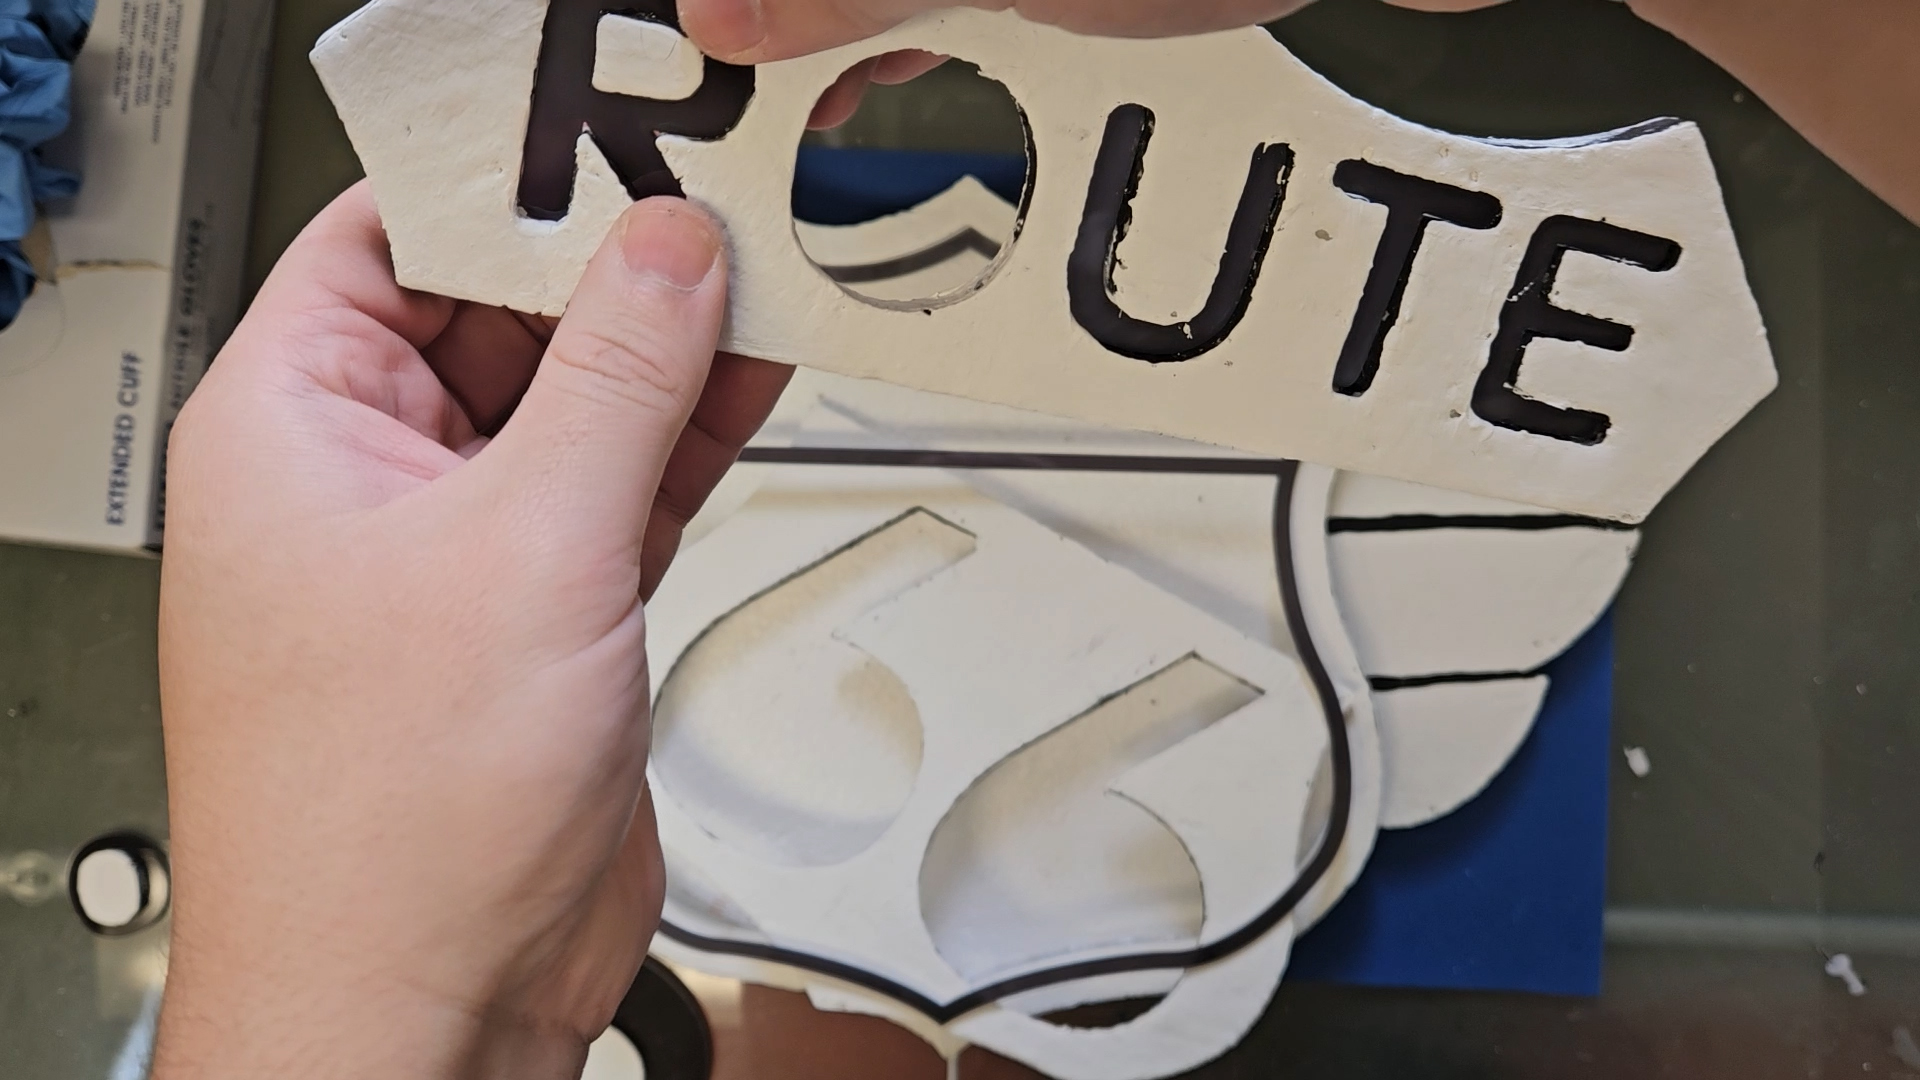
“For the next step, Brandon in the CNC shop helped me cut out some wood templates on our laser cutter. I taped these templates down to both the front and back of the middle pieces and used a 3-Inch Hot Knife to cut out the letters and numbers. Using templates makes sure the letters are just the right size so the acrylic pieces can press fit into the negative spaces. After that, I used a Scroll Table to cut out the inner parts of the R, O, and both sixes.”
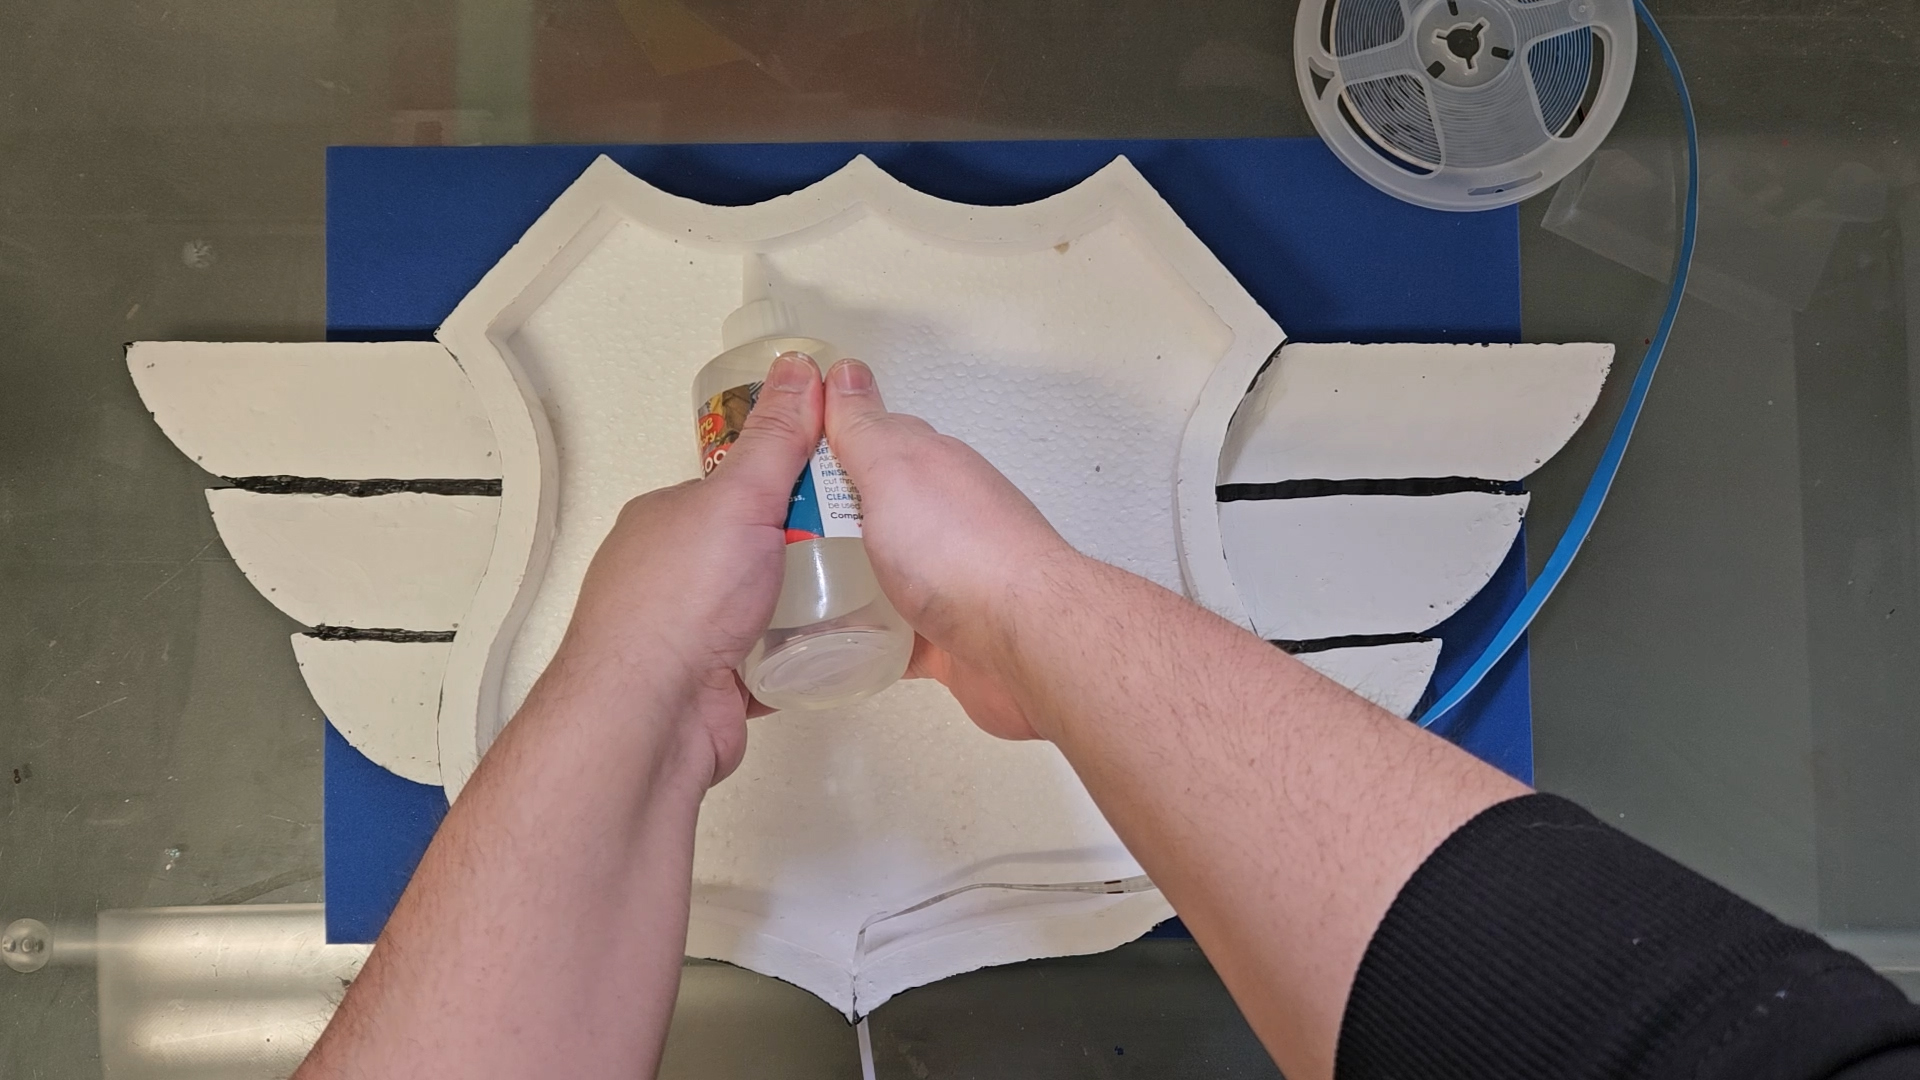
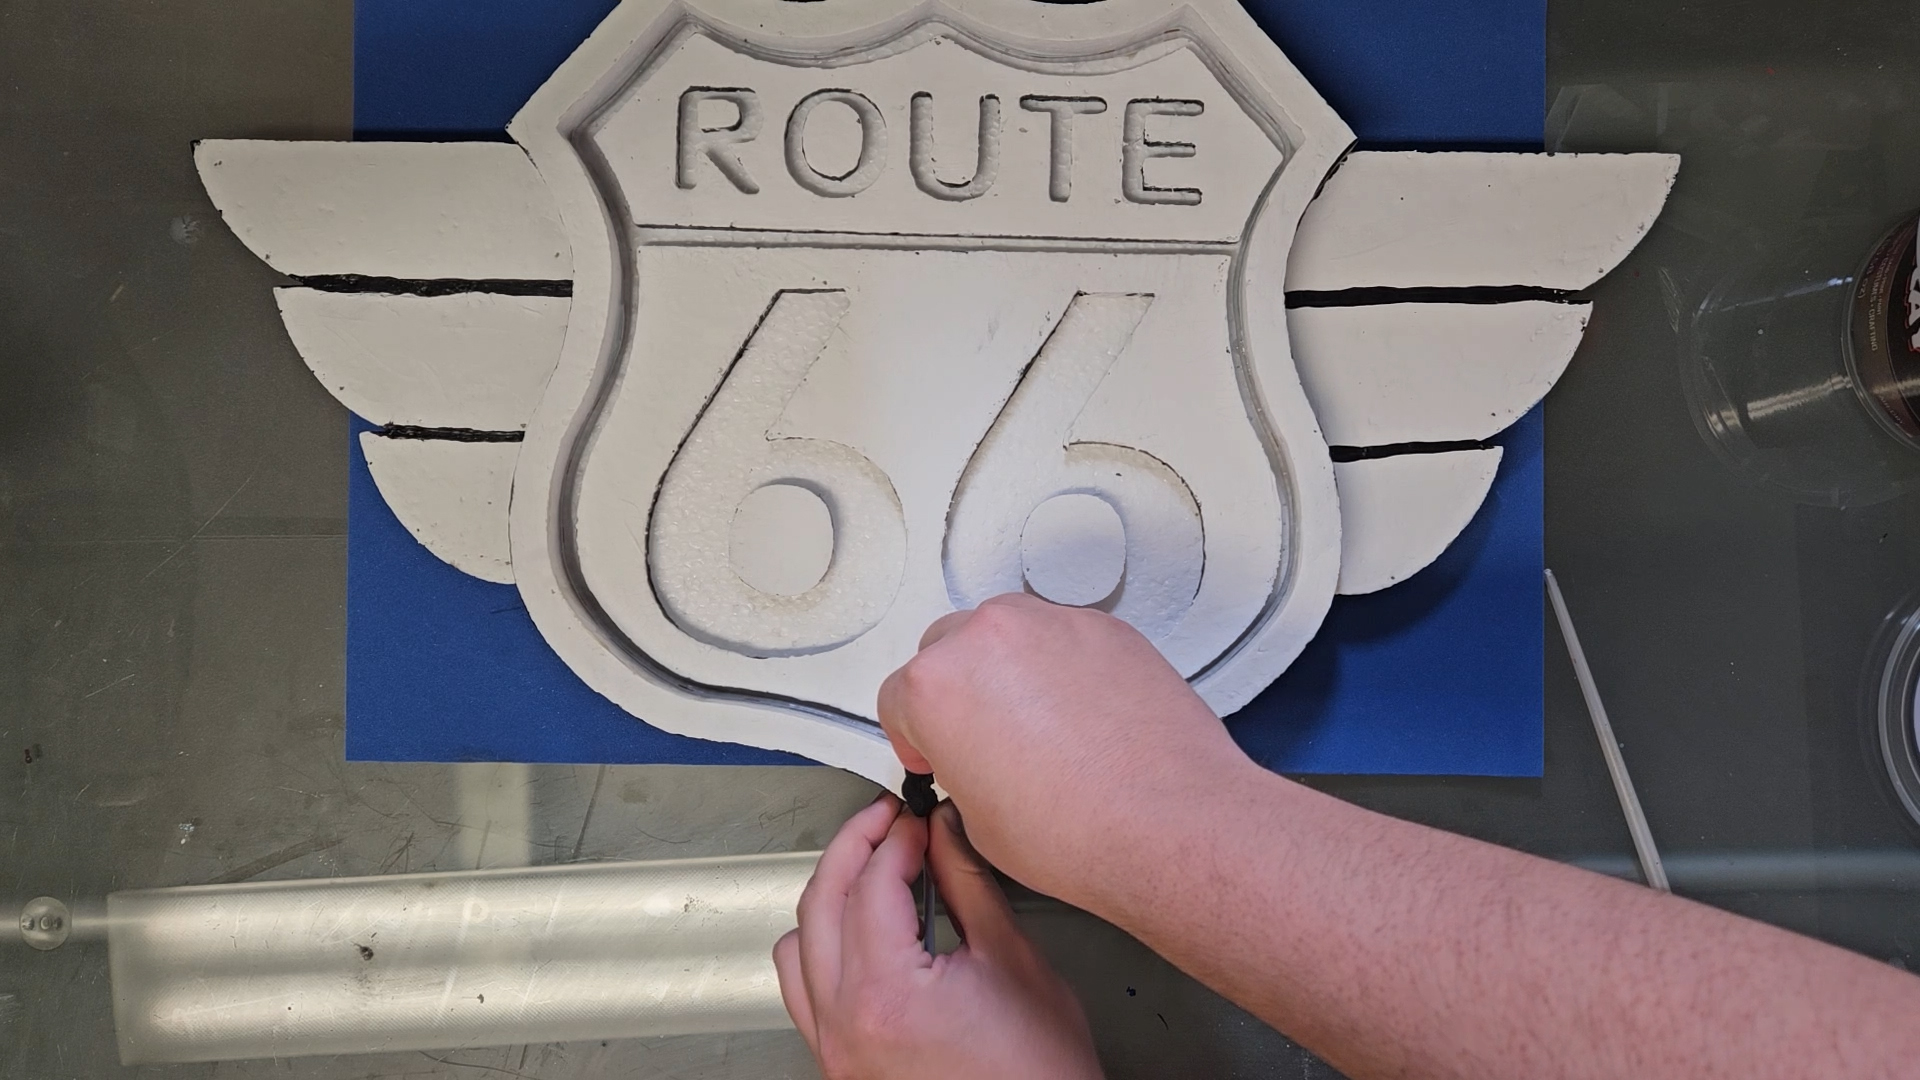
“For the protective coating, I went with Bounce mixed with All Purpose Foam Coat. I ended up applying 2 coats, the first was a mixture of 4 parts Bounce to 1 part All Purpose and the second was 3 parts Bounce to 2 parts All Purpose.”
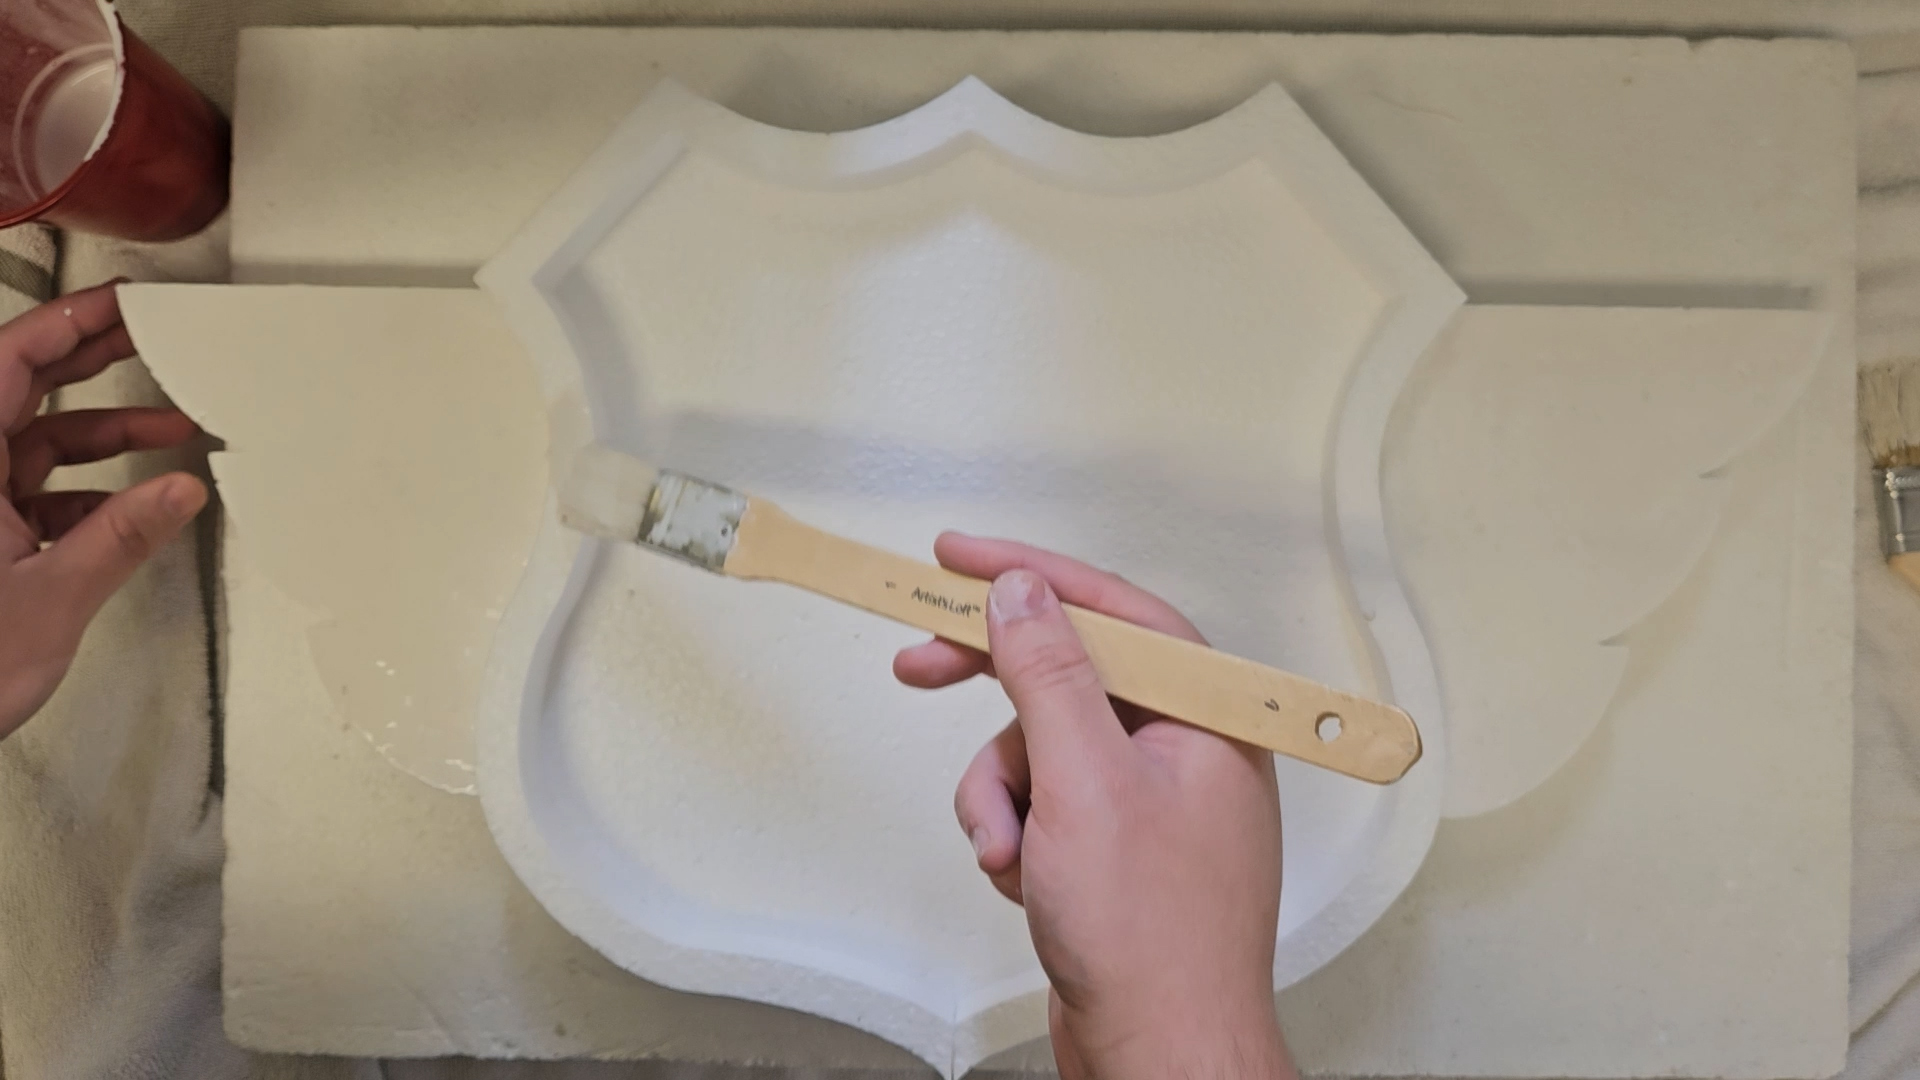
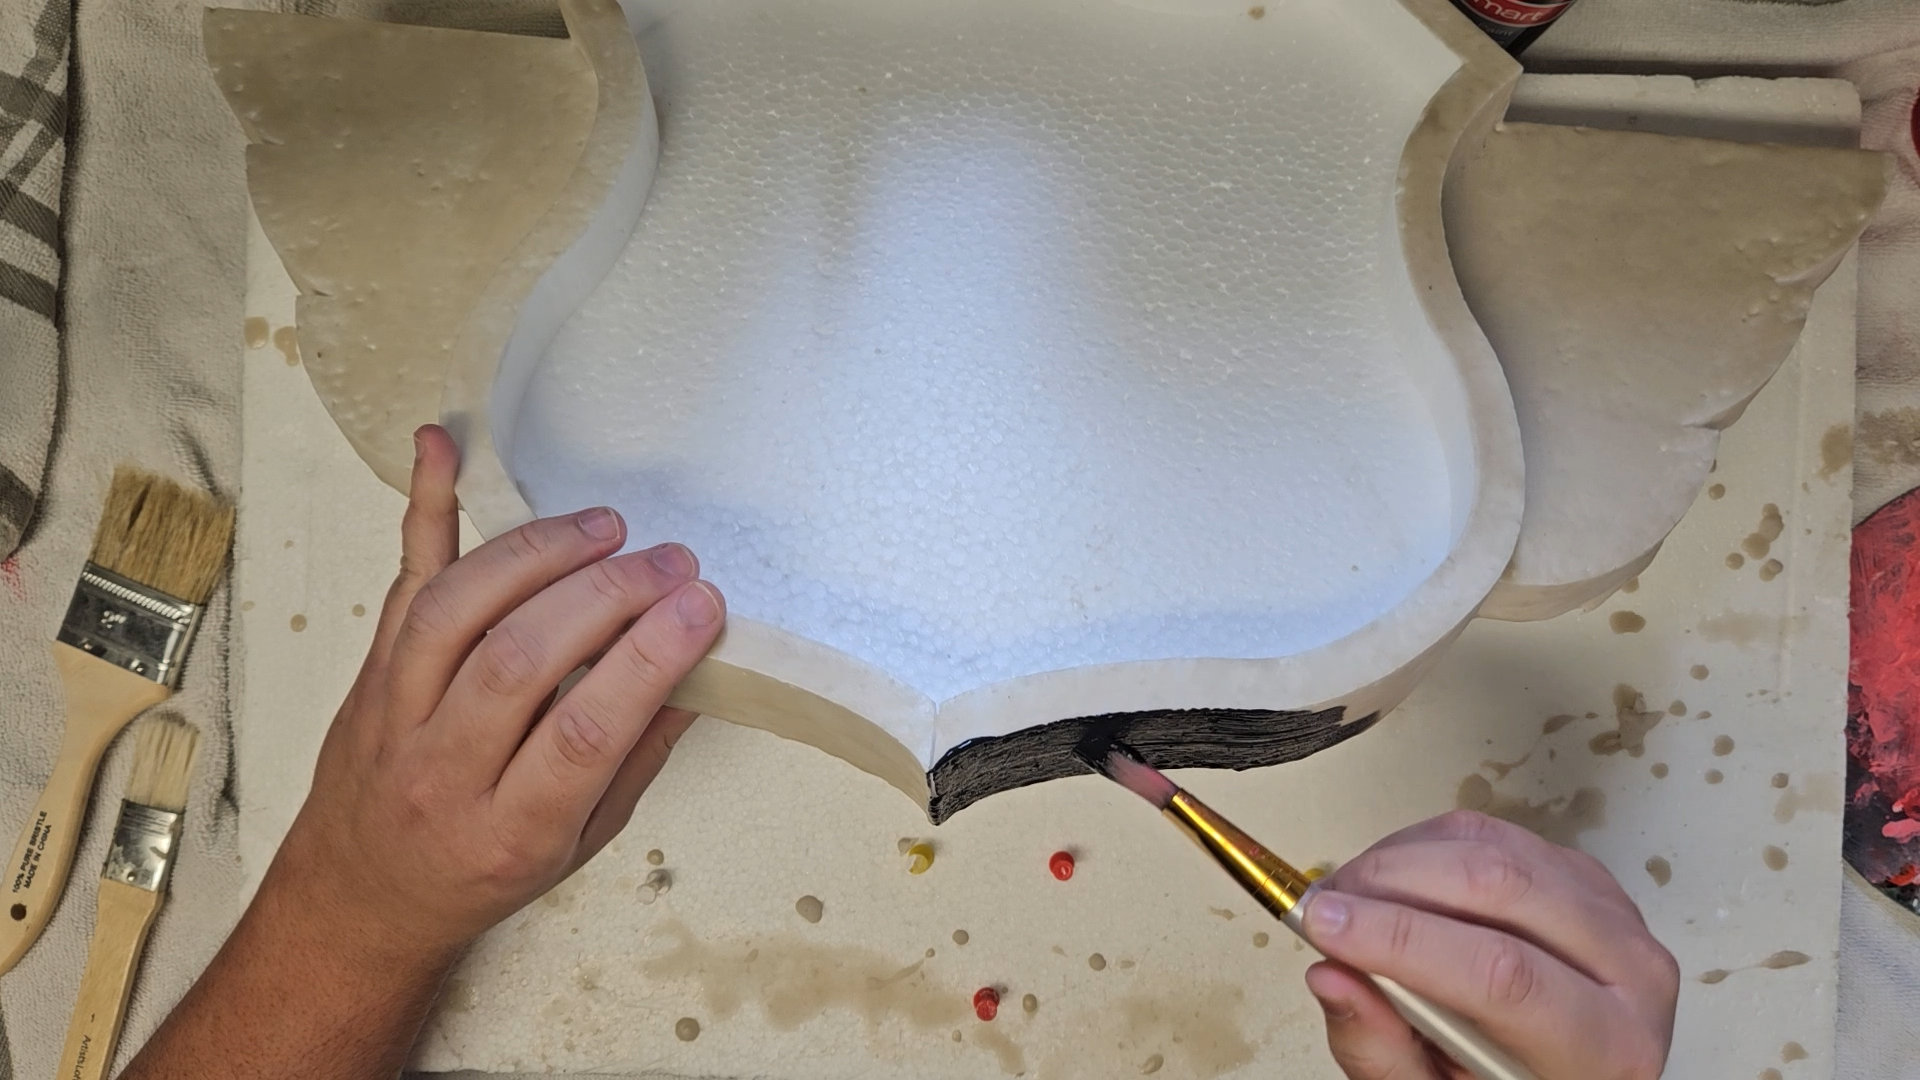
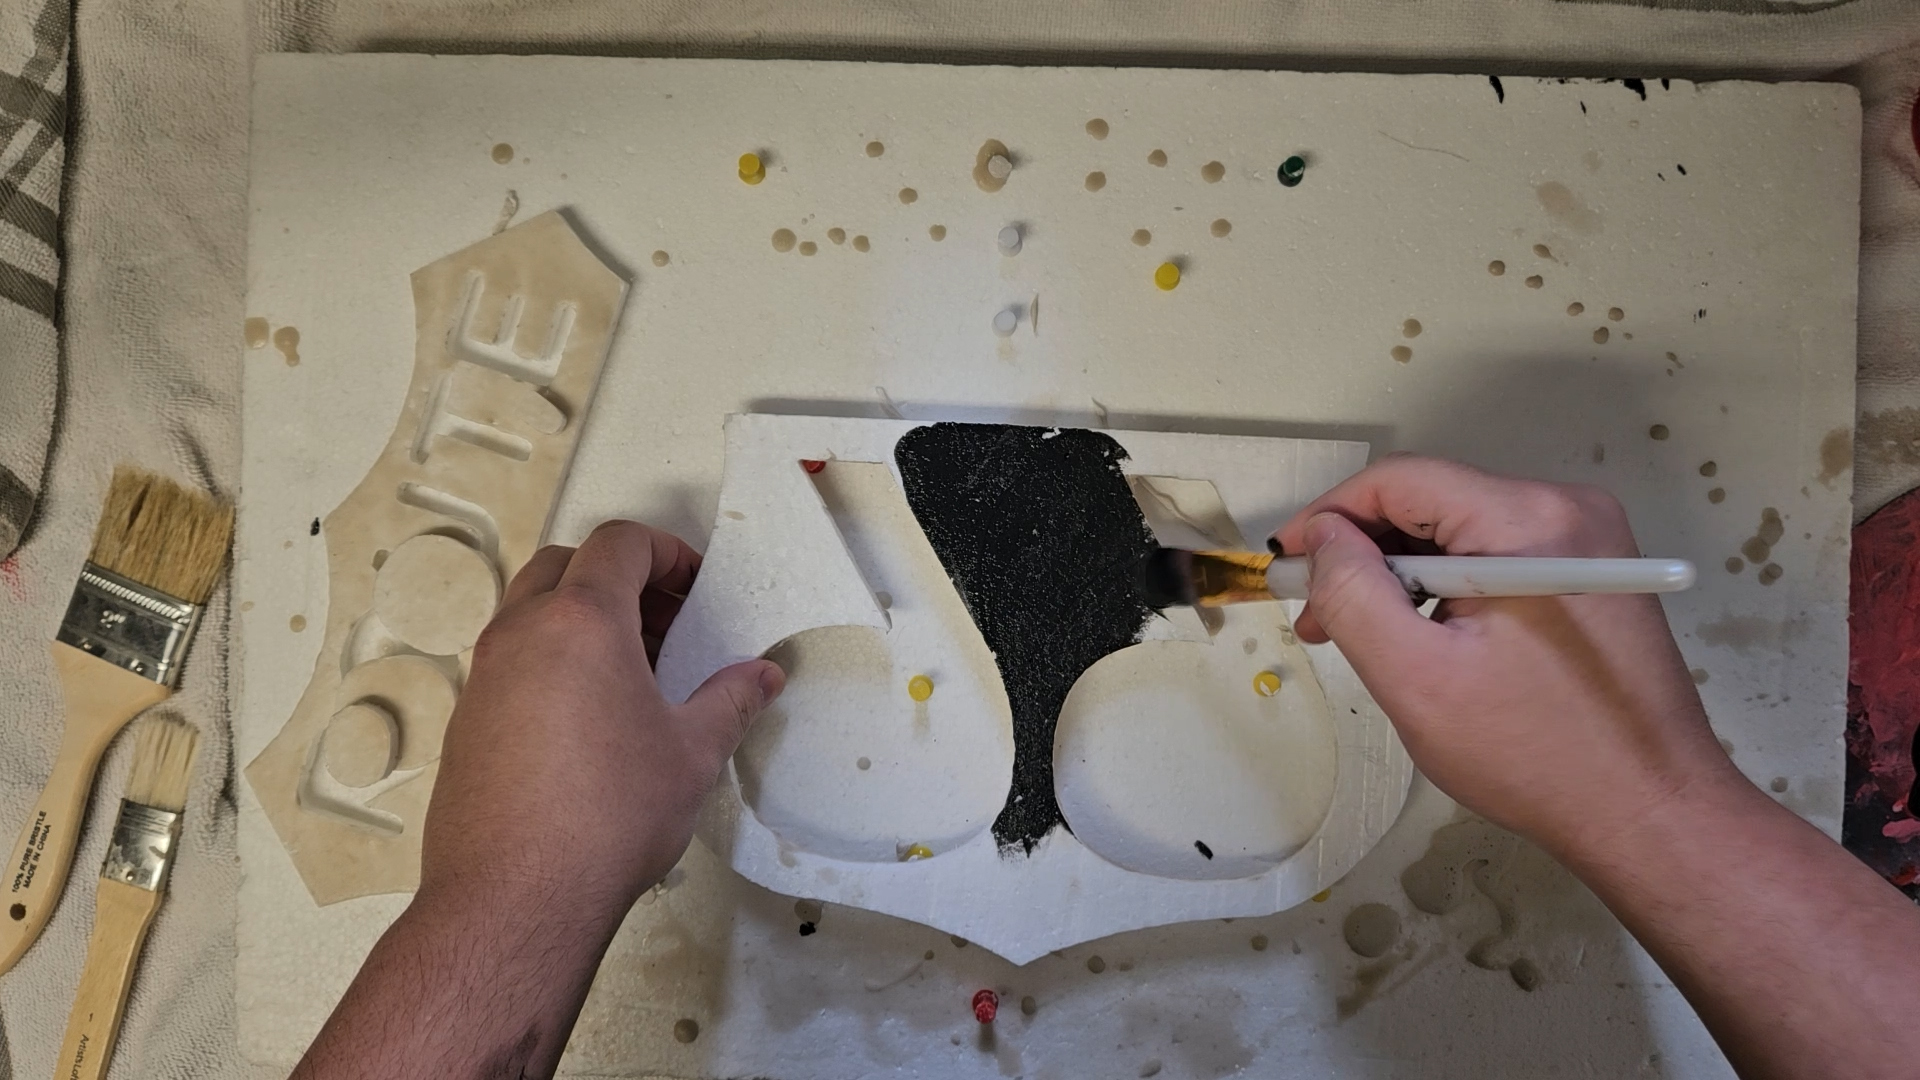
“After the coating dried, I started painting everything. I started by painting the sides of the sign with 2 coats of black (the second coat was needed to keep the lights from bleeding through the sides). I then painted the bottom of the inner pieces black to make sure the light doesn’t bleed through them. Once the black dried on the inner pieces, I painted over them in white to reflect the light better. After that, I painted all the front-facing surfaces white.”
“Next up, I installed the LED strips. The strips have an adhesive backing, but it tends to come undone fairly easily so I put little dabs of StyroGoo here and there to help hold it in place.”
The strips that I use already have a power cord attached to one end, but I did ask Brandon to help me solder a small strip to the other end that goes down the middle between the sixes since the light gets a little dull there.”
“Before the acrylic sheet came in, I did some quick touch-ups in a few places. I used some foam clay to seal the curf where the LED power cord pokes out of and added some supports to the underside of the center pieces to keep them from caving in.”
“Once the acrylic sheet came in, Brandon helped me cut out all the pieces I needed to finish it off. When using black acrylic, you want to make sure it’s a translucent sheet specifically designed for backlighting. Otherwise, it’ll completely block all the light. Here’s the specific sheet that I went with.
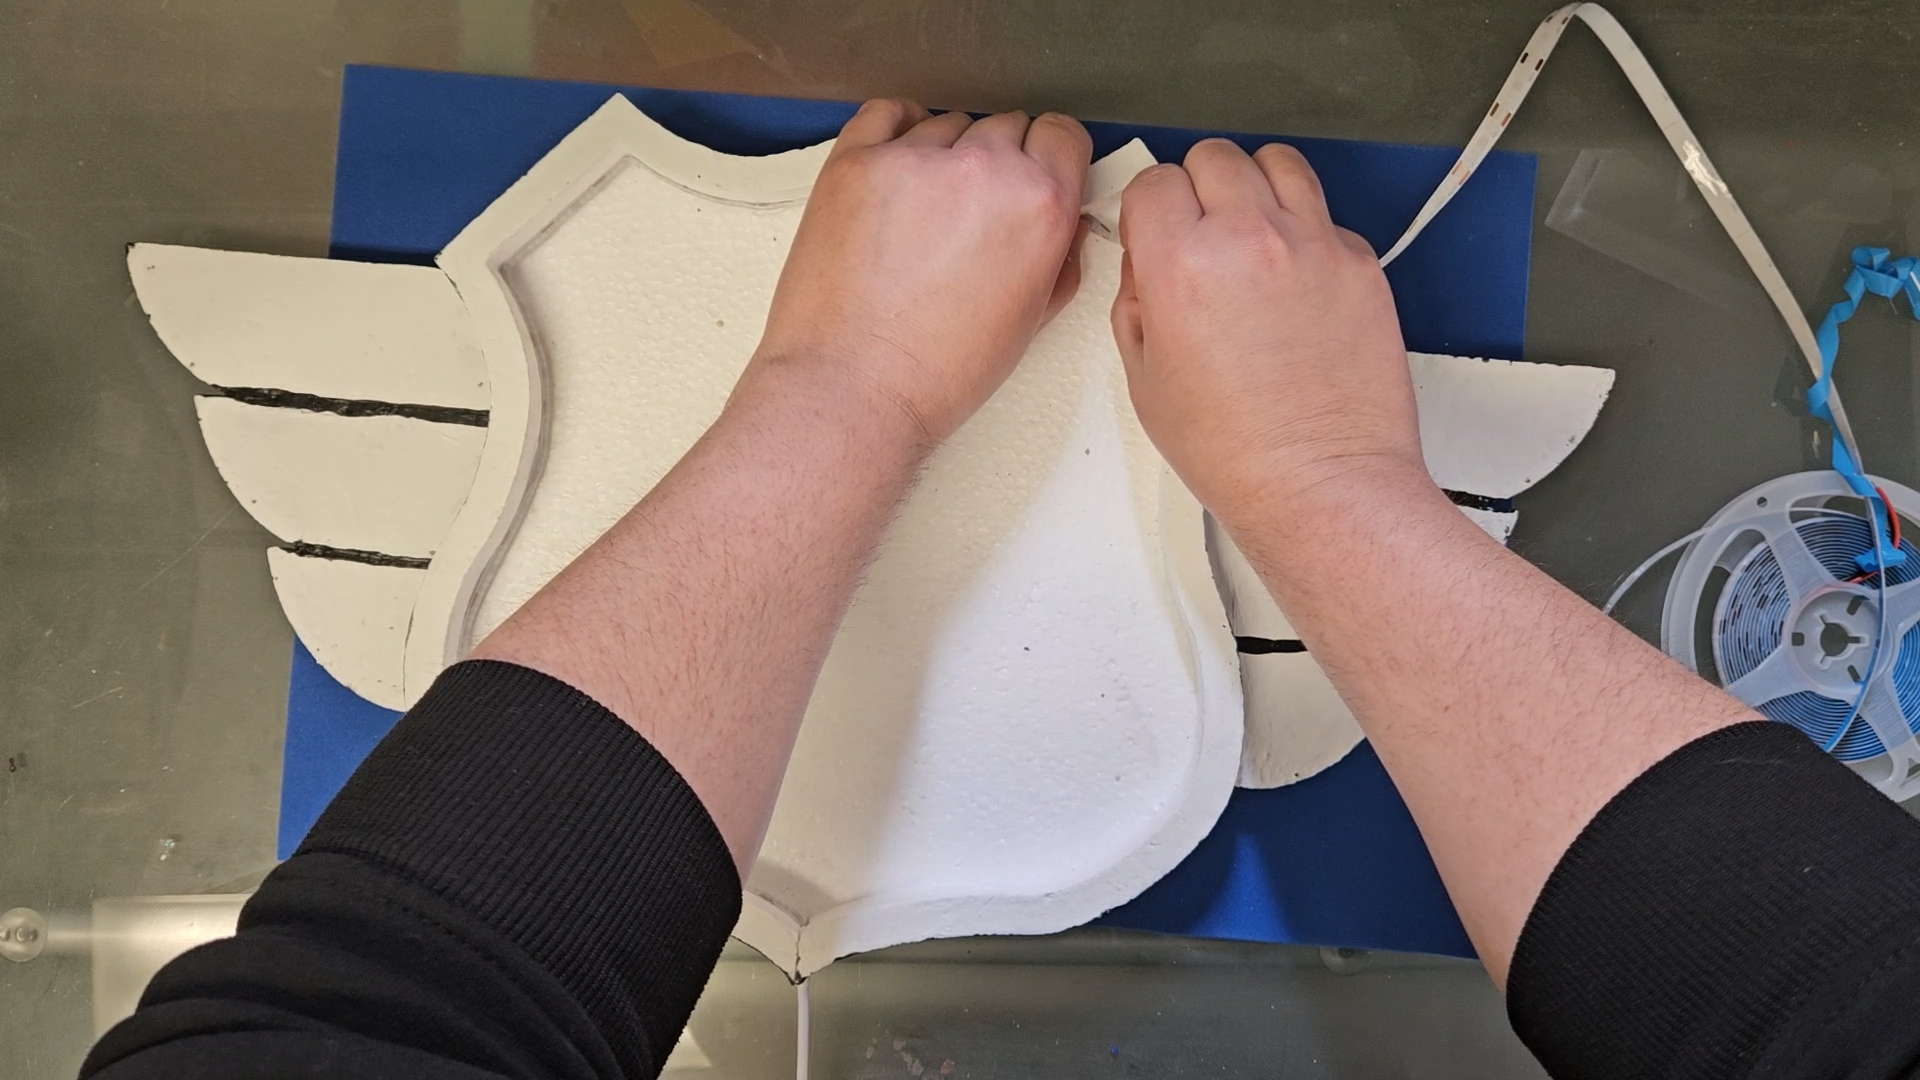
Using Bounce with All Purpose Foam Coat allows the foam to flex a little bit, making it easier to insert the acrylic pieces.”
“With that, it was all finished”