Undead Rogue Cosplay from World of Warcraft
Egg Sisters Cosplay
https://www.facebook.com/EggSistersFX/
“This cosplay is based on an Undead Rogue character from the online game World of Warcraft. Many different materials went into the creation of this costume. One material we find ourselves using often is pink XPS insulation foam. For this project, pink foam was used for the base sculpt of the daggers and the base and bones of the shoulders”
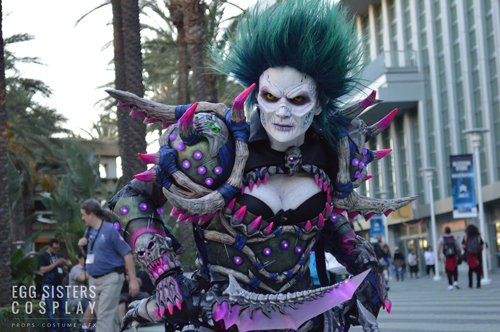
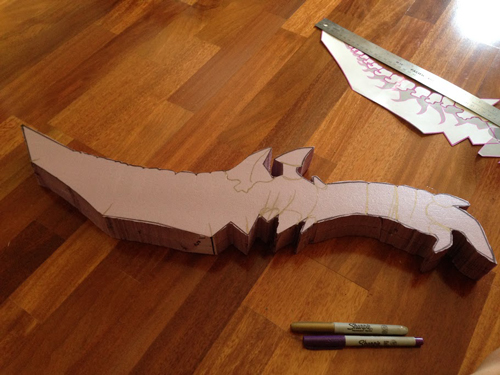
We used the hot wire Pro 6″ Hot Knife to cut the basic shapes out of the foam sheets. To refine the shapes we used the Freehand Router (FAVORITE!) and the Precision Engraver. Once the daggers were sculpted in foam they were covered with Apoxie sculpt. They were ultimately molded and recast in resin.
The shoulders were 8″ Styrofoam balls cut to shape with the Sculpting Tool kit. All the bones and horns on the shoulders were carved in pink insulation foam with the Freehand Router and Precision Engraver and then coated with clear coat to harden them.
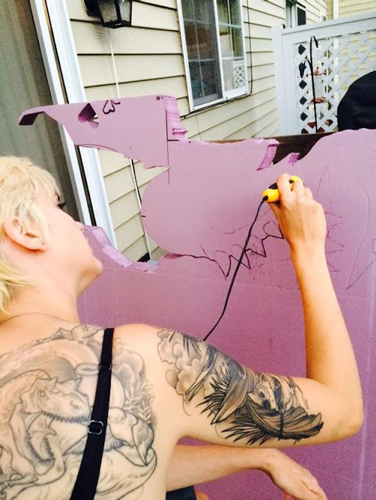
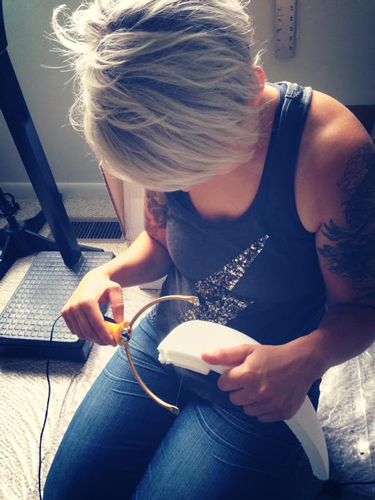
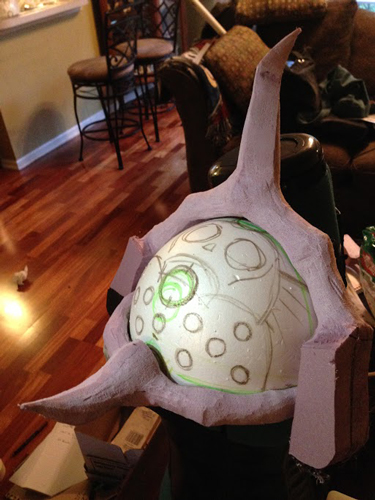
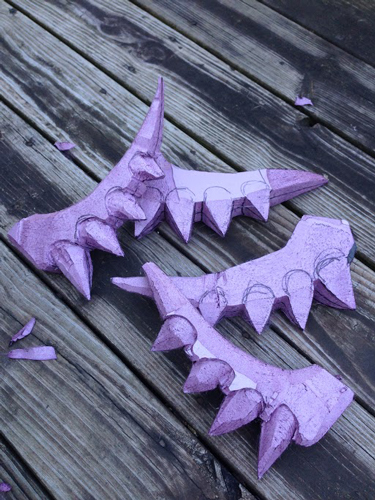
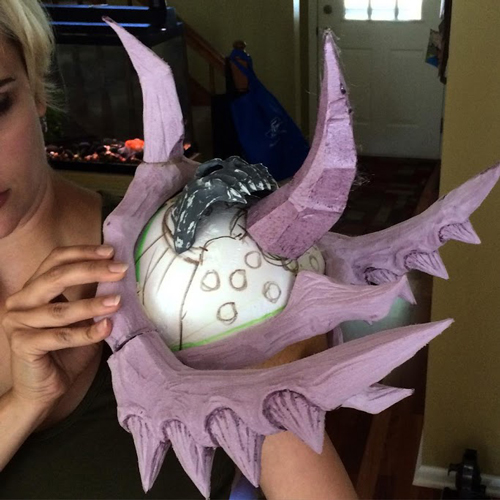
It took a lot of different steps and materials to create the daggers. Here is an overview/explanation of the creation of the “Blades of Incision.”
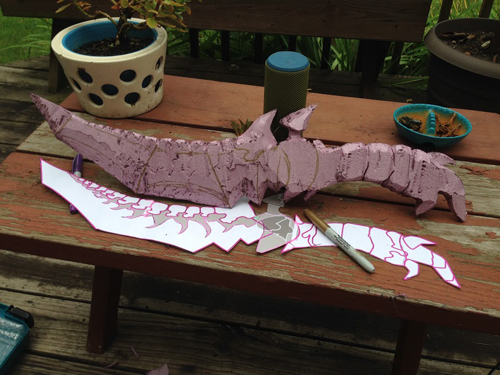
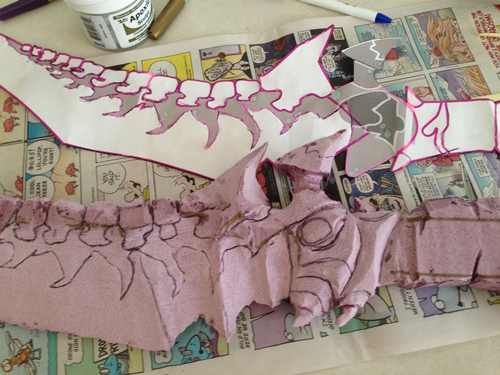
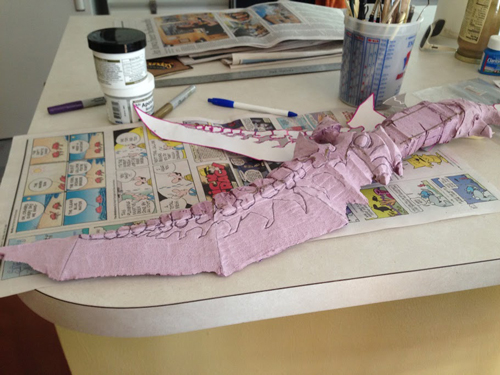
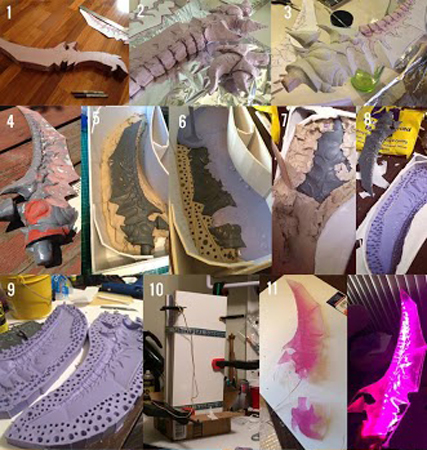
1: Mocked up profile of the knife in Illustrator and used it as a pattern to cut out the basic shape from insulation foam with the Pro 6″ Hot Knife.
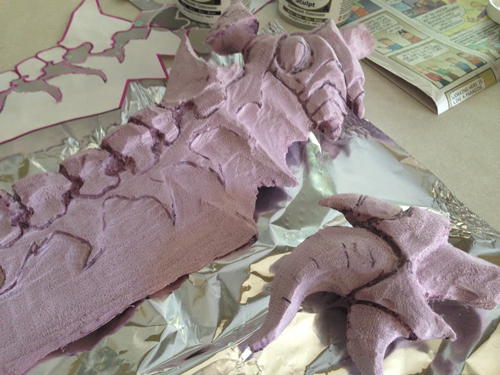
2: Refined the shape. Also using the Pro 6″ Hot Knife.
3: Added a detail layer of Apoxie sculpt.
4: Fine tuned with primer and bondo to get a sharp blade.
5: Built a foam board wall around dagger and filled it halfway with oil-based clay.
6: Added registration holes and used bamboo skewers to make air channels. This prevents air from getting trapped in portions of the mold and ruining it. Then poured in the first half of Smooth-On’s OMOO 30 Silicone*.
7-8: Flipped the mold over and repeated for the other side of the mold. Don’t forget your mold release!!!
9: We now have 2 halves to make one mold that interlocks.
10: We placed a waterproof led strip inside the mold. Then we closed it up and clamped it down between two pieces of particle board and poured in the resin. We used Smooth-Cast® 325 Colormatch™* mixed with Ignite pigment*. (We also used an old jewelry casting machine to degas the resin. Wasn’t perfect but helped a lot with air bubbles.)
11: We took the dagger from the mold, tested it to make sure the LEDs still worked, sandblasted them.
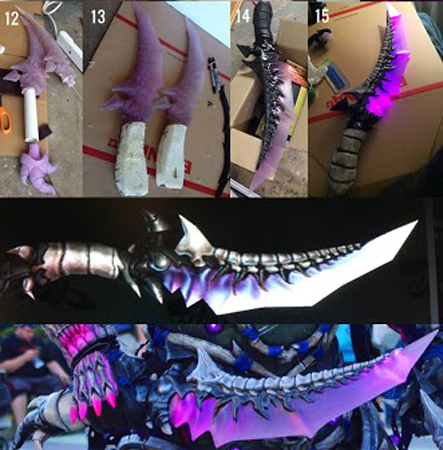
12: We used a piece of 1″ PVC pipe to connect the blade and the hilt, store the battery, and act as a handle.
13: We used expanding foam to cover the PVC pipe and carved it into the shape we wanted using the Freehand Router. We then covered that in paper mache’. (Note from Hot Wire Foam Factory: An appropriate respirator is needed when cutting expanding polyurethane foam with heat, as it gives off toxic fumes)
14: We then covered the handle with black Worbla and began painting the details with enamel paint.
15: Finally spent many hours using acrylic paint over the enamel where it was supposed to look like bone.
