Haunted Hill Spooky Town
Village Display
A detailed, multi-level miniature Halloween Display featuring headstones, stairs, cobblestone and more!
By Mike Landry of Village Vignettes
Facebook: www.facebook.com/villagevignettes Website: www.mikelandryart.com
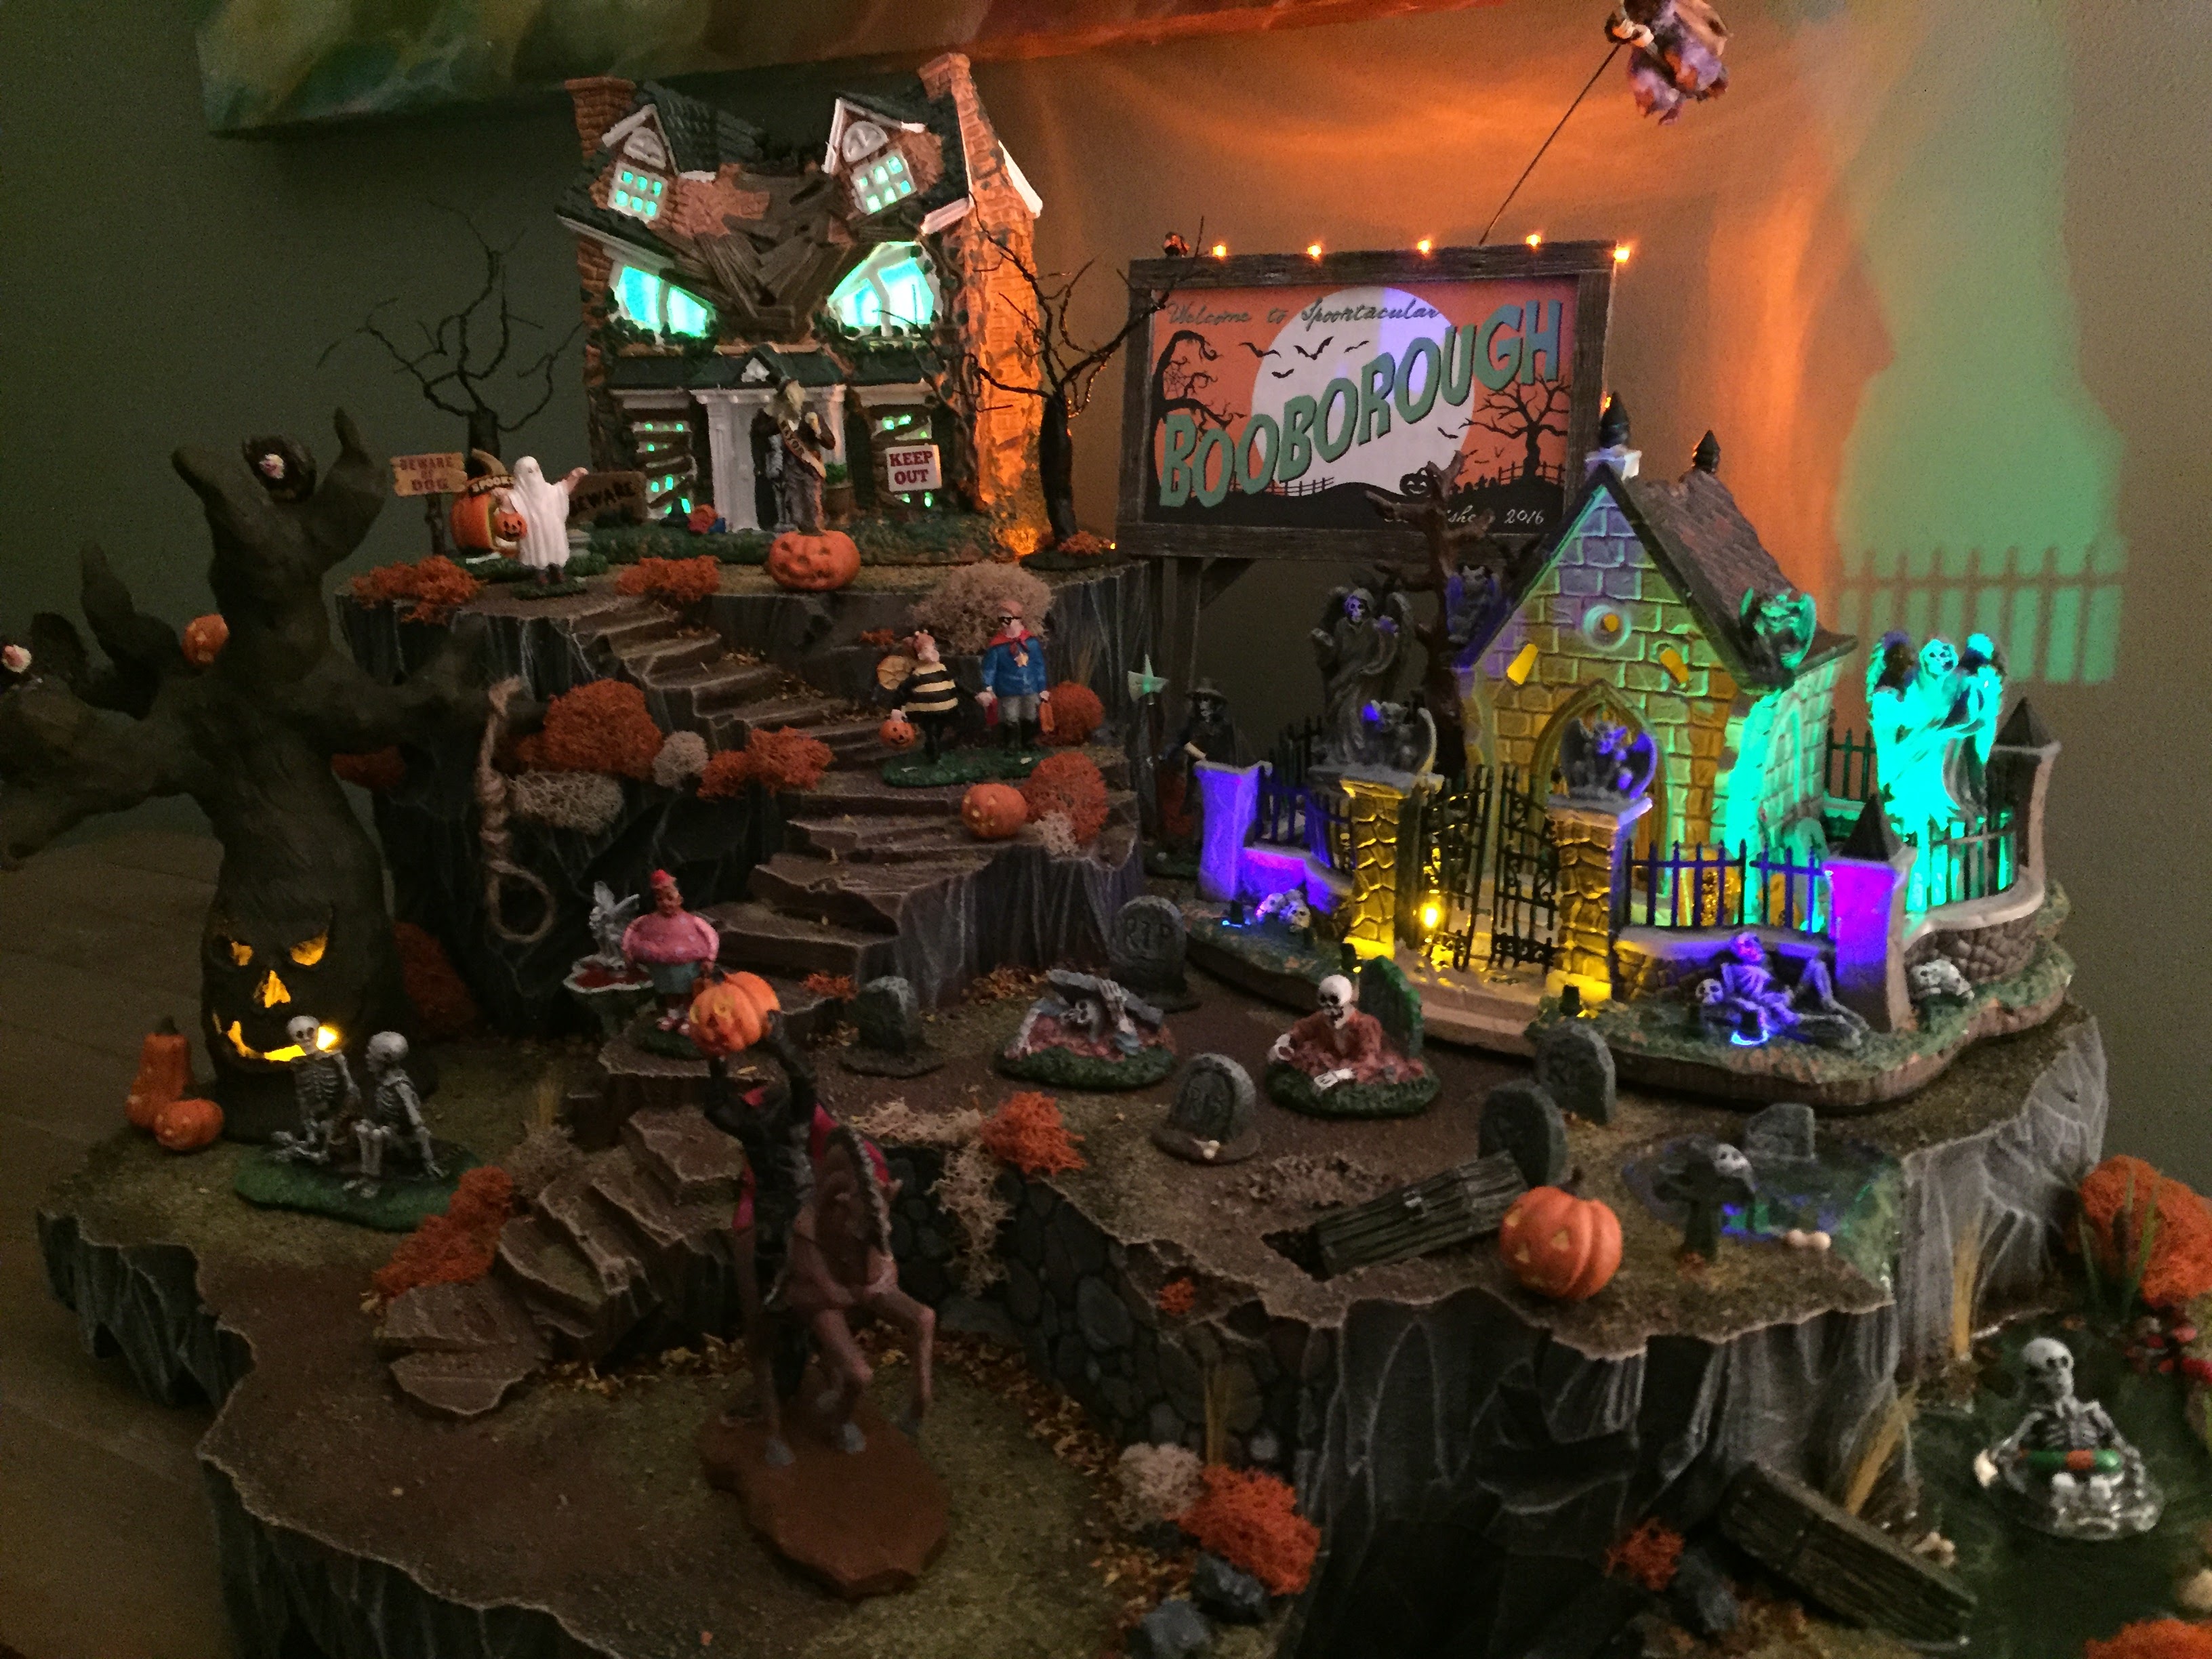
Hot Wire Foam Factory tools are invaluable when it comes to working with foam to create holiday village displays. This particular platform was created to display my own Lemax Spooky Town houses and accessories, but these techniques and tools can be used to create a display for Department 56 or any other similar product.
When it comes to village displays and other dioramas, I like to use XPS (extruded polystyrene) rigid insulation foam, aka pink foam. It usually comes in 2″ 4′ x 8′ sheets at my local home store (which I’ll usually slice into a few pieces with a razor blade in the parking lot before I drive home), and you can also buy it in smaller 1″ 2′ x 2′ pieces. I prefer pink foam over the standard white EPS (expanded polystyrene) foam because it’s much denser, which makes the platforms more sturdy, allows me to create more intricate detail, and makes much less of a mess if you’re doing any cutting without a hot wire tool.
Keep in mind when working with the pink XPS foam: because it is so dense, hot wire tools don’t slice through it as quickly as they do with white EPS foam. Always let the tool do the work!
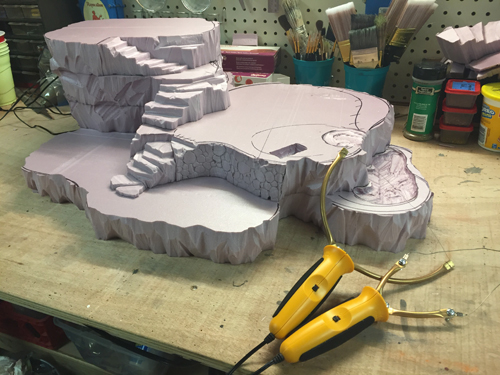
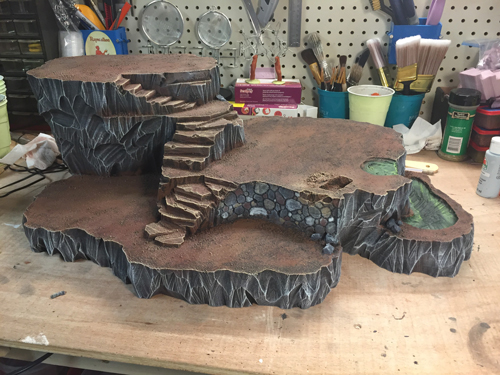
To begin, I’ll use a combination of the 6″ Hot Knife and the Sculpting Tool to cut rough shapes for a basic layout. Sometimes I’ll work from a sketch, but usually I just have a general idea of what I’m looking for and cut until I get there. I’ll also generally place any houses or large accessories (or paper templates) so I can make sure everything has a place to fit. At this point, I want to leave the shapes a bit larger than their final size to ensure that I can carve some foam off in the final detailing.

Once I’ve determined the rough layout, I’ll then work with a combination of the 6″ Hot Knife, Sculpting Tool, and Freehand Router to get in all the details. The sculpting tool and freehand router are amazing for carving unique cliff faces and edges. In this platform, I actually used a pencil to carve a stone wall into one edge (benefit of the denser pink foam) but that’s only because I don’t yet have HWFF’s Engraving Tool, which would also do the trick. The freehand router is also invaluable for creating stairs, ponds, and empty graves! I don’t show it in this platform, but at this stage you could also use the 6″ hot knife to cut holes through the platform for your wires.
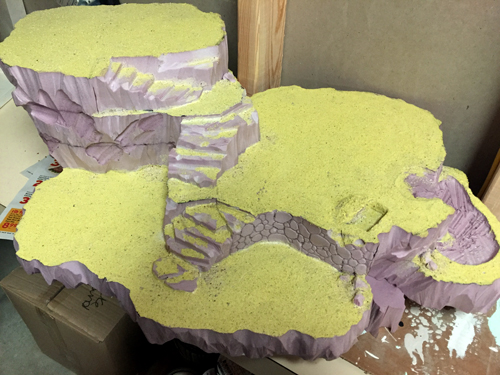
Once I move past the carving stage my work with HWFF’s tools is basically complete (unless of course I decide to add on to the platform later). From here on out it’s all about finishing touches. For Halloween displays I like to add a layer of fine aquarium sand over most of the platform to give a nice texture. To apply, I spread out wood glue and then sprinkle on the sand.
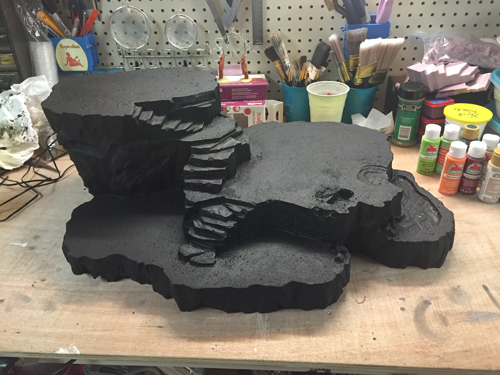
Then, I paint the entire platform in a black base coat using acrylic or latex paint (this is for Halloween – if I was doing a Christmas display I might base coat in white where snow will be).
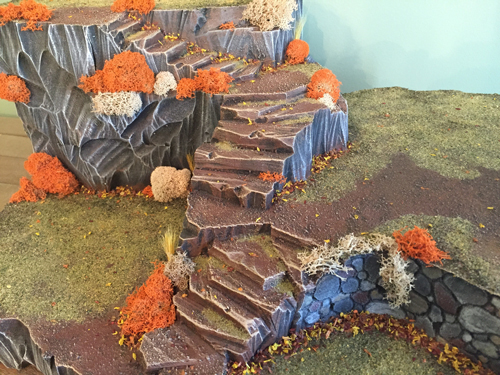
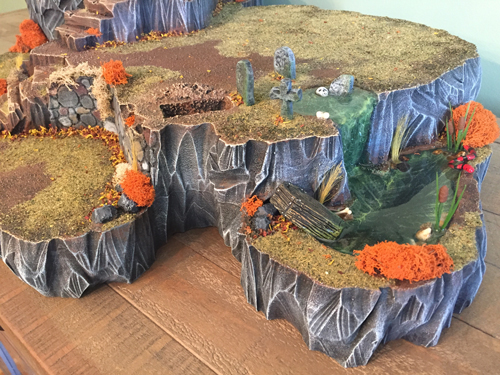
Once the base coat dries, I do a few layers of dry brushing for the ground, stairs, and cliffs, then finish up any other fine paint details such as the stone wall and pond.
Once the painting is finished I can have fun adding grass, bushes, rocks, pond plants, and custom accessories like tombstones, clay skulls, and clay snakes. Here’s a DIY tip for fall & Halloween villages: you can dye oregano with acrylic paint to use as leaves!
At this point, I’ll also create any water features with a combination of crystal clear caulk and a two-part resin you can find at most hobby stores.
Don’t be too quick to throw away your larger scrap pieces of foam! You never know what you might be able to turn them into. For example, I converted this extra piece into an small platform to display the name of my town.
I hope you’ve enjoyed this look into my process. If you have any questions, or if you’d like me to create a display for your own village, feel free to contact me!