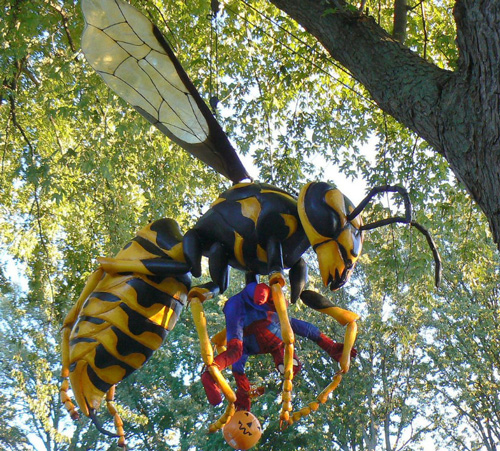
Monster Wasp!
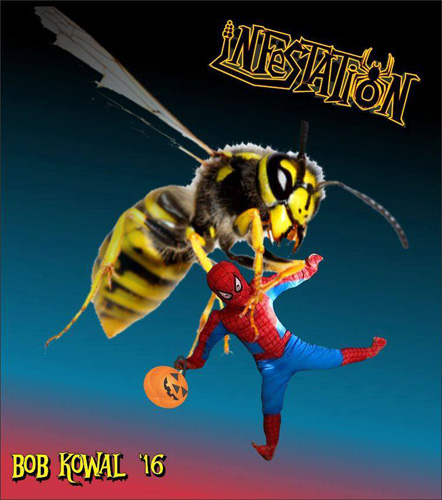
A Monstrous Wasp for a Halloween Haunt
Bob Kowal
“This year’s primary project, roughly 7-8 ft long. The goal is to make it as detailed and as accurate as possible. One major design hurdle is making it durable enough to endure weeks of weather abuse and be lightweight enough to not kill someone should it fall! It must also conform to the “Attic Hatch Prime Directive: It needs to fit through my 24″ x 48″ garage hatch.”
POLYFOAM and REFERENCES
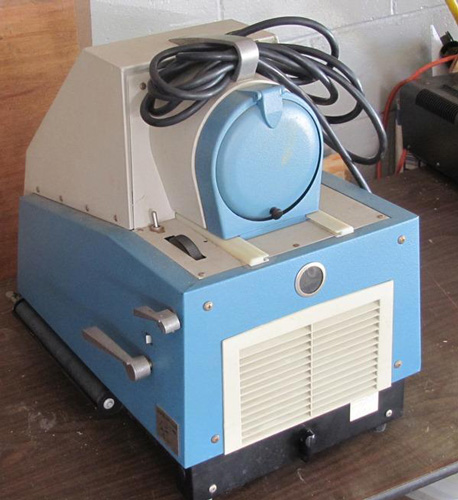
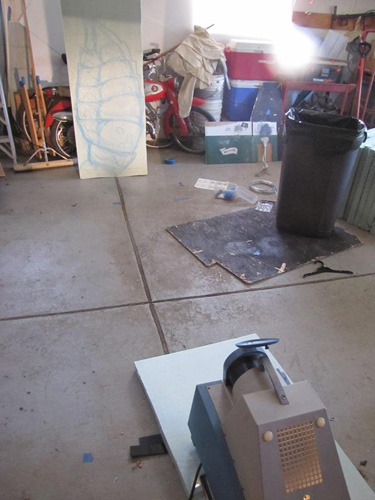
I studied A LOT of wasp pictures as well as CG model pictures for hours. When I could (hopefully) visualize the shapes, I sketched proportional body segments from all orthographic positions. I applied the broad dimensions to the main board cuts. I bought this projector from a co-worker for some old-school projectification!
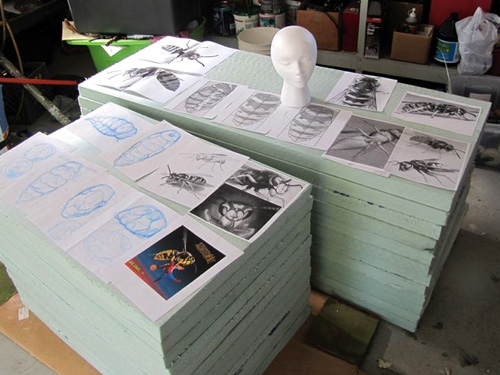
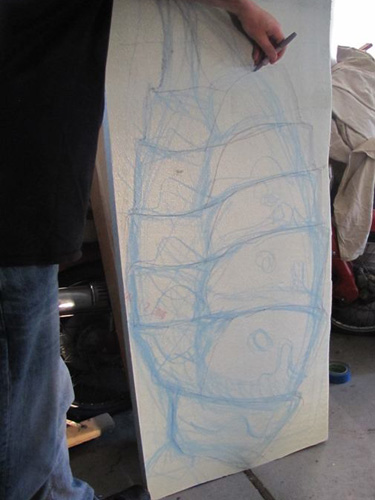
Projecting the Profile & initial tracing.
Included a scale shot next to the victim.
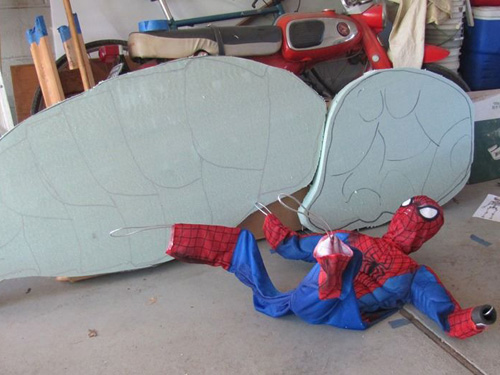
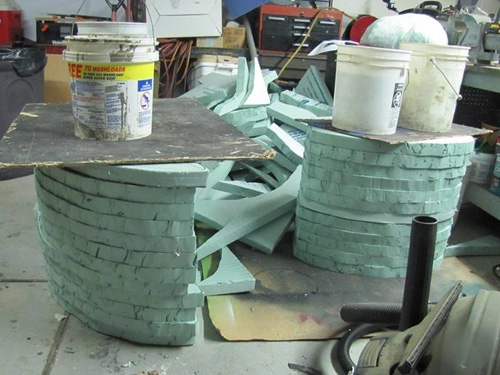
Traced the master onto the rest of the sheets, cut and glued, being pressed with water buckets. They’re glued in four 12??? wide sections. Left and right halves to keep manageable while carving. It also leaves options open for inserting structural pieces and for possible hollowing.
Roughed in and refinement.
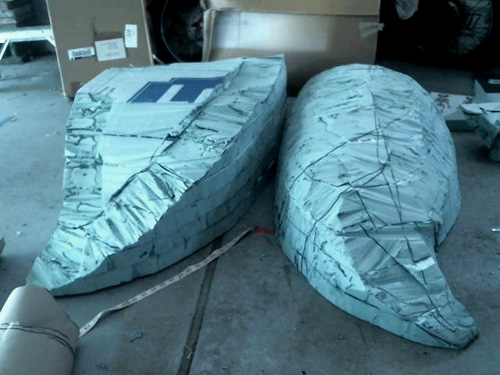
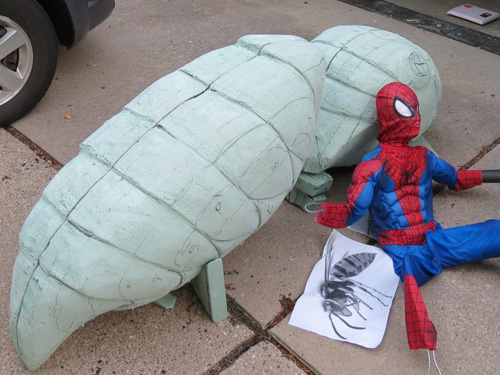
Tracing and refining the head.
Cut shapes of head segments and used centerline to flip for symmetric guidelines.
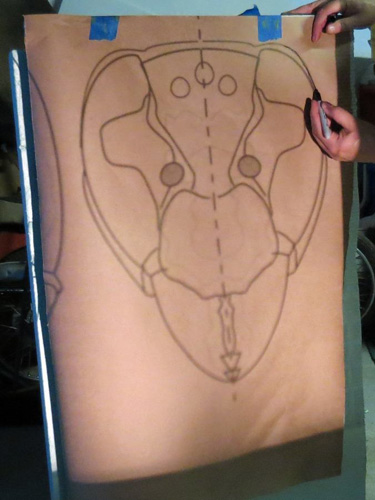
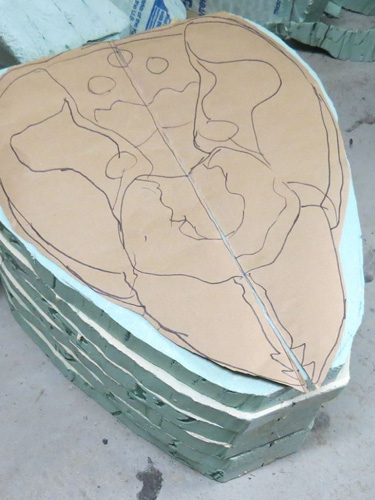
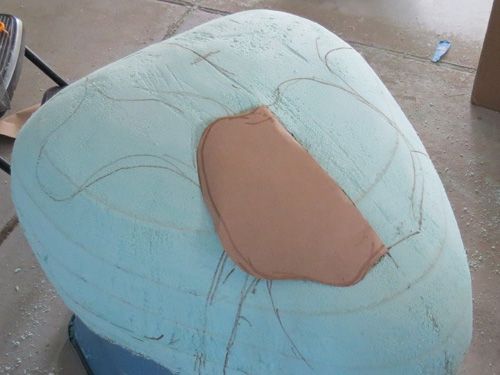
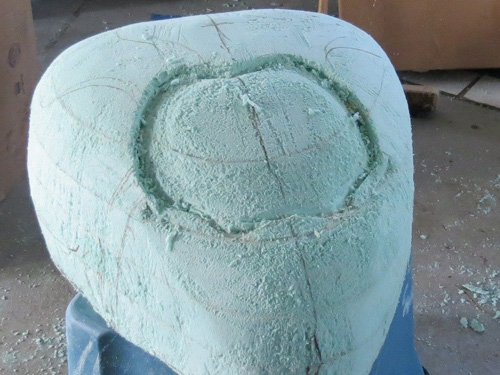
I then started from the inside and worked my way out sculpting the head. From there, I began to work on internal support. Once the angle was decided, I traced the body sections and drew a channel guide for the support.
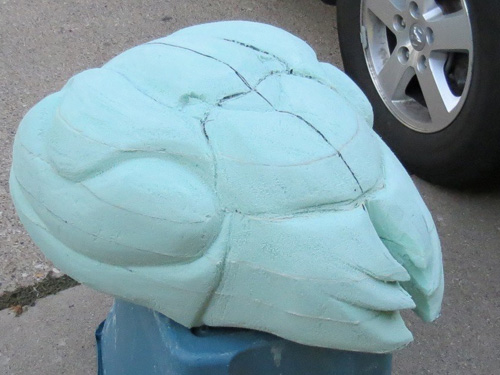
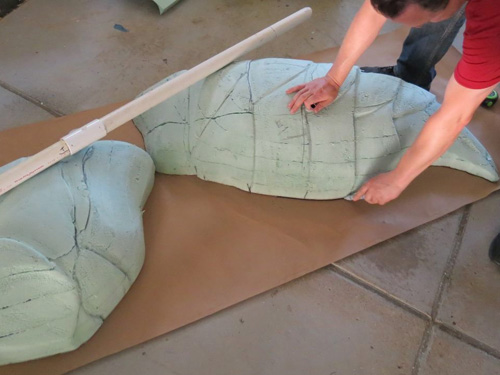
To make it lighter and trim some fat I used the Freehand Router and its shapeable blade worked so well for this! After shaving off 55 pounds of material I got the wasp down to 20 pounds, at this stage it was nearly ready to paint.
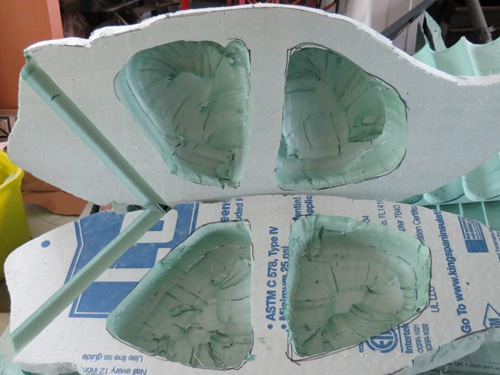
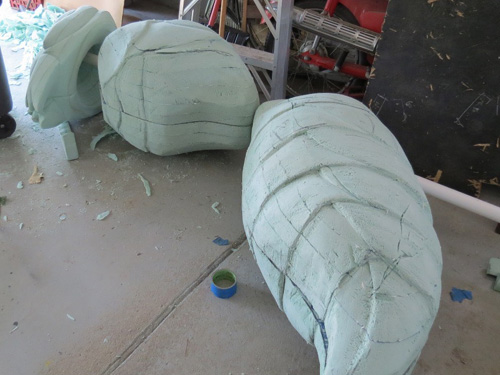
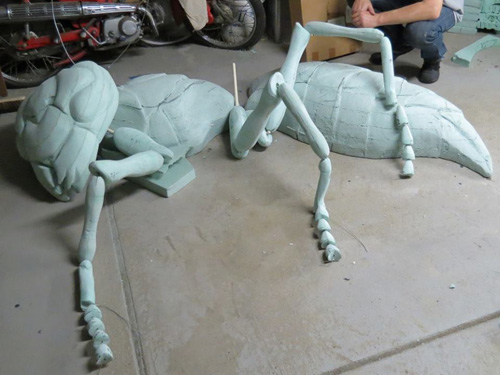
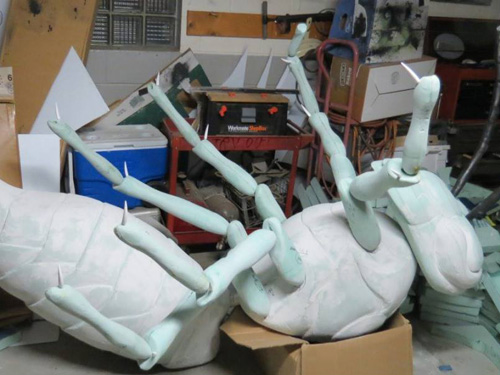
Next came the legs, for this I used the sled attachment for the Industrial Hot Knife, routing radius was about half a limb. The halves where then fitted and glued.
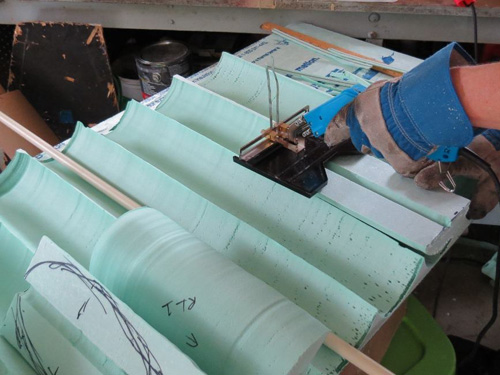
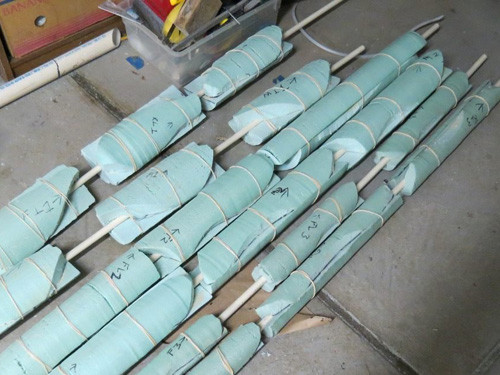
Shaping the legs end segments. I will cut this in half for two segments. A dry wall sander works well for shaping this material.
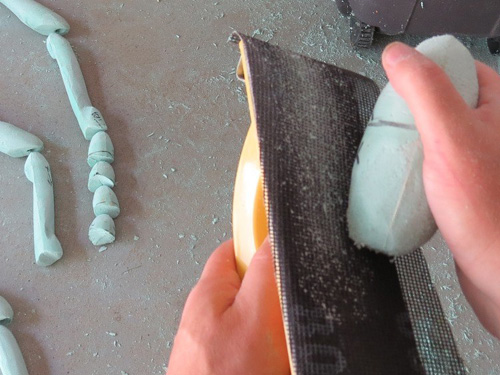
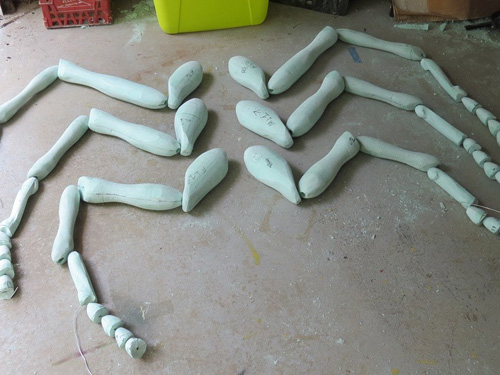
Completion of leg segments, they took a considerable amount of time but will look great upon assembly.
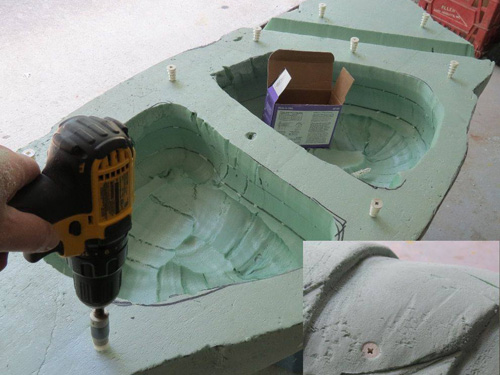
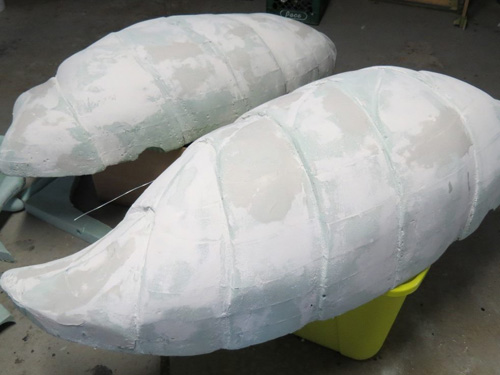
In my haste to press on, I did not allot enough time for the glue to set. To remedy this, I used dry wall anchors to secure loosened laminates. To cover up the anchors, I used a drywall compound.
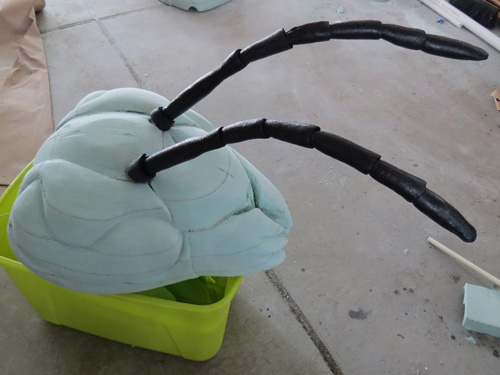
Allen Hopps’ recent snake video inspired the idea for how to go about constructing the antennae. The more delicate end leg portions will go on when it gets hung in the tree.
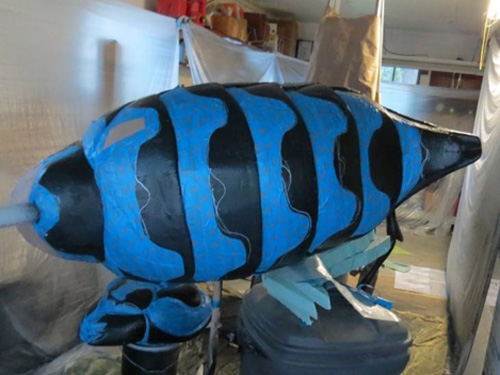
Finished painting, wings and mount soon to be completed.
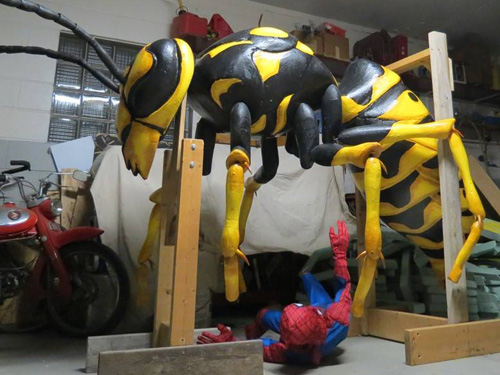
Completed wasp, painted and mounted ready for Halloween.
