How to Make a Foam Jack O’Lantern
A Halloween craft tutorial by Hot Wire Foam Factory

Materials needed:
- Cube of EPS or XPS foam cut to the desired size (this tutorial uses a 8″ x 6″ x 8″ cube)
- Small battery operated candle
- Wax paper (optional)
- Any kind of tape
- Orange, yellow, and brown paint (This tutorial uses acrylic craft paint)
- All Purpose Foam Coat
- Bounce Rubberizer
- 3-Inch Hot Knife
- 16-Inch or 24-Inch 3D Scroll Table
- Freehand Router
- StyroGoo
- Foam Fusion (optional if you already have StyroGoo)
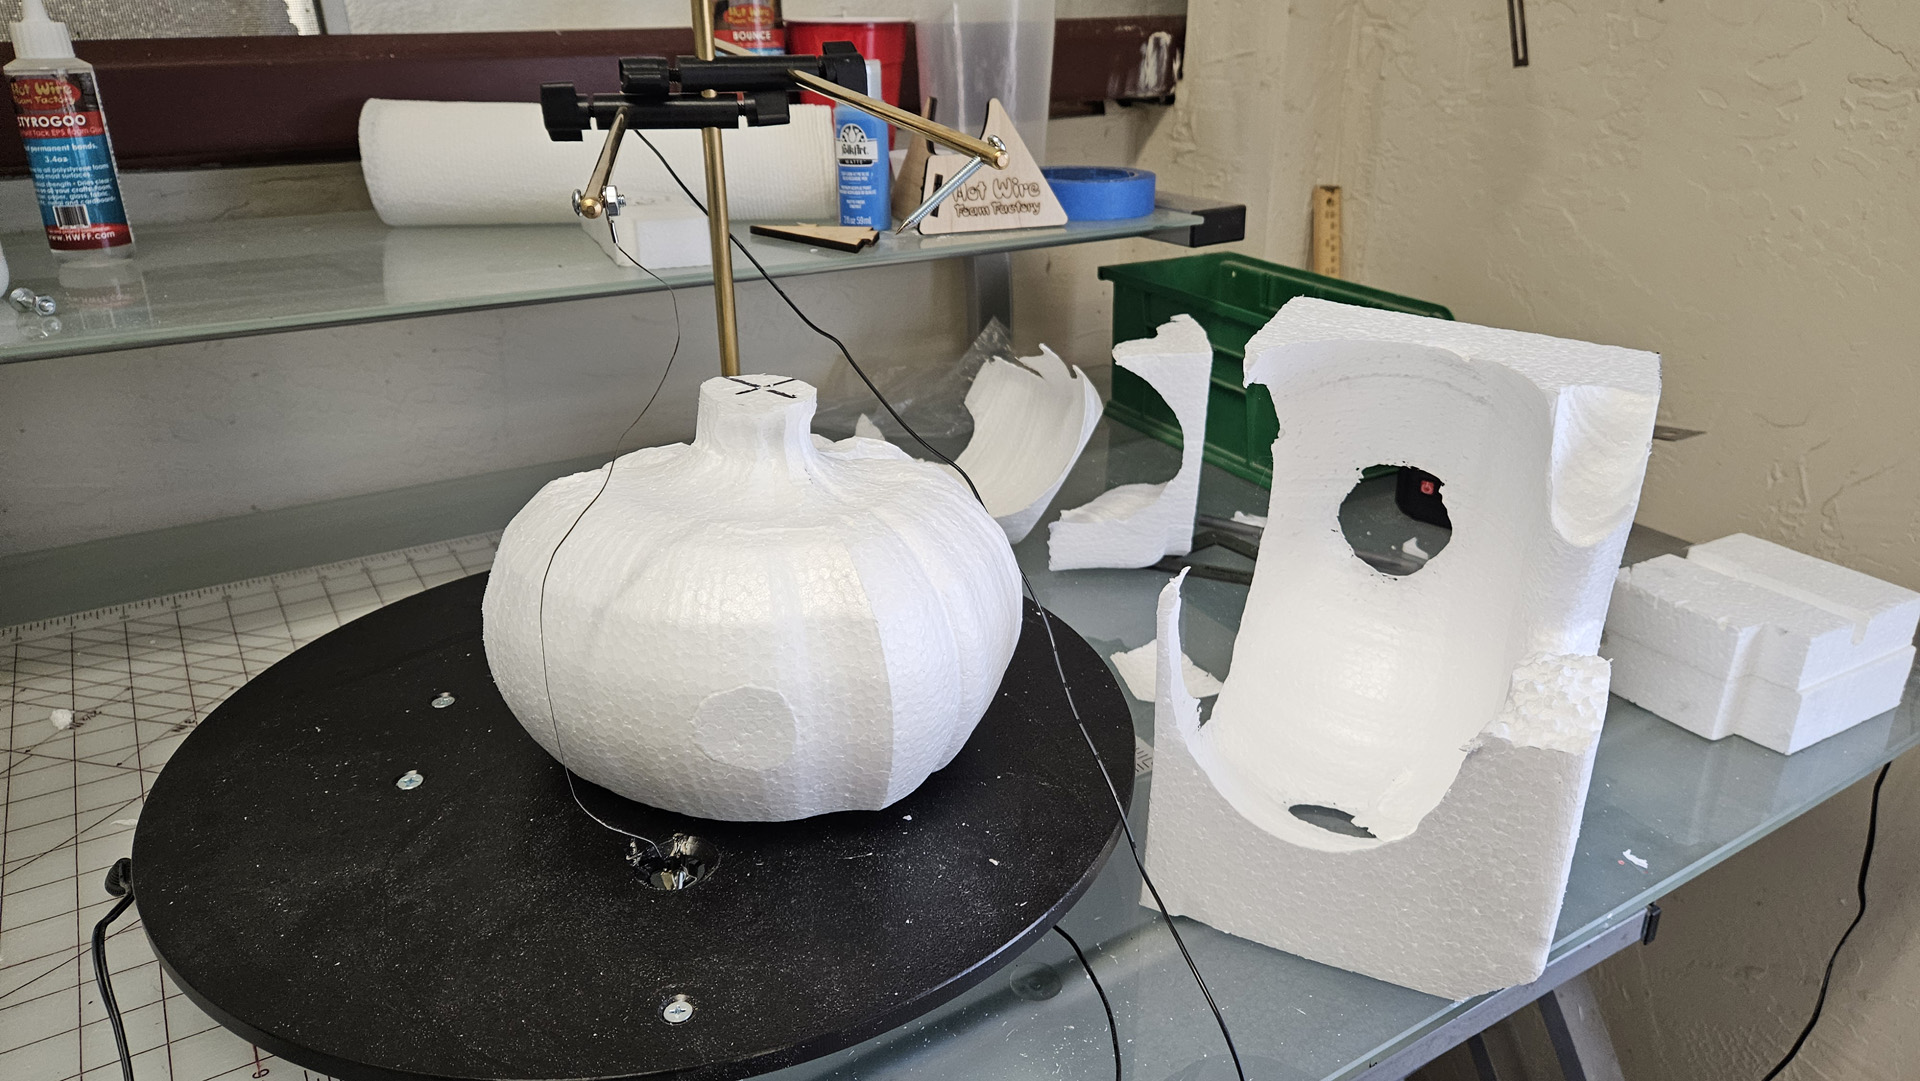
Step 1
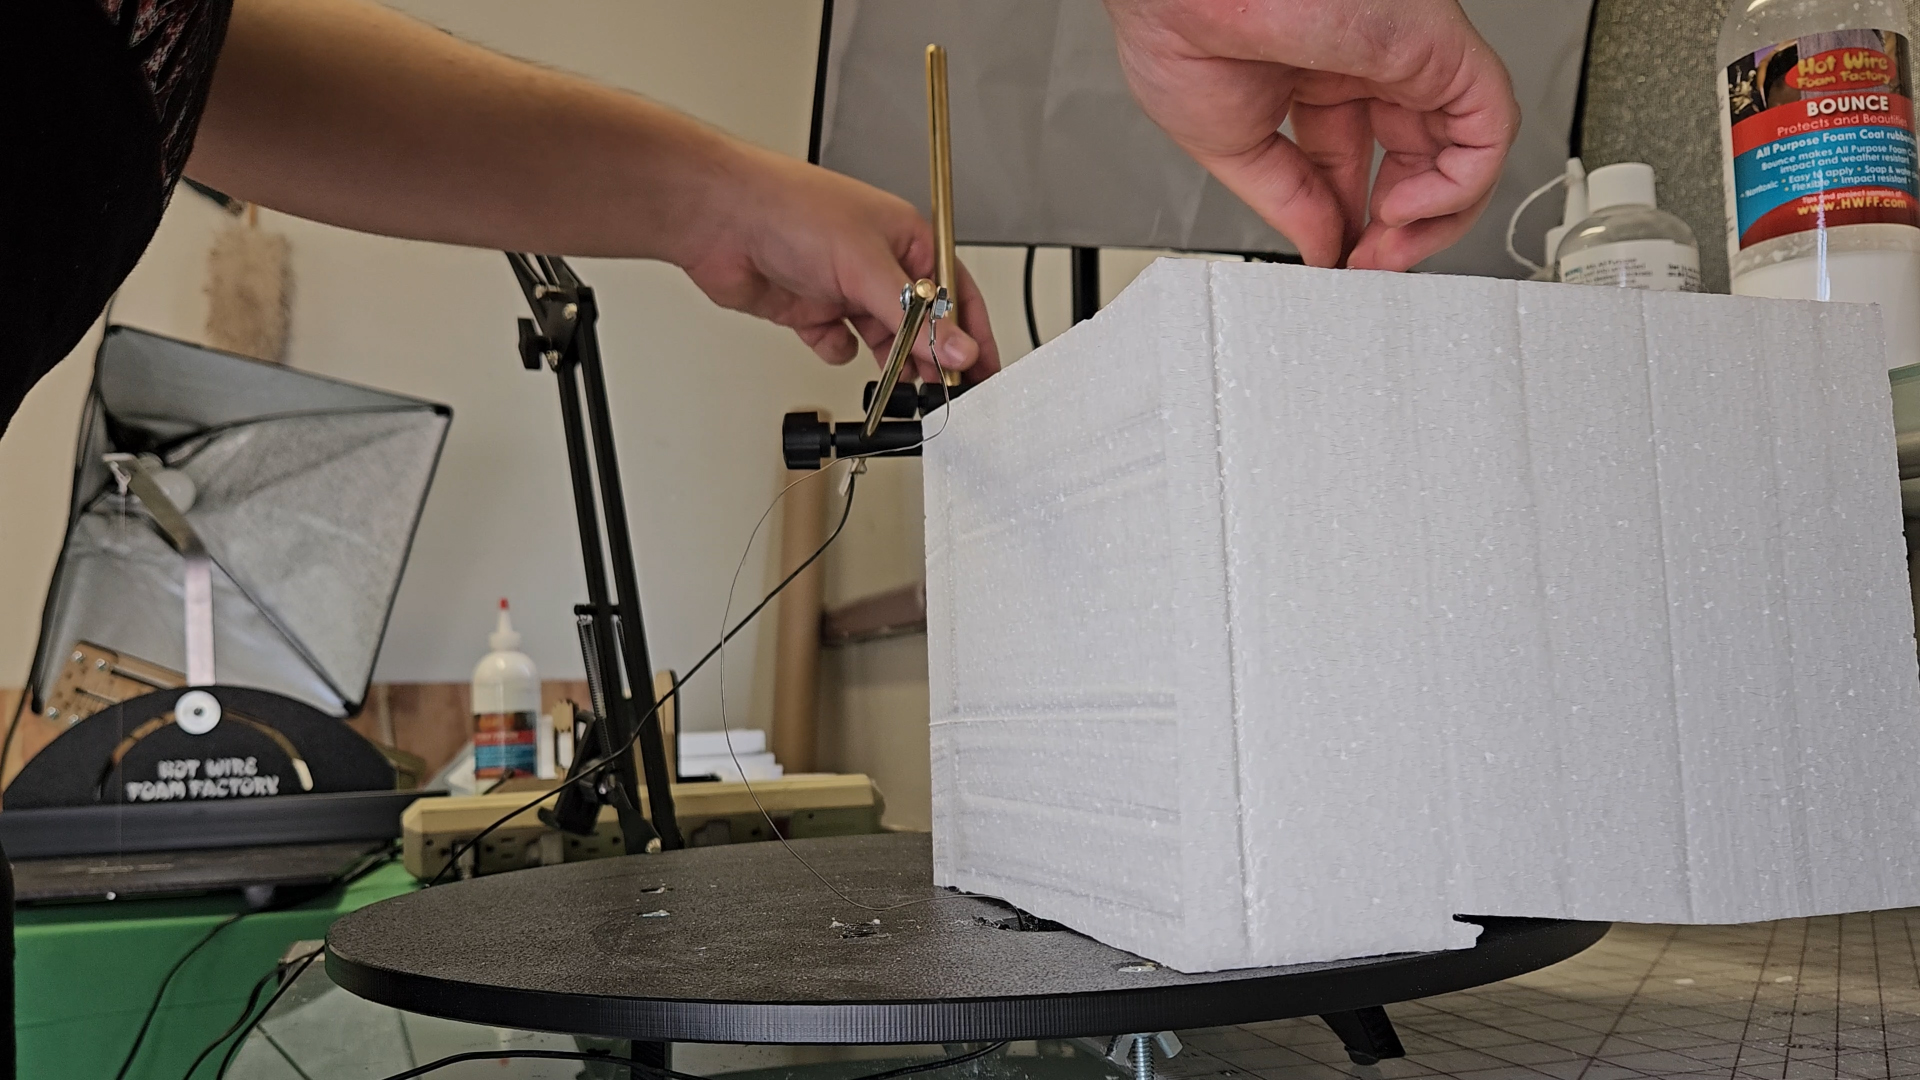
Mount your 3D Scroll table with a shapeable routing wire and bend the wire to your desired profile for the Jack O’Lantern. Then, pin your foam cube down with the secondary overhead arm, plug your Scroll Table into your power supply, turn the power supply on, push your foam into the shapeable wire and rotate it until the full shape is cut out.
This can also be done with a Freehand Router and a steady hand if you don’t have a 3D Table. Shape the wire into the top half of the Jack O’Lantern profile and sculpt the top half, then shape the wire to the bottom half of the profile and sculpt the bottom half.
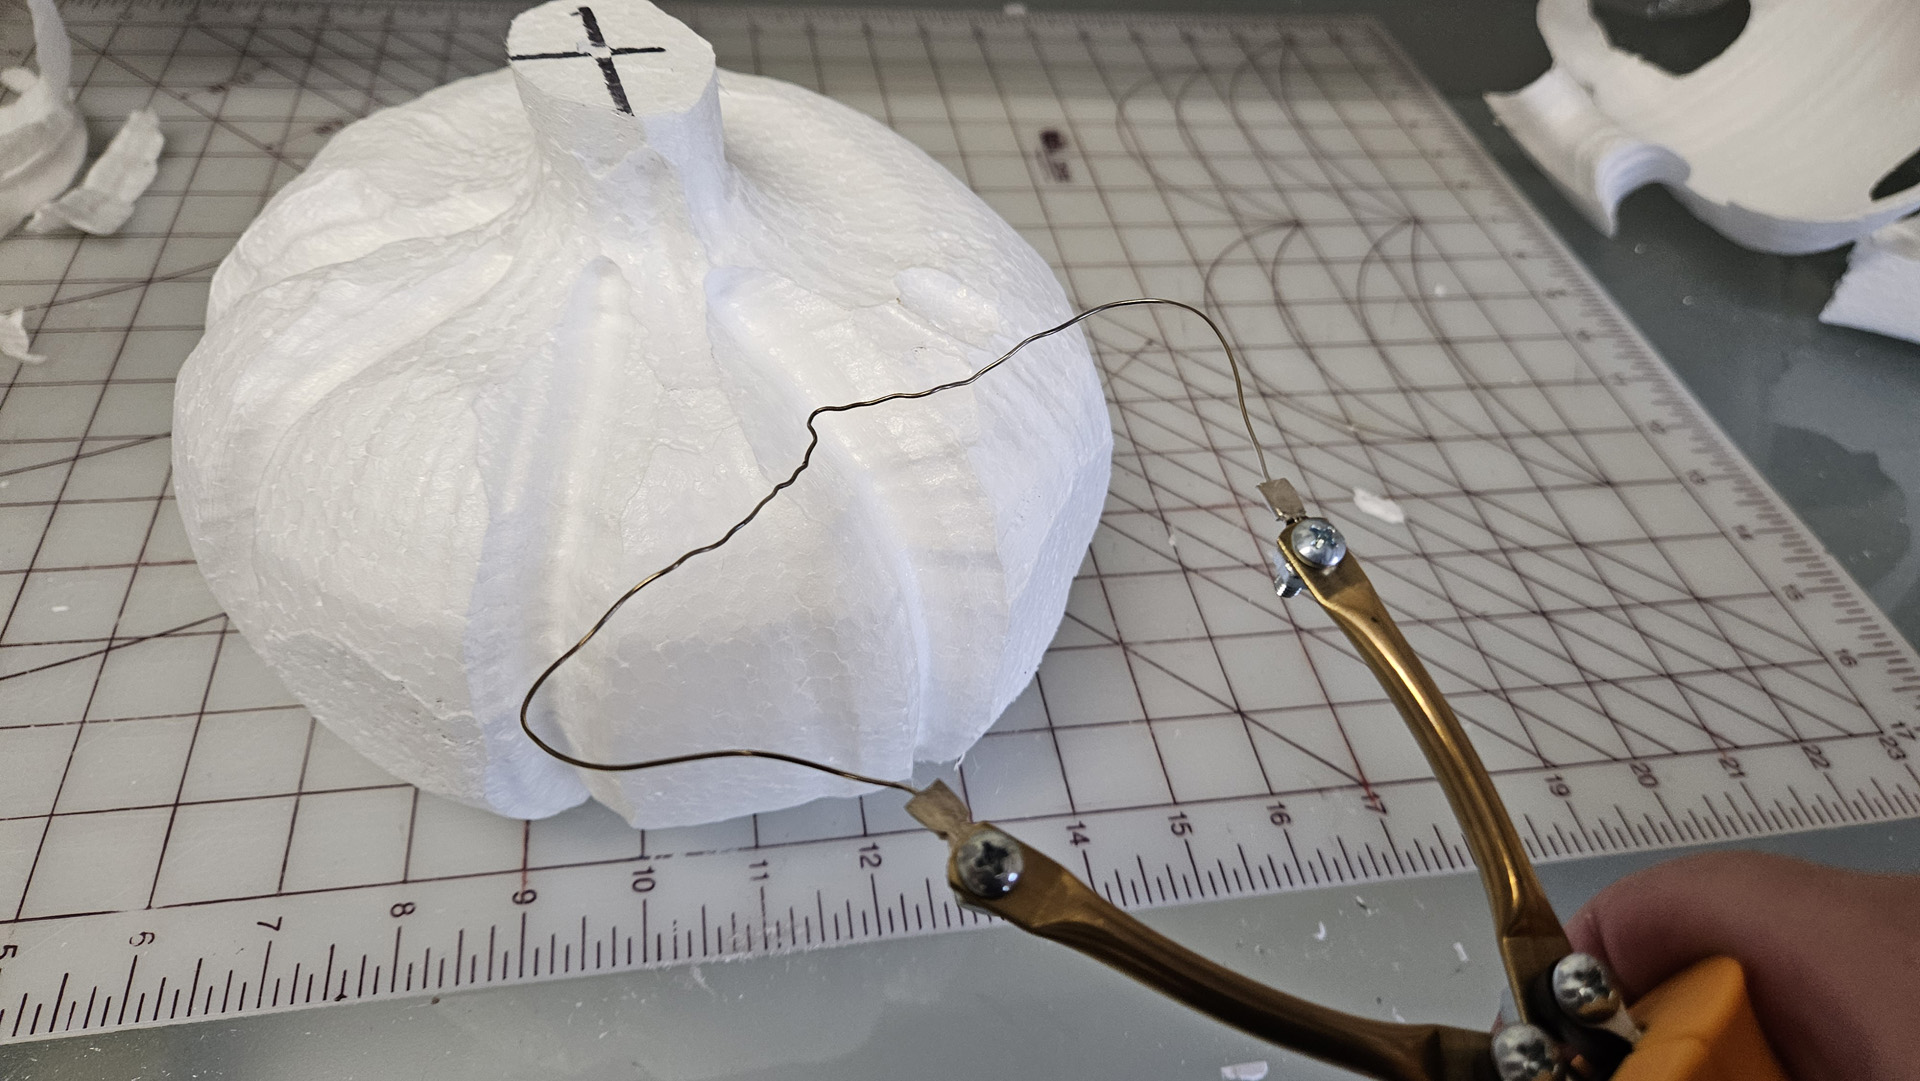
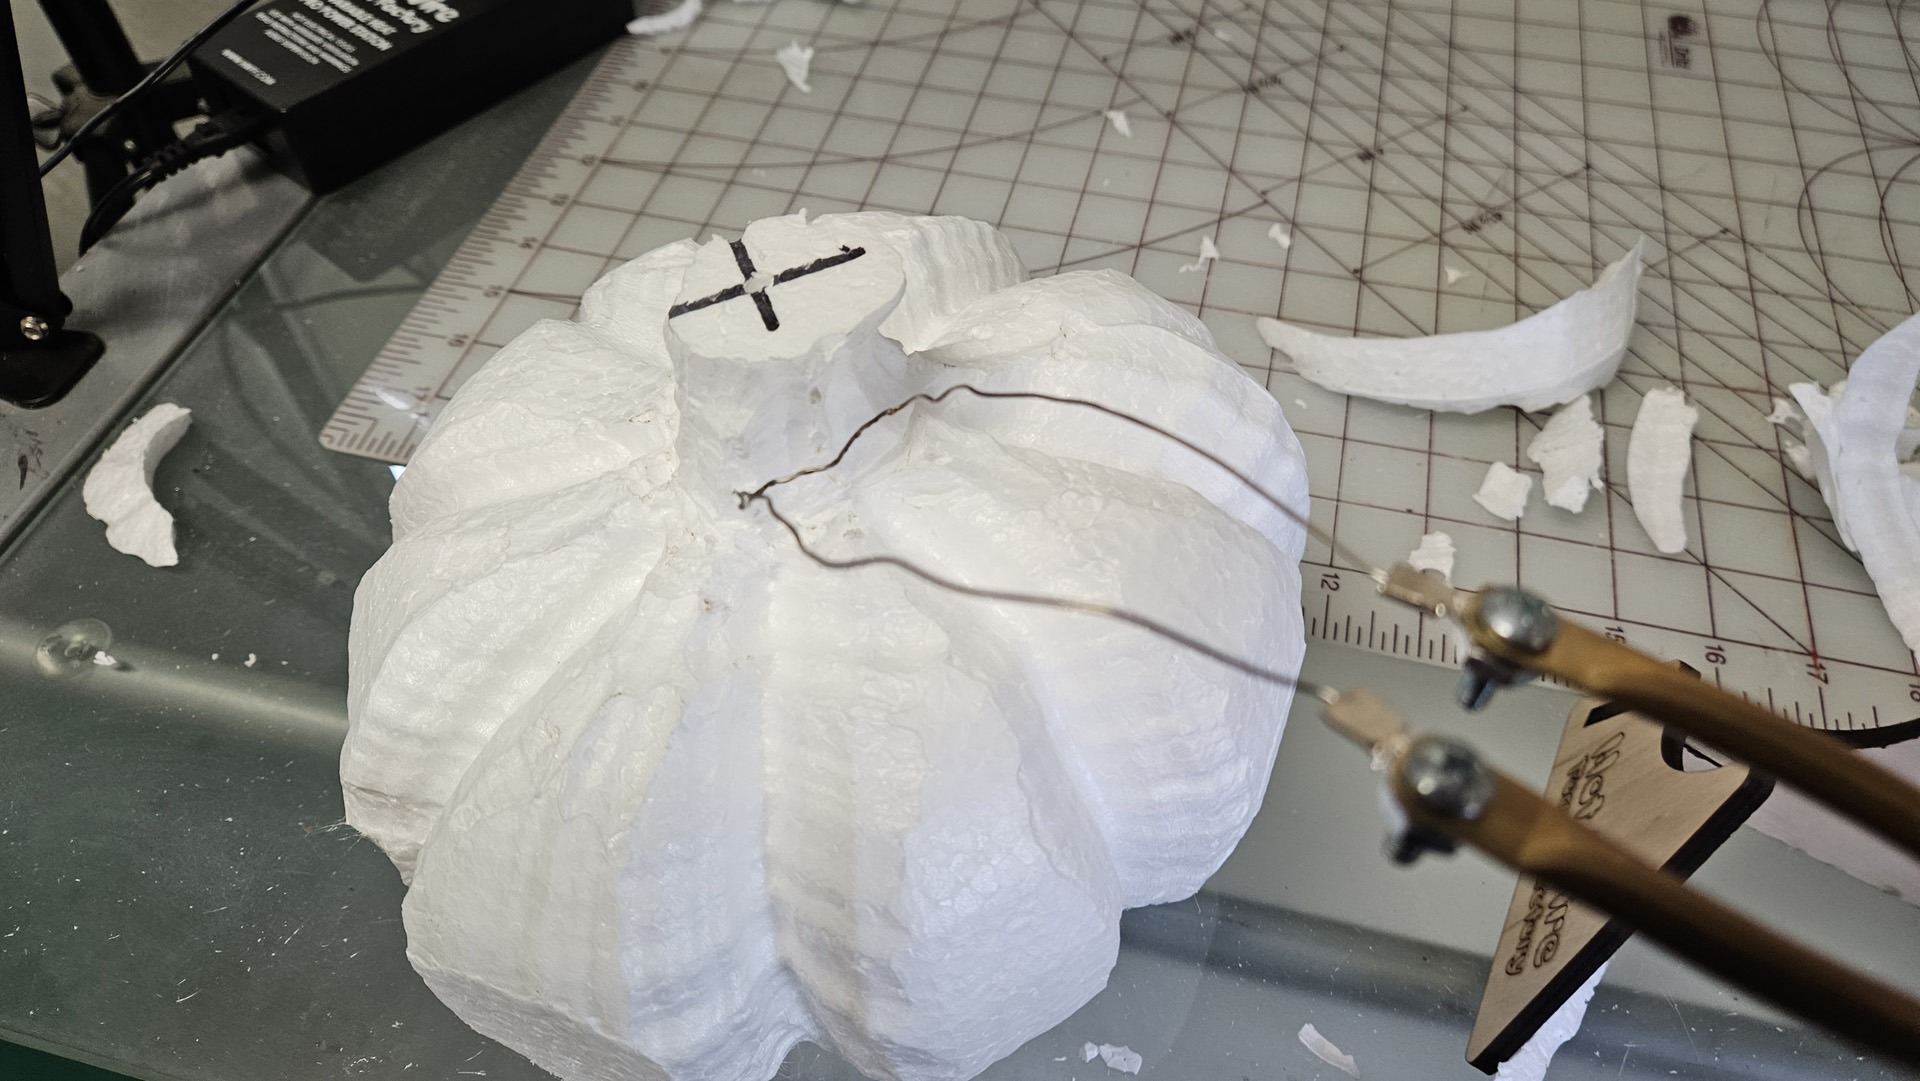
Step 2
Shape your Freehand Router into a double arch shape with a peak in the middle and use it to cut out the ridges of the Jack O’Lantern.
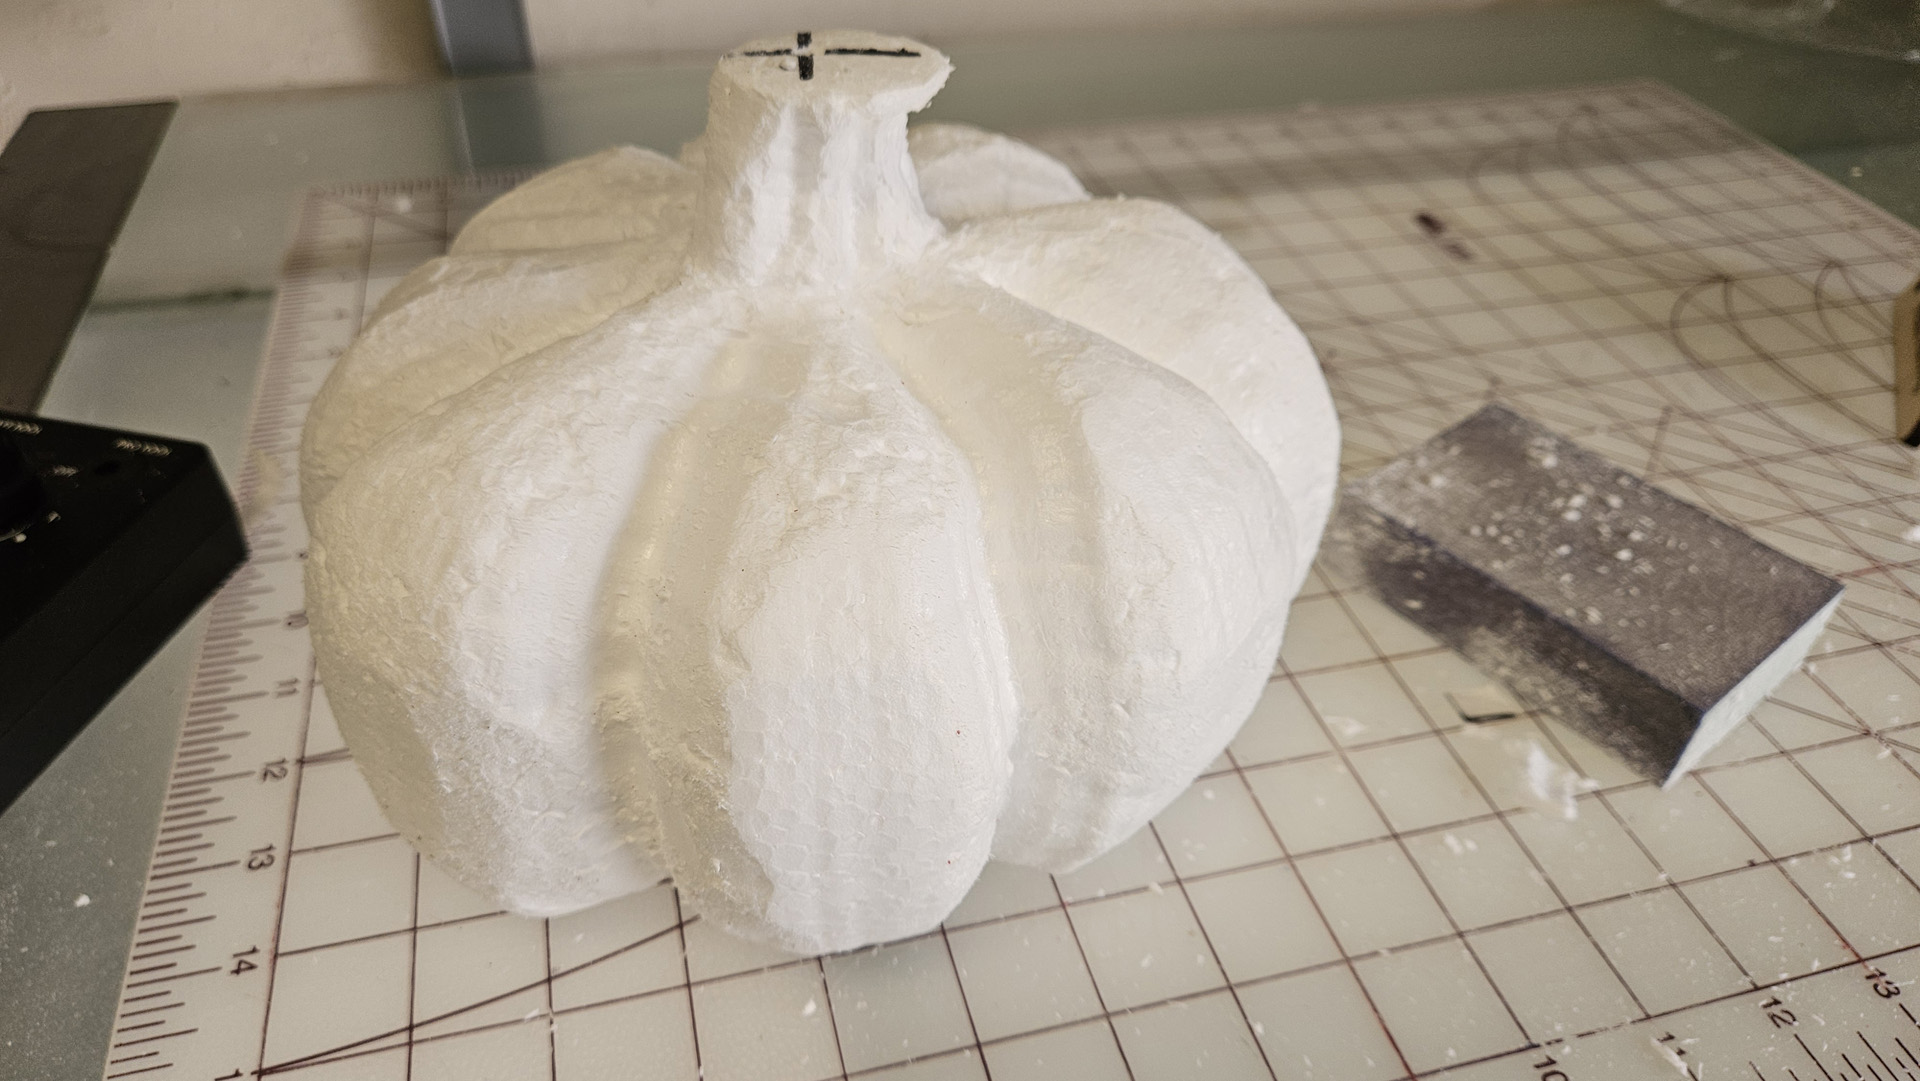
Step 3
Shape your Freehand Router into a slight arc and use it to shape the stem to your liking. The stem should follow the general shape of the pumpkin ridges but still look separate.
Step 4
Smooth the Jack O’Lantern with sand paper or a sanding block. The smoother the shape, the better it’ll look when it’s coated.
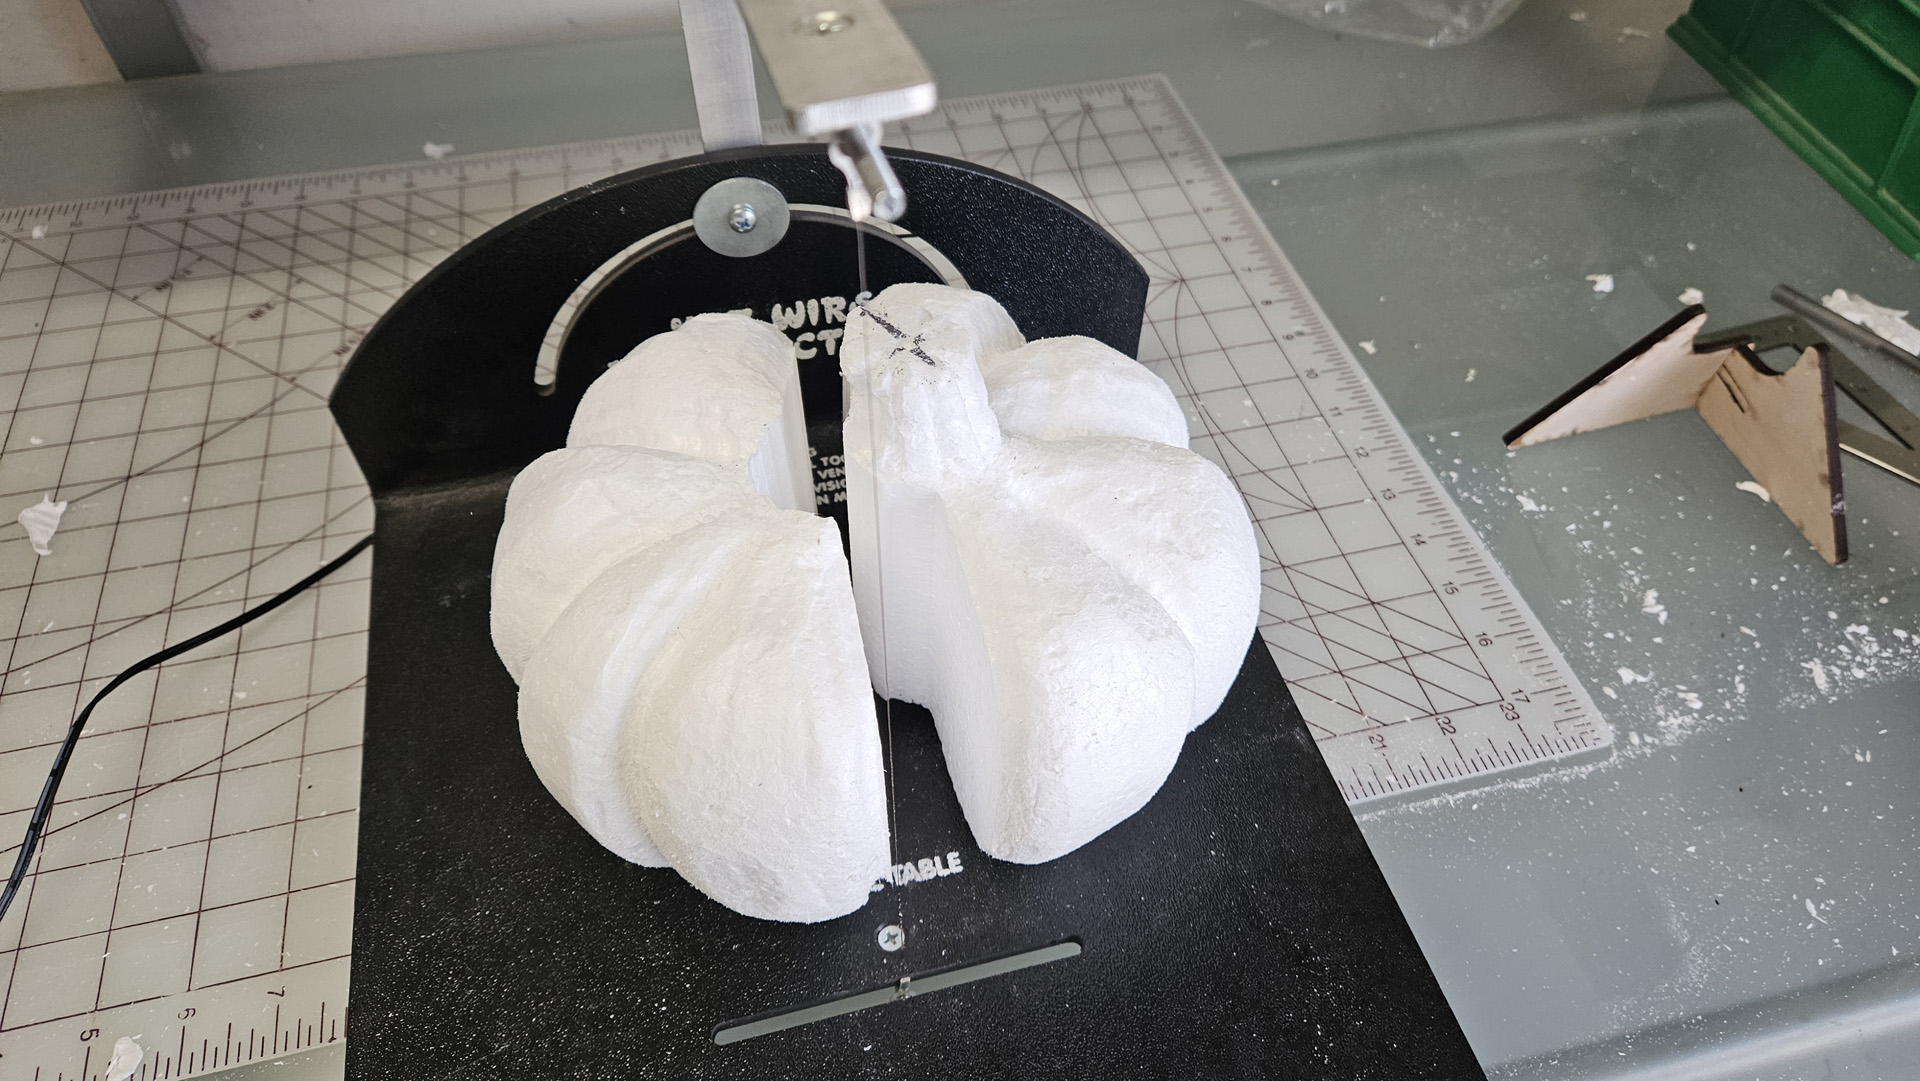
Step 5
Mount your 3D Table with a straight cutting blade or use a regular Scroll Table to cut your Jack O’Lantern in half, tracing around the stem.
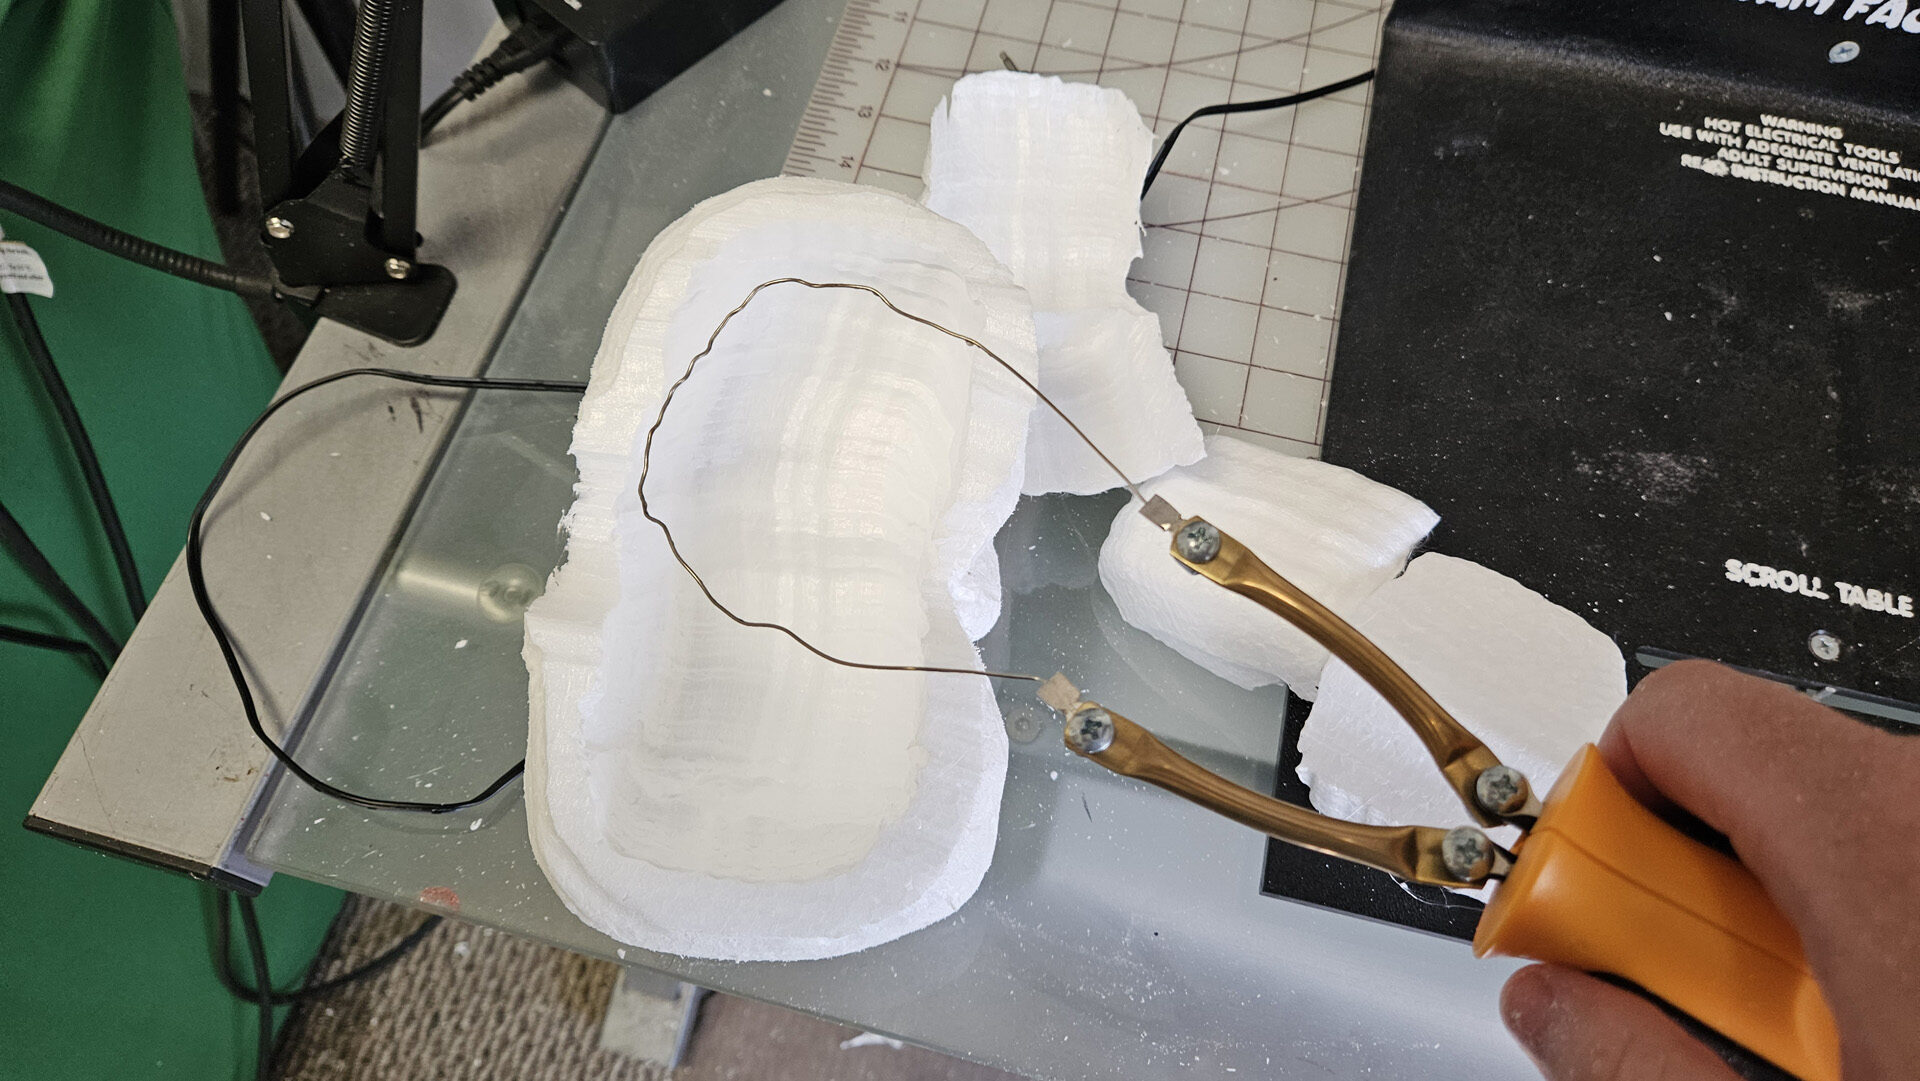
Step 6
Shape your Freehand Router into an outward arc and scoop out the inside of each half of the Jack O’Lantern. leave about ¼-Inch thickness all around and be careful not to poke through the front.
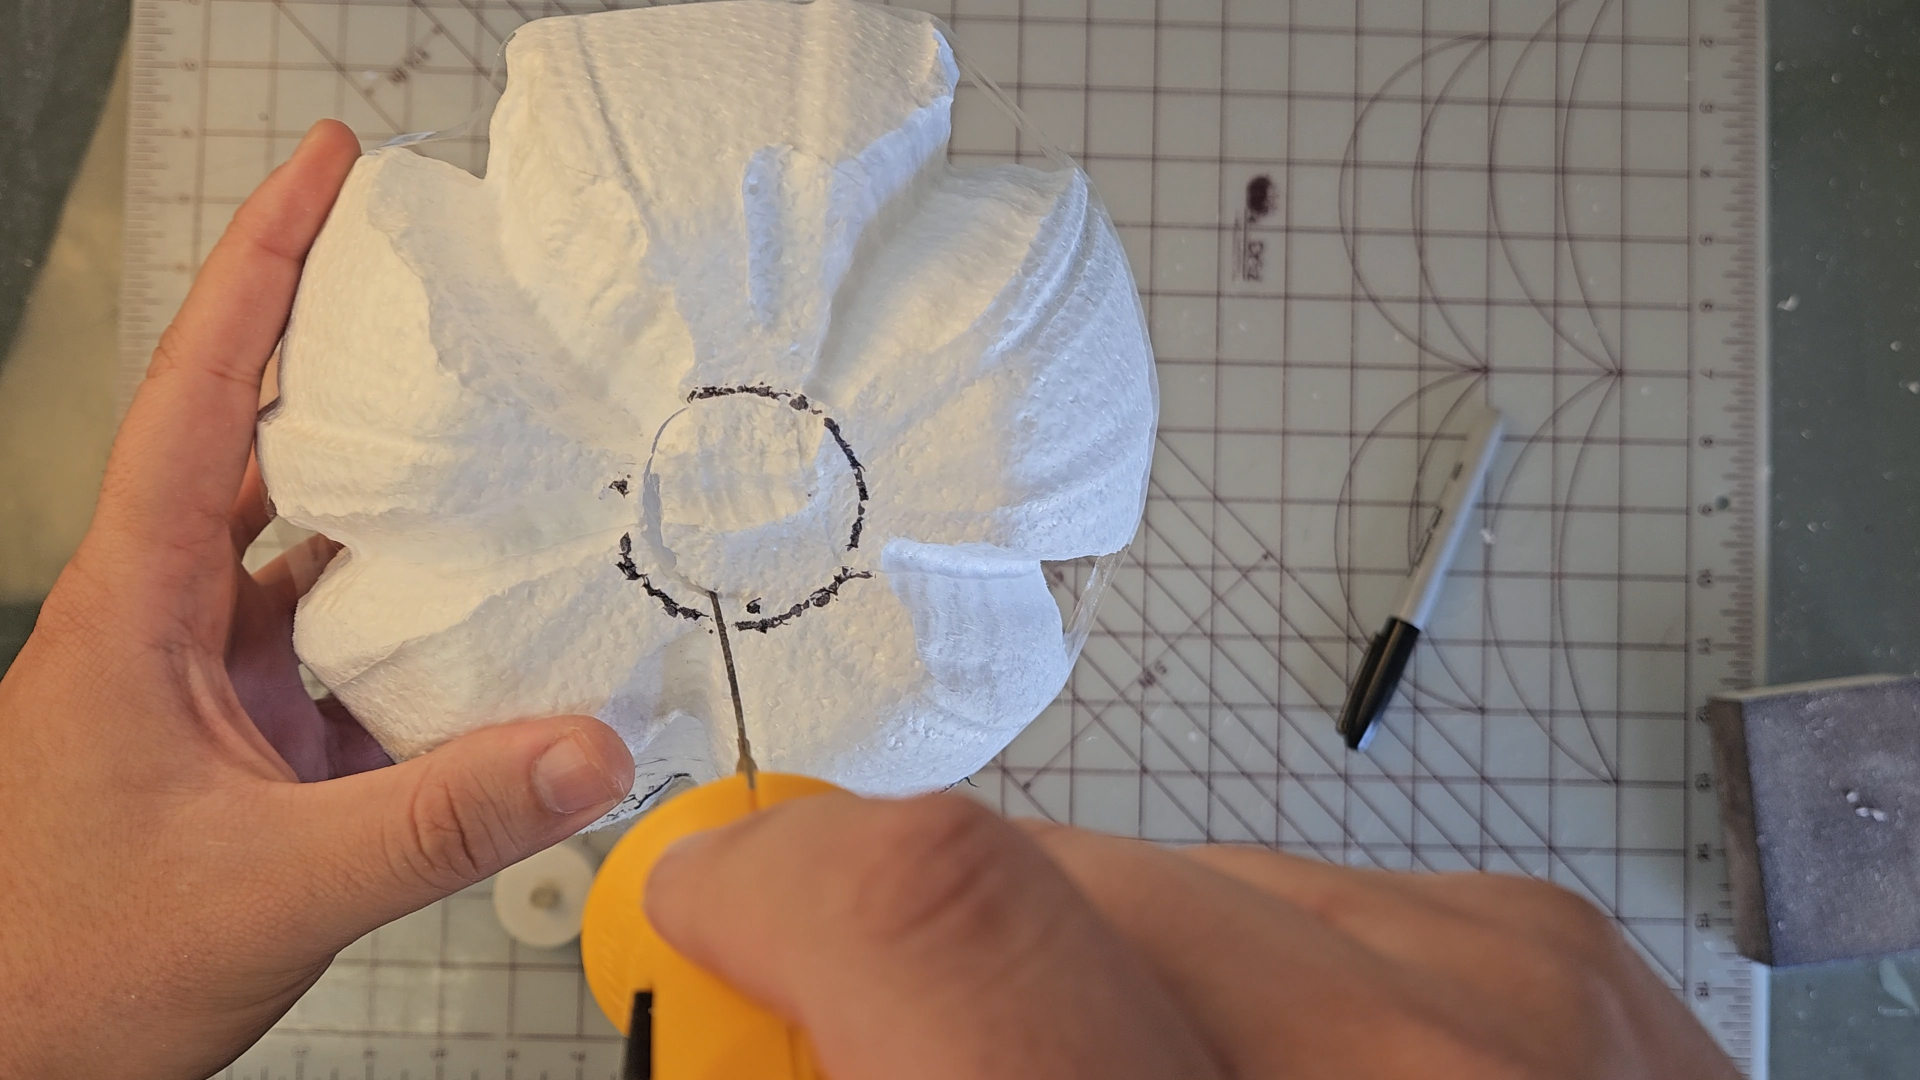
Step 7
Tape the two halves together tightly, then trace your battery powered candle on the bottom and cut it out with your 3-Inch Hot Knife. Cut it slightly undersized for a tight fit. (Real candle not recommended as the flame can melt the foam if it touches the inside.)
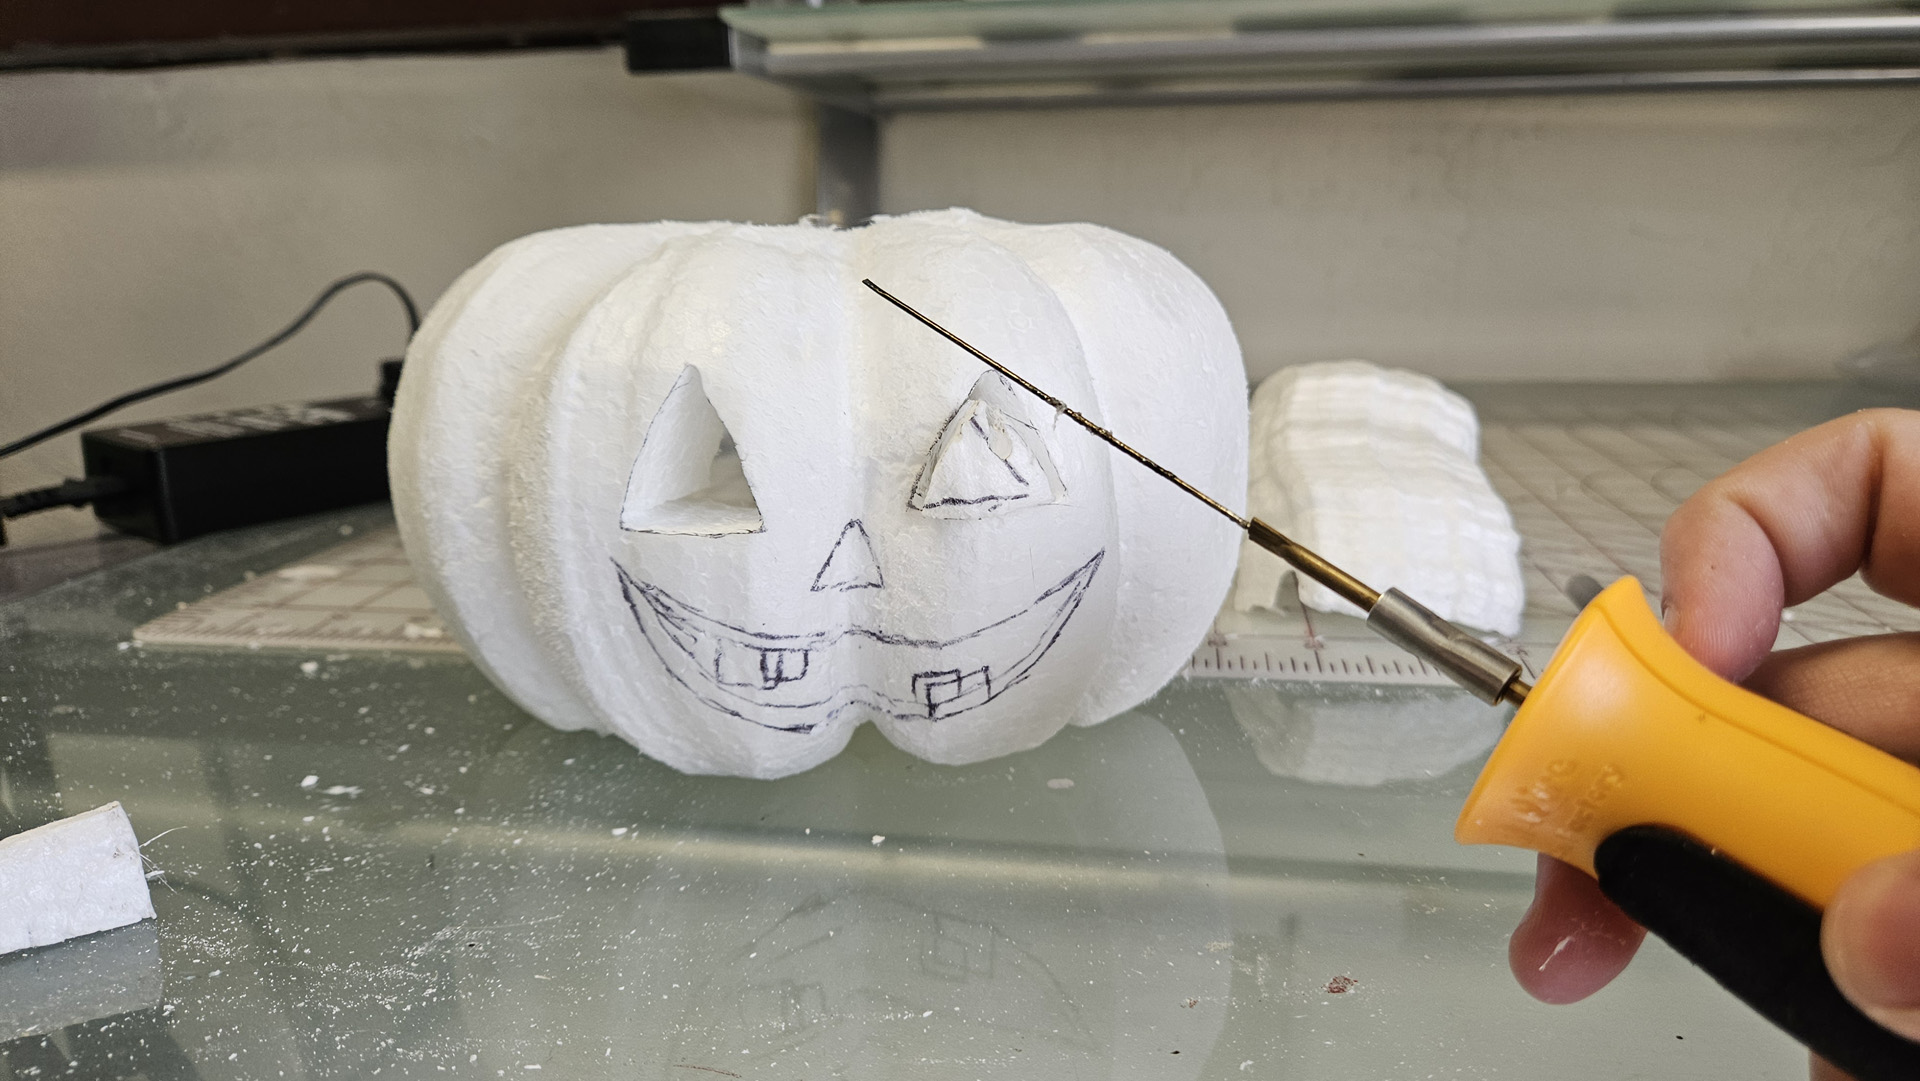
Step 8
Draw a face and cut it out with your 3-Inch Hot Knife.
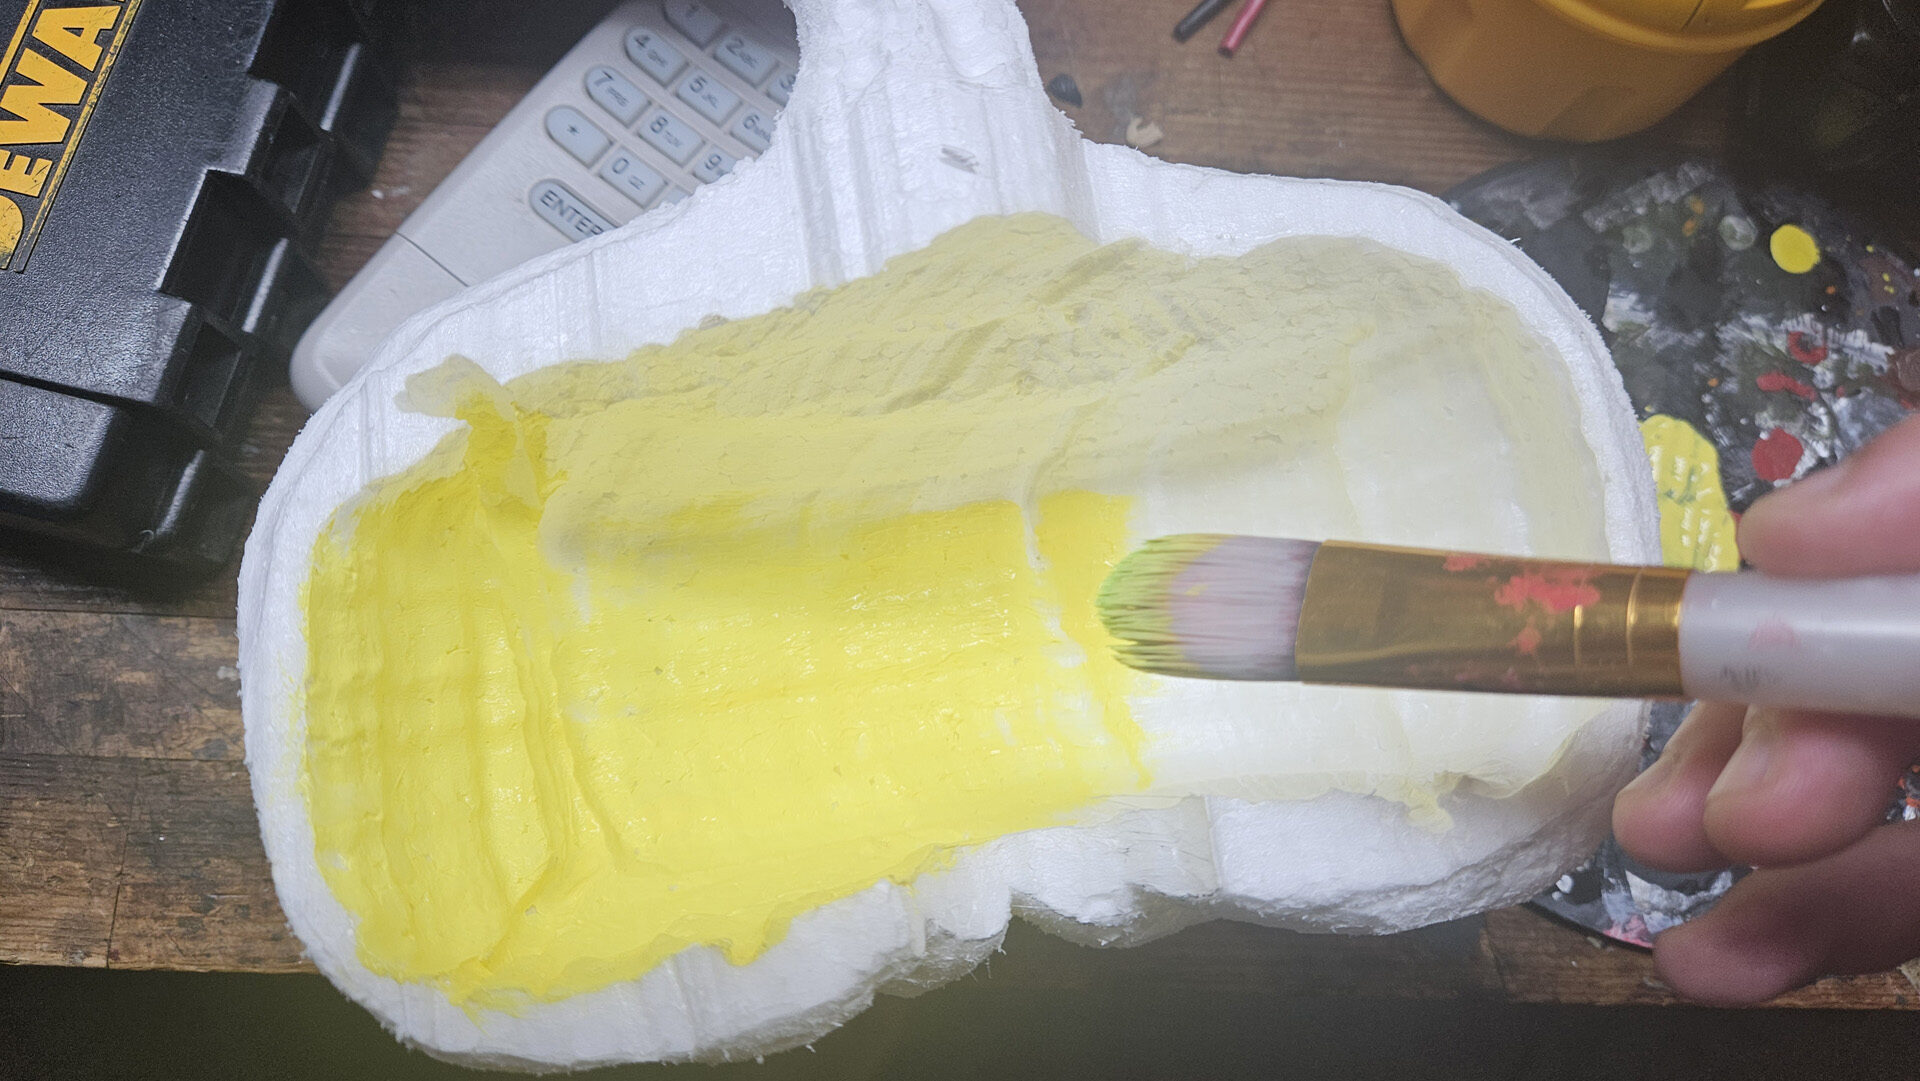
Step 9
Paint the inside of each half yellow.
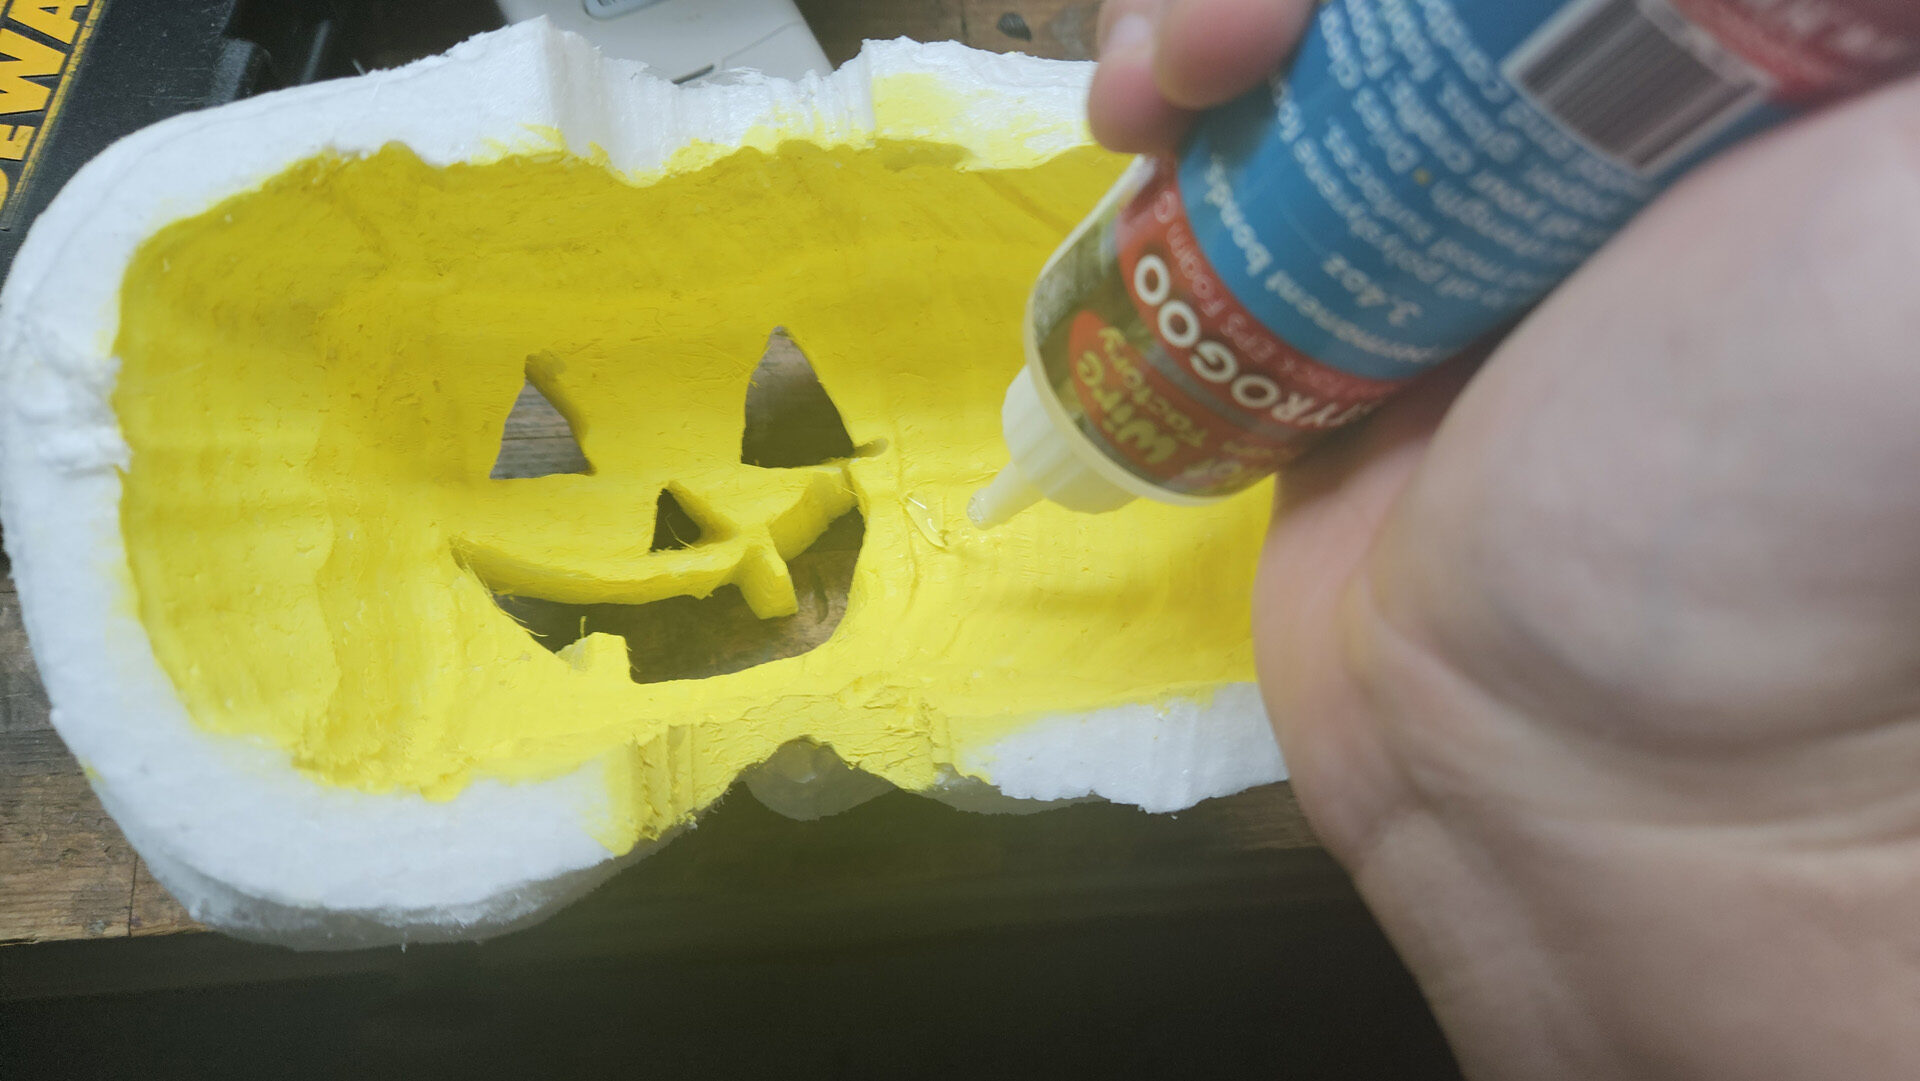
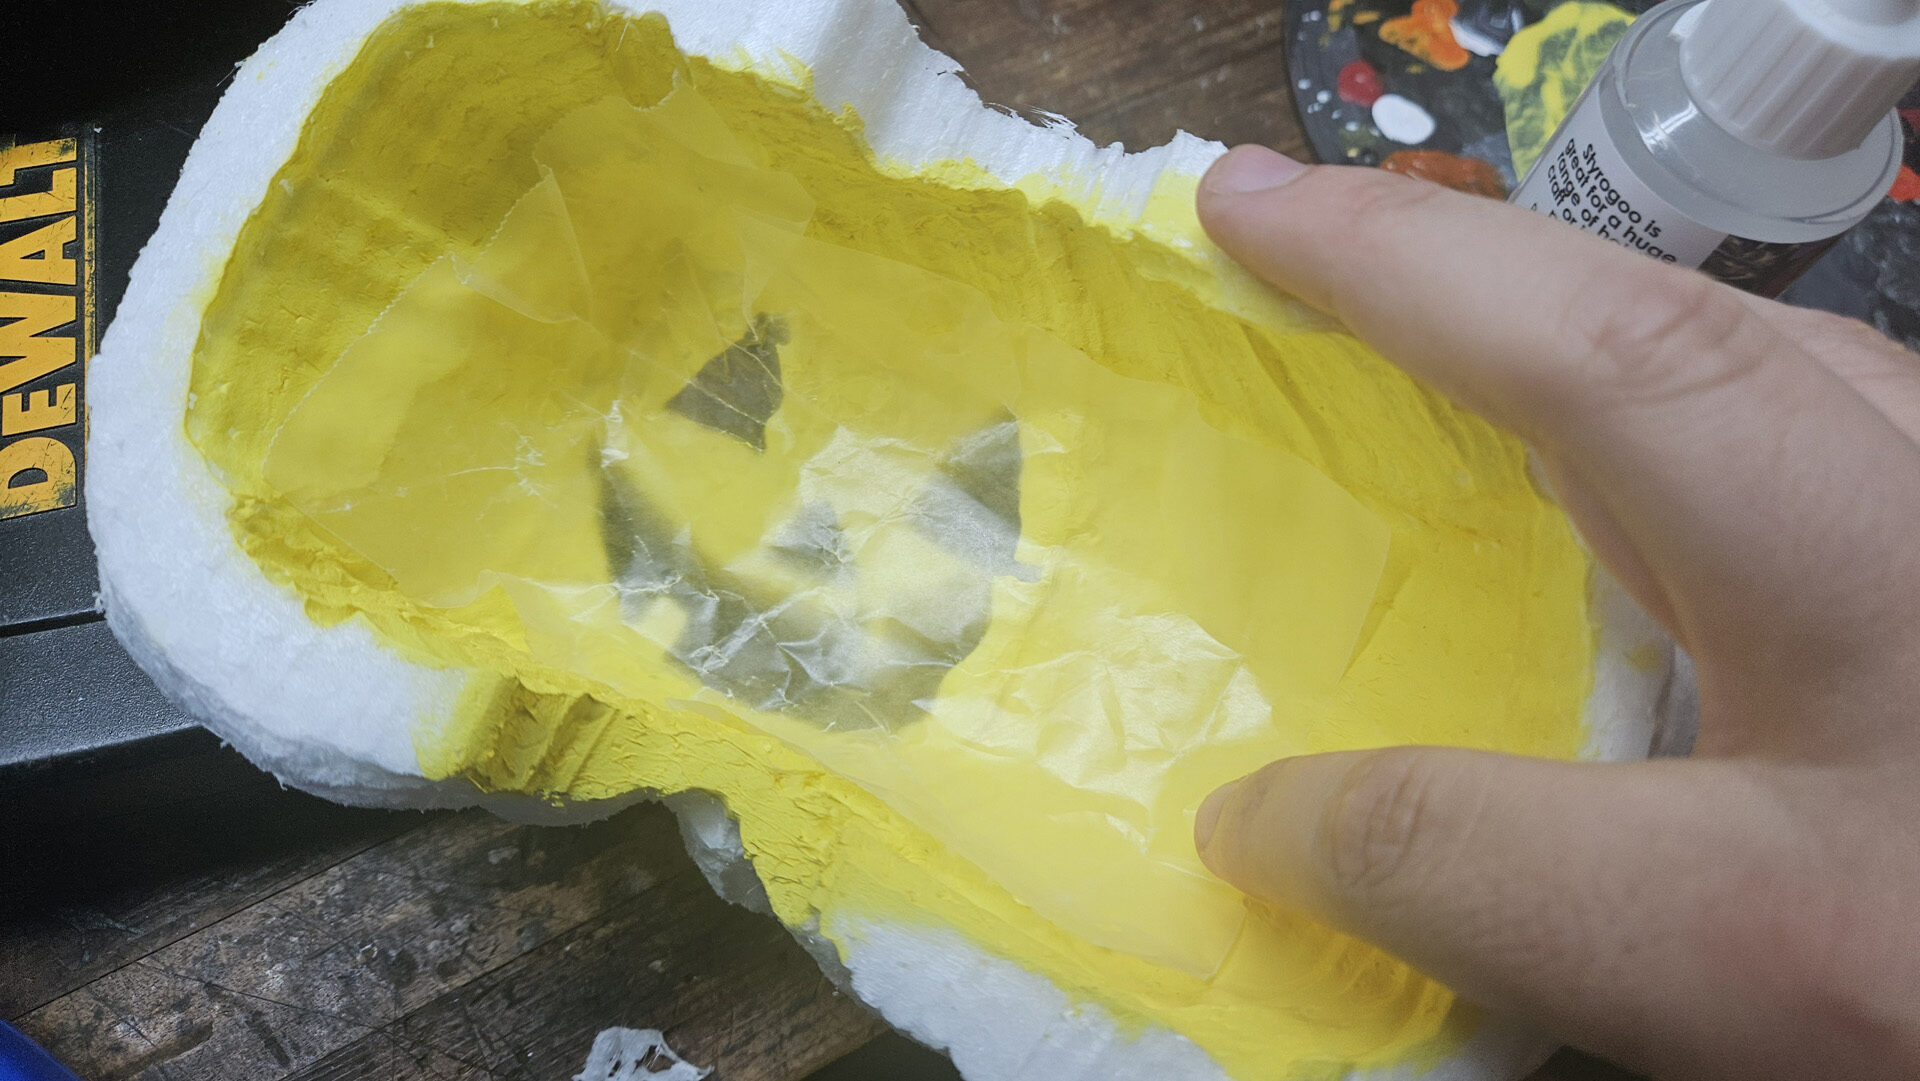
Step 10
Once the paint is dry, glue a sheet of wax paper behind the face with StyroGoo (Optional if you want to hide the inside).
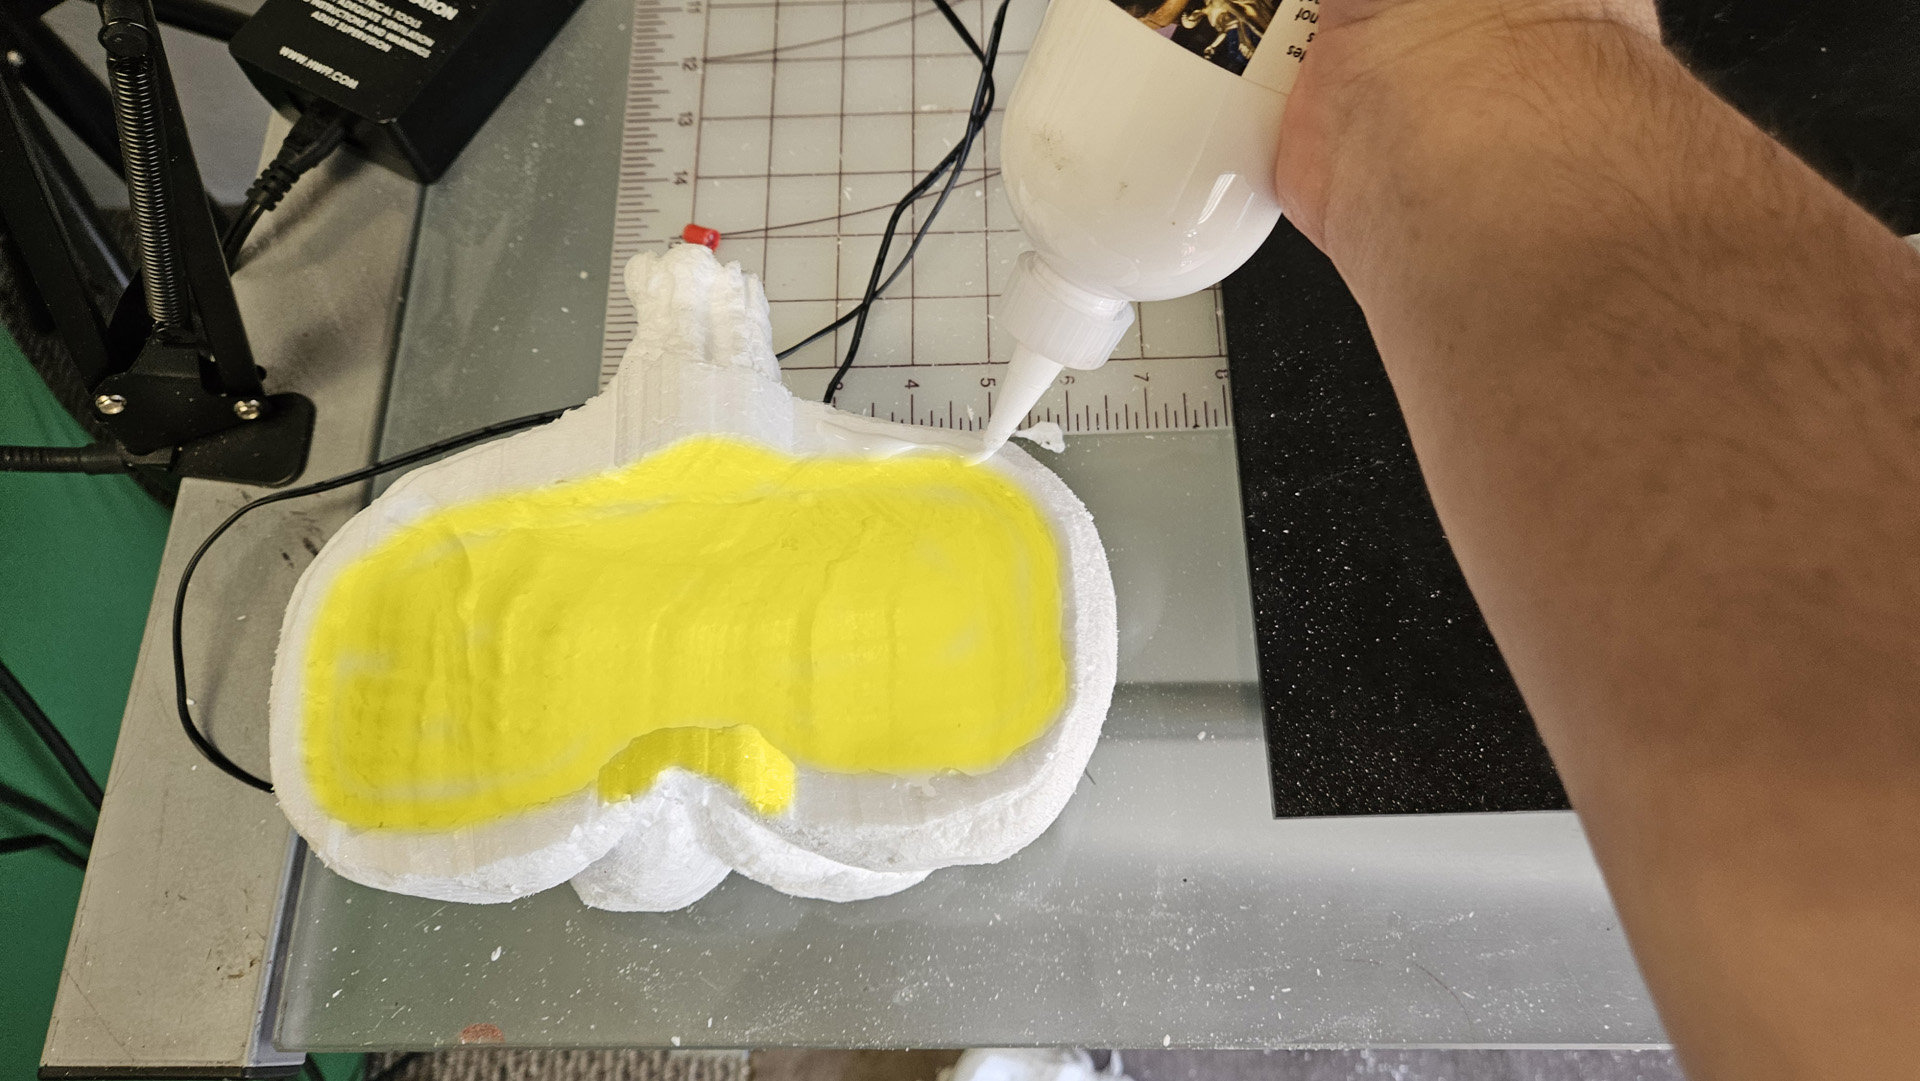
Step 11
Glue the two halves together with StyroGoo or Foam Fusion. Wrap tightly with tape and let the glue dry overnight.
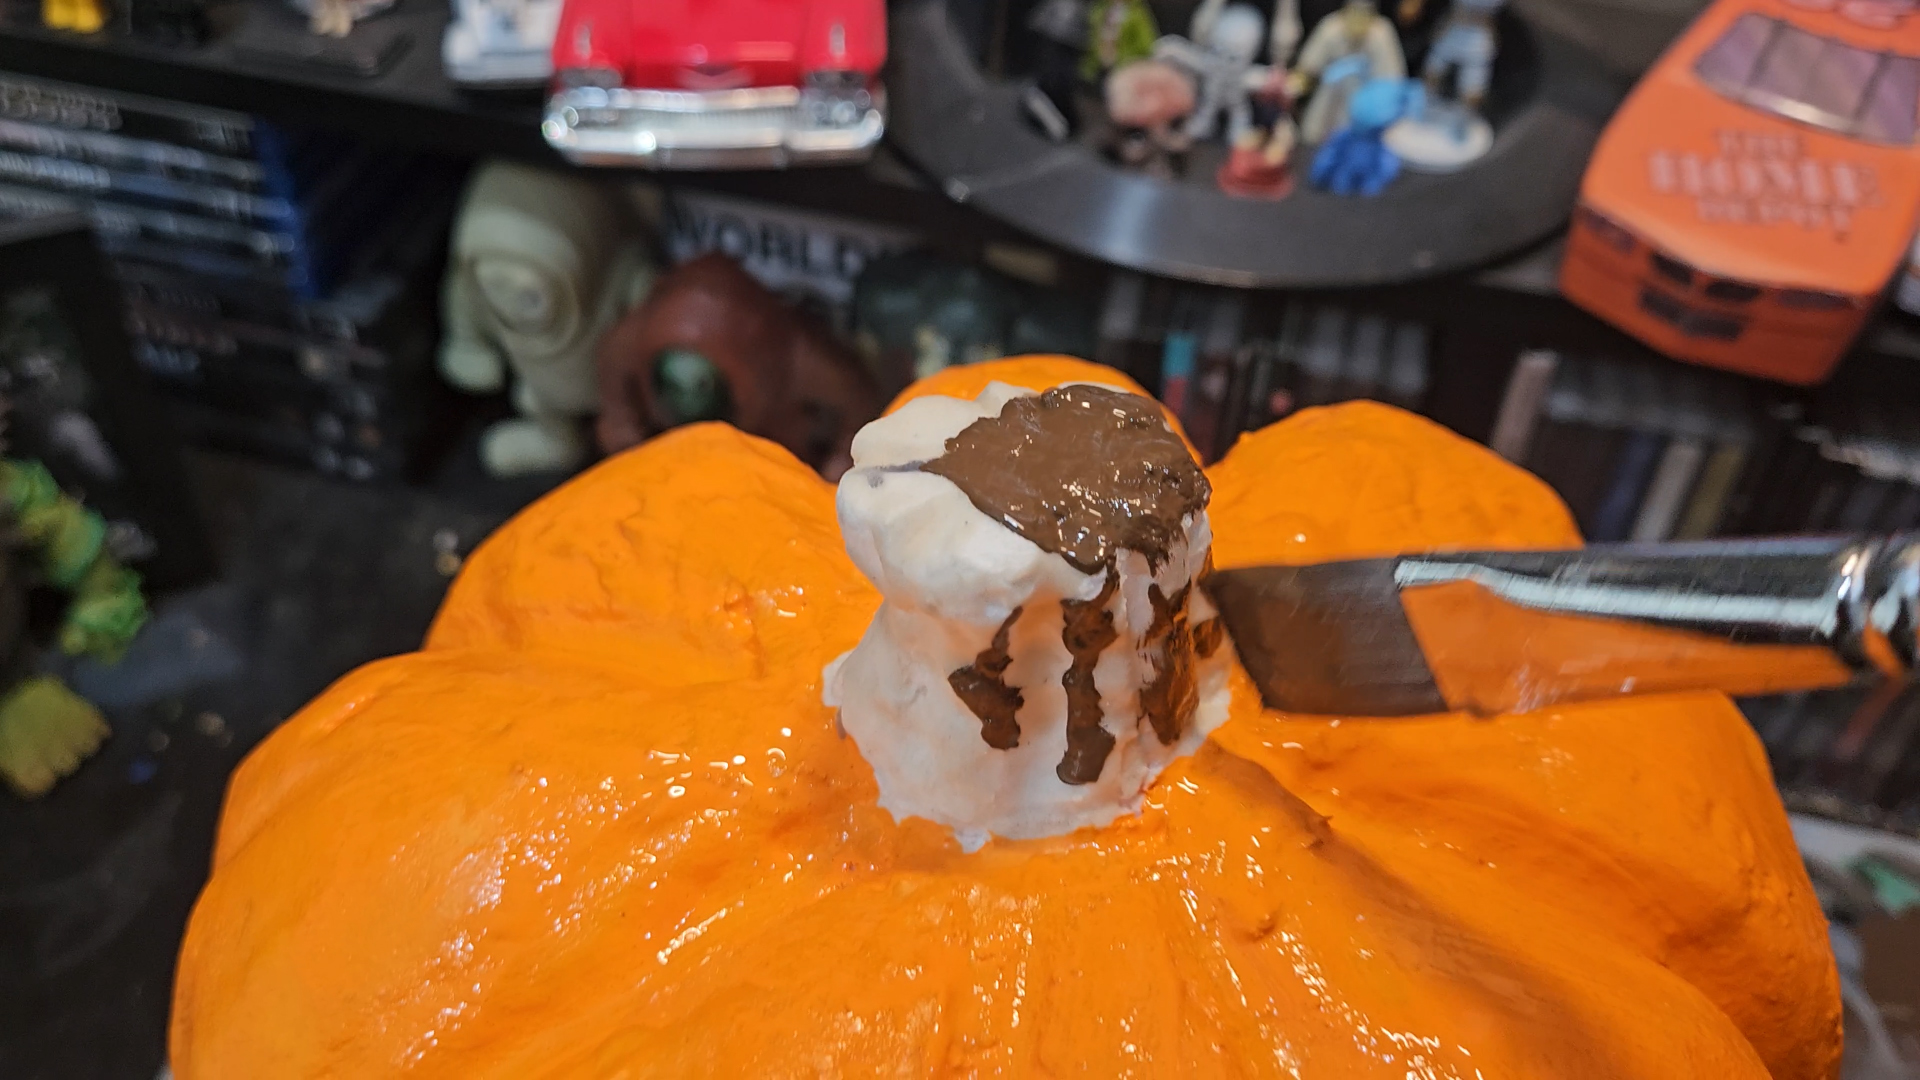
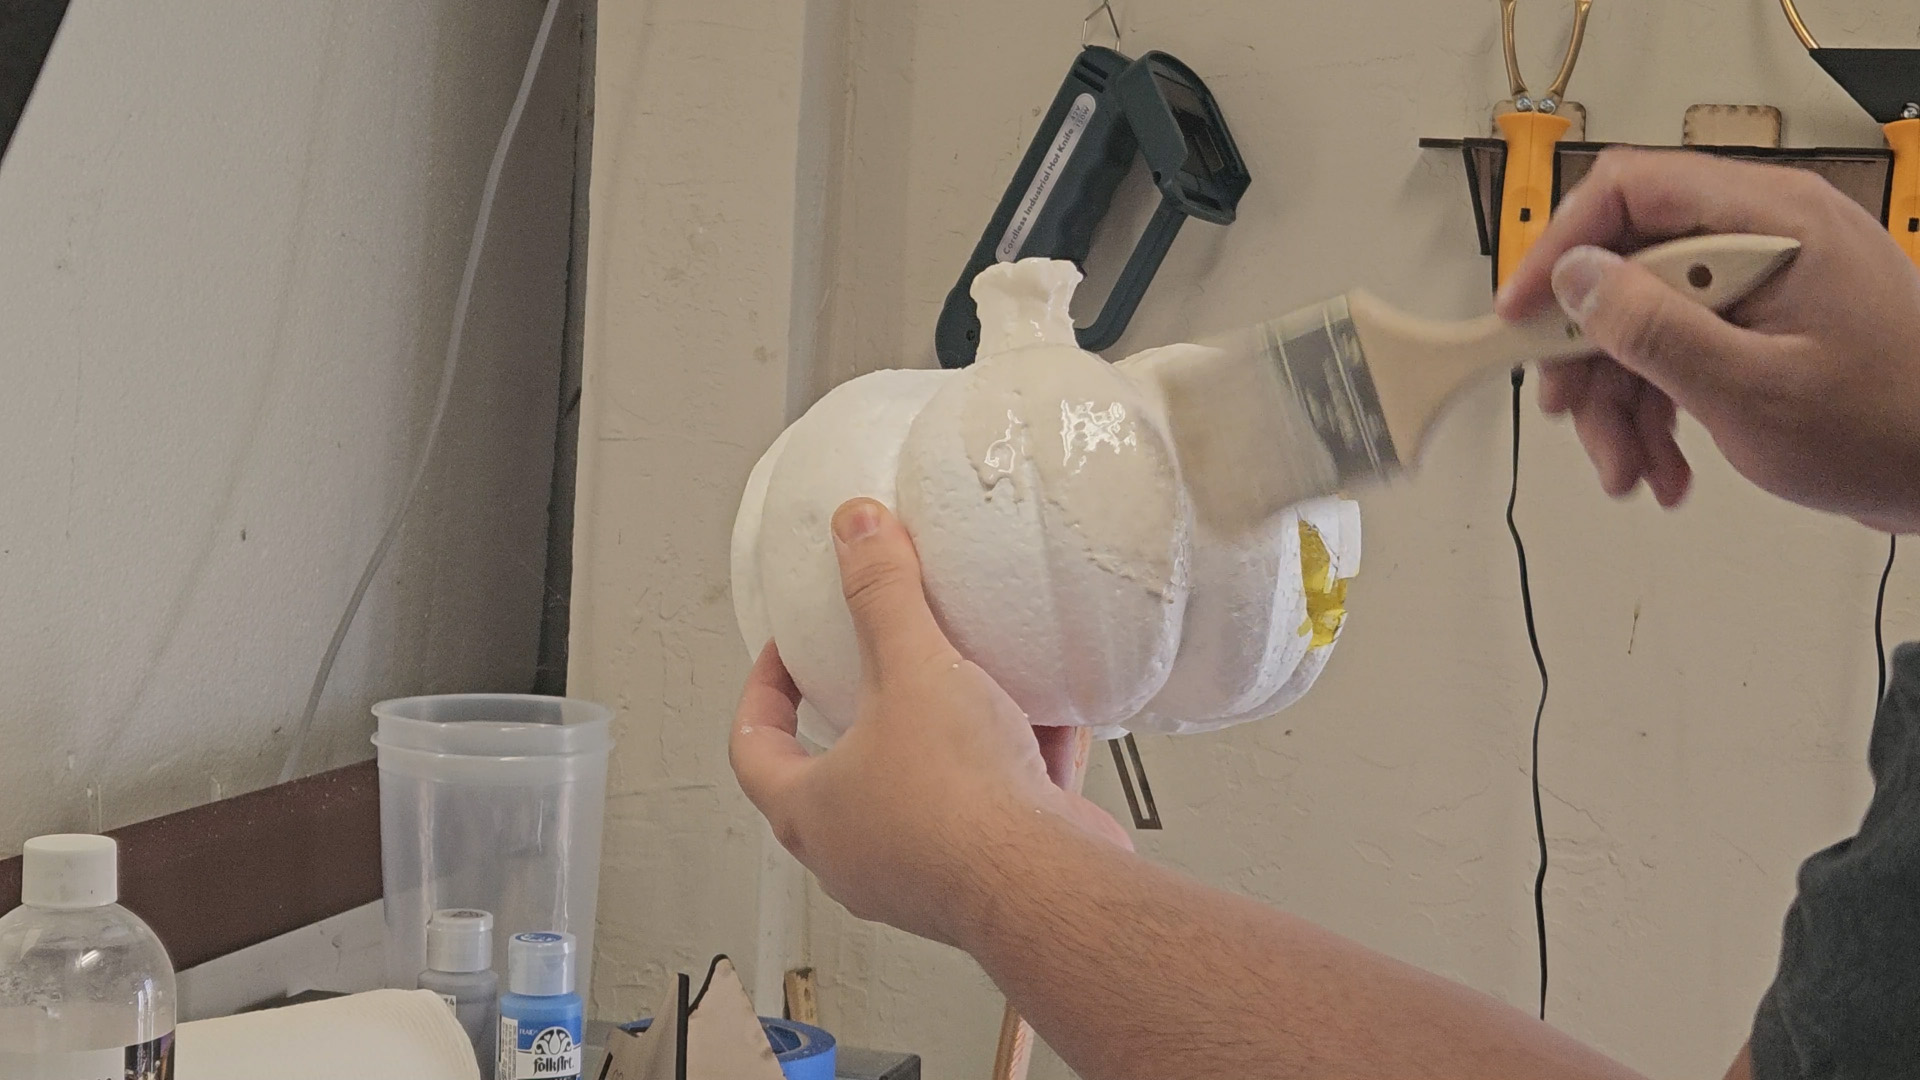
Step 12
Mix 3 parts Bounce to 2 parts All Purpose Foam Coat (or whatever ratio you prefer) and apply to the exterior of the Jack O’Lantern.
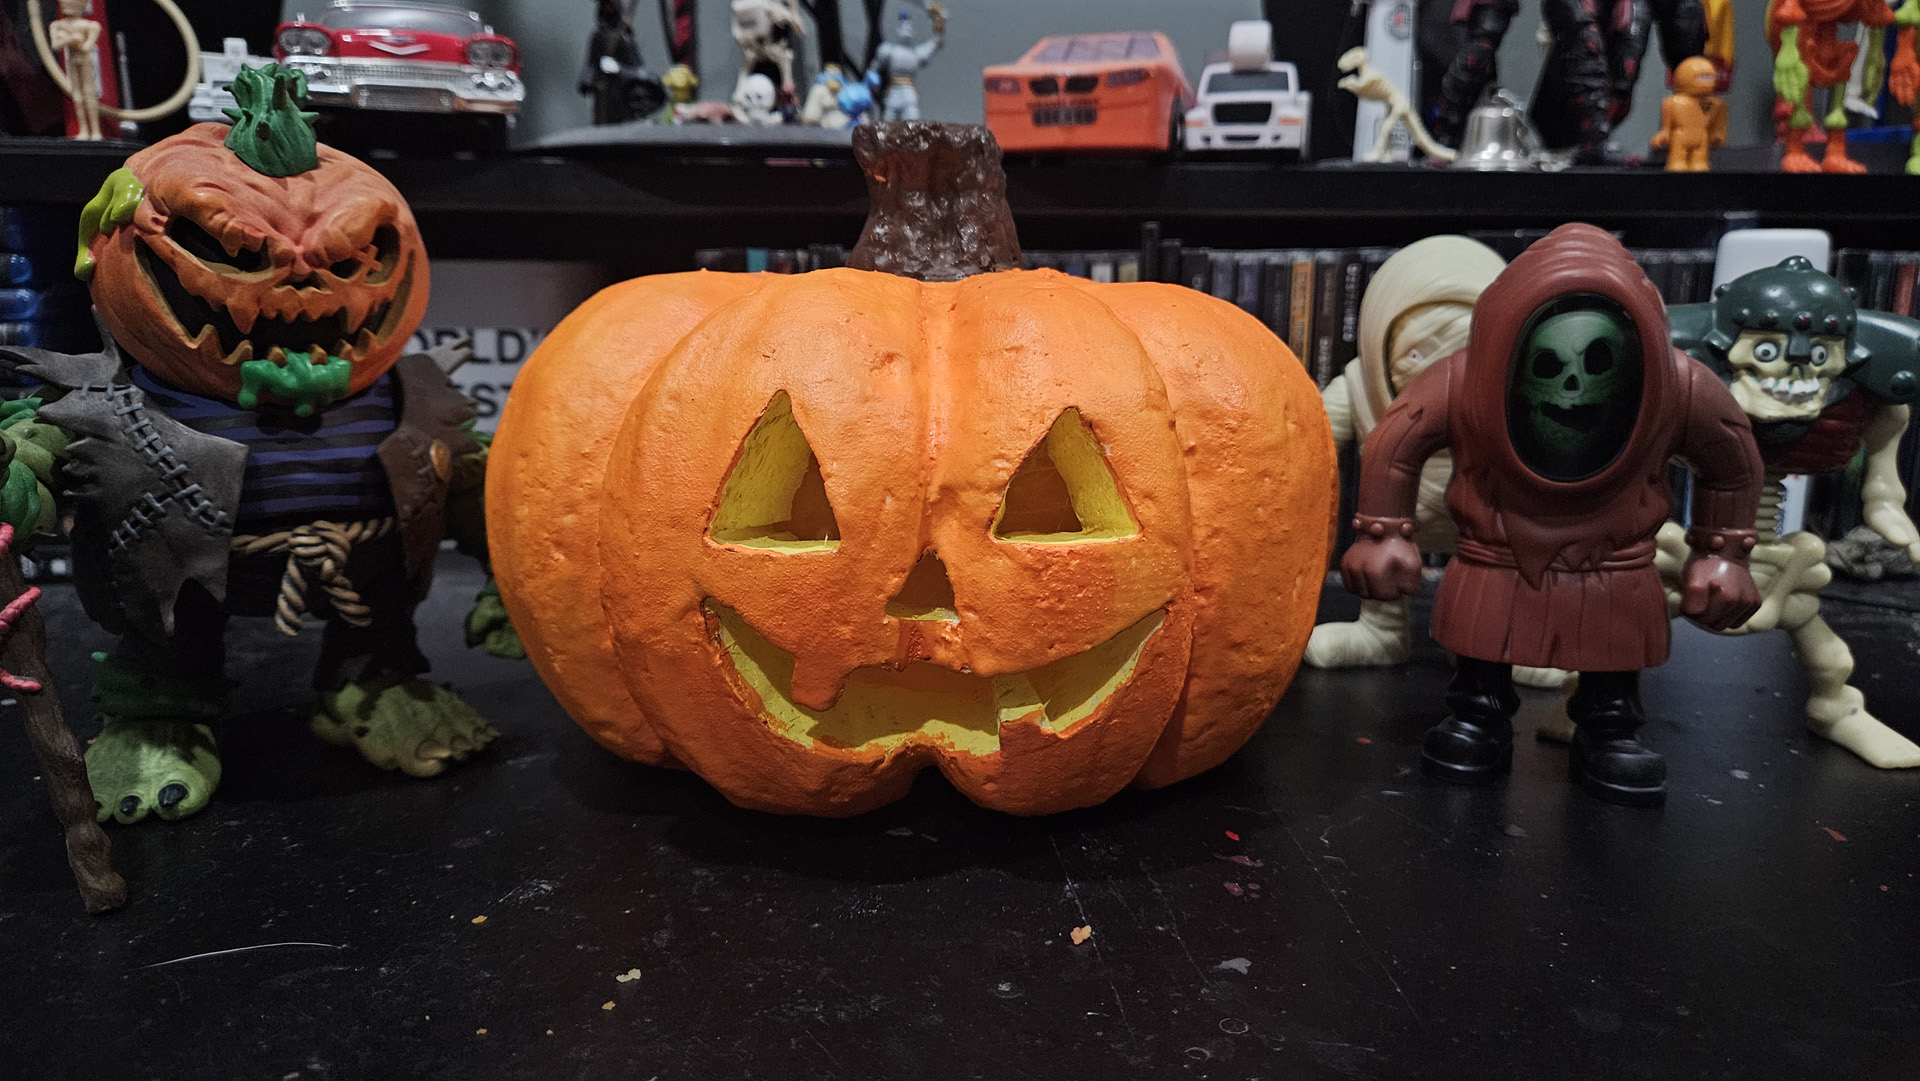
Step 13
Paint the Jack O’Lantern orange and the stem brown.