Halloween Party Props
A life-size “stone” gargoyle and Poe obelisk
By Keri Else
Bradenton, Florida
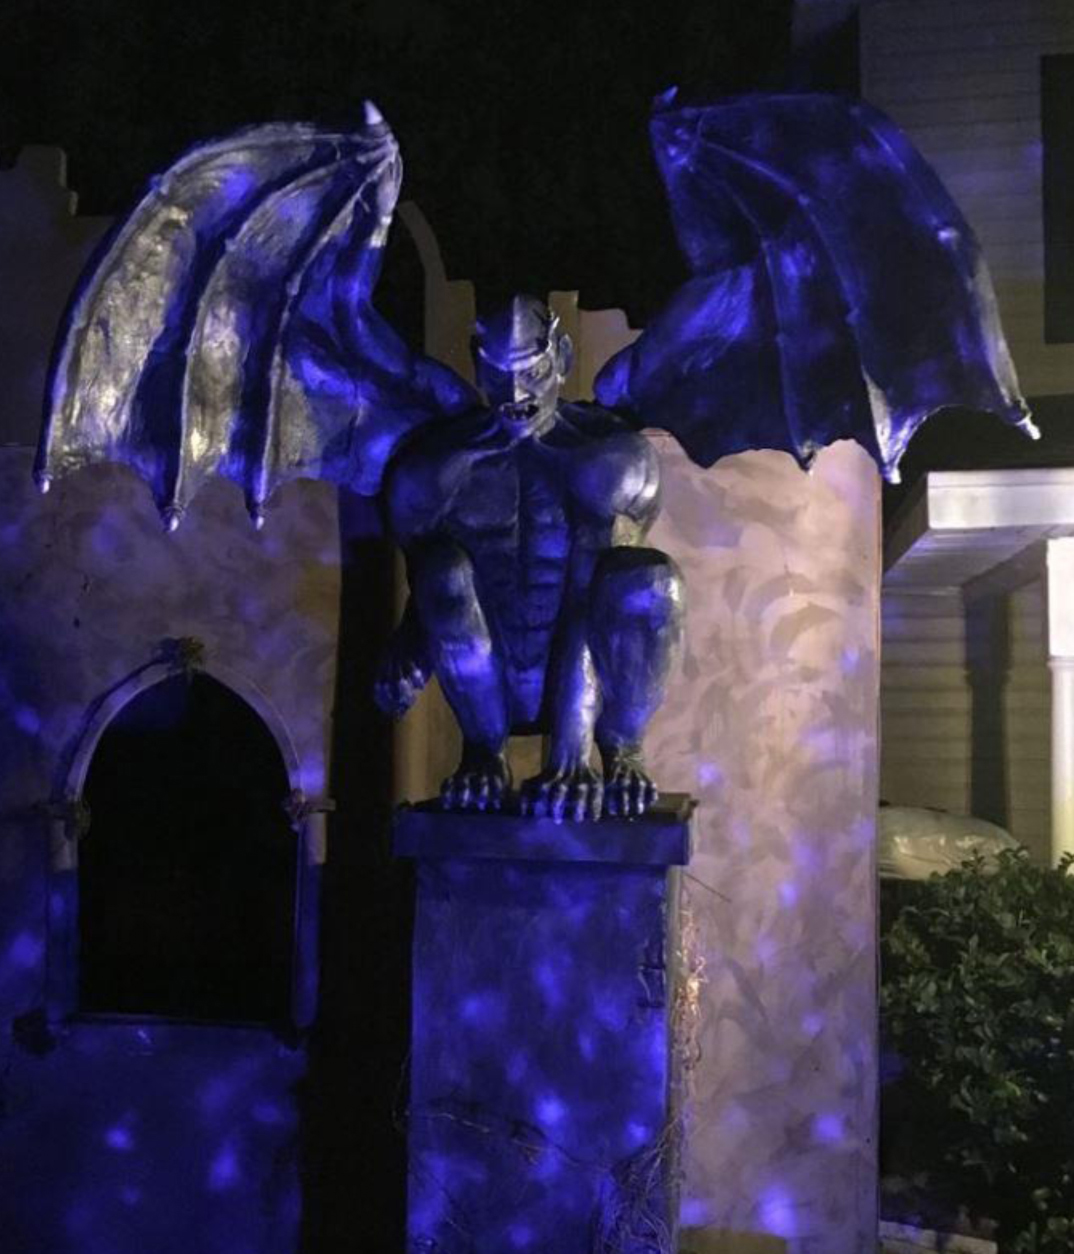
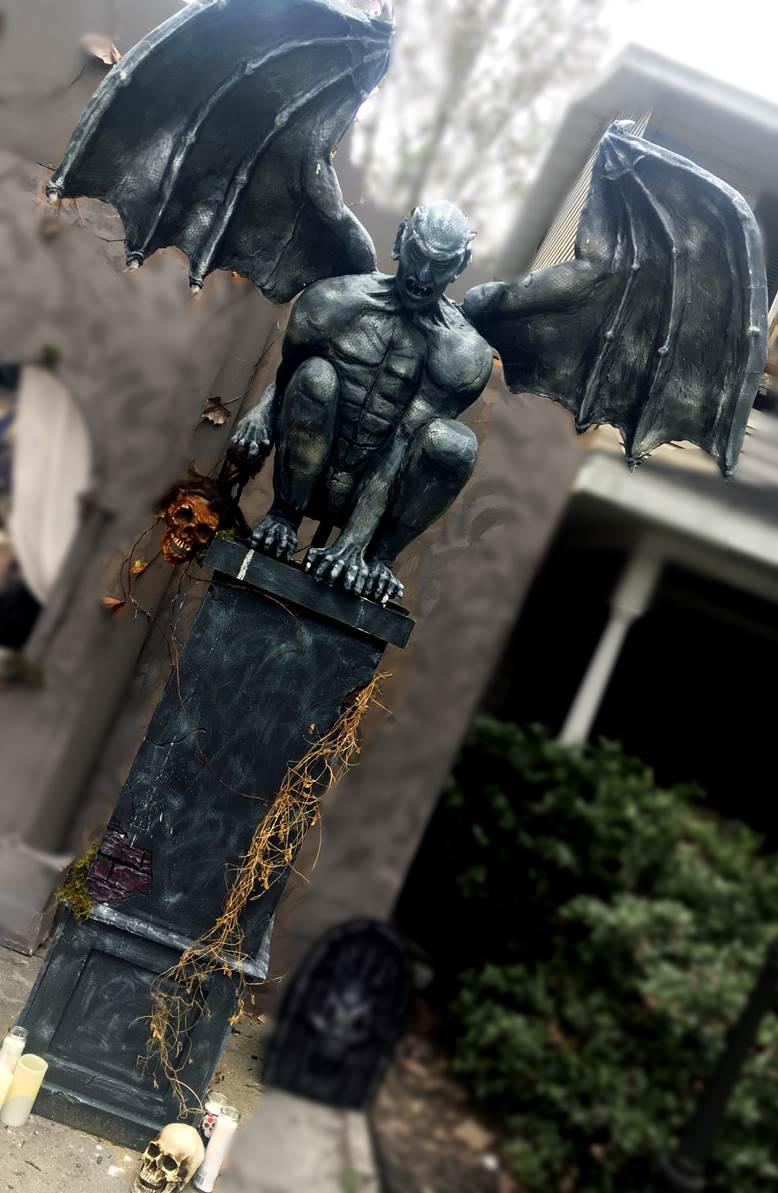
This is my VERY FIRST sculpture project with foam, using my Hot Wire Foam Factory tools and supplies – a life-size gargoyle with a wingspan of about 8 feet, mounted on a 6 foot column. He stands about 12 feet tall.
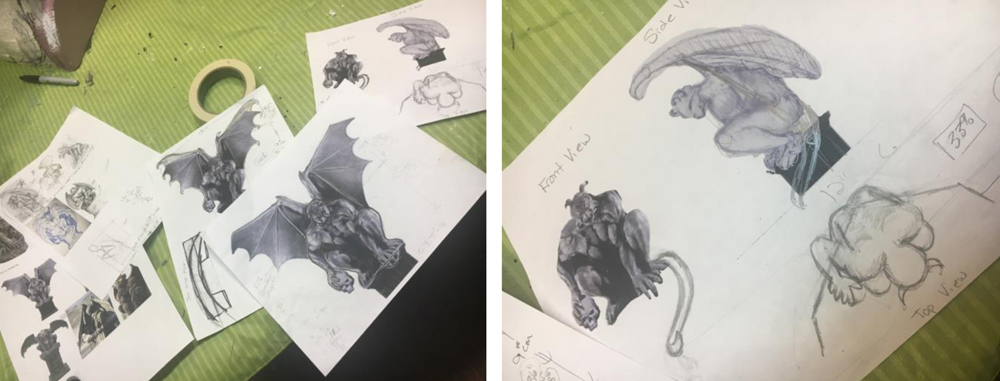
Stage 1 – Planning: First step was to sketch out my design and create sketches from each key angle (front/back, top and side). I used Photoshop a bit to cobble together some images I found and adjust them to get what I wanted. Then I measured size and distance between key areas to convert that into a larger size (eg 12??? body height became 48??? or 4’ body height I was wanting. Used that 4-1 ratio to convert everything else and keep it basically proportional).
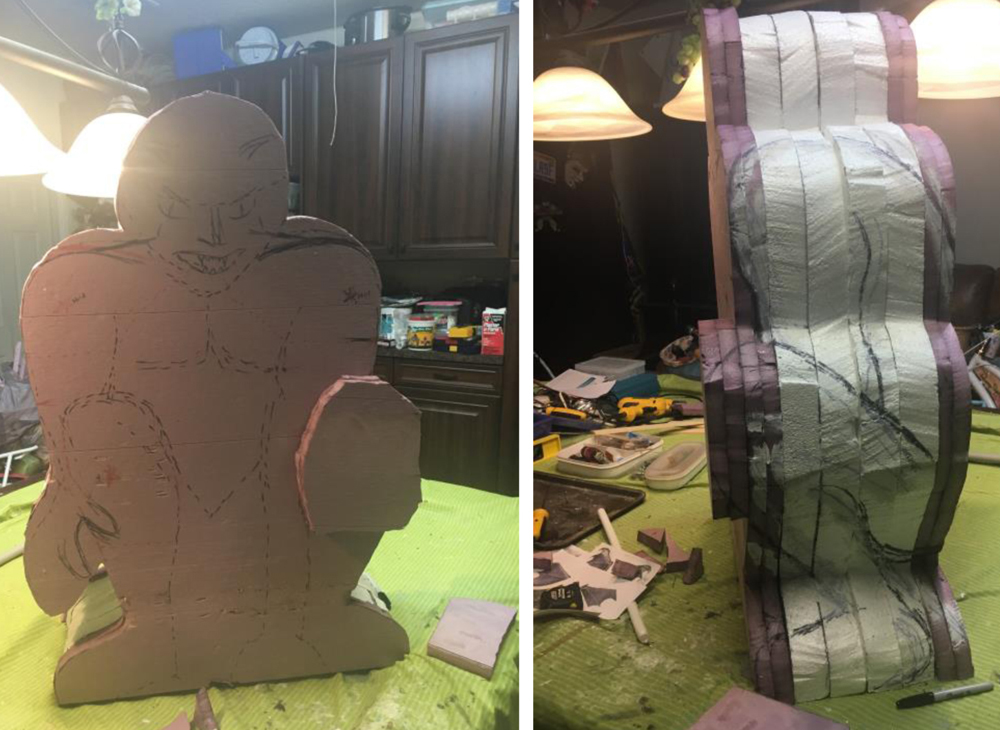
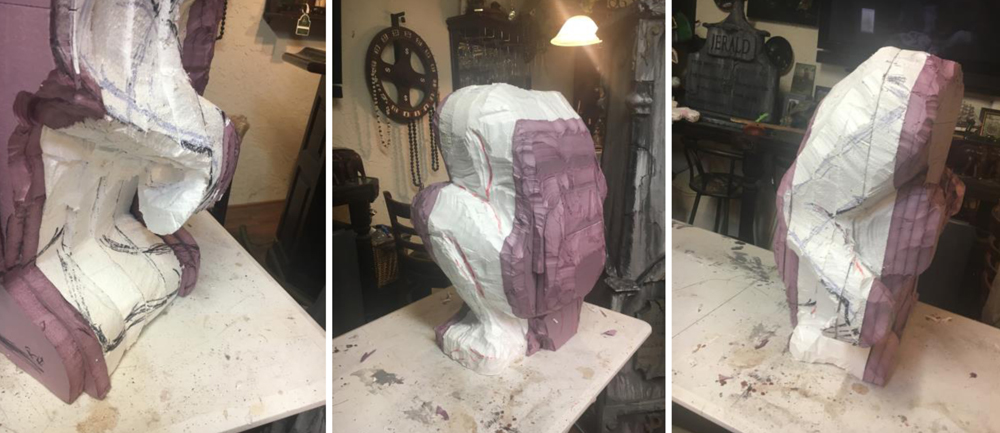
Stage 2 – Body: I started on the body by cutting out multiple pieces of foam (1.5″ – 2??? thick each) for the basic body core shape I wanted…to get the thickness I thought I’d need for the figure’s width. I cheated to save foam and glued on extra pieces where the body would extrude more (i.e. knees, lower back, feet). All those were glued together with Hot Wire Foam Factory’s Foam Fusion glue; wrapped up tightly with cord and weighted down to get a good seal.
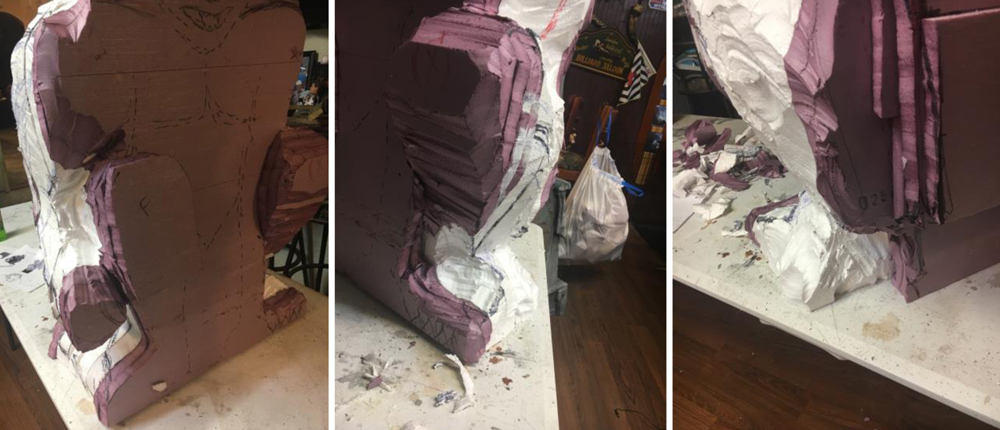
Stage 3 – Base Carving: Then after penciling out my rough outlines front and side, I started in with my Hot Wire tools (6″ Hot Knife, Freehand Router, etc.), carving out the bigger ‘voids’ where there would be no foam. Once I got rolling, he started to take shape visually and it became easier as I went. Below you can see a bit of progression as I began carving. If I cutoff too many guide marks or didn’t have a visual, I’d pencil on more lines to stay on track.
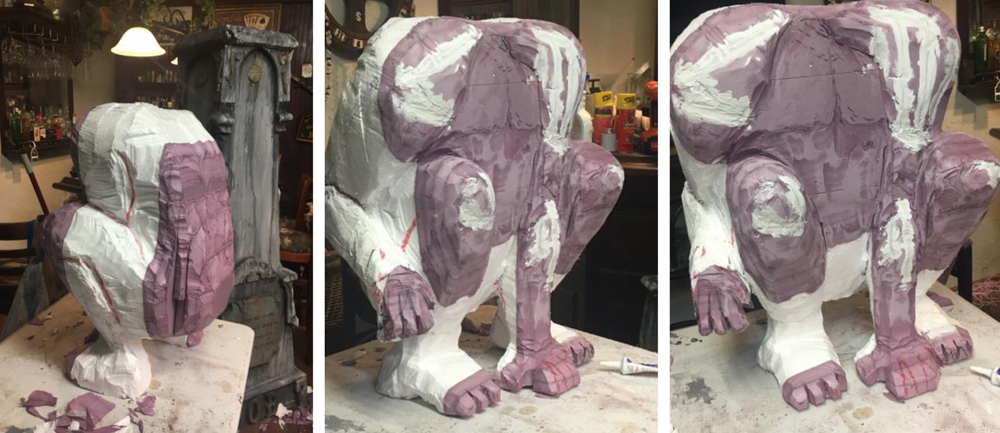
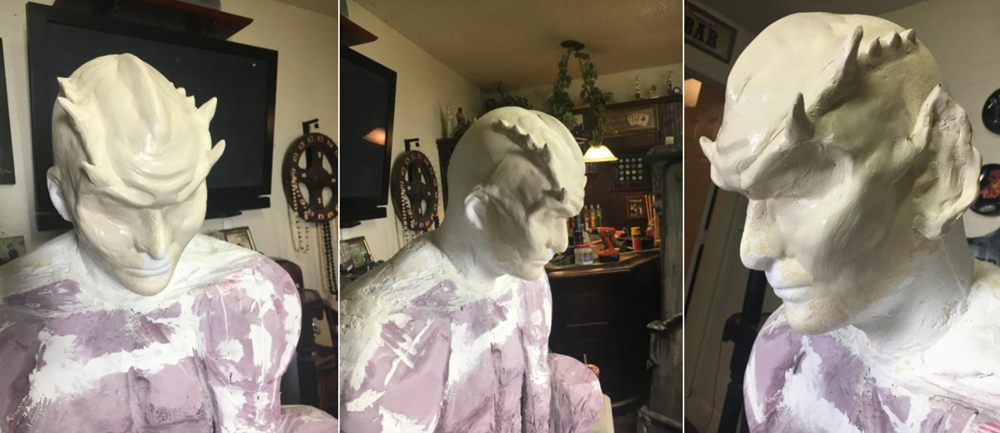
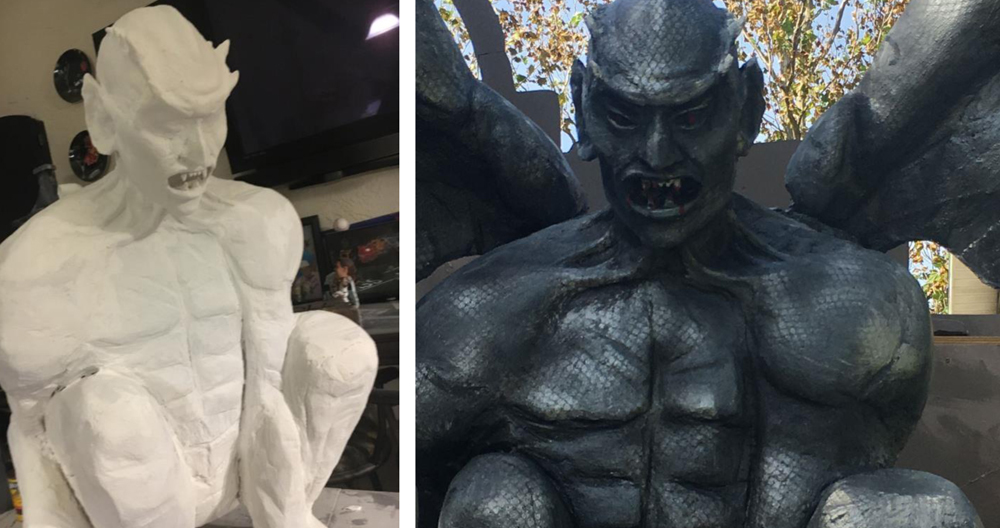
Stage 4 –Head / Details: Once I got the body shaped up, I sanded it down with a sanding tool to smooth out rough edges, round things a bit, etc. Then I started on the head and details. I added the head using some expanding foam for the neck and shoulders (and a piece of PVC between the 2 pieces of foam internally). Expanding foam doesn’t carve well so use it sparingly. (Note from Hot Wire Foam Factory: An appropriate respirator is needed when cutting expanding polyurethane foam with heat, as it gives off toxic fumes). I used a knife for some bigger bits, coated it with sealer/spackle and sanded it down. Then I added detail work with air drying clay – this was great to work with to get very small details added that I wouldn’t be able to do easily just in foam. Be sure to COAT the clay before it fully dries. It tends to crack and thinner layers won’t adhere well to the foam once dry. I used Drylok paint/sealant which coats everything, seals it in well, and actually makes the piece more sturdy (especially the more delicate clay bits).
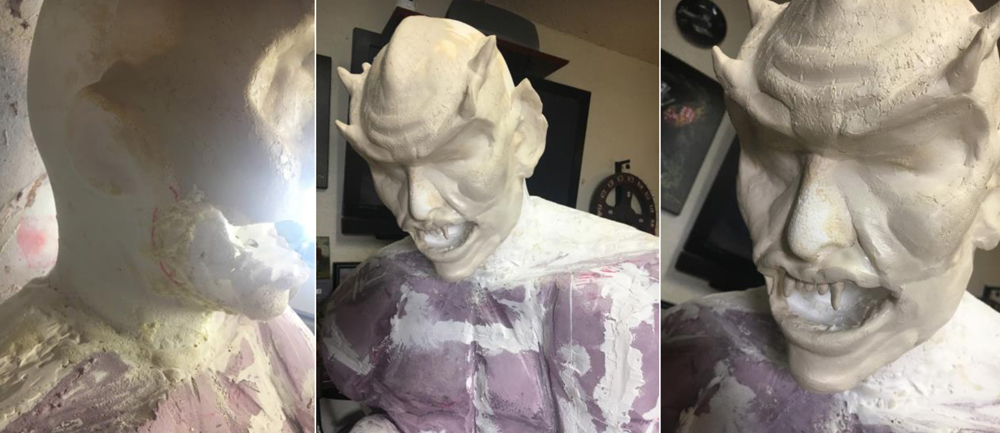
You’ll notice in the photos above that I decided to OPEN the mouth of my figure. I decided he wasn’t scary enough with his mouth closed. So I cut off the jaw, reattached it with some dowel rods and then shaped in lips, teeth and other detail with the clay. He’s much more realistic with a menacing snarl and fangs! I also used some spackle to smooth out a few areas on the body where he had some nicks I didn’t want, sanding with a sanding tool as needed.
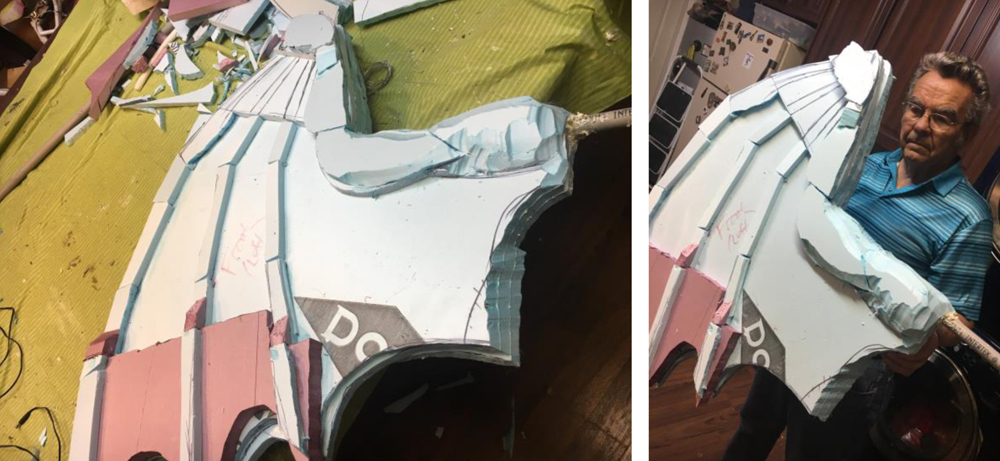
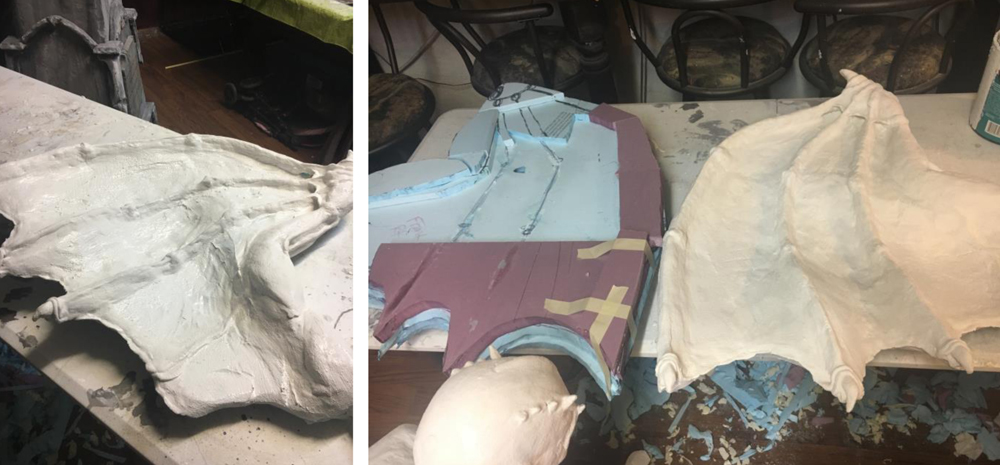
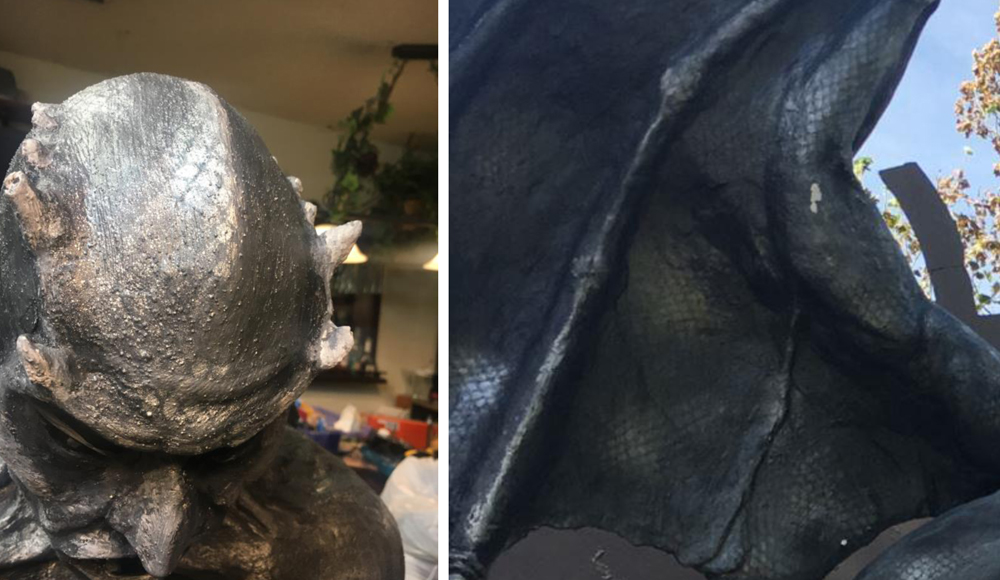
Stage 5 – Wings: Next I worked on the wings. Same process as body, cutting out basic shape, gluing together the layers. But for the internal frame , I used PVC pieces for support and to later attach the wings to the body, as I want the wings to be removable for storage (Dad helped me plan this out – he’s holding a wing above). I cut PVC, used joints and sized it so the PVC fit within the ‘arm’ area of the wing; then I sandwiched the PVC between some of the foam layers as I glued them together. After carving out the wing curves (which I would have LIKED to be deeper but was trying not to use too much foam here), I added detail accents with the clay (talons and some ‘folds’ of skin) and used Drylok to seal and coat it. You’ll see one picture below with a ‘flat’ wing before being carved, and a finished wing, carved, shaped and coated with Drylok. I left these a bit more ‘rough’ as I was trying to emulate wrinkles in the skin. I even added some wrinkly ‘skin’ along the bottom edge of the wing so it looked more organic and less geometric/smooth.
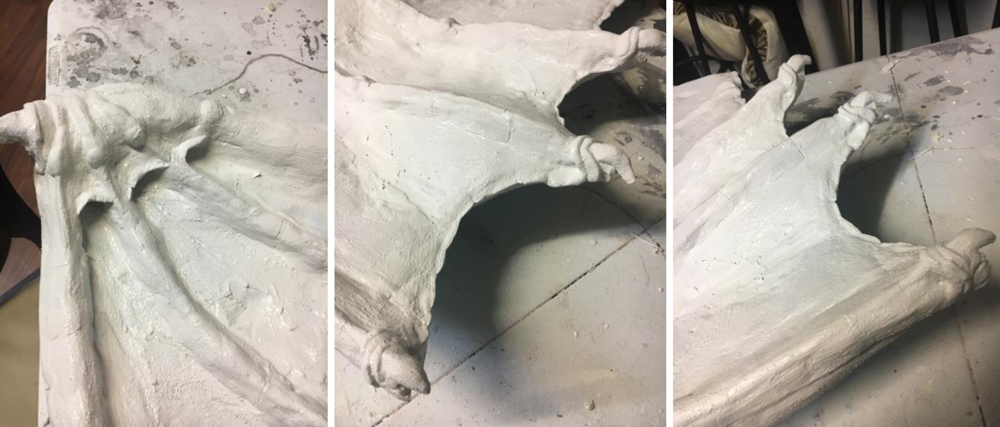
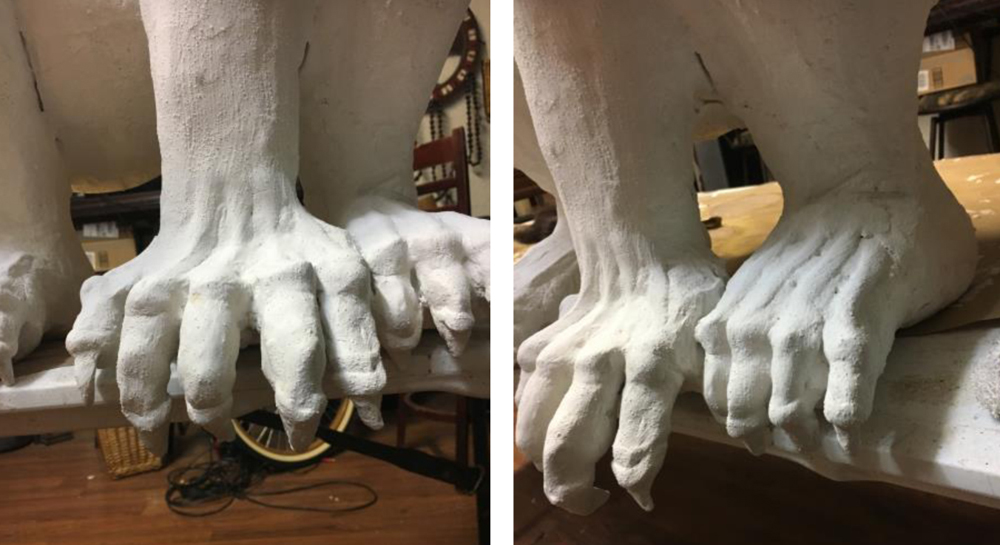
Above you can see I added in some details to appear like bones and knuckles below the skin. I also added in talons at the top and bottom, and some flaps of wrinkly skin overlapping the talons. I also added some details at this point to his body, including tendons in his neck, details on his hands/feet like knuckles and claws. These are more delicate but add realism.
Stage 6 – Faux Painting / Texture: When I had the piece done and Dryloked with a couple of coats, I did faux painting. Started with a dark gray color, then added black overall and in cracks, highlighted with light gray to really overemphasize depths and I finished by adding a bit of texture. I wanted something to look a little ‘scaly’ or reptilian but nothing massively detailed or overly busy. So I took some mesh (the type from a bag of onions) and laid that over the painted piece, and misted it with silver/gray paint with just a touch of metallic pewter. This gave me a nice reptilian, scaly texture with shine and added a bit of pop. See detail below, too.
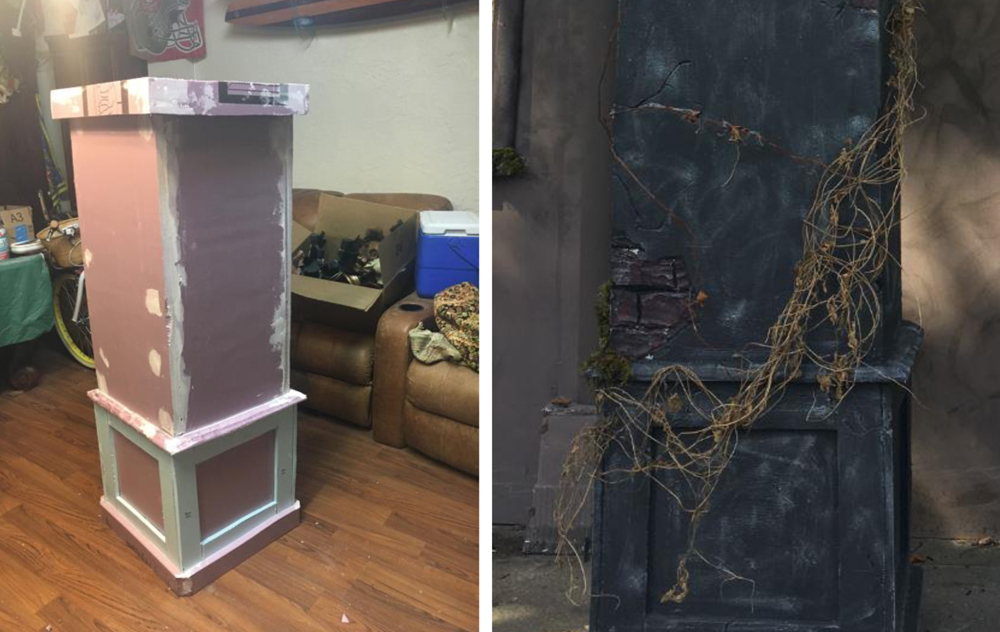
Stage 7 – Pedestal and Mounting: Finally, I created a basic column (XPS foam with a wood frame) for my gargoyle to stand on (about 5-6 feet tall). Used the typical process for this, built the wood frame, covered with foam –screwed the foam in place and added cutout brick texture and faux painted it.
Then to mount my gargoyle, I inserted PVC up through his feet and torso, cut holes in the pedestal top to match. That would have done it for just the gargoyle, but with the top-heavy wings I had to also create a back brace mounted to the building to keep him really secure (those wings do catch the wind).
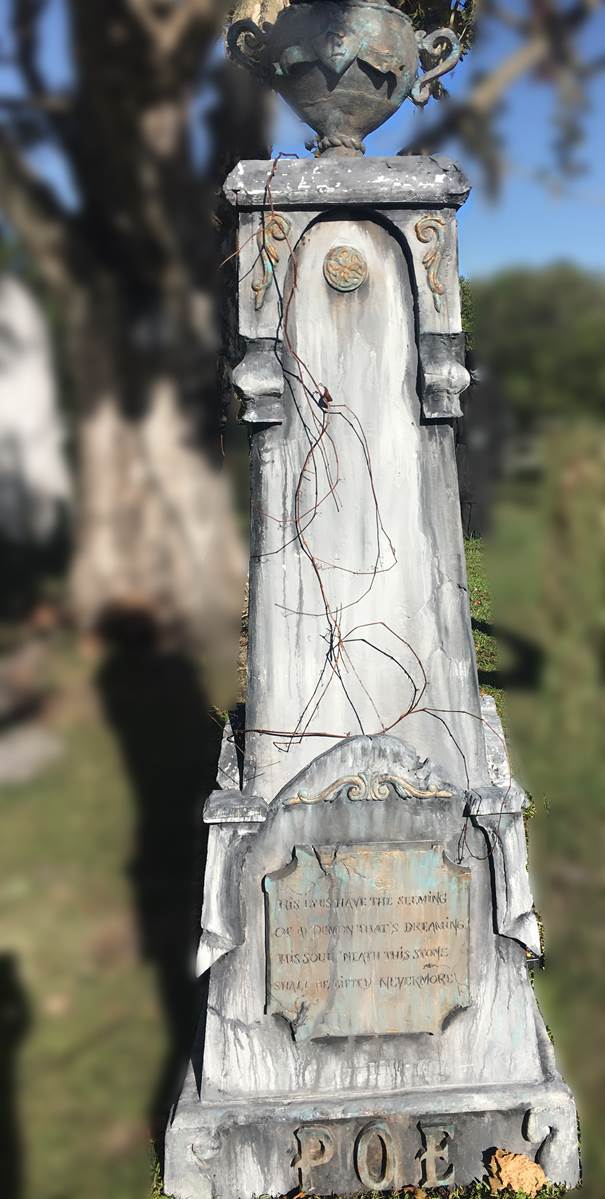
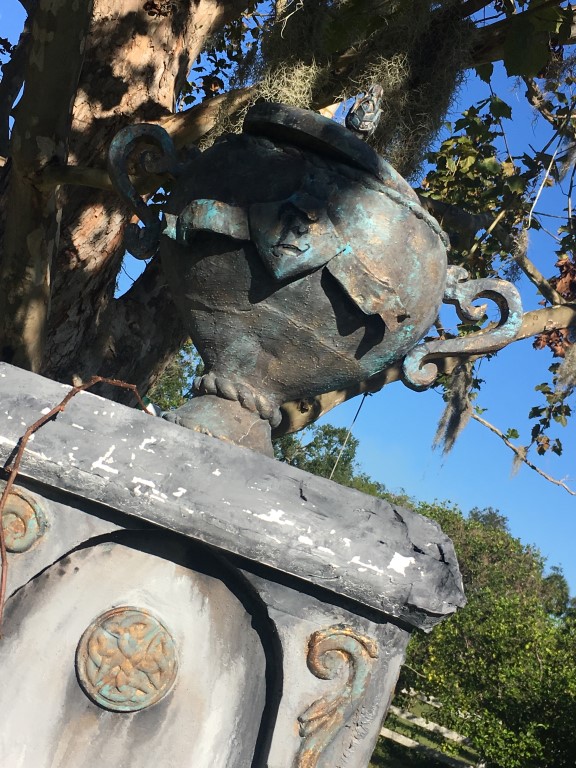
I also did a big obelisk dedicated to Edgar Allan Poe. It’s a free standing 4-sided obelisk with an urn at the top and detail accents in a faux bronze finish (plaque reads: “His eyes have the seeming of a demon that’s dreaming. His soul ‘neath this stone shall be lifted…nevermore???). You can remove the urn and the top section for easier storage– Not shown in these daylight photos, I integrated some PVC piping inside to channel fog out the top of the urn and bottom base – and added LED colored lighting mounted in the top—very cool with the fog rolling out of the urn!
I was so excited to finish the gargoyle and Poe monument to showcase at our annual Halloween bash last year – and they got rave reviews by everyone!