Halloween Props
By Robert Braun
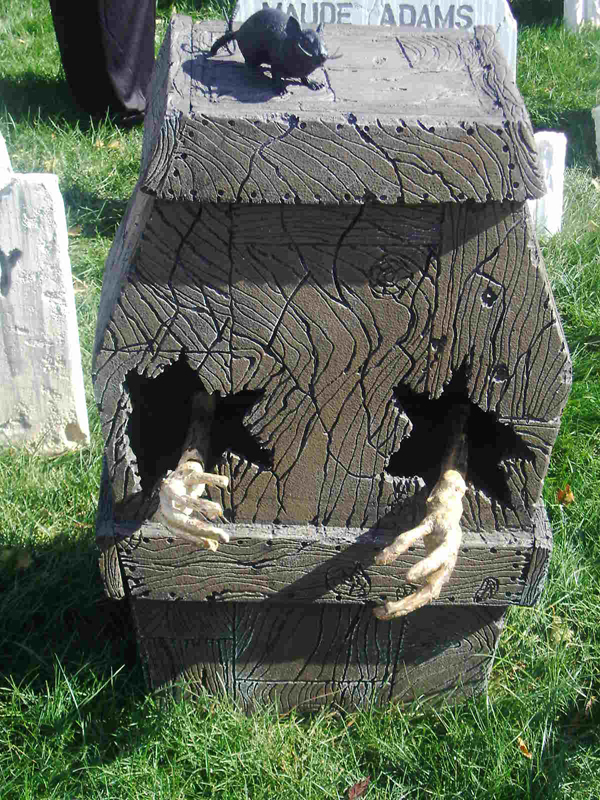
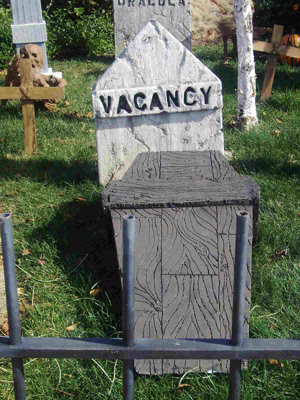
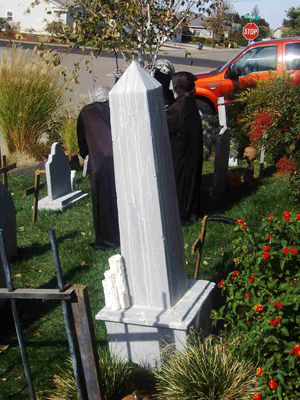
I just wanted to send you a little message along with some photos of the Halloween decorations I have created using your tools. I got your tools approximately two years ago, and have used them on most of my Halloween props. Your tools come in handy when I am texturing and adding wood grain. On the pictures of the two different ground breaker coffins, I used your tools to carve in the graining and decaying of the foam to look like wood. I also have many tombstones and an obelisk that I used your foam cutting tools on for cracks and for making more rounded shapes. I also used them to create nail holes and burned out pieces of the boarded windows I made.
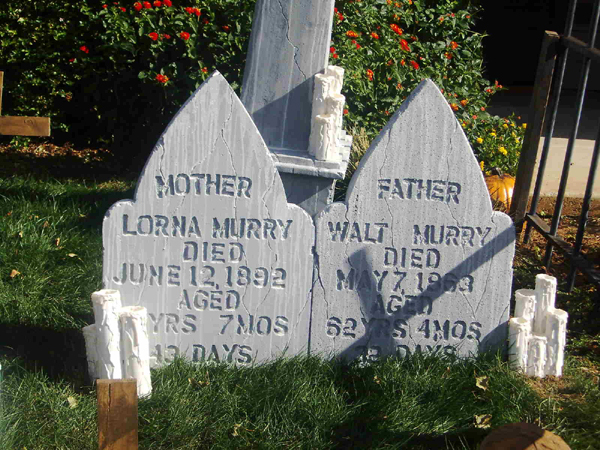
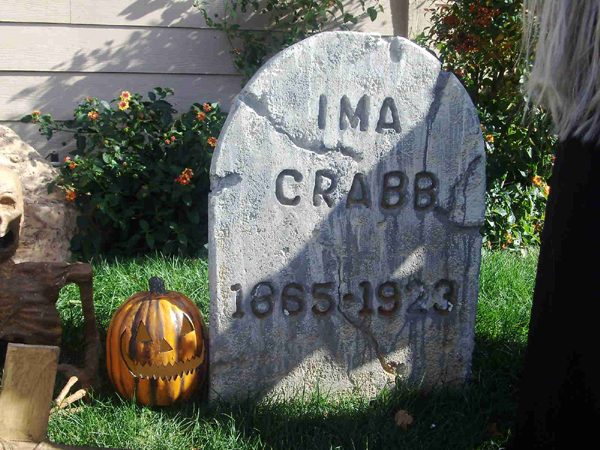 All of the coloring on the tombstones is done with paint. First, I base coat them in a medium gray, then I take some different tones of gray and black and white and I water them down to a milky consistency. Then I load the paintbrush with this watery paint and I’ll puddle it at the top and at any of the edges and then I just keep pooling the paint until it starts to run down the tombstone in different directions, especially when it hits the different cracks and crevices that I put in them. Then I just keep layering in the different colors until I get the look I want. Then after that I’ll water it down even more and when that runs down and over the tombstones it looks more aged.
I am planning on trying your Complete Foam Coat System to try the different textures, because last year about two days before Halloween we had 40-50 mph winds and I was not home to pull them up, so some of them were blown all over the yard. Some of them had gotten a little damaged and I had to do some paint touch up. The flatter tombstones I have holes in the bottom and I used rebar about two feet long to keep them in place. I would lay the tombstone on its back and then match up the bars to the holes and pound them into the ground. On the obelisk I got some longer pieces of rebar (about four feet long) and hammered them in the ground about a foot. Then the rest of the bar fit inside because it was just a shell. On the other ones and the cross I tried using bamboo skewers and they worked okay but I have to find something else as they tended to sway in the wind too much.
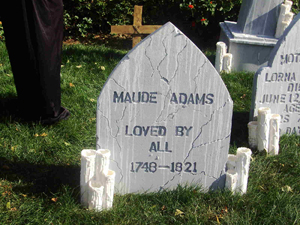
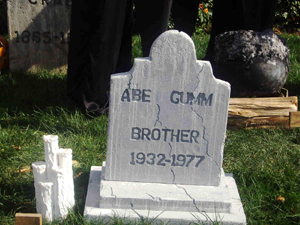
The lettering was all done with cardboard stencils that I got at the craft dept of Walmart. They come in numbers, letters and punctuation they also came in 3 different sizes. I marked off lines at different points on the stones where I wanted everything and then set up the letter and numbers accordingly. In the town that I live in we have graveyard that’s been around since the early 1800’s. My son and I went there and took pictures of the different types and the way their epitaphs were put on.
 These tools can make foam anything you want it to be. I look forward to creating many other spooky and scary creations in the future using your foam cutting tools (I call them foam carving tools!) Thanks again!