Halloween Haunt Tutorial
By Jonathan Gerolami
East Haven, Connecticut
www.facebook.com/HauntedIsleCT/
Thank you for letting me share this fun project, which is the first multi-level project I have completed.
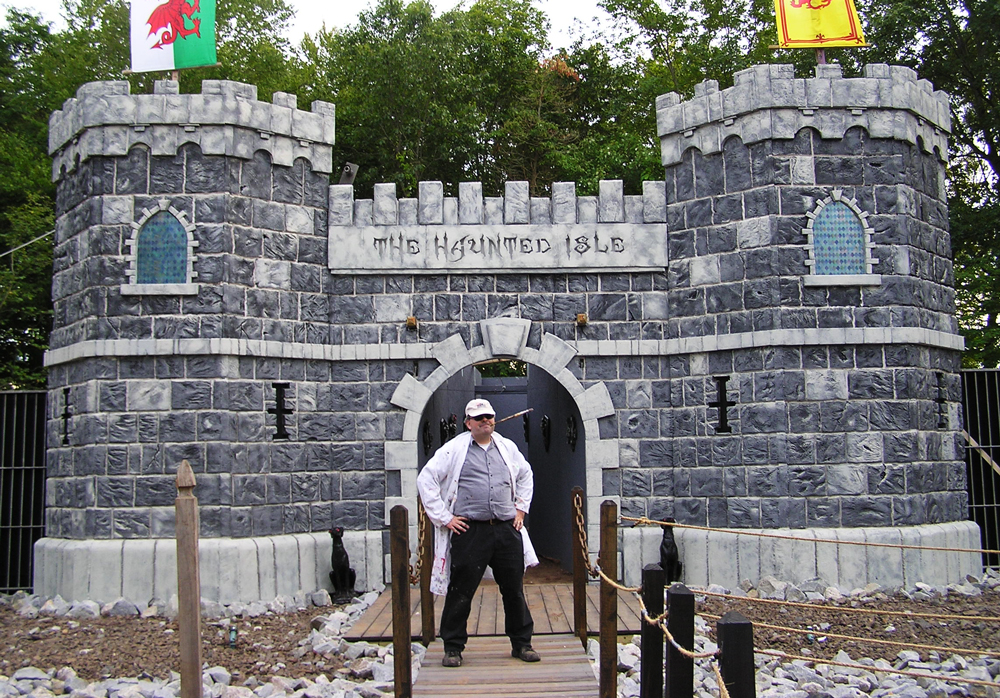
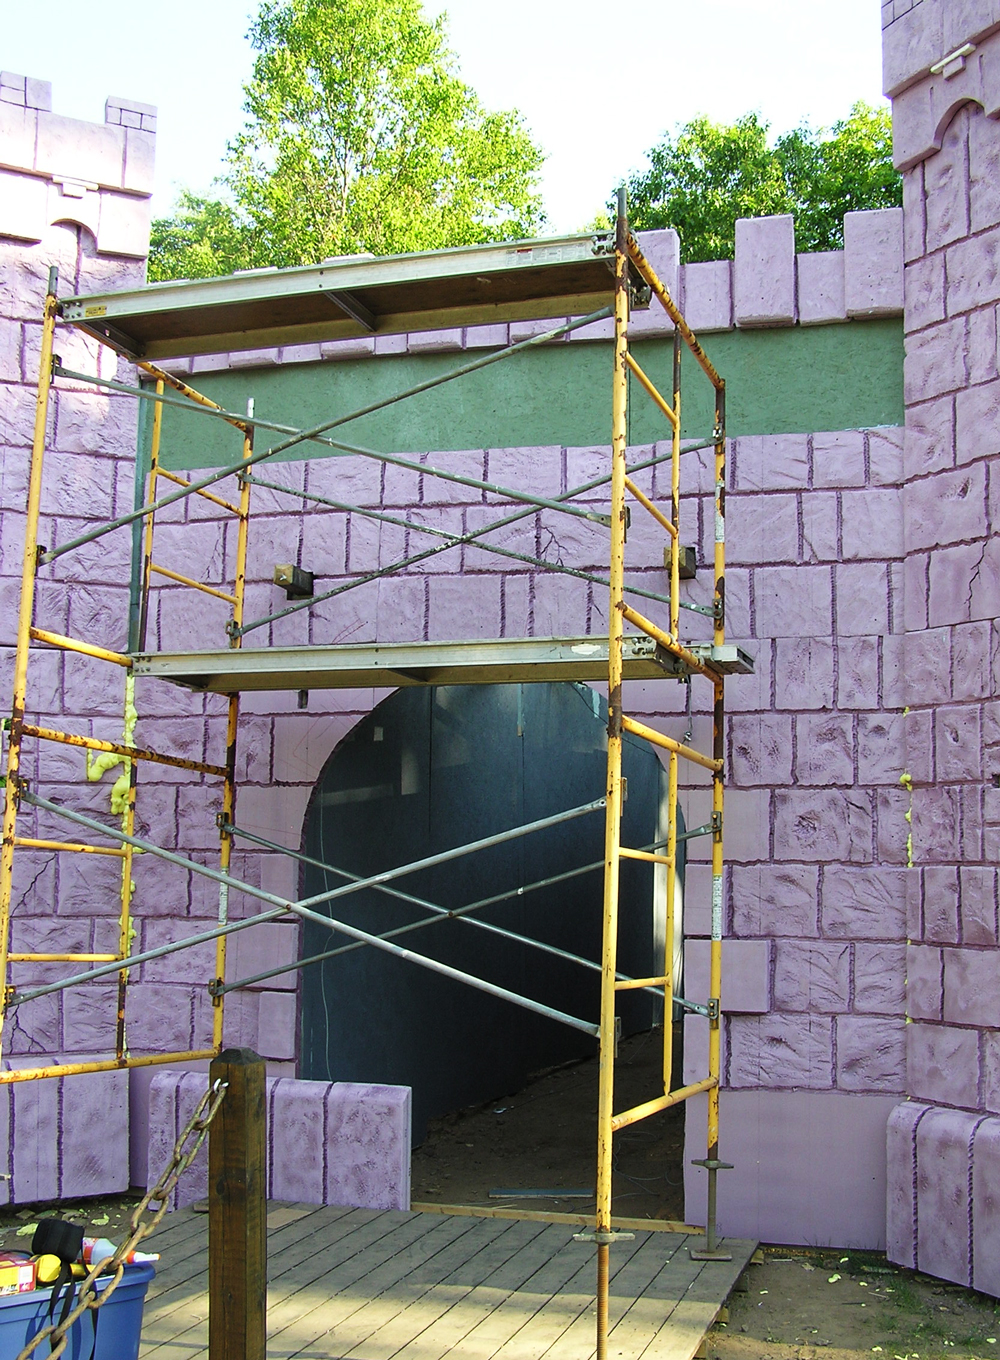
The first step was to build and paint the wood structure that would serve as the support. The next step involved drawing the lines on the foam boards and numbering them so that each board had a set position. Foam carving was done at my house because we discovered that the hot foam cutting tools performed better with a steady power supply, rather than the generator at the site. Tools used were: The Industrial Hot Knife Kit, Scroll Table, and 2×4 Compound Bow Cutter. The basic dimension of the castle are 16 feet high and 36 feet long. We used 22 boards, with foam board sections 2 inches thick, 4 foot by 8 foot.

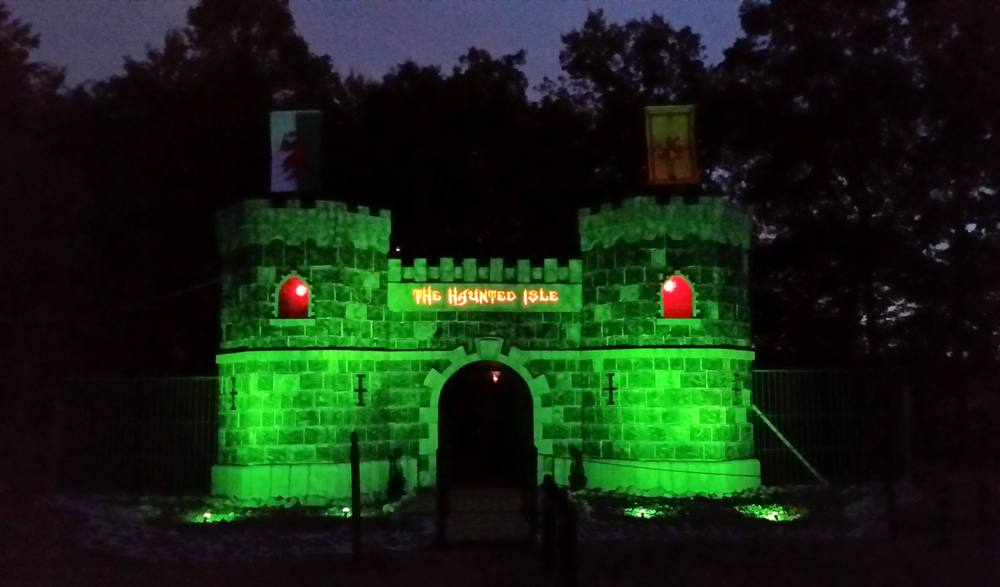
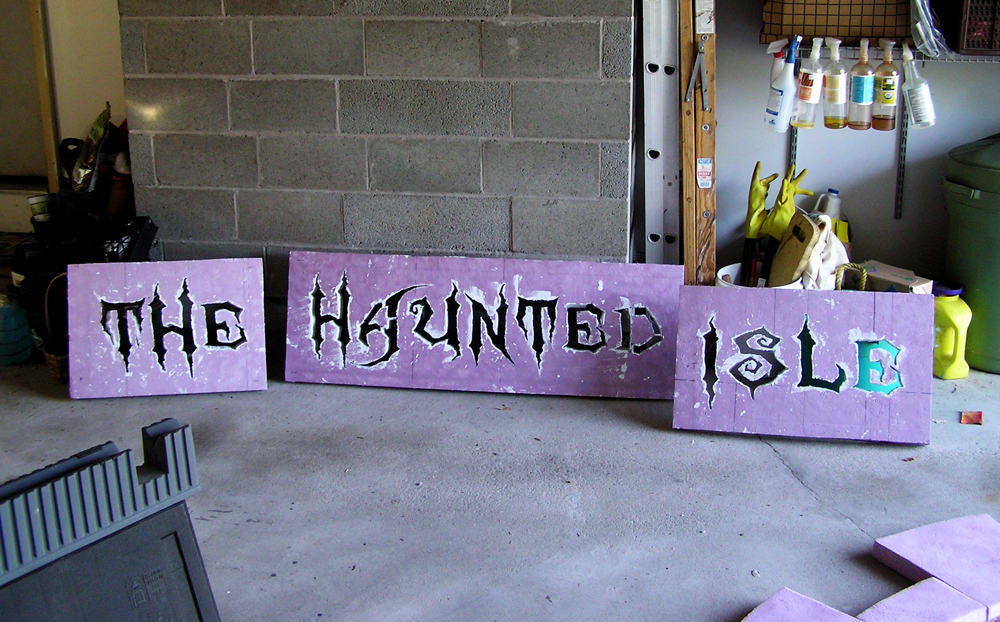
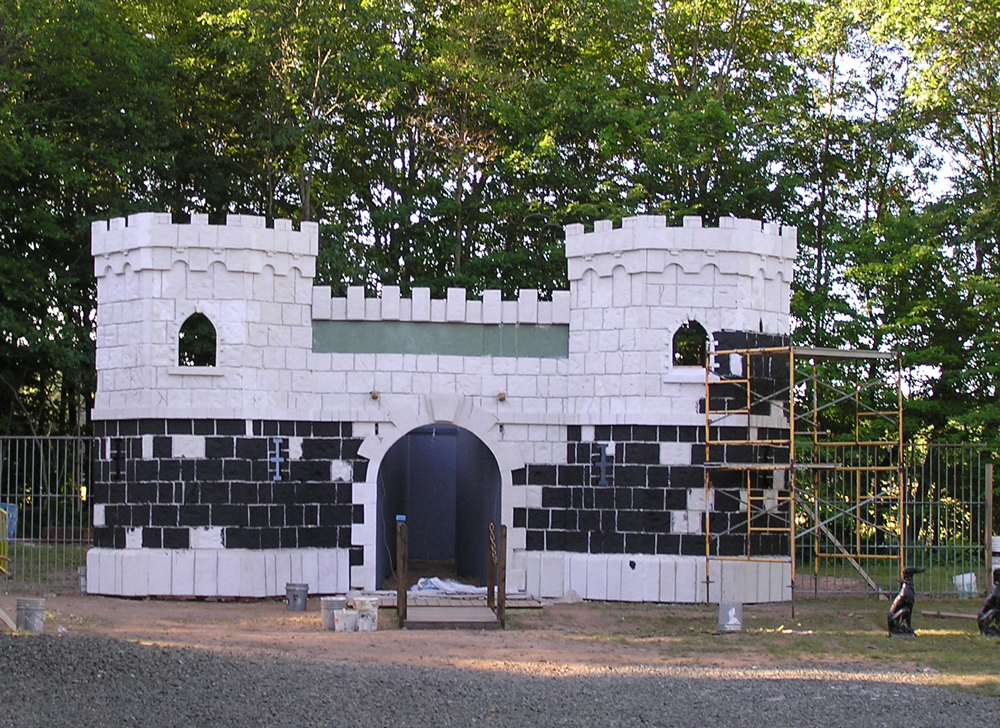
The Haunted Isle Shadow box I got directly from Hot Wire Foam Factory tutorials but used wood on the back instead of a foam backing and the LED lights are lining the bottom of the three boxes. Letters were carved with the 4 Inch Hot Knife (as the foam was too big to move around on the Scroll Table.) The castle’s trim (arched windows, parapets, foot) was prepared at home, attached with bamboo sticks to fit properly, then numbered and taken apart for transport. This was done for two reasons: First, so nothing would break, and second, the tops and bottoms of the wooden structure were not perfectly lined up, so to hide this fact we adjusted the foam trim when it was in place to make it as equal and level as possible. Foam was glued with Foam Fusion and held in place by screws and a ton of bamboo sticks. The joints were carved on site for a custom fit and Great Stuff filled in the smaller gaps.
(Note from Hot Wire Foam Factory: Polyurethane foam should not be cut with hot wire tools. It needs a ton of heat, gives off toxic fumes, and leaves a lot of melted plastic wherever it is cut. We recommend that the polyurethane foams only be cut with a blade or saw.)
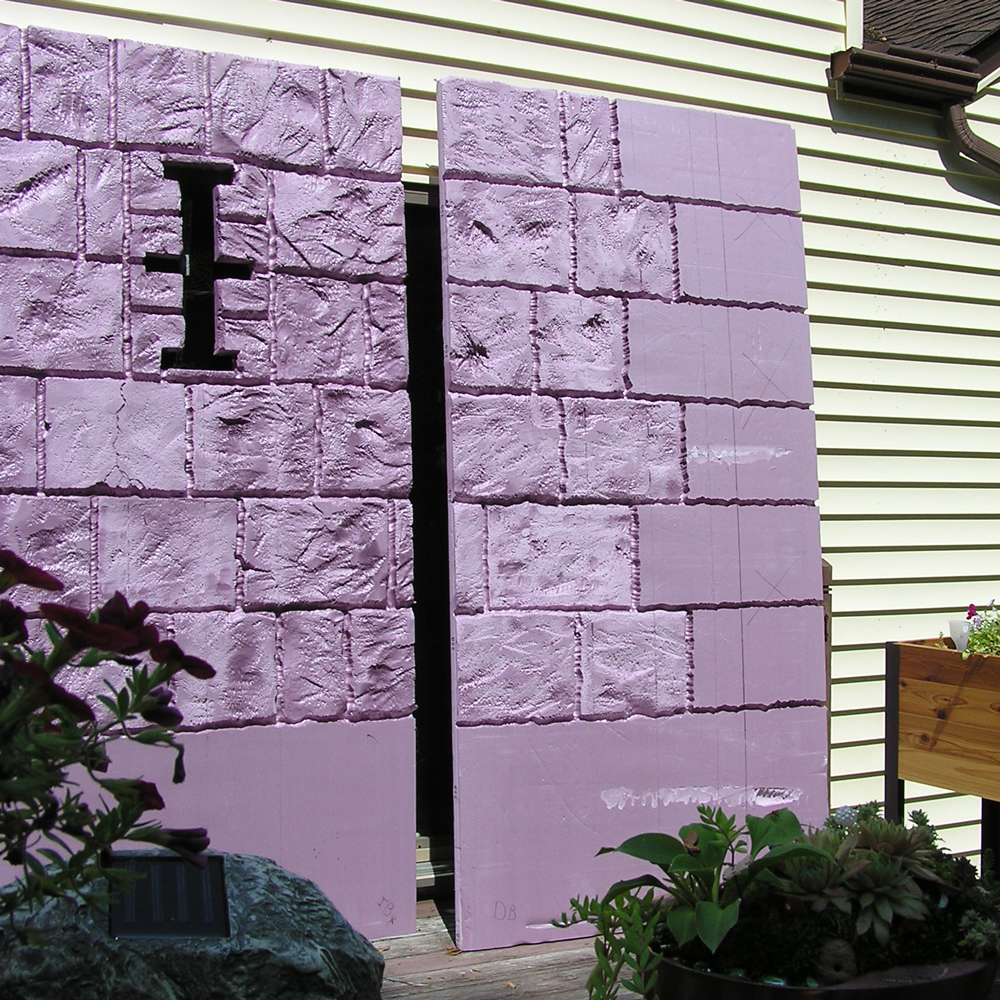
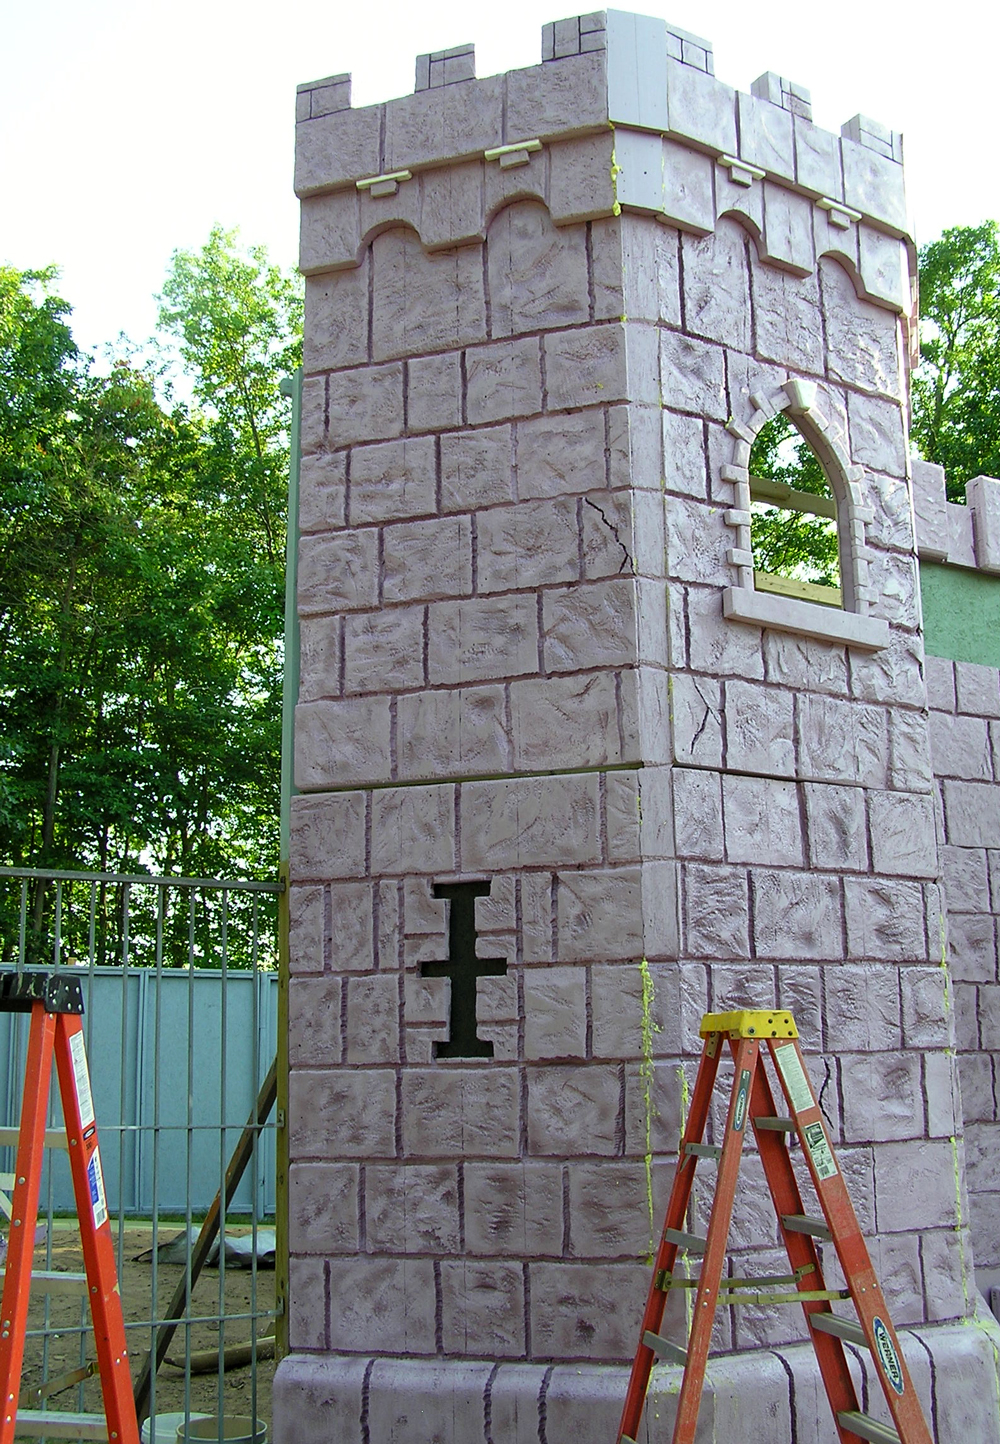
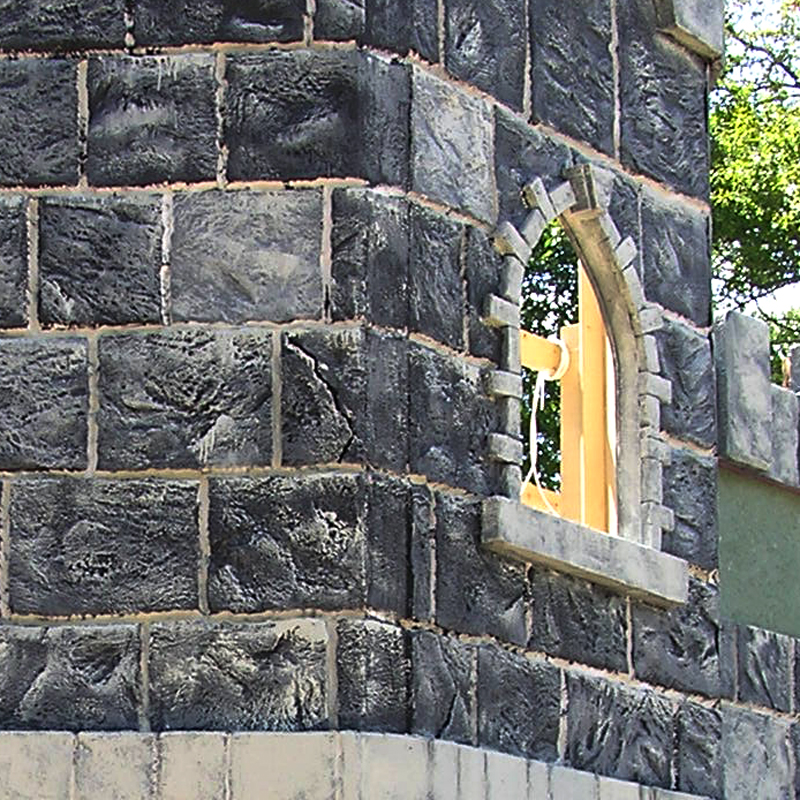
The Exterior Foam Coat was added with Boost and once complete, three coats of paint were applied. Dark grey was applied to most of the bricks (some were not painted black to make them a lighter grey color) then dry brushed with a medium grey and finally highlighted with a light grey. The trim was not given a dark grey and also a far more intense light grey highlight to make them stand out a bit more.
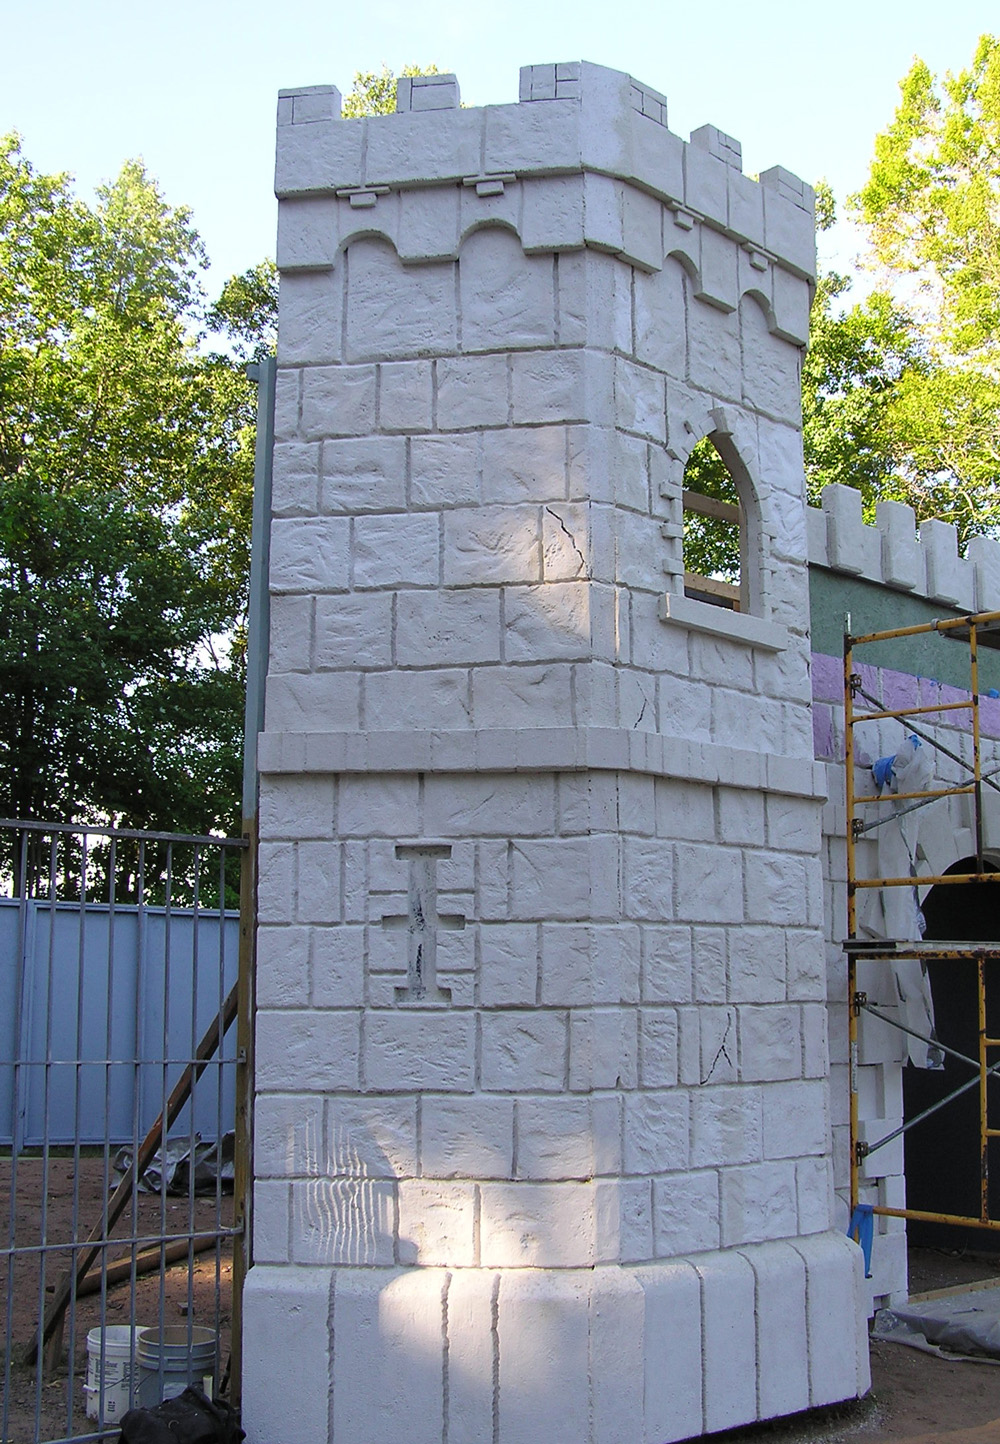
Detailed foam carving was primarily the Industrial Hot Knife as we found smaller detail was harder to keep (and time was a factor). When foam coating and painting I always have a bamboo stick on hand to pull out any lost detail which may be caused by foam coating and painting. Carving of the stones is really up to what you like. Personally I like a more older crumbling look to the stone with lots of imperfections and/or damage. After the initial Industrial Hot Knife (with a wire attachment that set for gouge lines), I select stones to be set at a wrong angle and/or sunken in the wall. These a take a larger wire on the Industrial Hot knife to “scoop” it out.
Finally I add cracks and rasp. While rasping I tend to go in order ..level by level making sure the primary direction for each block is different. This adds to the look that each rock block is its own stone. So block A – up and down, Block B – diagonal to left etc., keeping it as random as possible. I gouge the blocks here and there with a hammer claw or a long garden weed puller. Also, some stone blocks I rasp down one or two corners pretty deep as if chipped. Another important tip I can give is once your plan is drawn up, number your boards in the order they will go. This way you can have rocks on both boards when you pen them out and avoid having some impossibly long or way too short, also is just make it more natural looking.
The Haunted Isle is non-profit. We are an all-volunteer staff, no one gets paid. The majority of the money raised goes to two non-profit groups: The Shoreline Trolley Museum and our manager’s own charity group, Wags and Whiskers. This is an animal welfare group based in the town of West Haven. They primarily help dogs, and they also assist the West Haven Animal Shelter with its supplies and bills. In addition, Wags and Whiskers helps the general public with vaccinations for family pets in the community.