Captain Daniel Tombstone
Terra
www.halloweenforum.com/blogs/terra
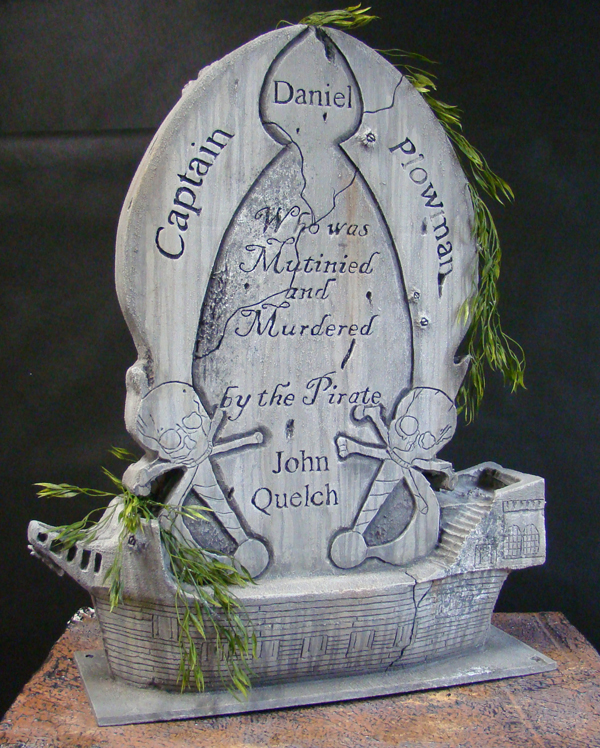
Captain Daniel was the theme picked by Chris over at Hauntcast for his tombstone. I made this stone for him as a thank you for bringing Hauntcast back from the grave. The following photos show just a few of the steps and photos that went into making this tombstone – a full build tutorial with more pictures can be found at https://www.halloweenforum.com/blogs/terra/1190-captain-daniel-tombstone-tutorial.html
A video showing highlights of the build is found at the bottom of the page.
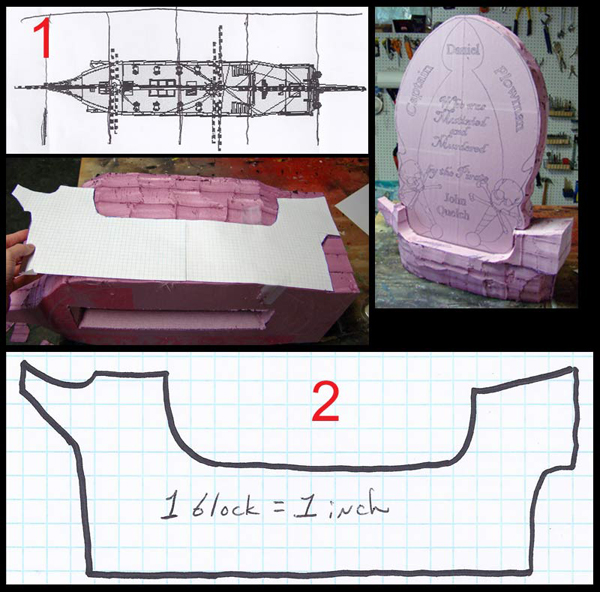
Top Rough Carve (picture 1): Google Sketch-up is a great program to manipulate a 3D image of a model. Picture 1 shows the top-view of the Black Pearl. Use the outline of the Black Pearl hull to give you a guide on how the top of the base should be carved. Rough carve the base using the top outlines and the shapeable blade on the Industrial Hot Knife.
Side Rough Carve (picture 2): Do the same procedure for the side of the ship. You can make a template for that to make it a little easier. Rough carve the base again using the side outlines.
Carve out epitaph using the Engraver tool.
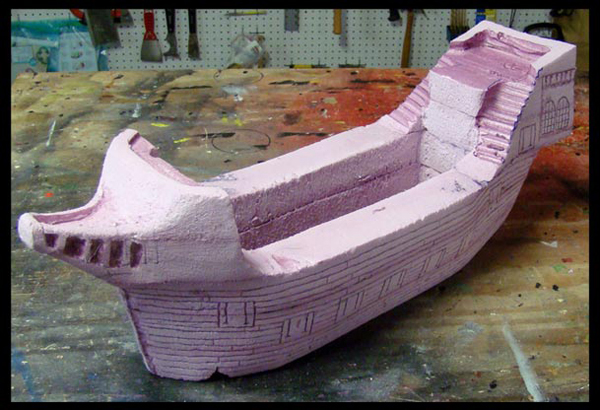
Detail Lines: Still use those Black Pearl models to draw in detail lines that will help you sell the idea that this is a ship’s hull. Draw in the wood planks, windows and cannon hatches with a pen. Use the Engraving Tool to thinly etch those lines.
Plunge Cutting: Plunge cut away the top of the ship to give you an aft and stern deck to the ship using the shapeable blade on the Industrial Hot Knife. Always consider that you must allow rainwater to have a place to drain away when it’s in your graveyard.
Stairs: Draw a zig-zag line on the sides of the ship. Use the Industrial tool again with the shapeable blade to follow that guide so you can make some stairs.
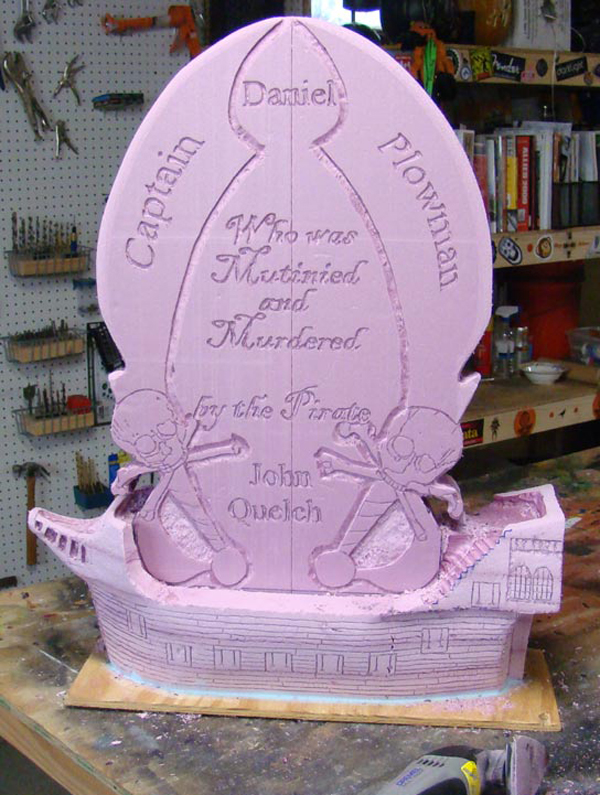 Epitaph & Swords Carving: Use your tombstone template to transfer the epitaph and sword designs onto the headstone and use the Engraving Tool to carve out. Use the edge of the Dremel Multi-Max to smooth out the embossing and add an ‘edge’ to the swords.
Side Sanding: Continue to smooth the edges of the stone.
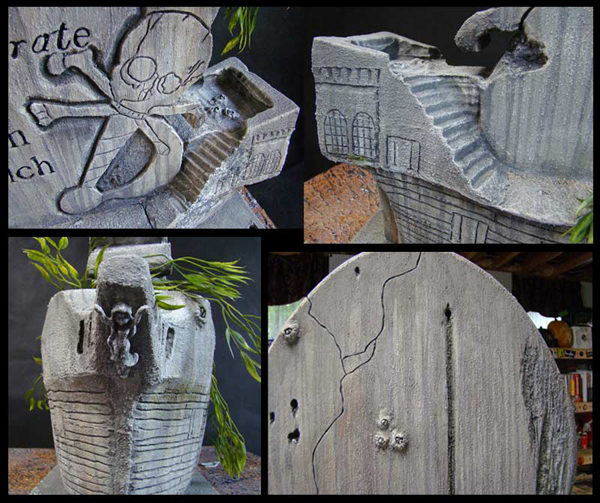
Paint & Detail: Bring out an authentic, ancient stone look using tea staining, detail shading, dry-brushing and detail color work.
Seaweed & Done: Hot glue some fake seaweed onto the stone and you are finished. Notice that barnacles were added onto the stone. The Blackbeard tutorial shows how that was done.
