Crypt Fog Chiller Tutorial
By Meta Drive Manor
www.facebook.com/MetaDriveManor/
“You can choose different size specifications for your crypt, but this project was created using the following specs: 50″ L x 30″ D x 30” H.
Outside Structure:
To make the top and bottom of the frame, you’ll need to cut four 2x2s to 48″ and another four 2x2s to 30″. Connect using screws and attach one of the new rectangles to a 50″ x 30″ piece of plywood. This will be the bottom of your crypt. Drill holes on the side of the plywood that will house the ice. These holes will be used as drainage.
Cut four 2x2s to a length of 30″ and attach to each of the inside corners of the previously created plywood/2×2 structure. Attach your other 2×2 rectangle to the top of this structure. This will be the top of your crypt and the basic structure is now complete.”

Inside Structure:
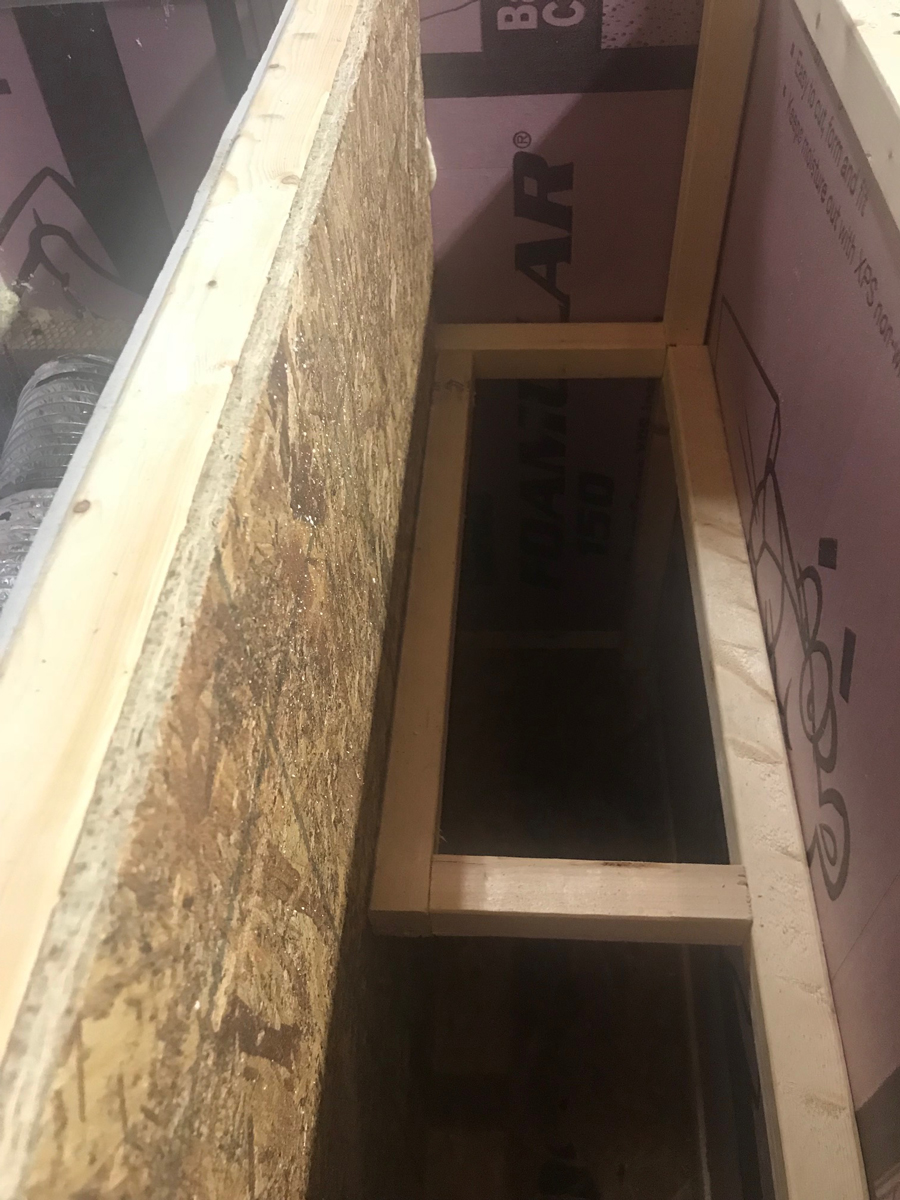
“A middle support needs to be created using 2x2s cut to a length of 24″ for each end and 44” for each side. These should fit snug against your corner supports and attached using screws.
You’ll also need to add a 2×2 down the middle of your crypt at the top and bottom to separate the two sections. These should be 48″. You can see these separators above in the first photo (the plywood has already been attached). Prior to attaching your top and bottom separators, you want to make sure that your fog machine will fit (you’ll see a platform for the fog machine in the photos above which will be described in the next step). Once you know you can get the fog machine in and out of the crypt easily, attach your 2x2s to the top and bottom of the crypt.
Next, you’ll want to cut your plywood to separate the crypt into two sections. You’ll need two pieces of plywood cut to roughly 32 ½” x 48″. You’ll want to make sure that you cut notches out of each side of plywood to accommodate for the middle support so that the plywood will fit snugly within your structure. Attach to the 2x2s using screws.”
Building the Fog Machine Platform:
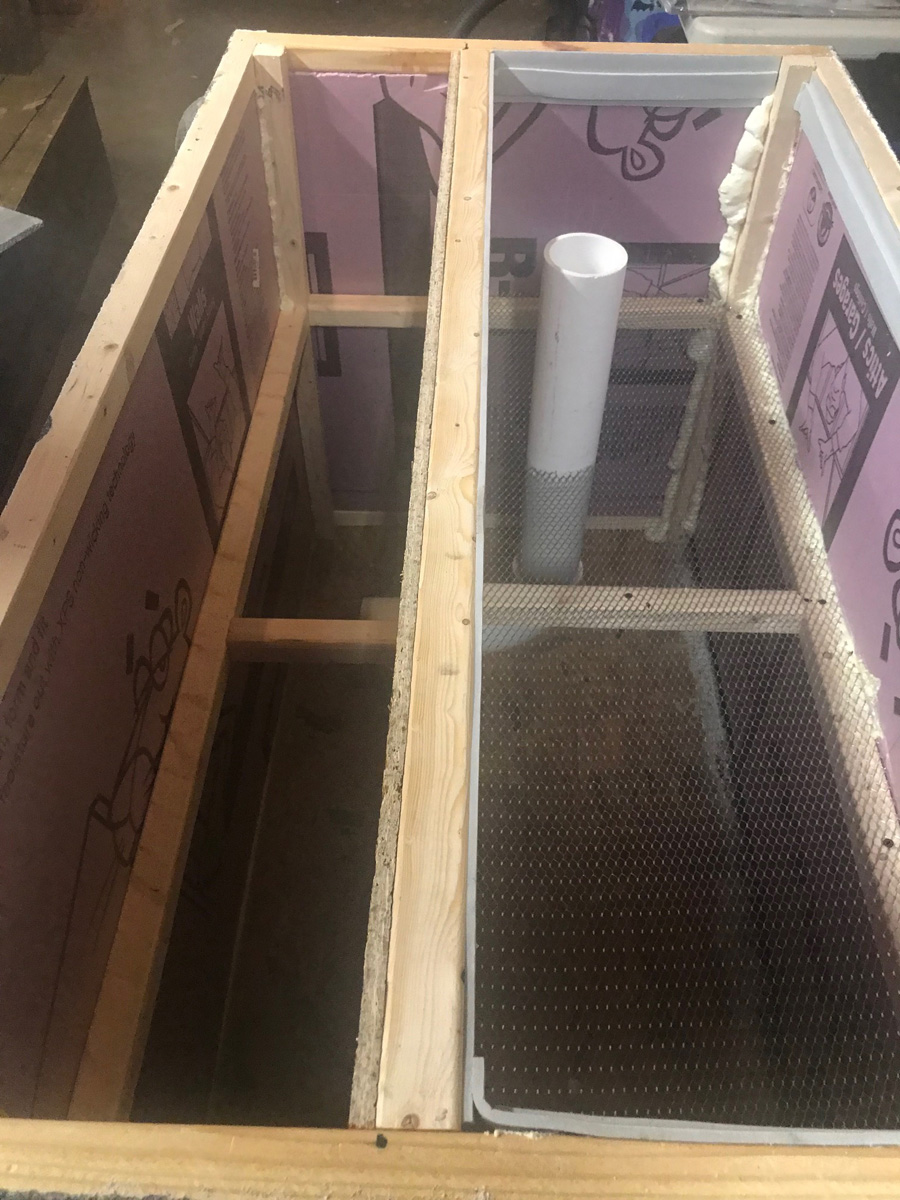
“You already have half of the fog platform built due to your inner middle structure. You’ll need to cut a short piece of plywood to 7″ and a longer piece to 21” and attach it to the existing structure to complete the rectangle platform as shown in the second photo above.
On the other side, you’ll need to insert a 12″ crossbeam to reinforce this area as you’ll fill this side with ice to help cool the fog. See photo above.”
Preparing The Fog Flow System:
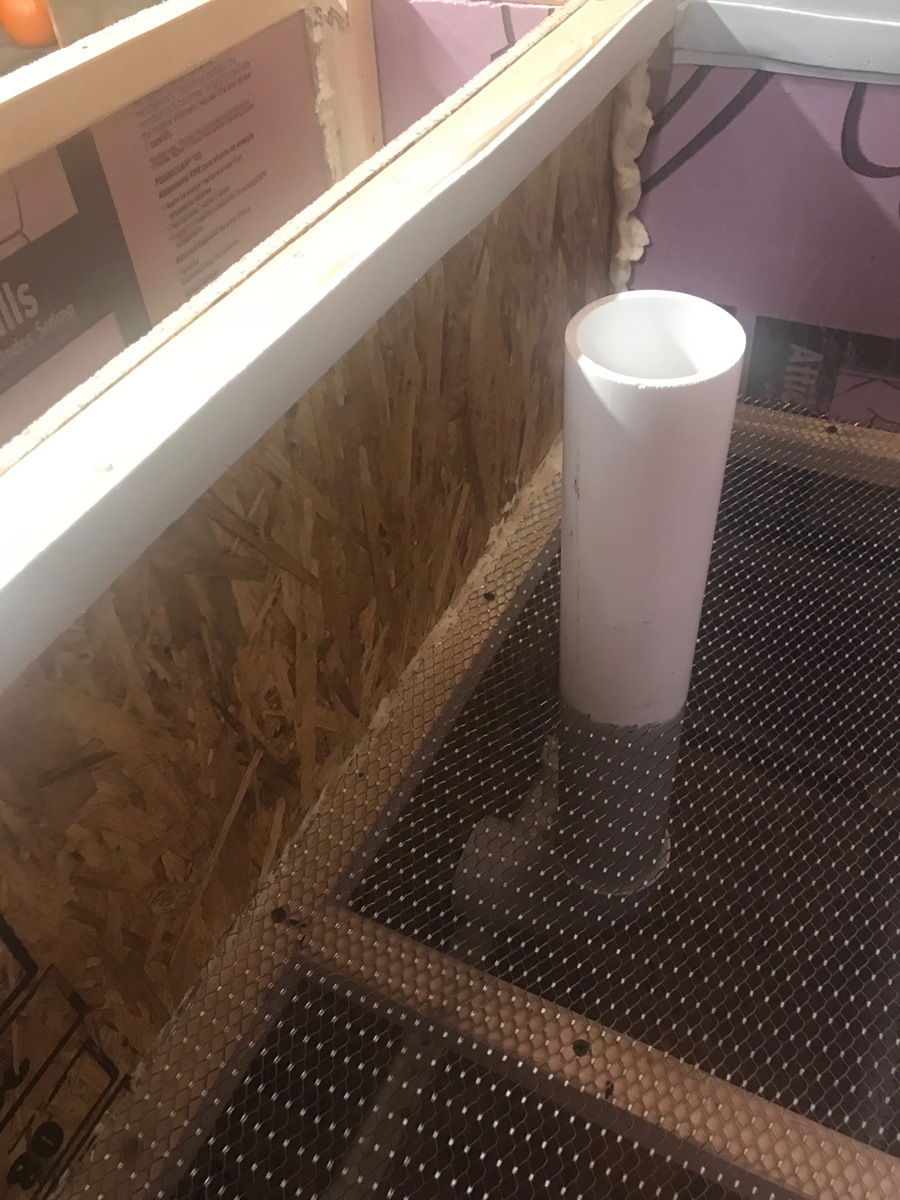
“Prior to attaching the foam walls, you want to drill a hole in the plywood to accommodate your PVC for the fog flow. This may take some adjustments to accommodate the size of your fog machine. 2 – 3” width PVC is recommended so use the appropriate size holesaw to drill your hole. The PVC should fit snug and fit well into an elbow. For the upper part of your PVC system, you want to make sure the opening of the PVC is at the level of the output of your fog machine. Measure accordingly, cut your PVC and attach all parts of the flow system together using PVC glue.
**Tip: To connect the fog machine to the PVC flow system, attach a flexible dryer vent hose to the PVC and seal using duct tape (not shown above). The other end of the vent hose should sit in front of the fog machine. It is VERY important you don’t attach the vent hose to the fog machine itself as it’s important that oxygen is allowed an entry point as the fog enters the flow system.
On the opposite side, cut a piece of wire mesh to fit between the wall and plywood. This area will hold your ice. You’ll need to cut a hole in the mesh to fit snug around the PVC pipe. Use thick gloves when inserting the wire mesh into the crypt and attach using screws.”
Attaching the Foam Walls:
“Using pink 1″ EPS foam, cut to the following specifications: 29″ x 30 ½” (for each end) and 50″ x 30 ½” (for each side). Attach to your structure using screws. You may notice that there are some slight openings where the foam is attached. This is okay! You’ll seal up your structure by using Great Stuff on the inside as shown below and with Hot Wire Foam Factory Exterior Foam Coat.“
Creating the Top of Your Crypt:
“Using the other piece of plywood, you’ll want to add additional pieces of foam to the top. We used scrap pieces for ours so the measurements are 23 1’2 x 40″ and 17 ½’ x 29”. Layer each of these pieces of foam on the plywood and center. Attach using Hot Wire Foam Factory StyroGoo Glue.“
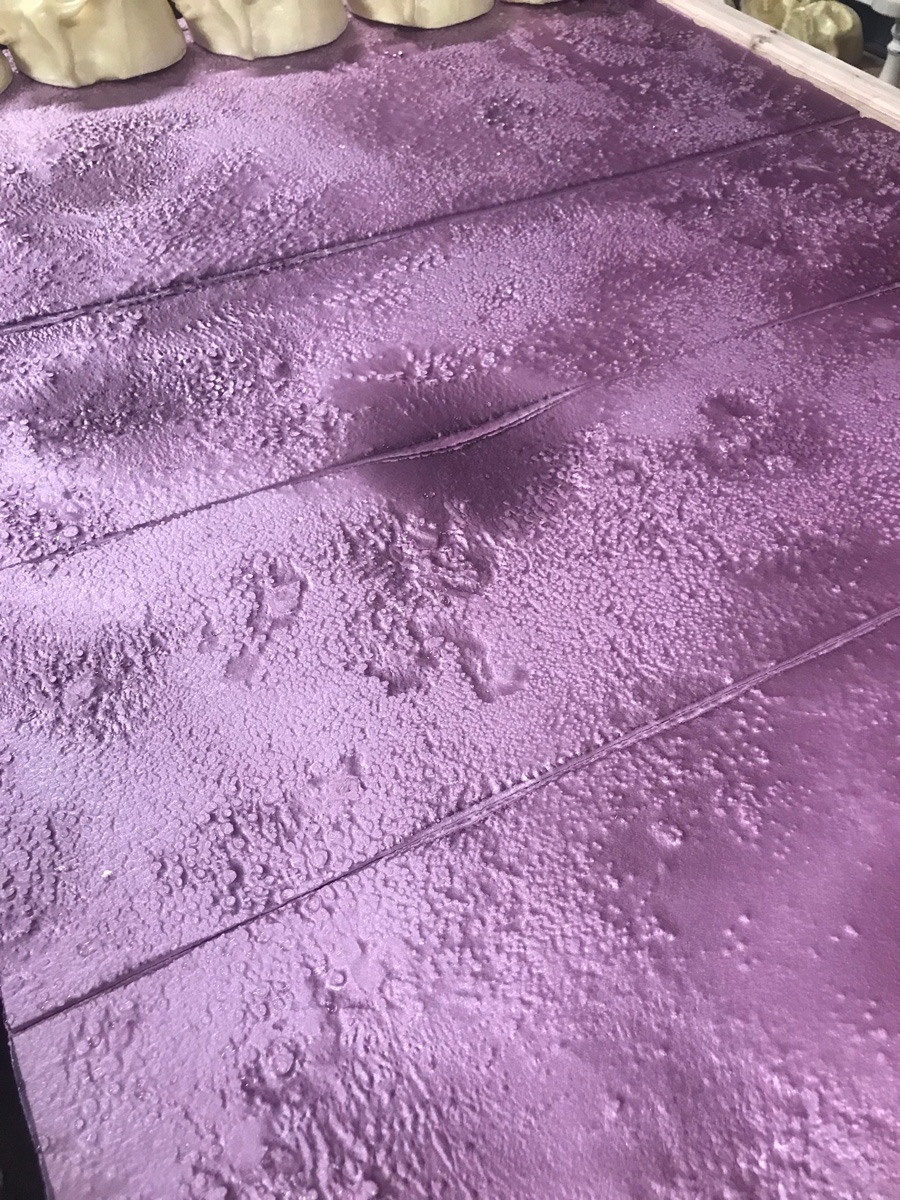
Adding Texture To Foam:
“Turn the crypt on its side and using a spray bottle filled with water, spray over the foam. Use a heat gun to create stone-like texture. The heat will create divots and texture around the water droplets. Repeat on opposite side and each end. You can create as much texture as you like but be careful not to create holes in the foam.”
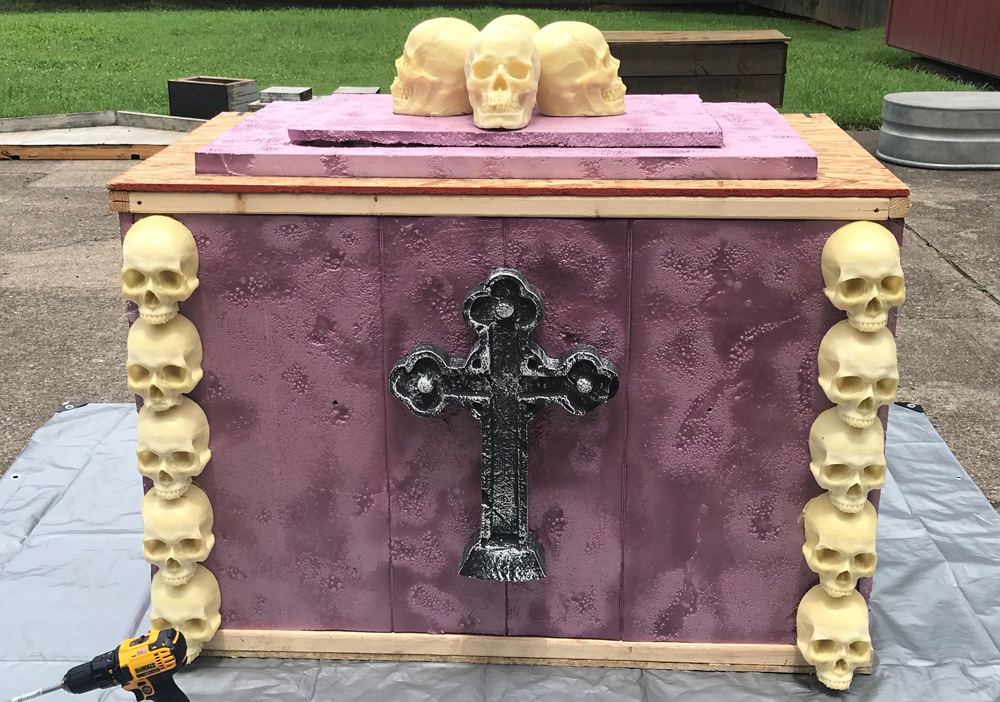
Adding the Details:
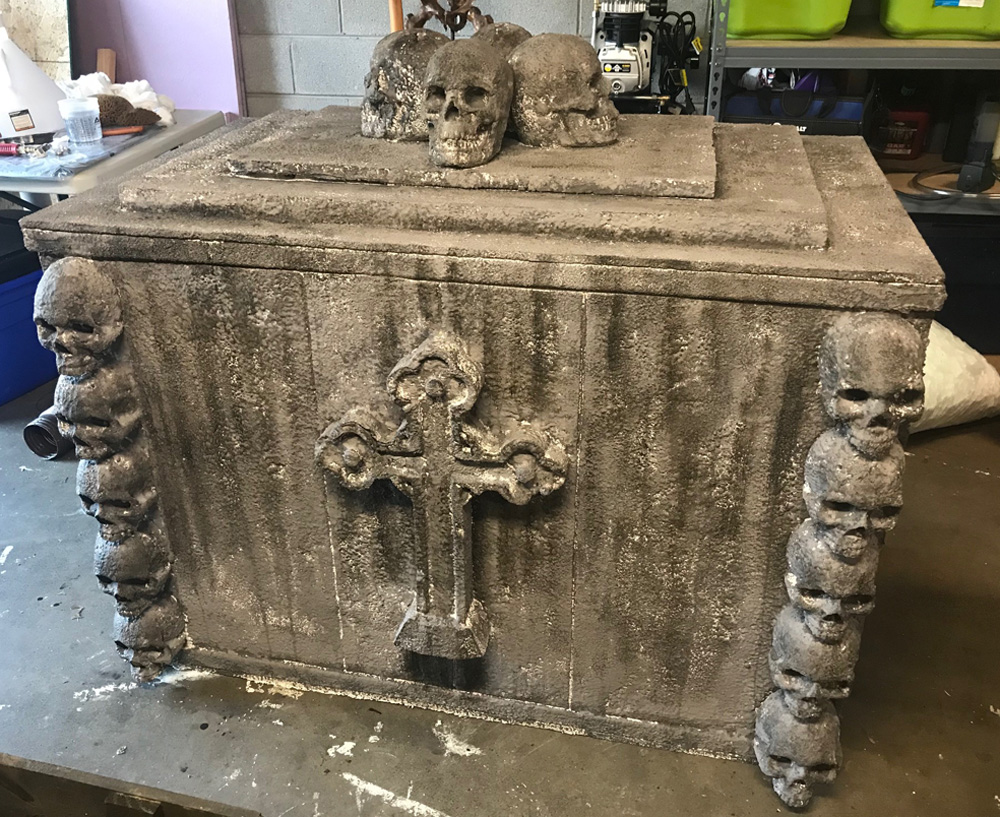
“The skulls on this design were made using Nightmare Makers half skull and full skull molds and BITY Mold 6 Pound Rigid Casting Foam. Ten half skulls and four full skulls were made for this project. After curing, the half skulls were attached using Hot Wire Foam Factory Foam Glue. **Tip: Turn the crypt on its side to attach the first set of skulls. When attaching the other side, try to set the crypt at an angle to help prevent the skulls from falling off. Arrange the full skulls to the top of your crypt to your liking and attach using HWFF StyroGoo Glue.
To finish the details, attach two store bought foam tombstones to the front and back. You may need to place something underneath each tombstone to hold it in place until the glue dries completely.
Your completed crypt should look like the photo above and now it is ready for finishing touches!”
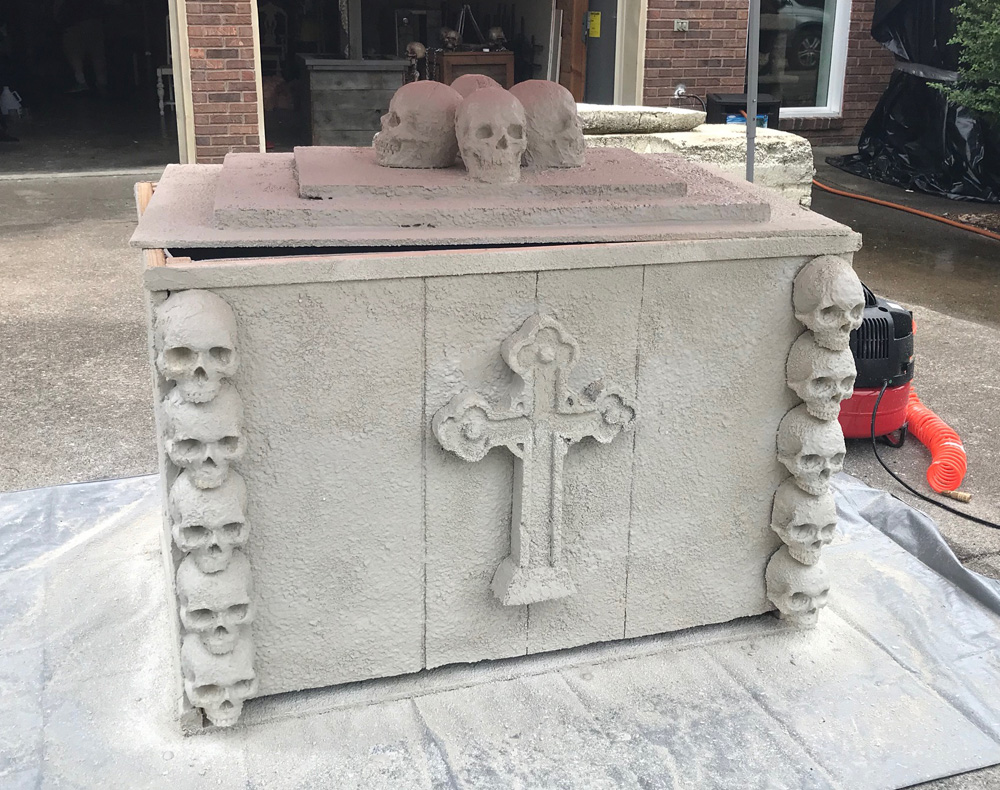
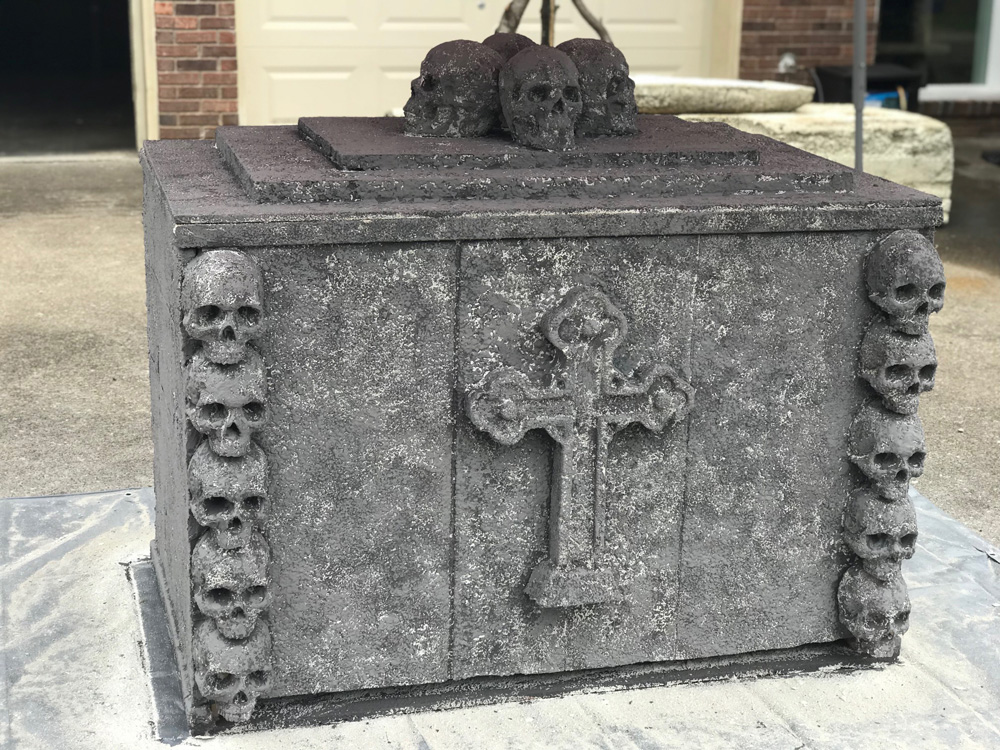
Hard Coating and Painting:
Mix Hot Wire Foam Factory Exterior Foam Coat according to instructions. Apply the mixture to your crypt using a hopper, making sure to fill in crevices around the details. Allow to dry for at least 24 hours.
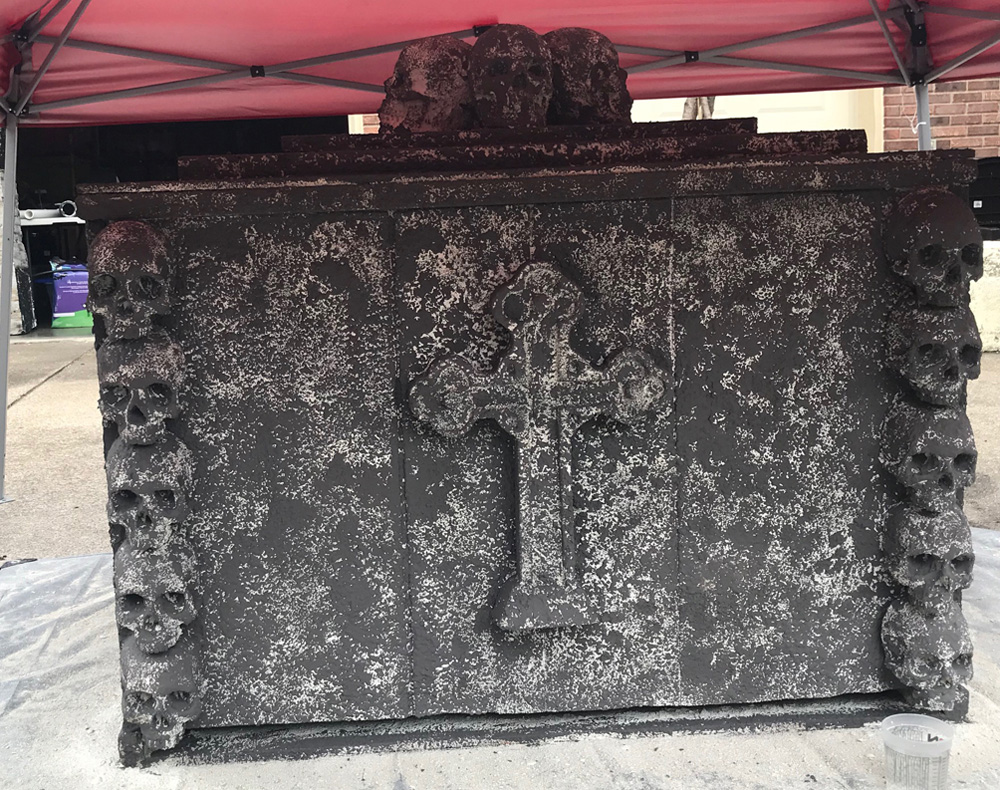
Using a sea sponge, apply medium gray paint to the entire structure and repeat this technique with a light gray. You want to let some of the white color of the HWFF Exterior Foam Coat come through as it creates a nice old, crumbling look against the shades of gray. For a short video on this technique, visit the Meta Drive Manor Facebook page here. To finish the crypt and create an aged, water damaged look, apply antiquing glaze using a paintbrush. As you apply, spray with water and brush to break up the color and depth of the glaze over the crypt. Photos from each stage of paint application are provided above. Let the crypt cure to maximum hardness for five days then test and enjoy your new crypt fog chiller!