Part 2: Gluing and Trimming
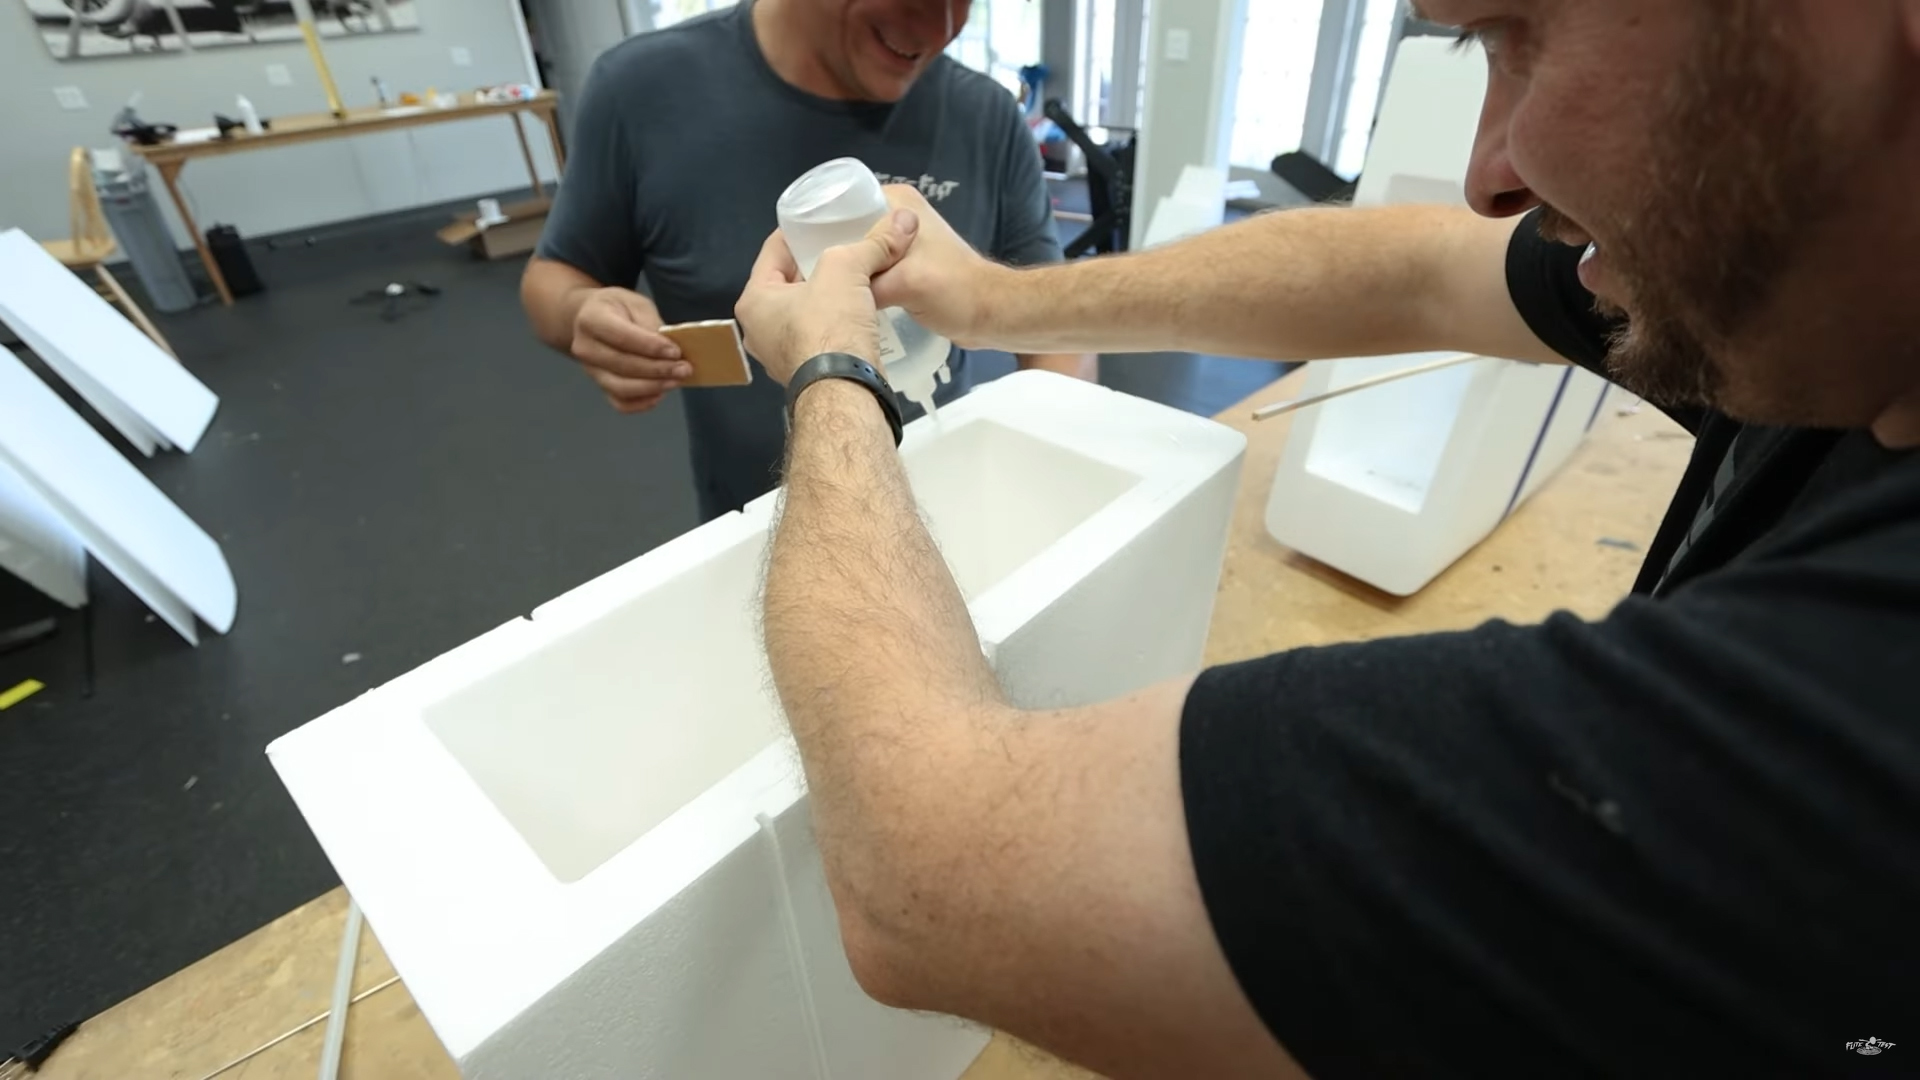
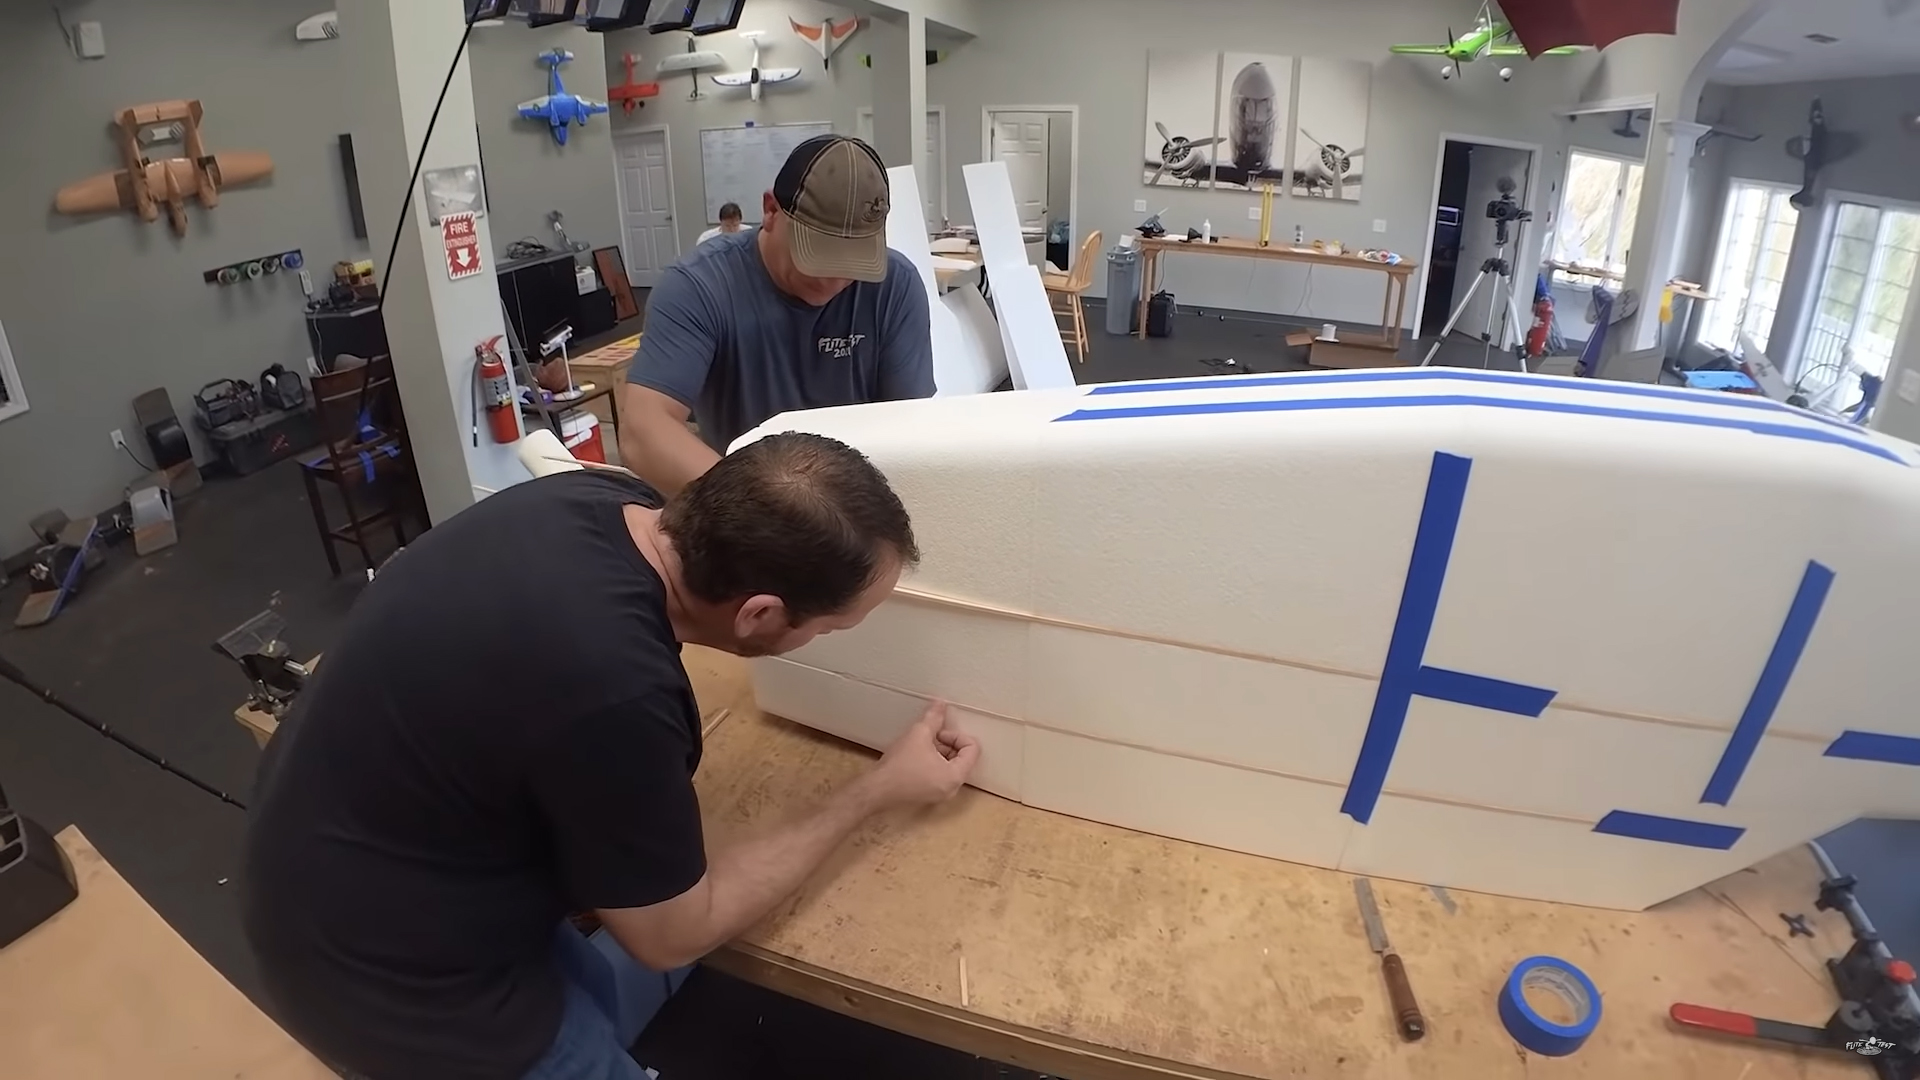
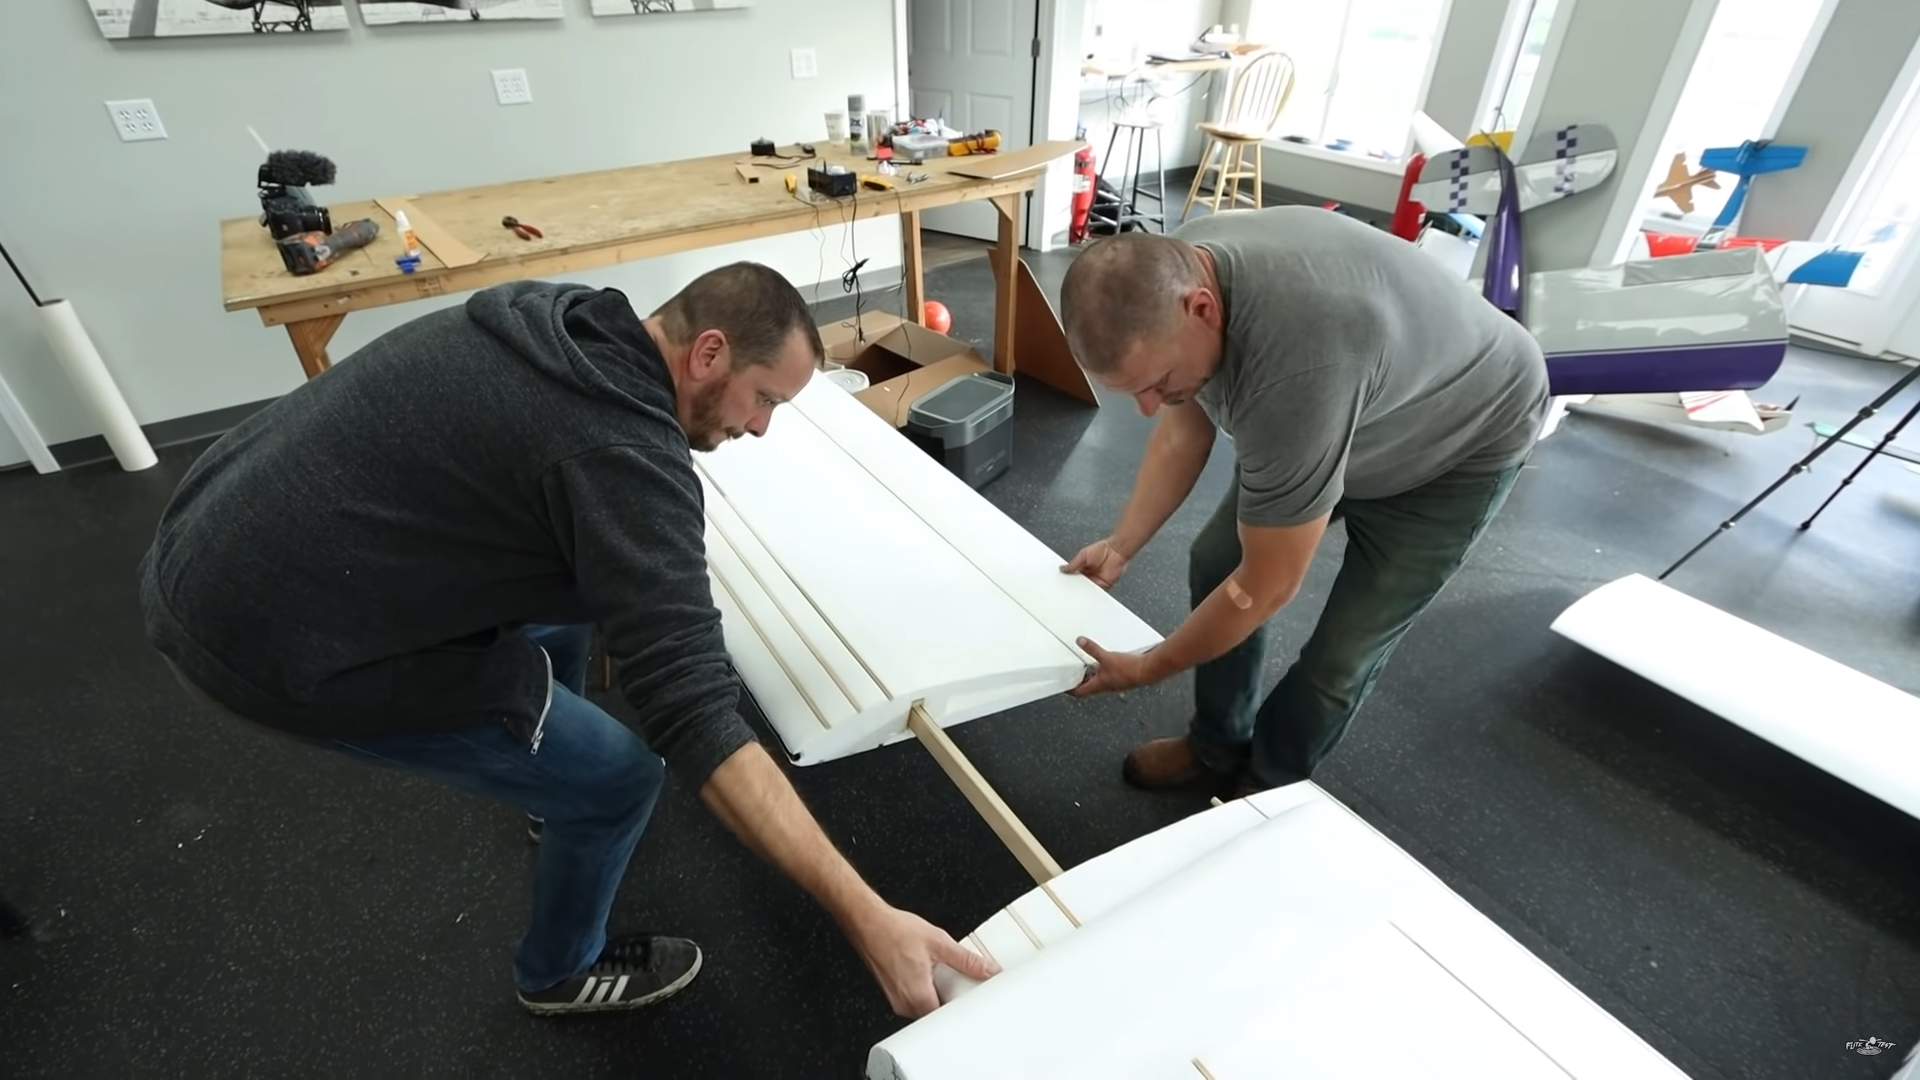
From here, they glued all the segments of the fuselage and tail together using StyroGoo. They put in wooden support strips for added strength.
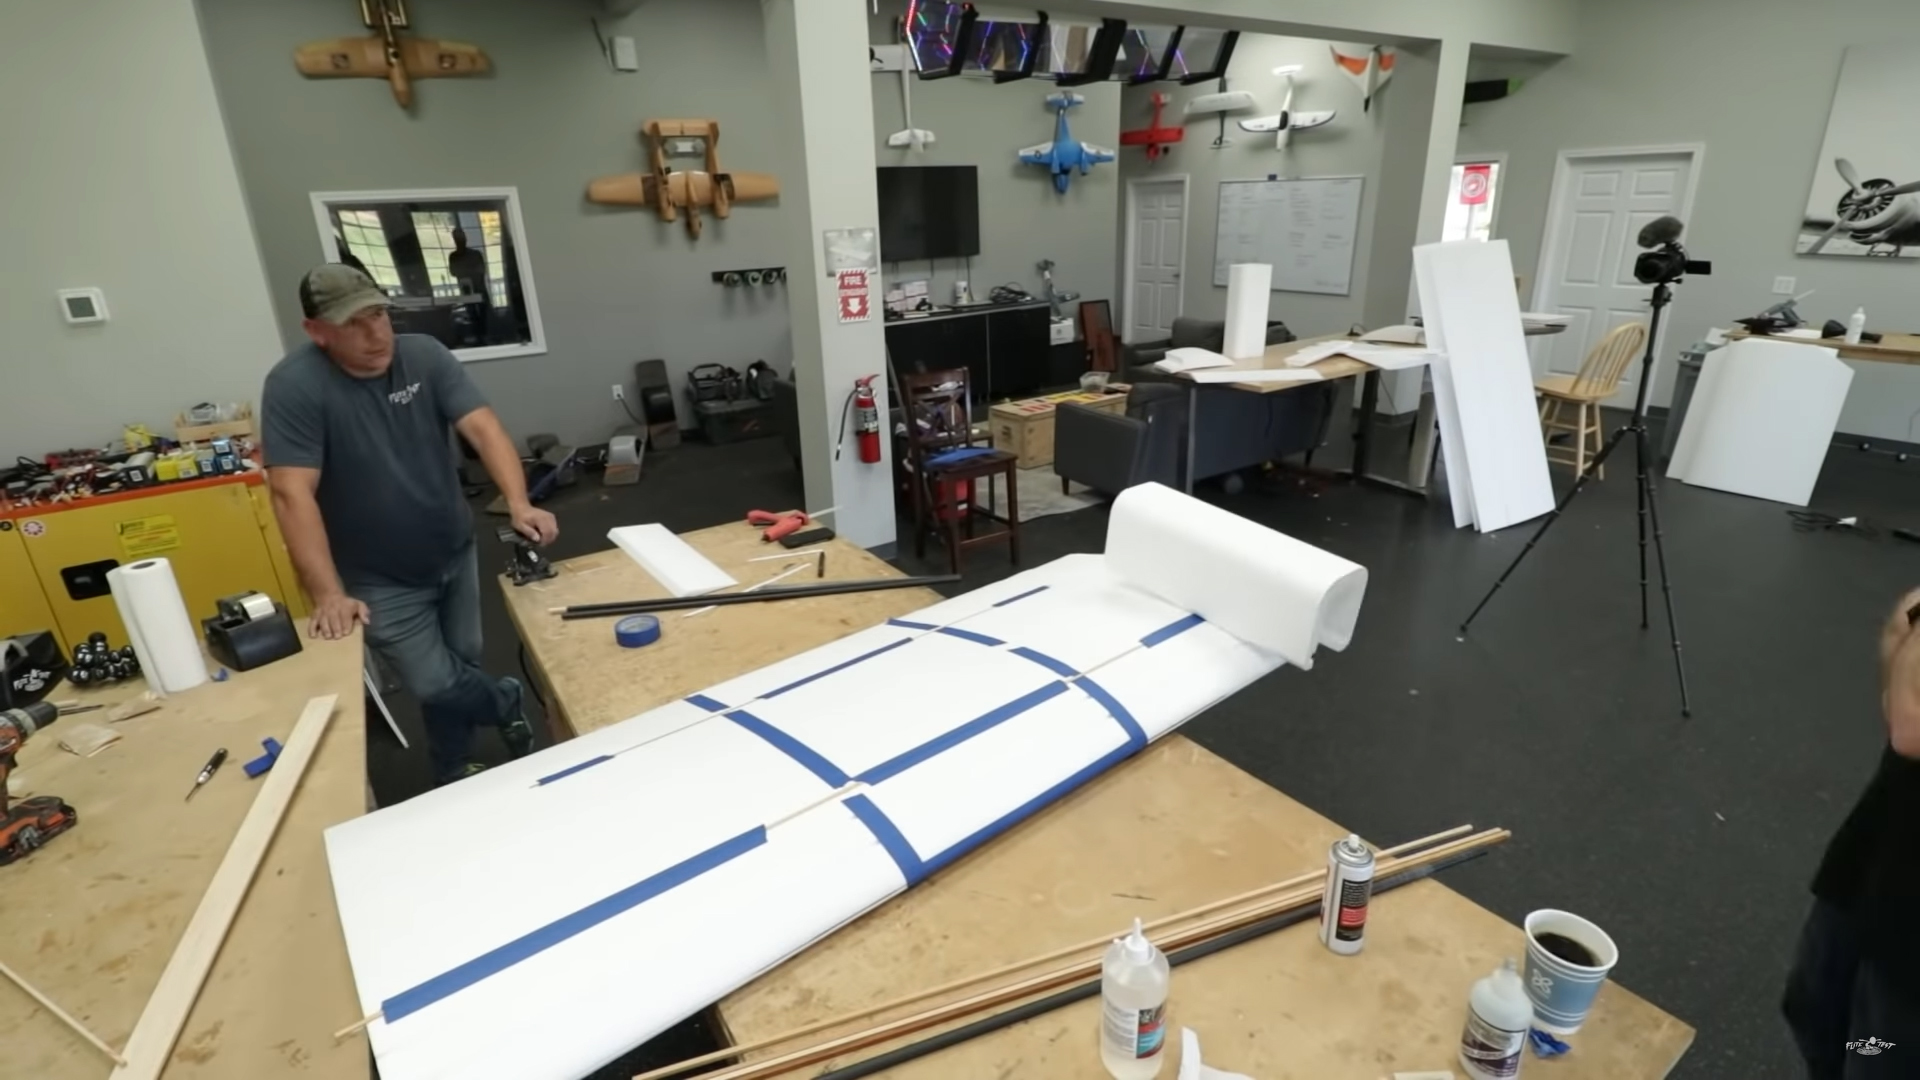
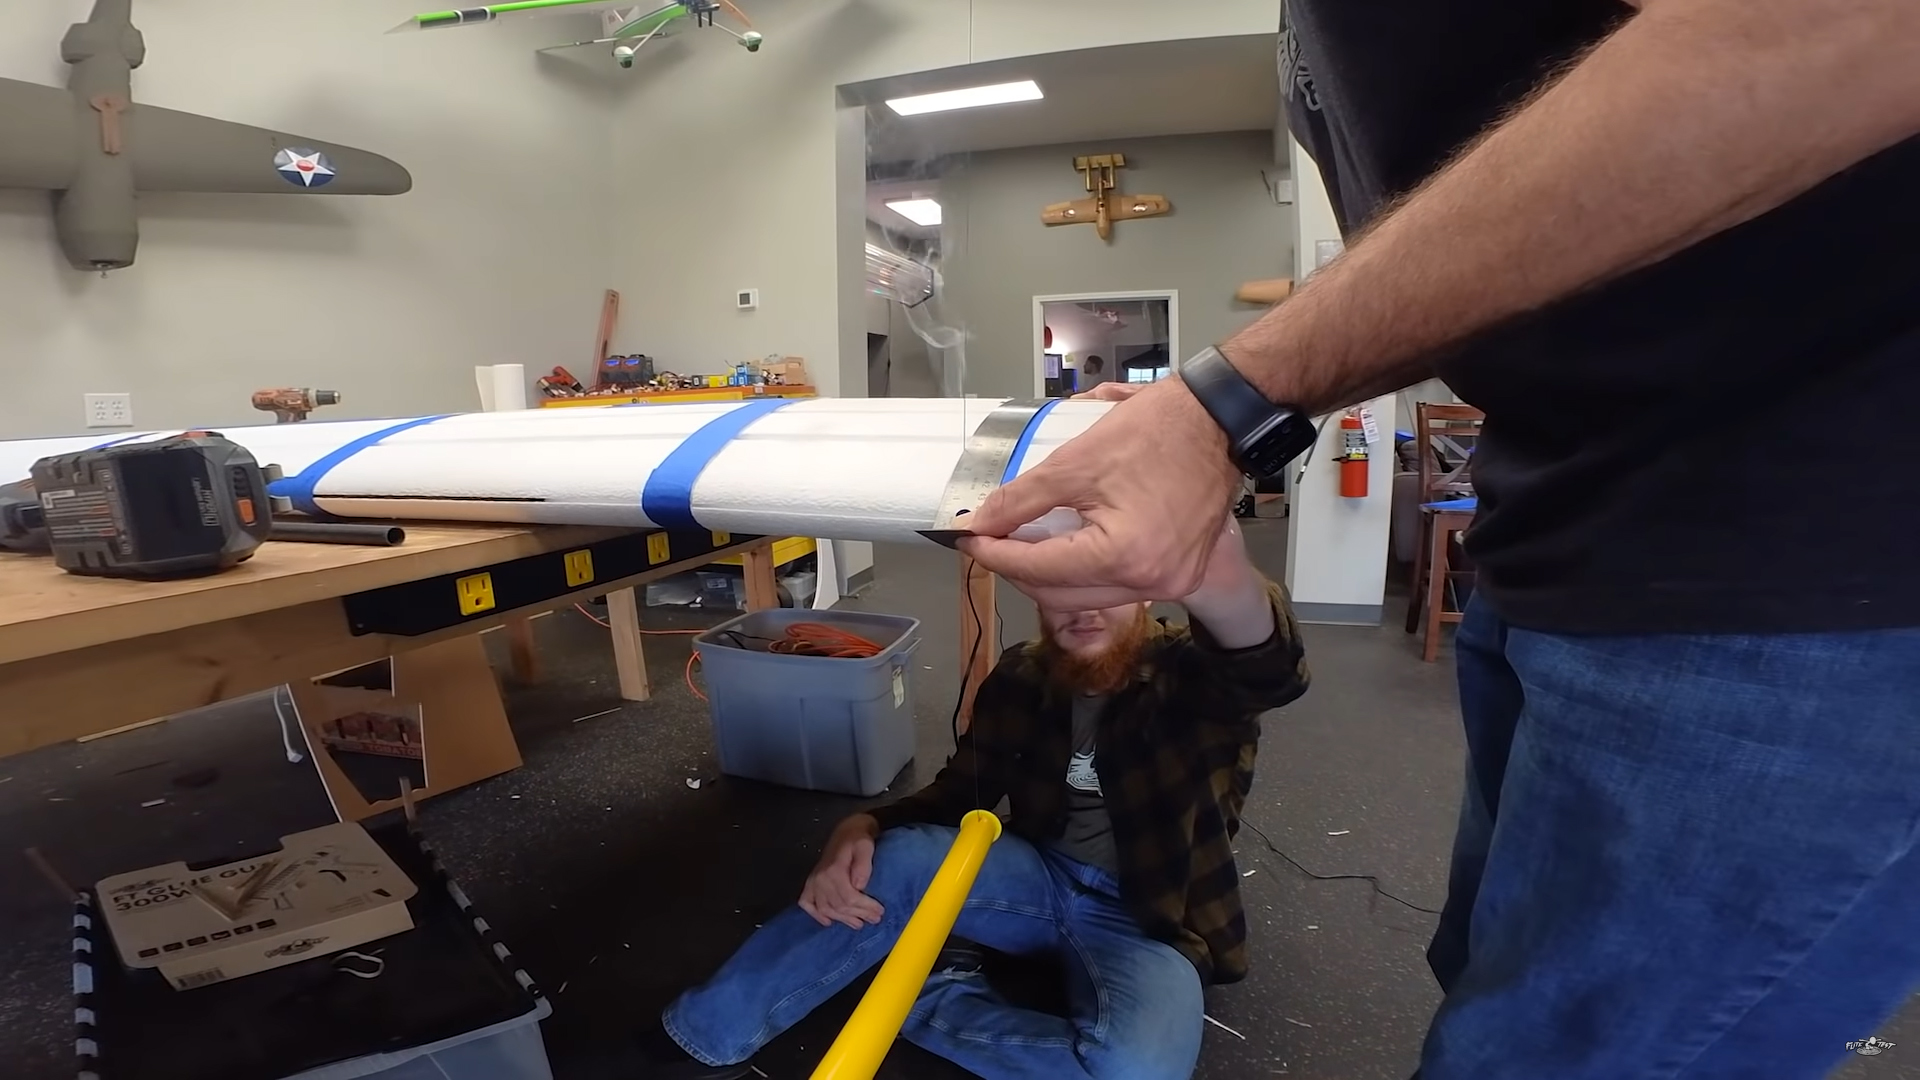
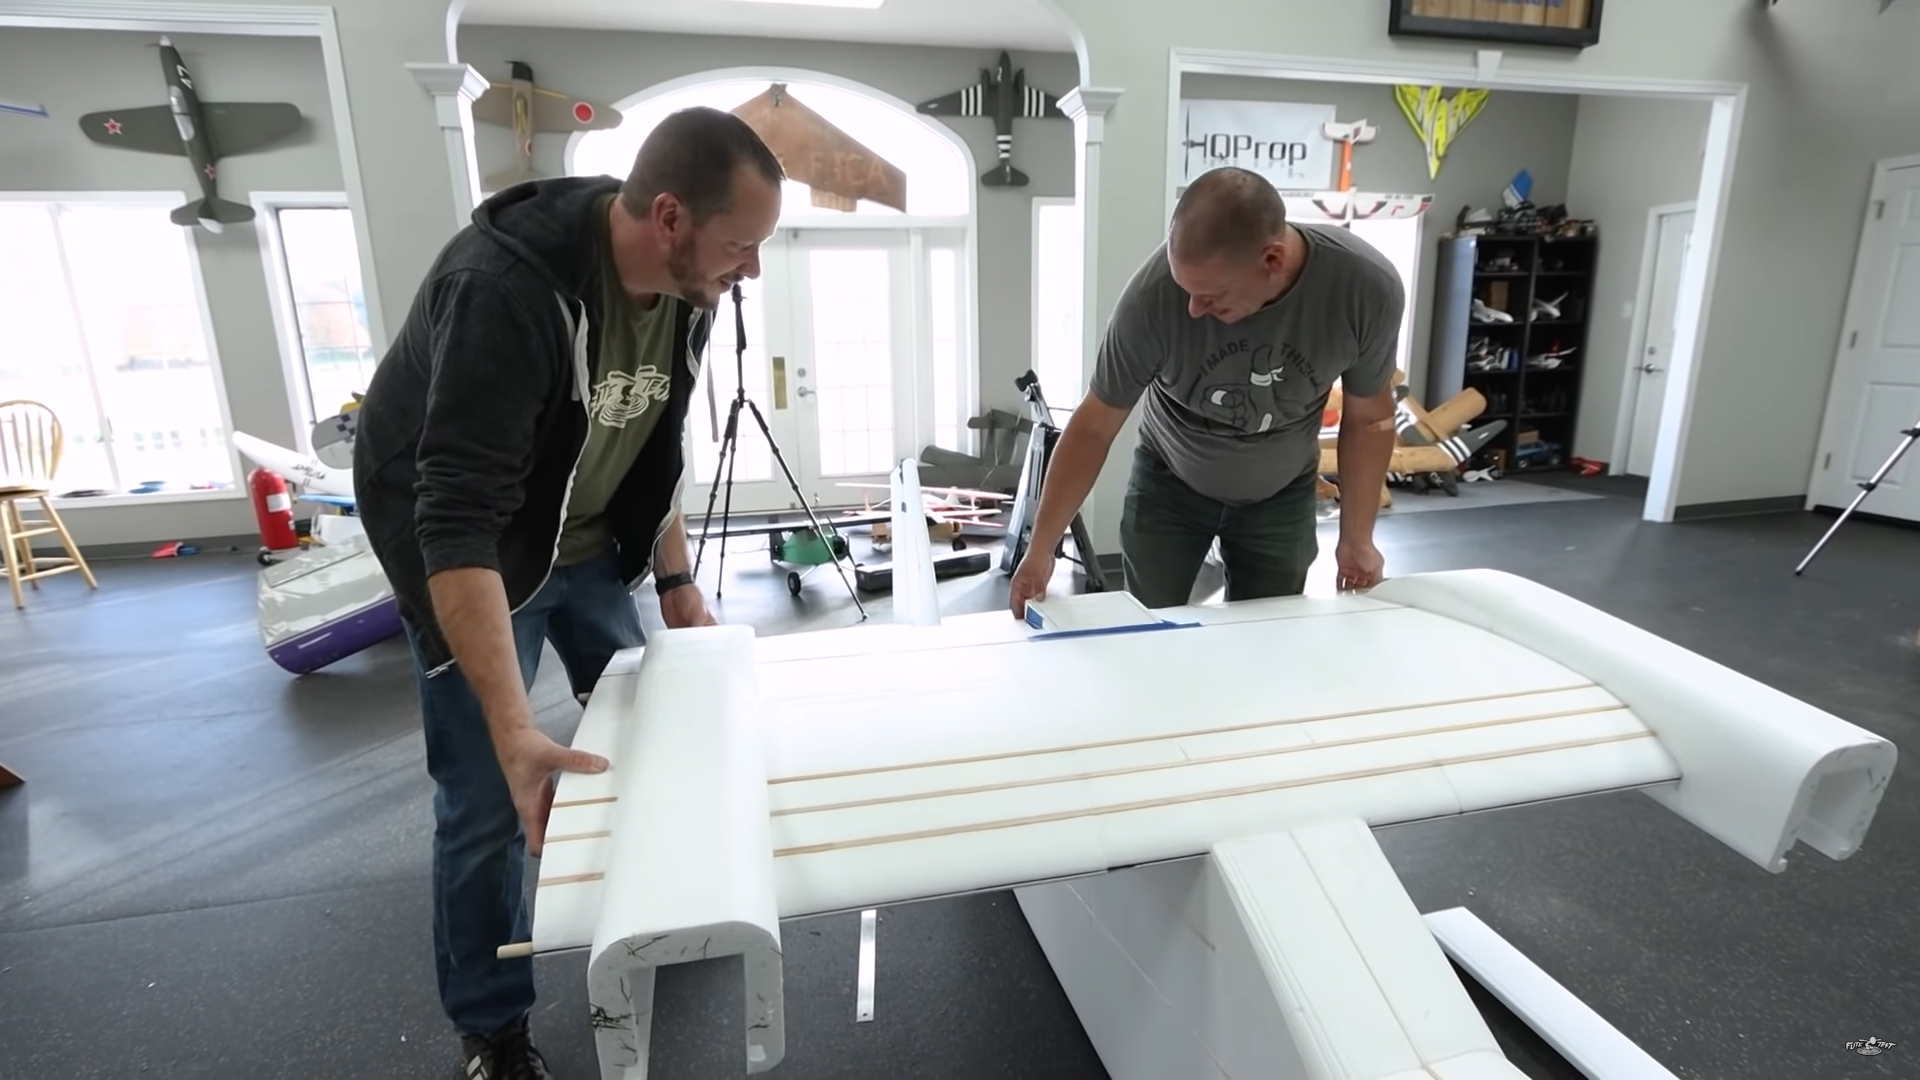
They assembled the wings and cut out sections with the 4-Foot Bow for the motors.
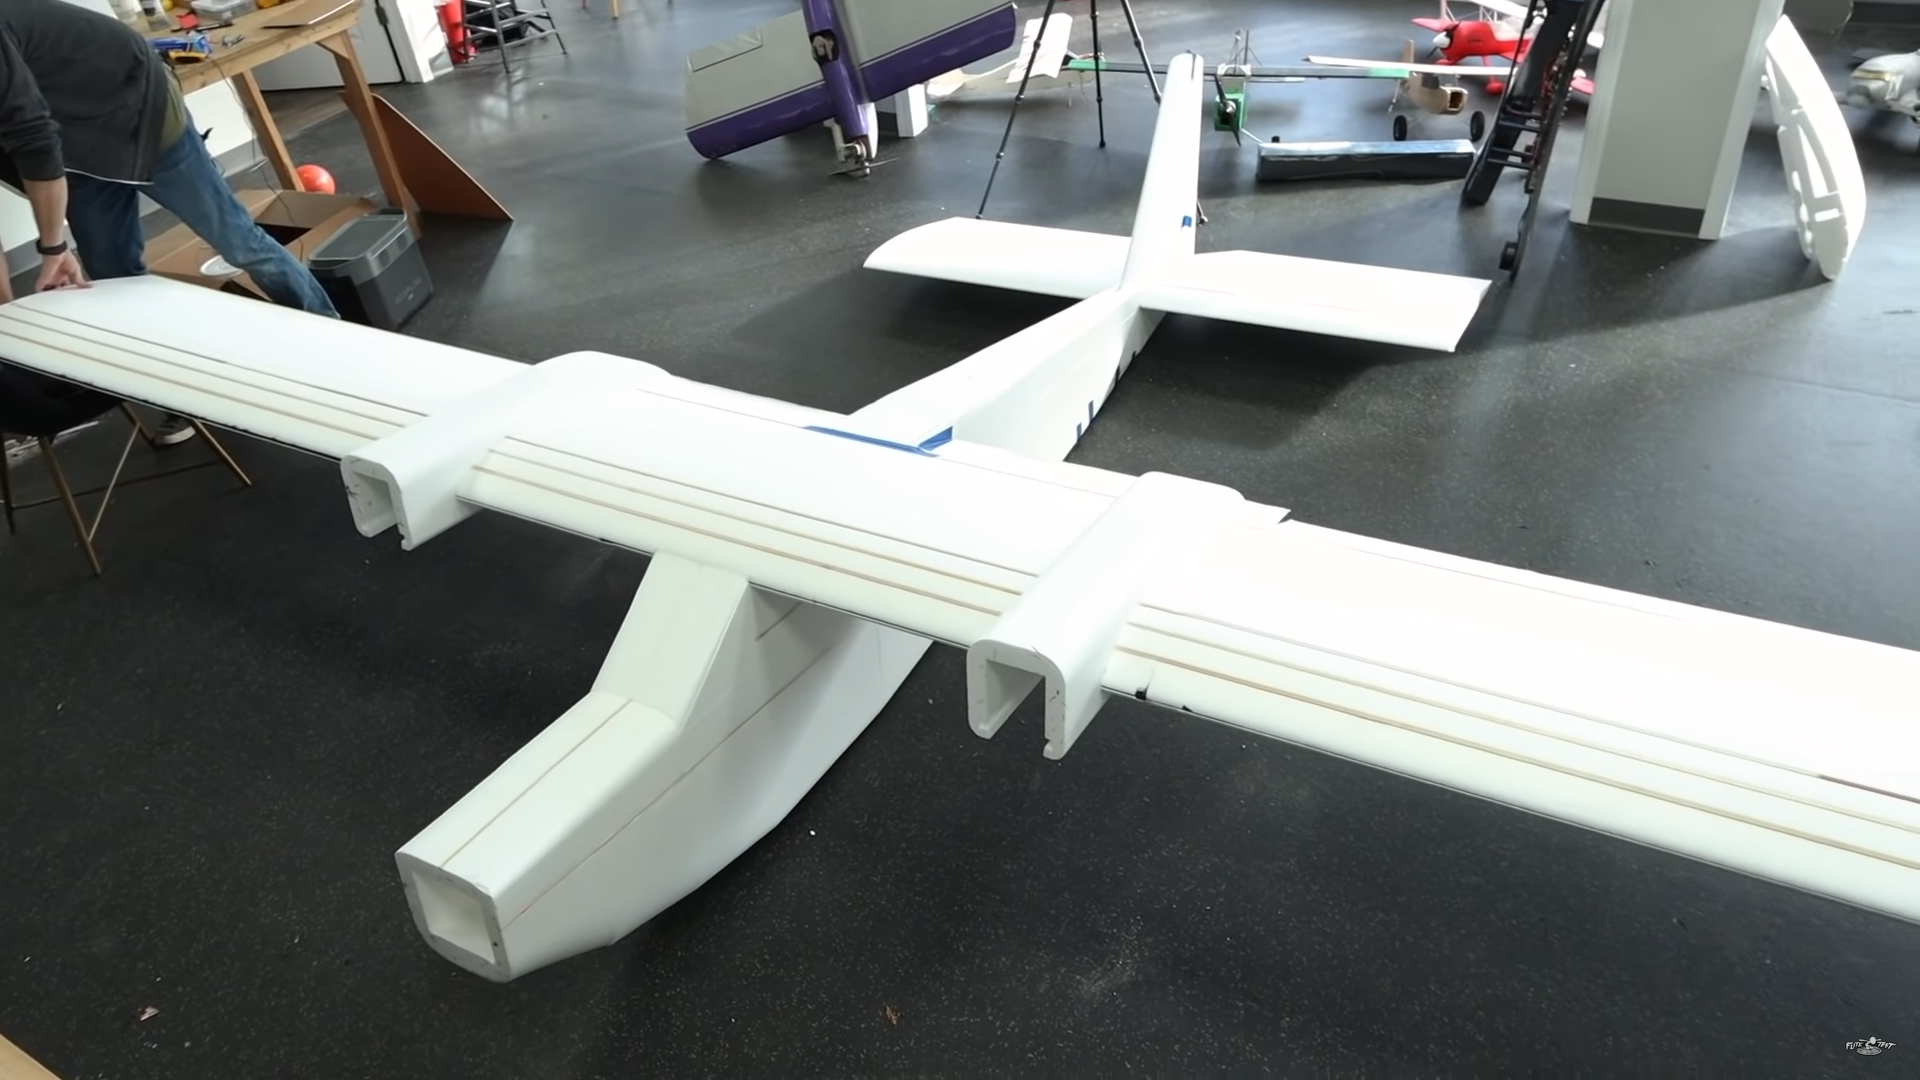
Then, they cut out a section on the fuselage for the wings to fit into.

They created a hinge joint for the tail using fiberglass strips.

Finally, it was finally time to put it all together.
Using a 3D printer, they printed the wheels for the landing gear

They made the structure for the landing gear using 1/4″ steel.

With the plane assembled, they began adding the motors and the batteries. The nose of the plane needed more weight in the front, making it the perfect place to house the batteries.
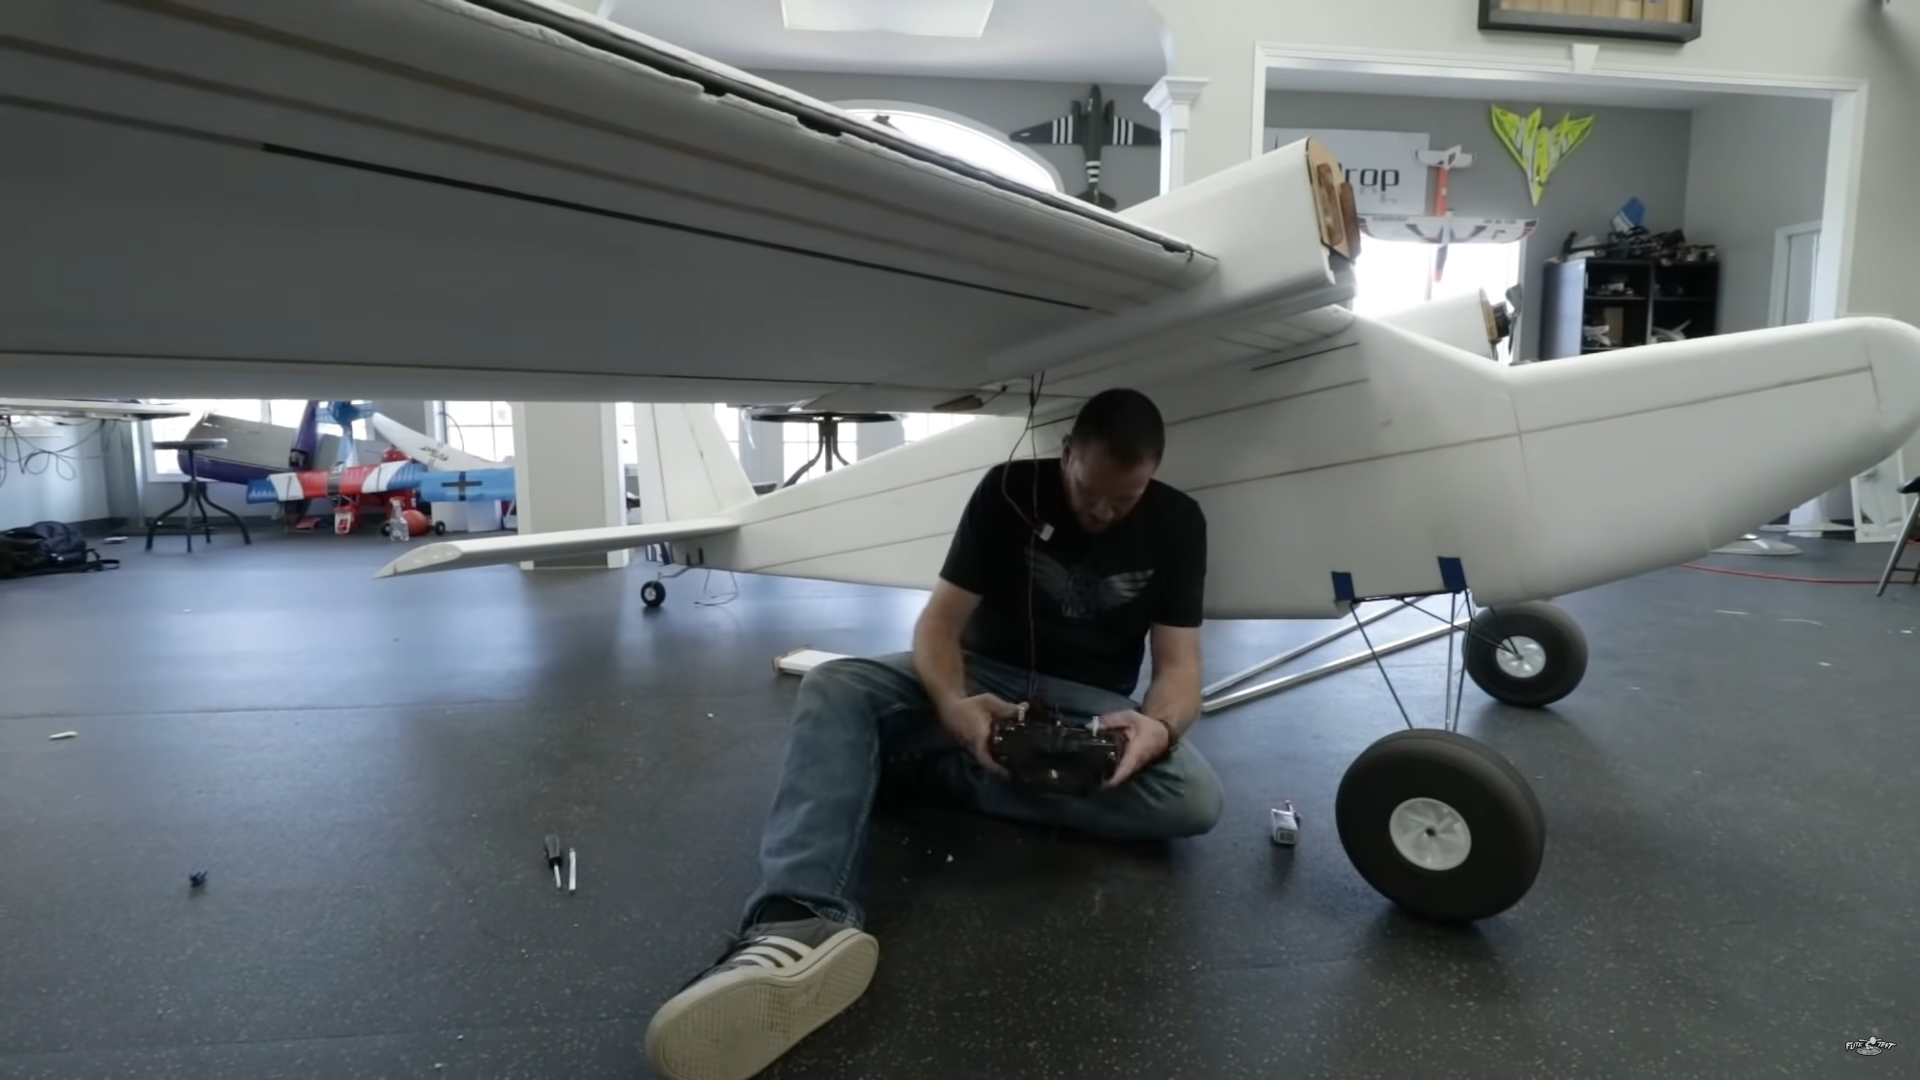
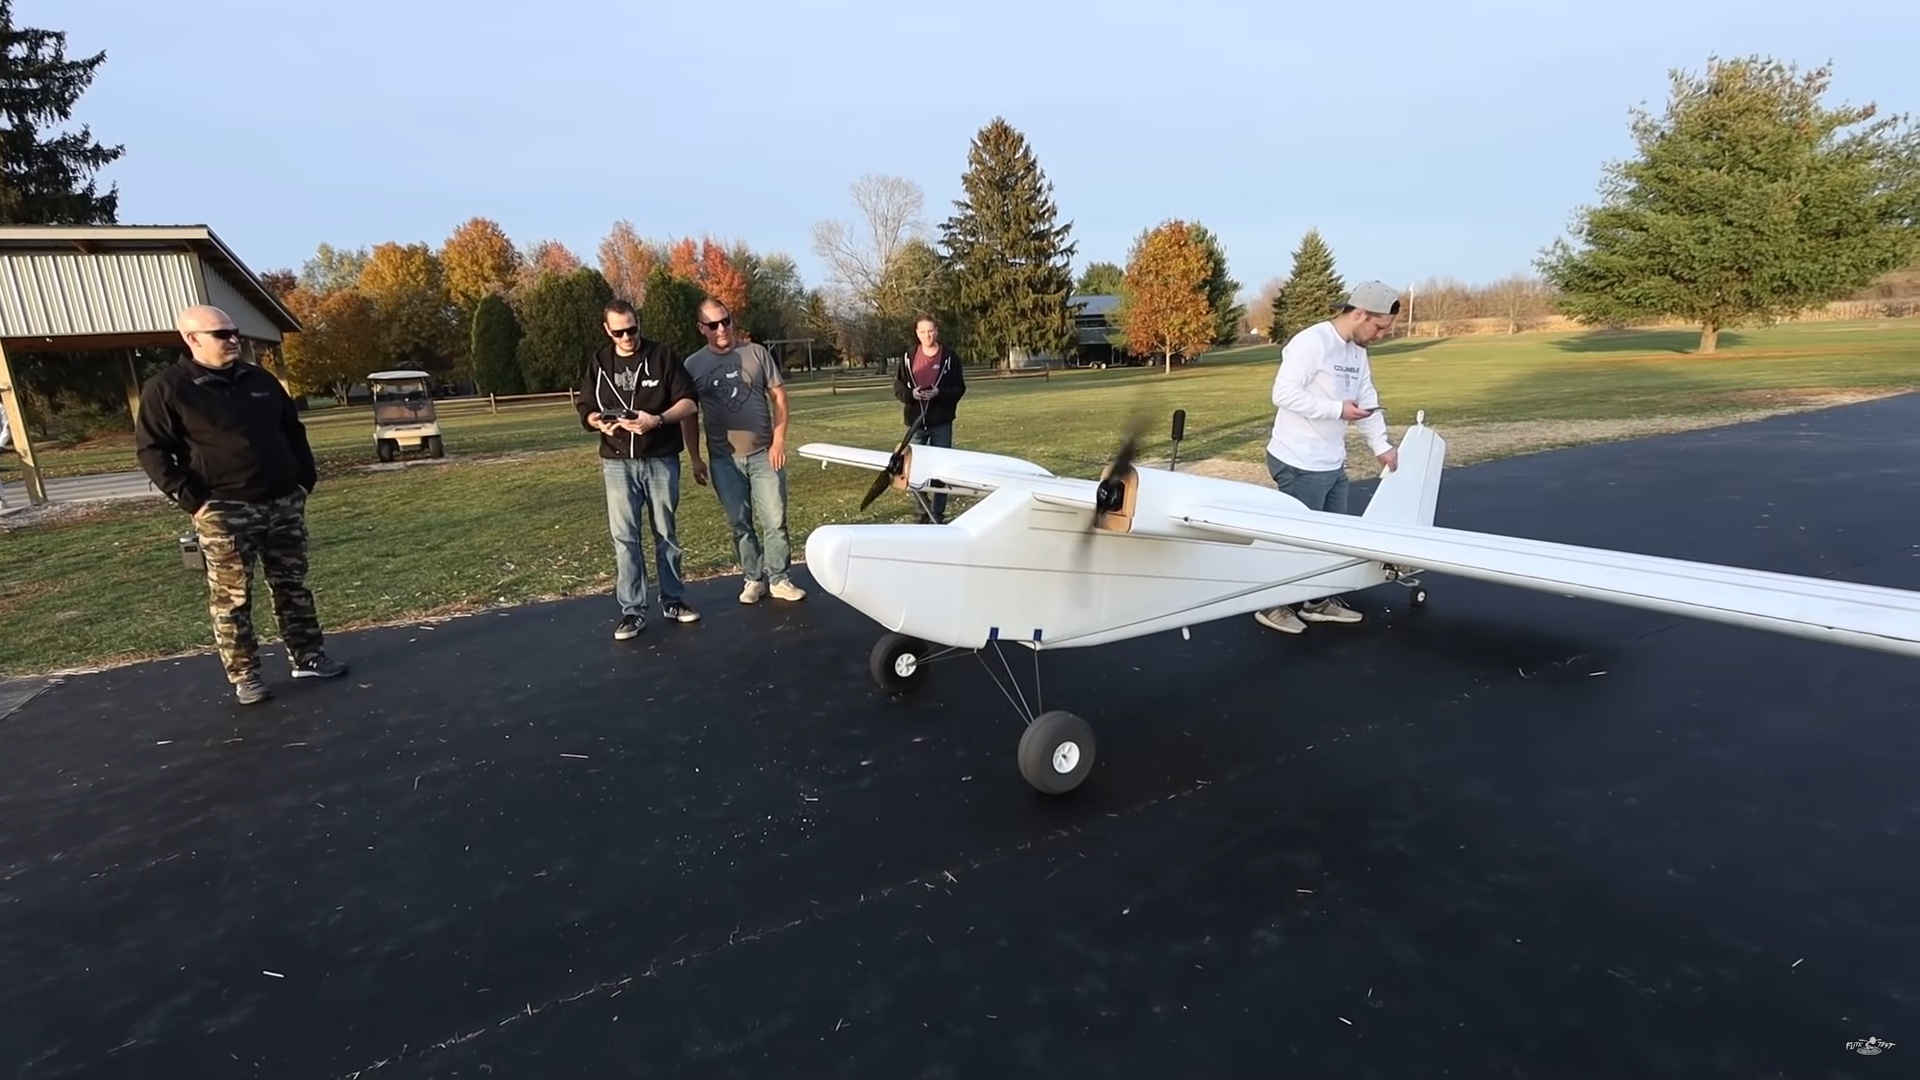
The plane was then setup for its maiden flight.
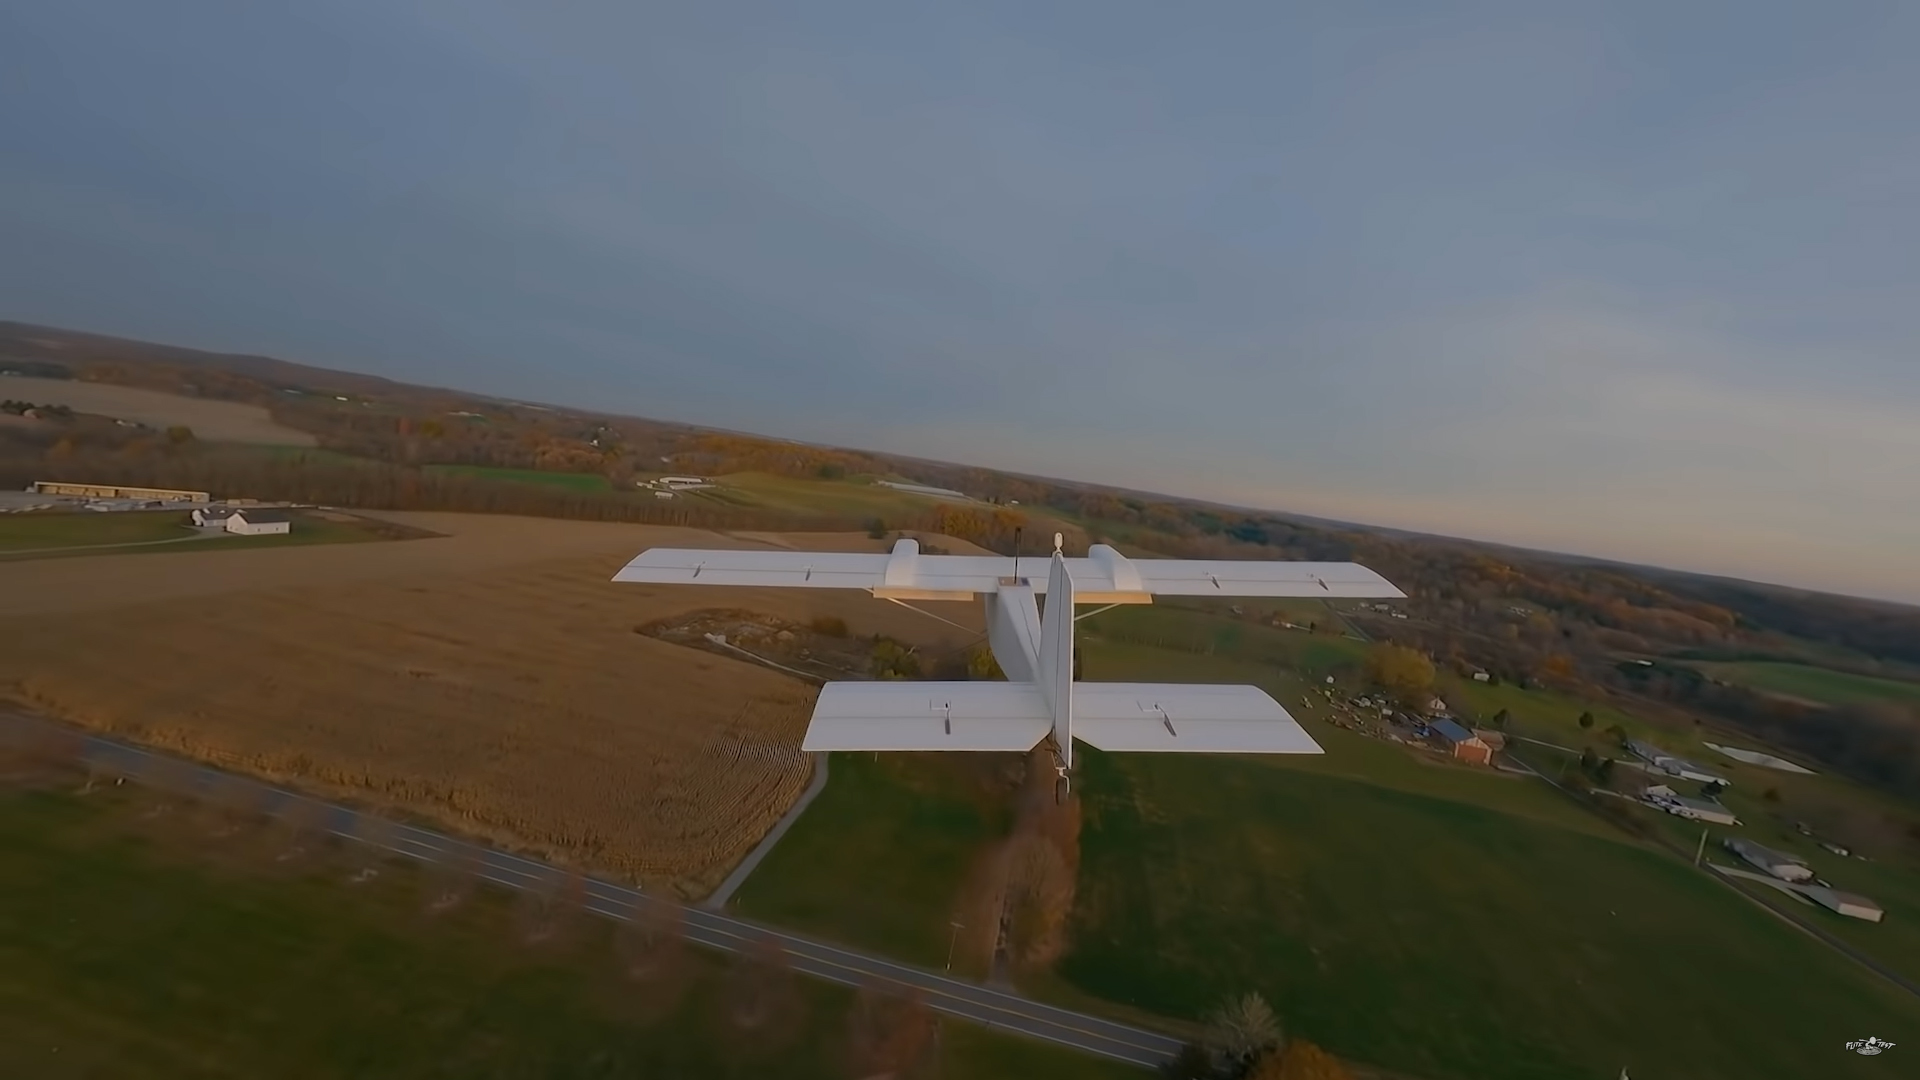
First Flight
Video of Part 2: