Department 56
Nightmare Before Christmas
Village Display
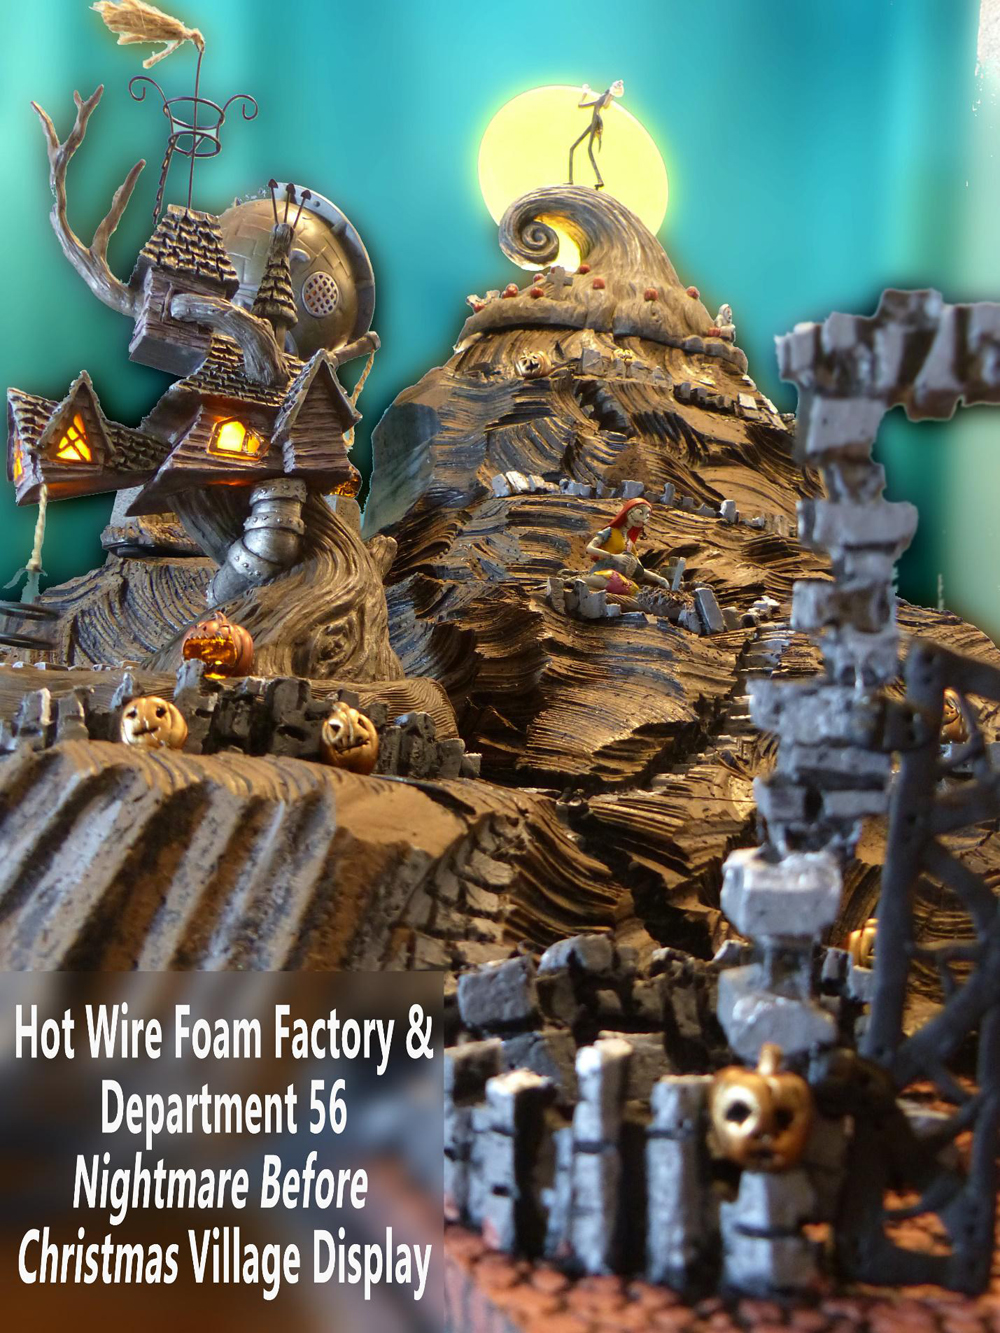
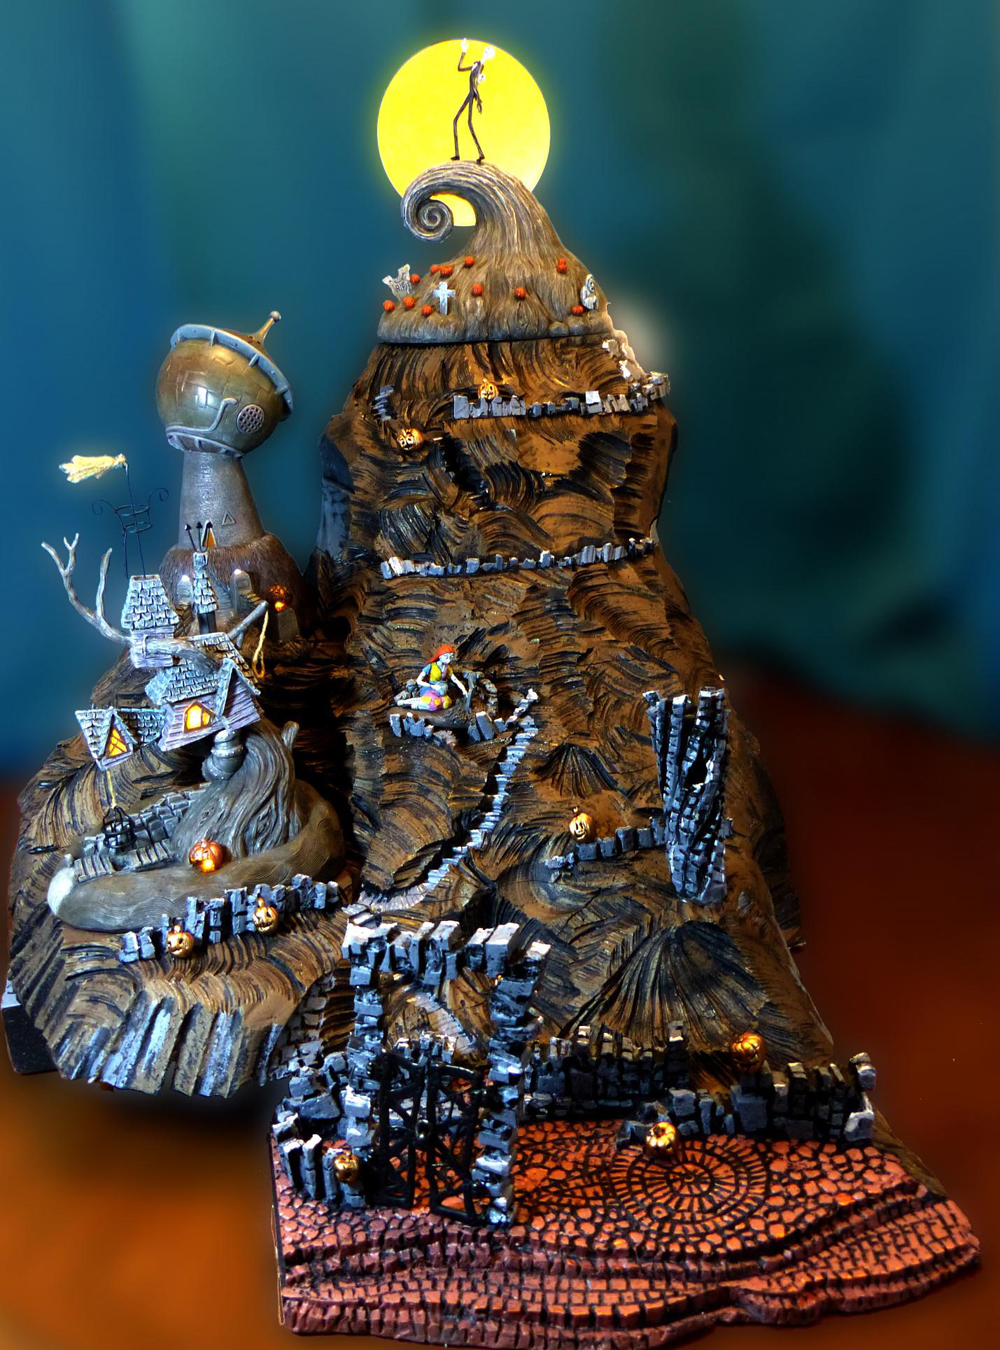
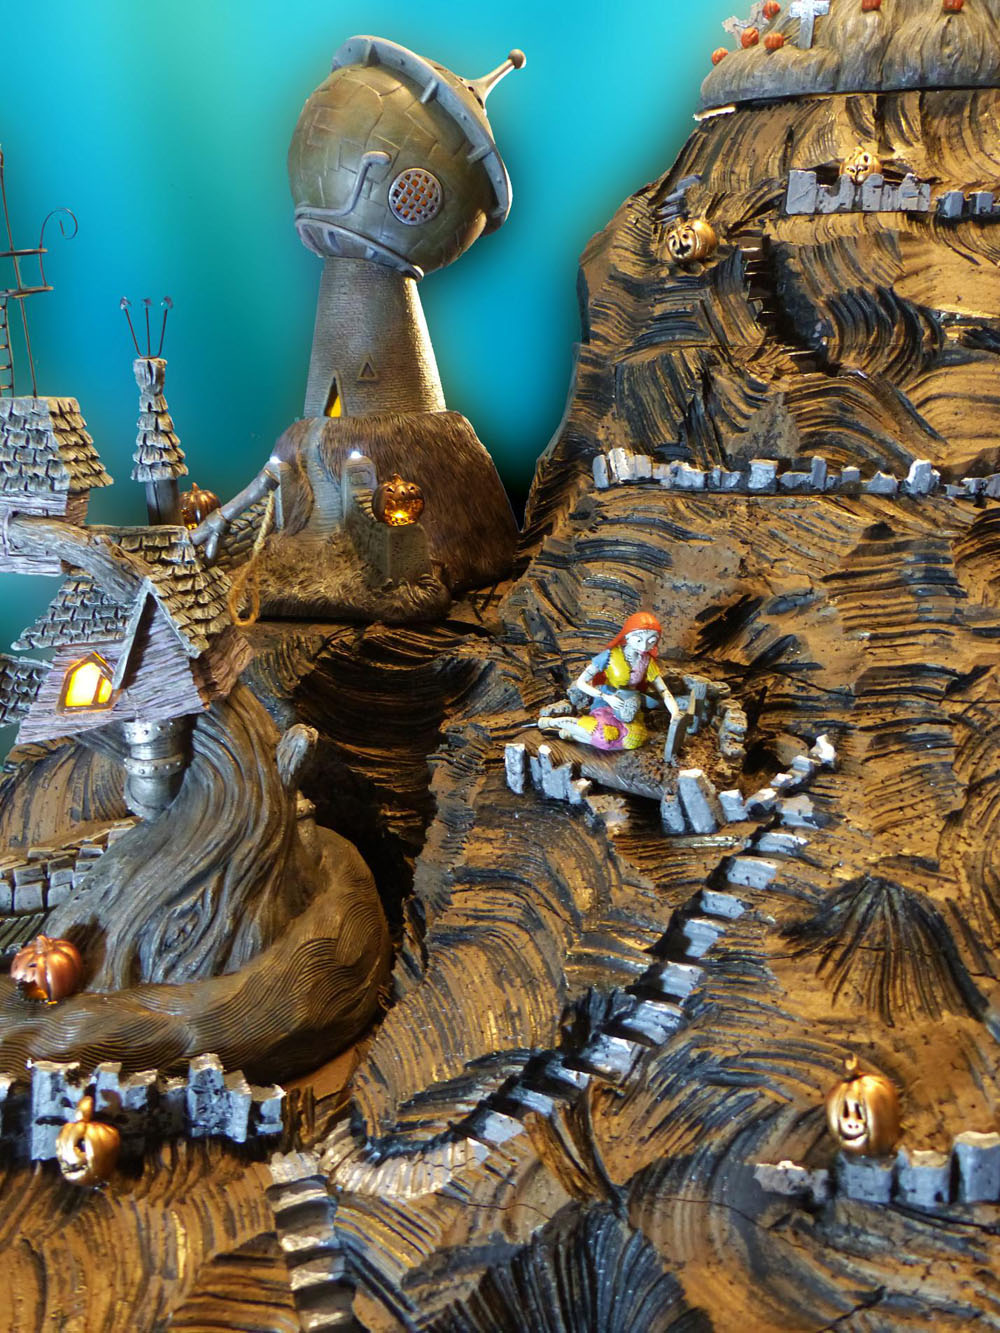
We are so excited to create our first Nightmare Before Christmas Village! Here we have Jack on Spiral Hill (top of image), Lock, Stock and Barrel Treehouse (left side), and Dr. Finkelstein’s Observatory (behind the treehouse) with Sally (she is on the hillside.) The shiny pumpkins were made with Fimo modeling clay, baked, then painted with a metallic finish acrylic paint, and the gate is also Fimo. Everything else is beaded EPS foam and paint!
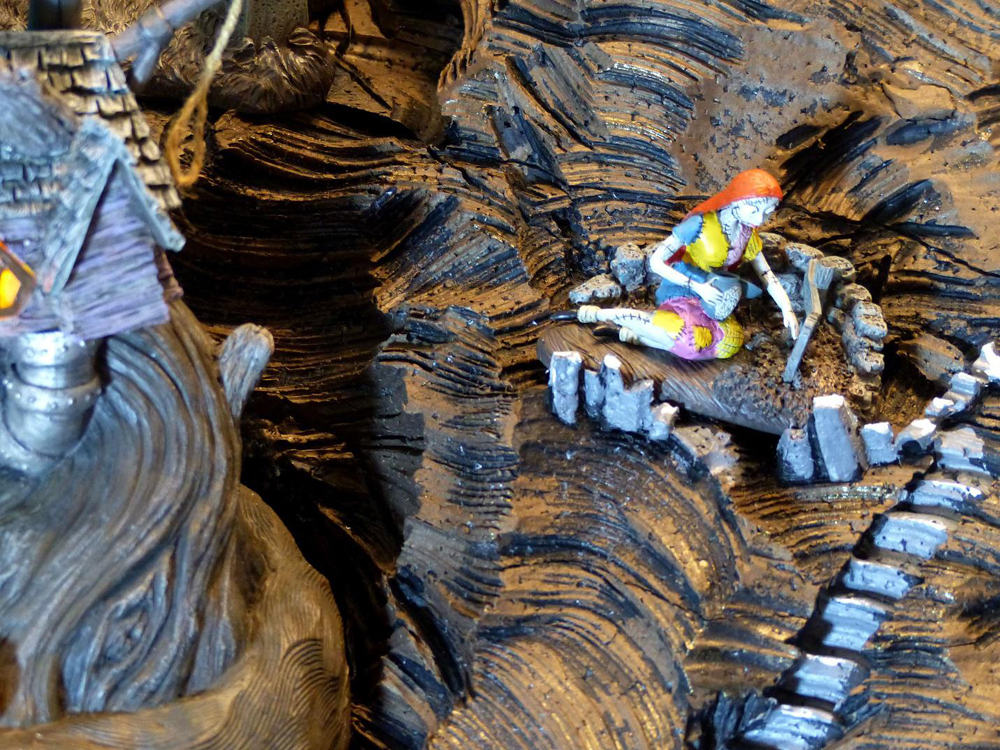
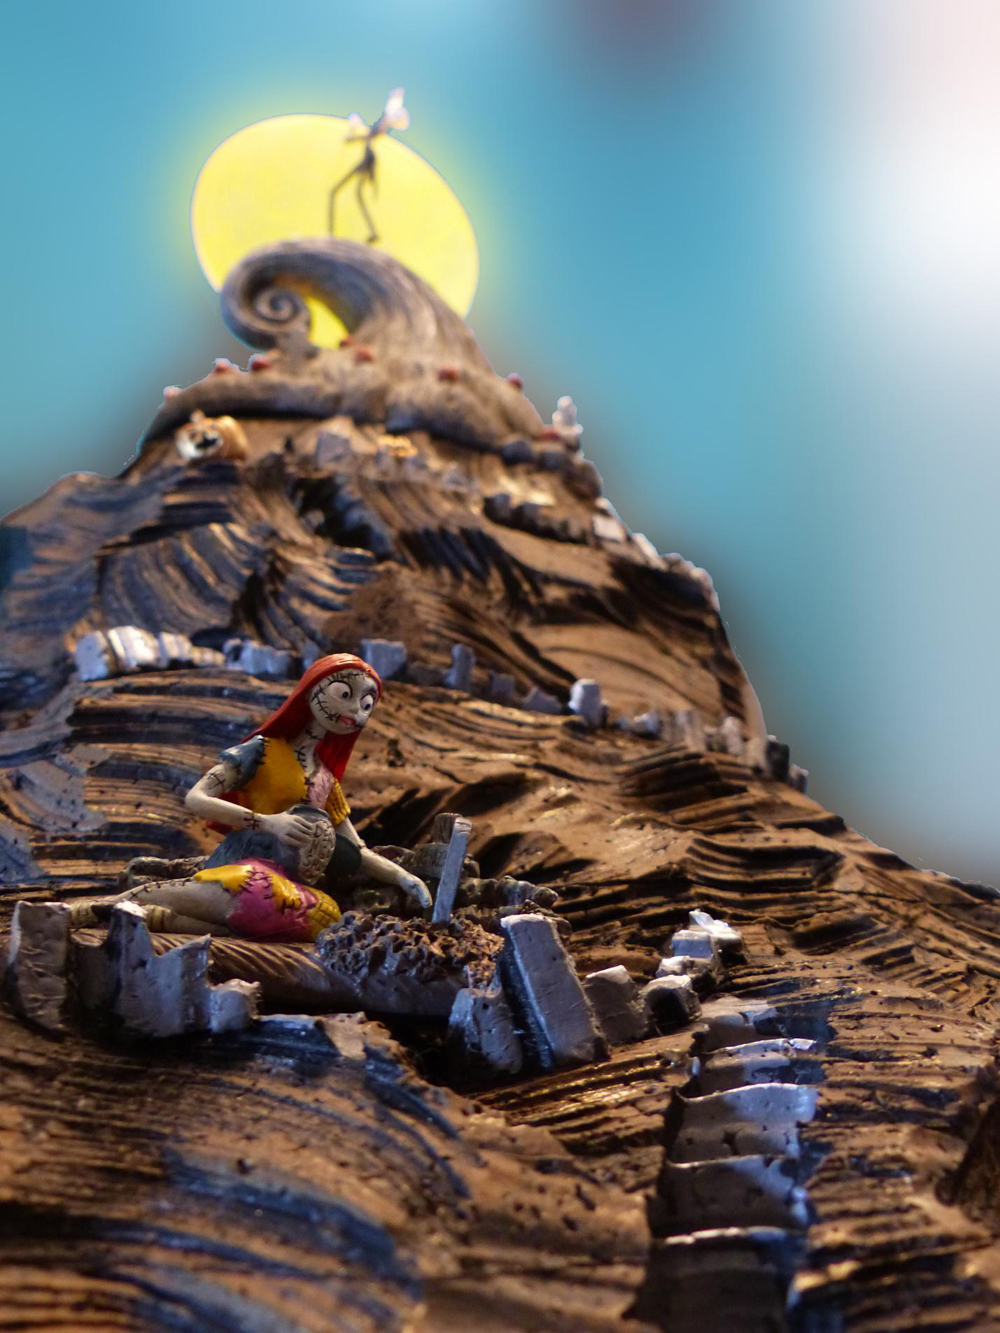
Here we see Sally collecting Deadly Nightshade on the hillside. The interesting texture of the hillside was made with the Hot Wire Foam Factory Sculpting Tool and a very thin wire. Gently wiggling and tugging the tool while slowly pulling it through the foam created the effect. The stairs were created with the same tool: bending the fine wire into a squarish shape at the end and then pulling down, towards myself, down, towards myself in a fairly regular pattern creates stairs in the hillside.
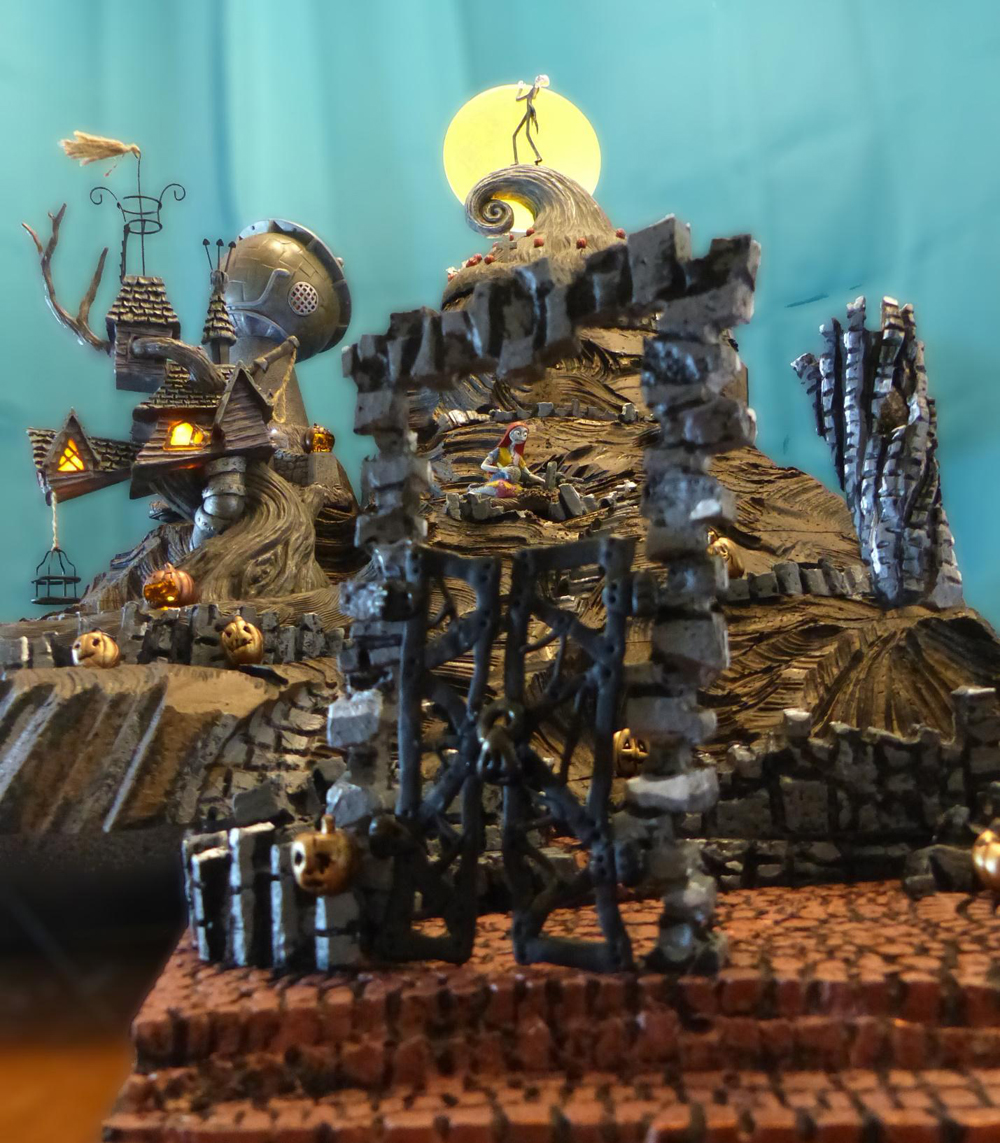
Two inch slices of foam have been stacked up to create the scene and in this closeup you can see one of the seams between the slices. Holes are cut under the buildings in order to run the wires for lighting. Painting, though it looks intricate, was very simple: a flat, black acrylic paint was applied over the entire surface and then a sponge brush was used to dab paint on all the high surfaces, allowing the black to show the texture behind the color. Metallic paint colors were mixed in to give the surface some sparkle (it is a dark palette, so this helps brighten things up a bit.) The little rock walls were cut with the 3-inch Hot Knife and detailed with the Knife or the Engraver Tool.