Devil May Cry Sign
Hot Wire Foam Factory
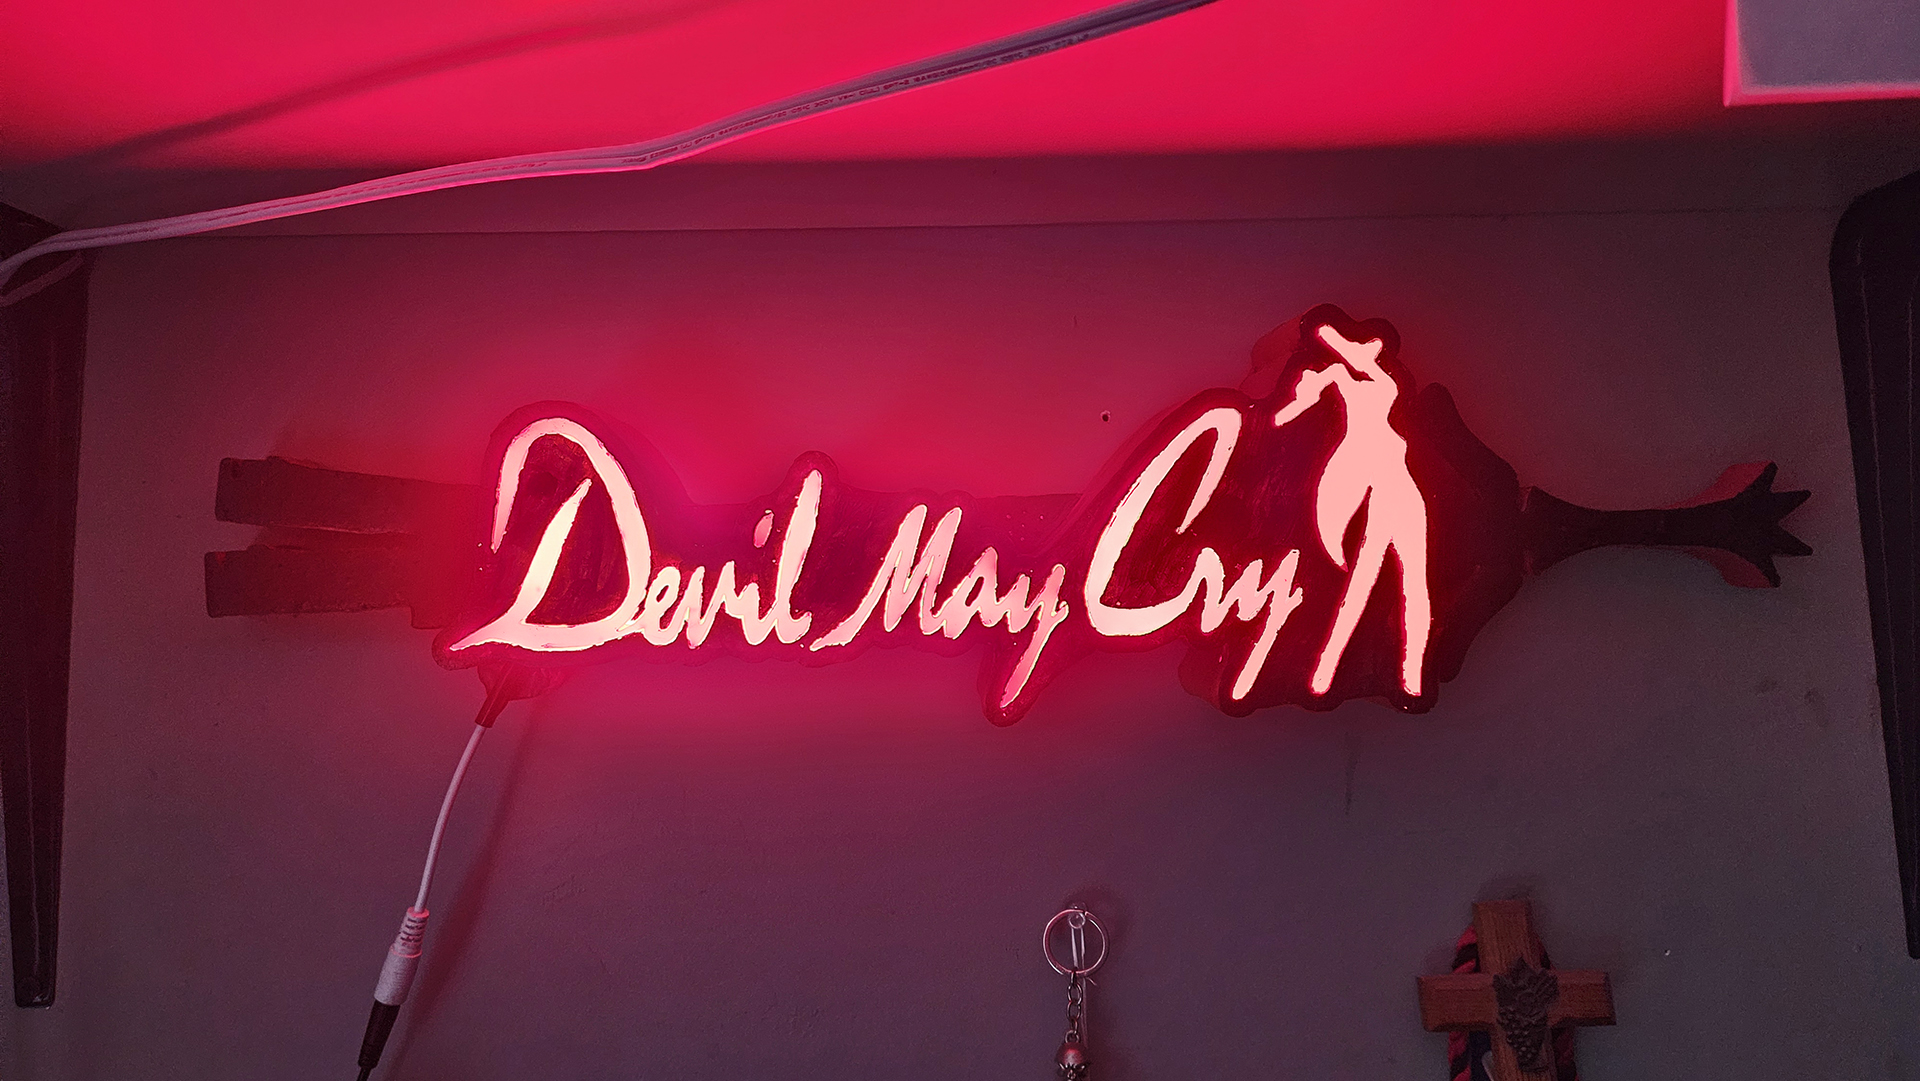
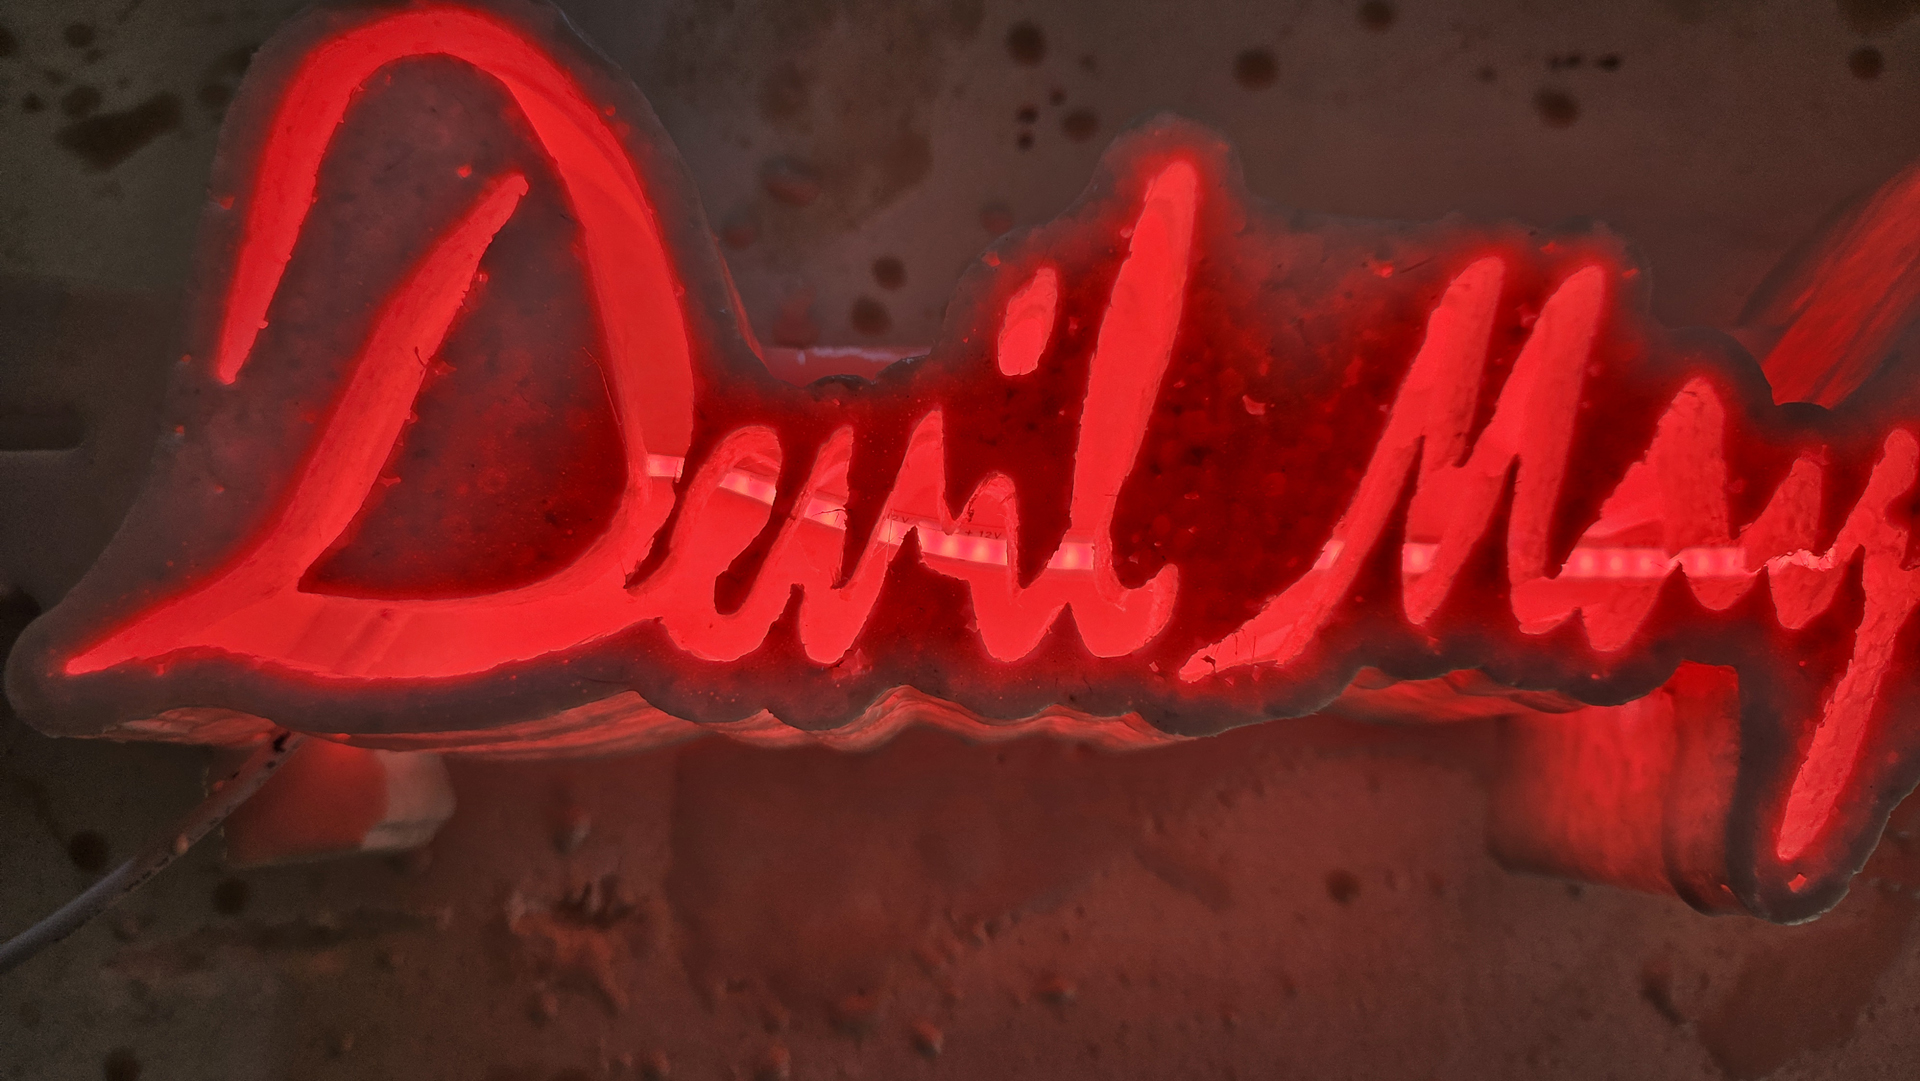
Our graphics and marketing guy, Shane, created this replica of the Devil May Cry logo featured in the first game. It features LED lighting effects and a built in speaker that plays four different battle themes from the Devil May Cry series.
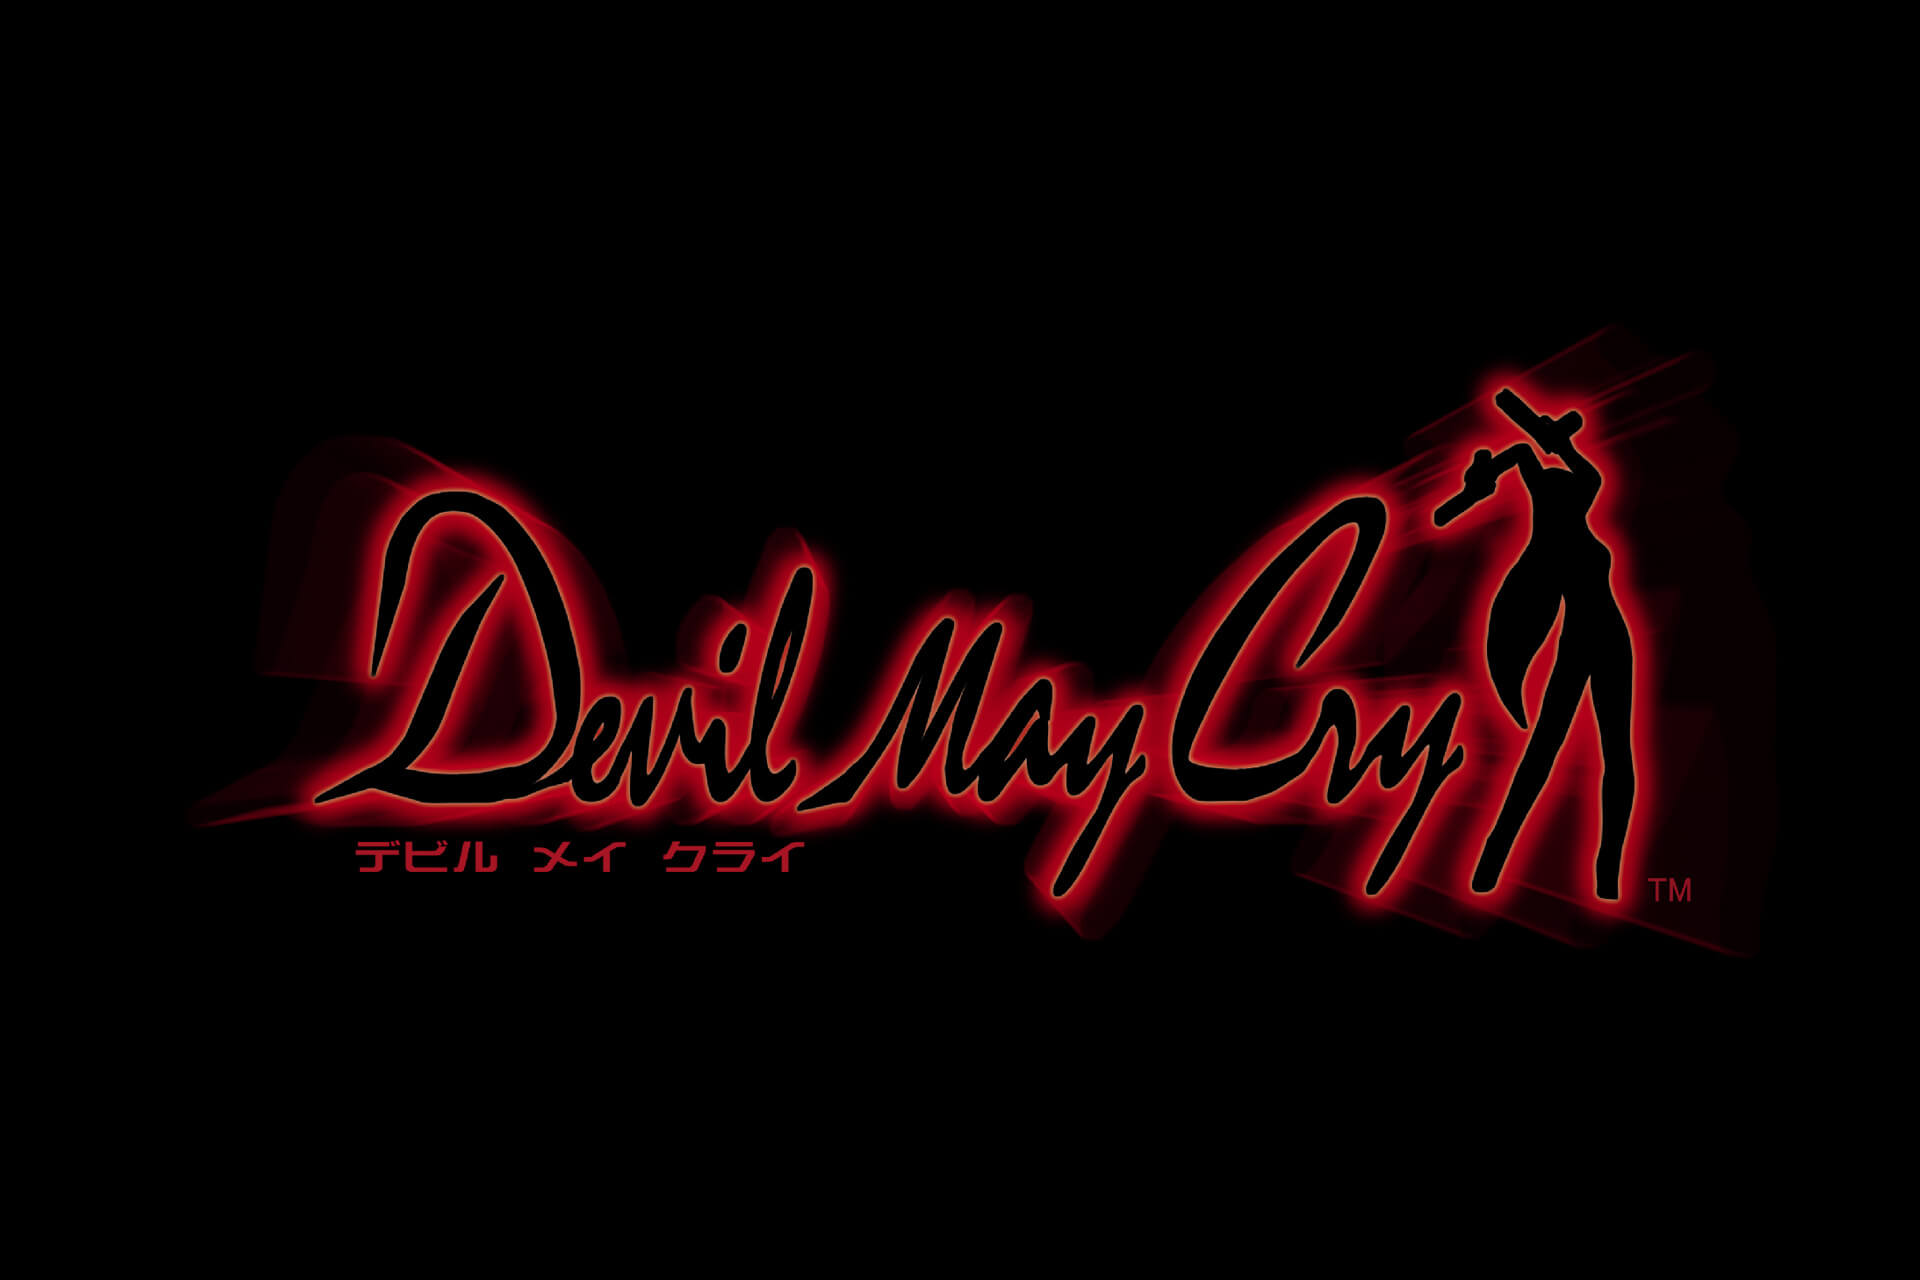
“I started out by planning the design and creating the cutting files in Illustrator. I just used the pen tool to trace around the logo and any other elements I needed. When finished, I exported everything to PDFs which can be easily converted to work with our foam cutting CNCs.”
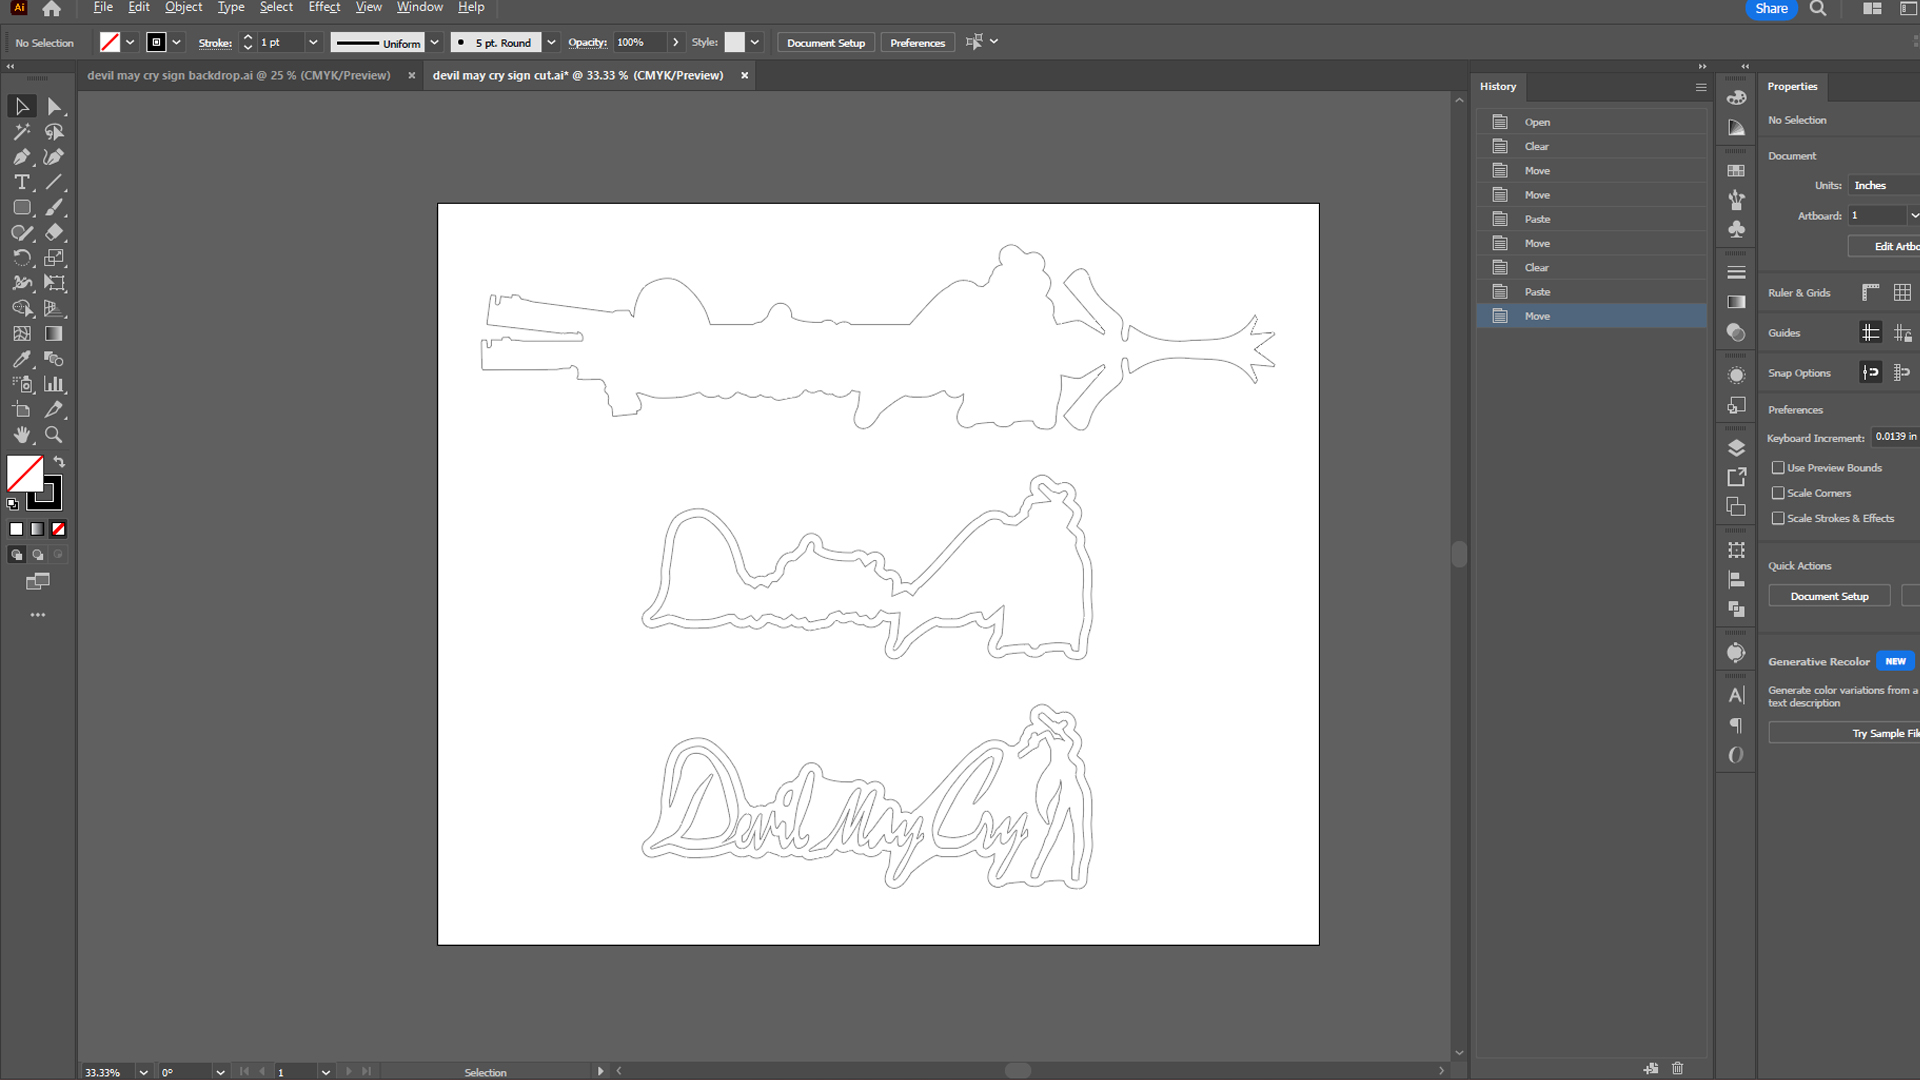
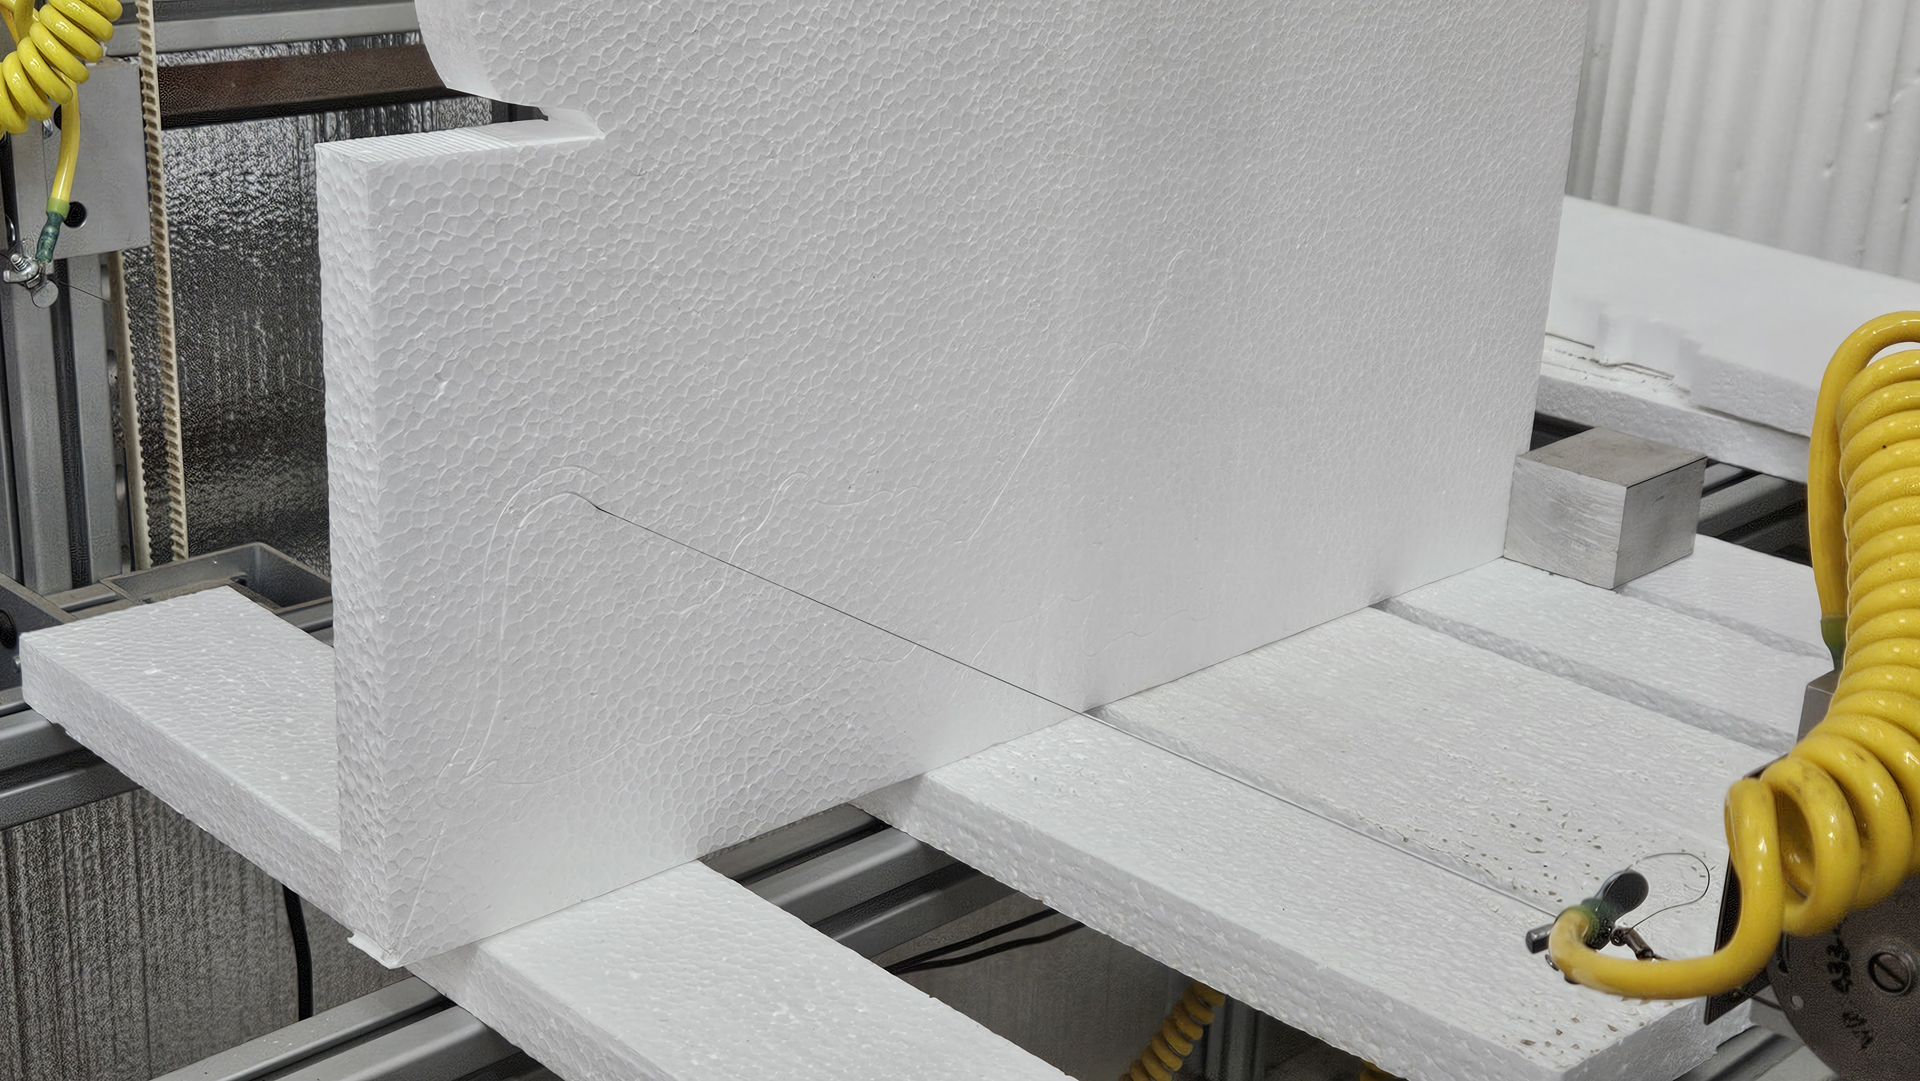
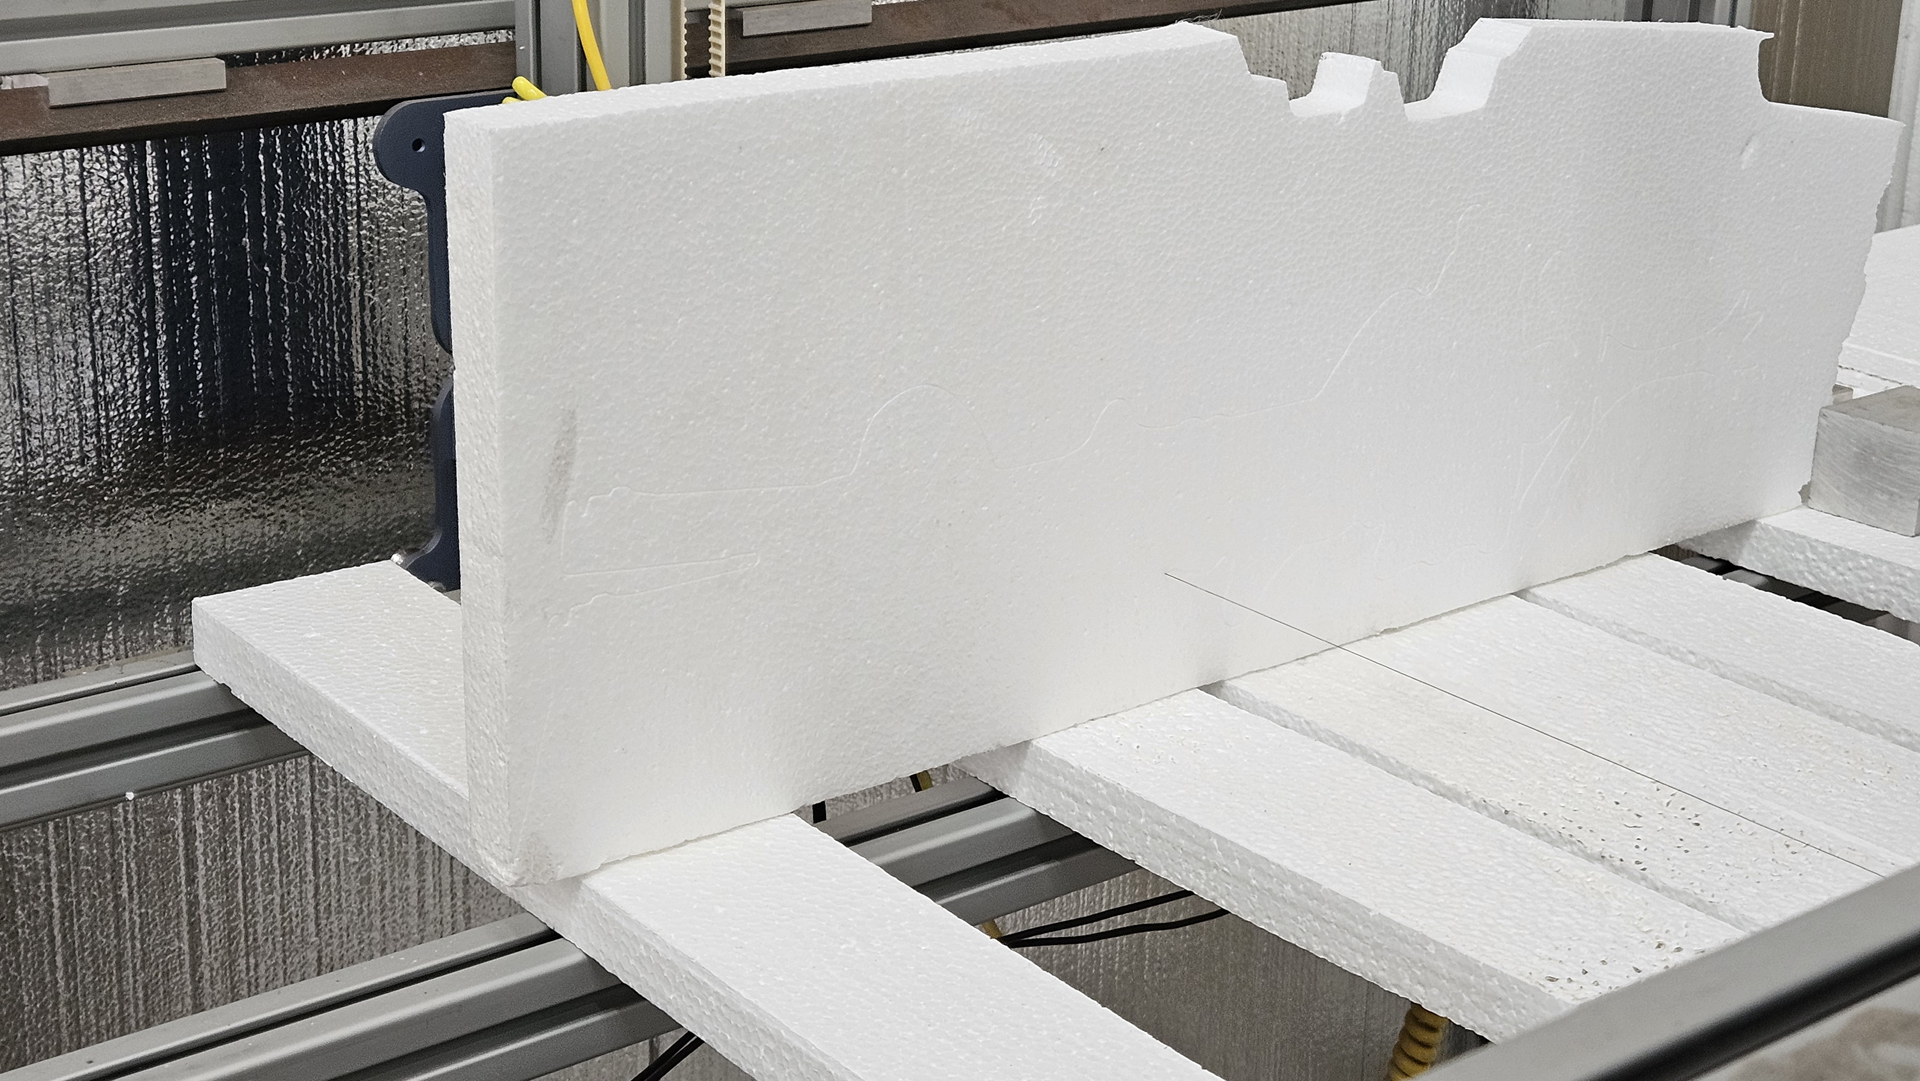
“This is another project I ultimately decided to cut out with a CNC, but this could still be done with paper templates if one has the ability to print on longer sheets and even more easily done with wood templates cut on a laser printer.
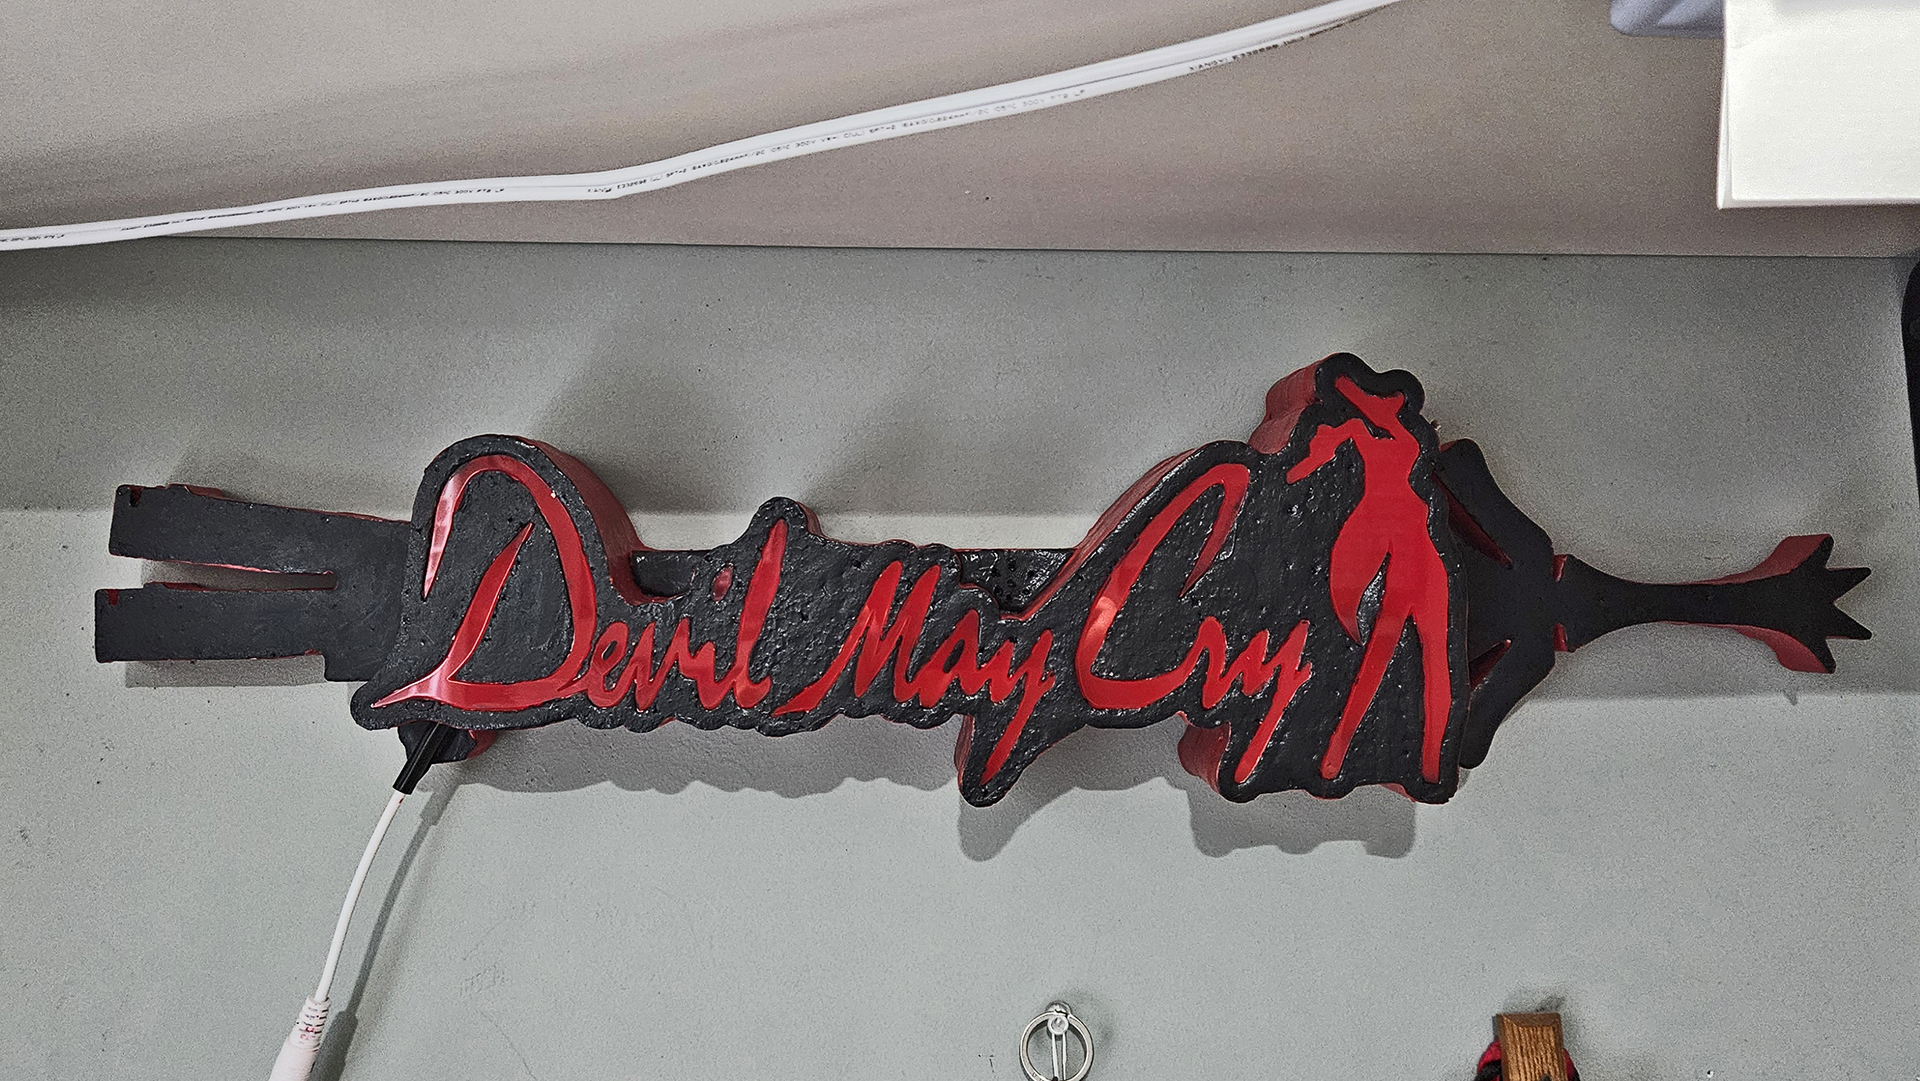
For this design, I wanted the backdrop to be something substantial, so I made the left side of the backdrop into silhouettes of Dante’s hand guns, Ebony & Ivory, and the right side into the hilt of his iconic sword, The Rebellion.”
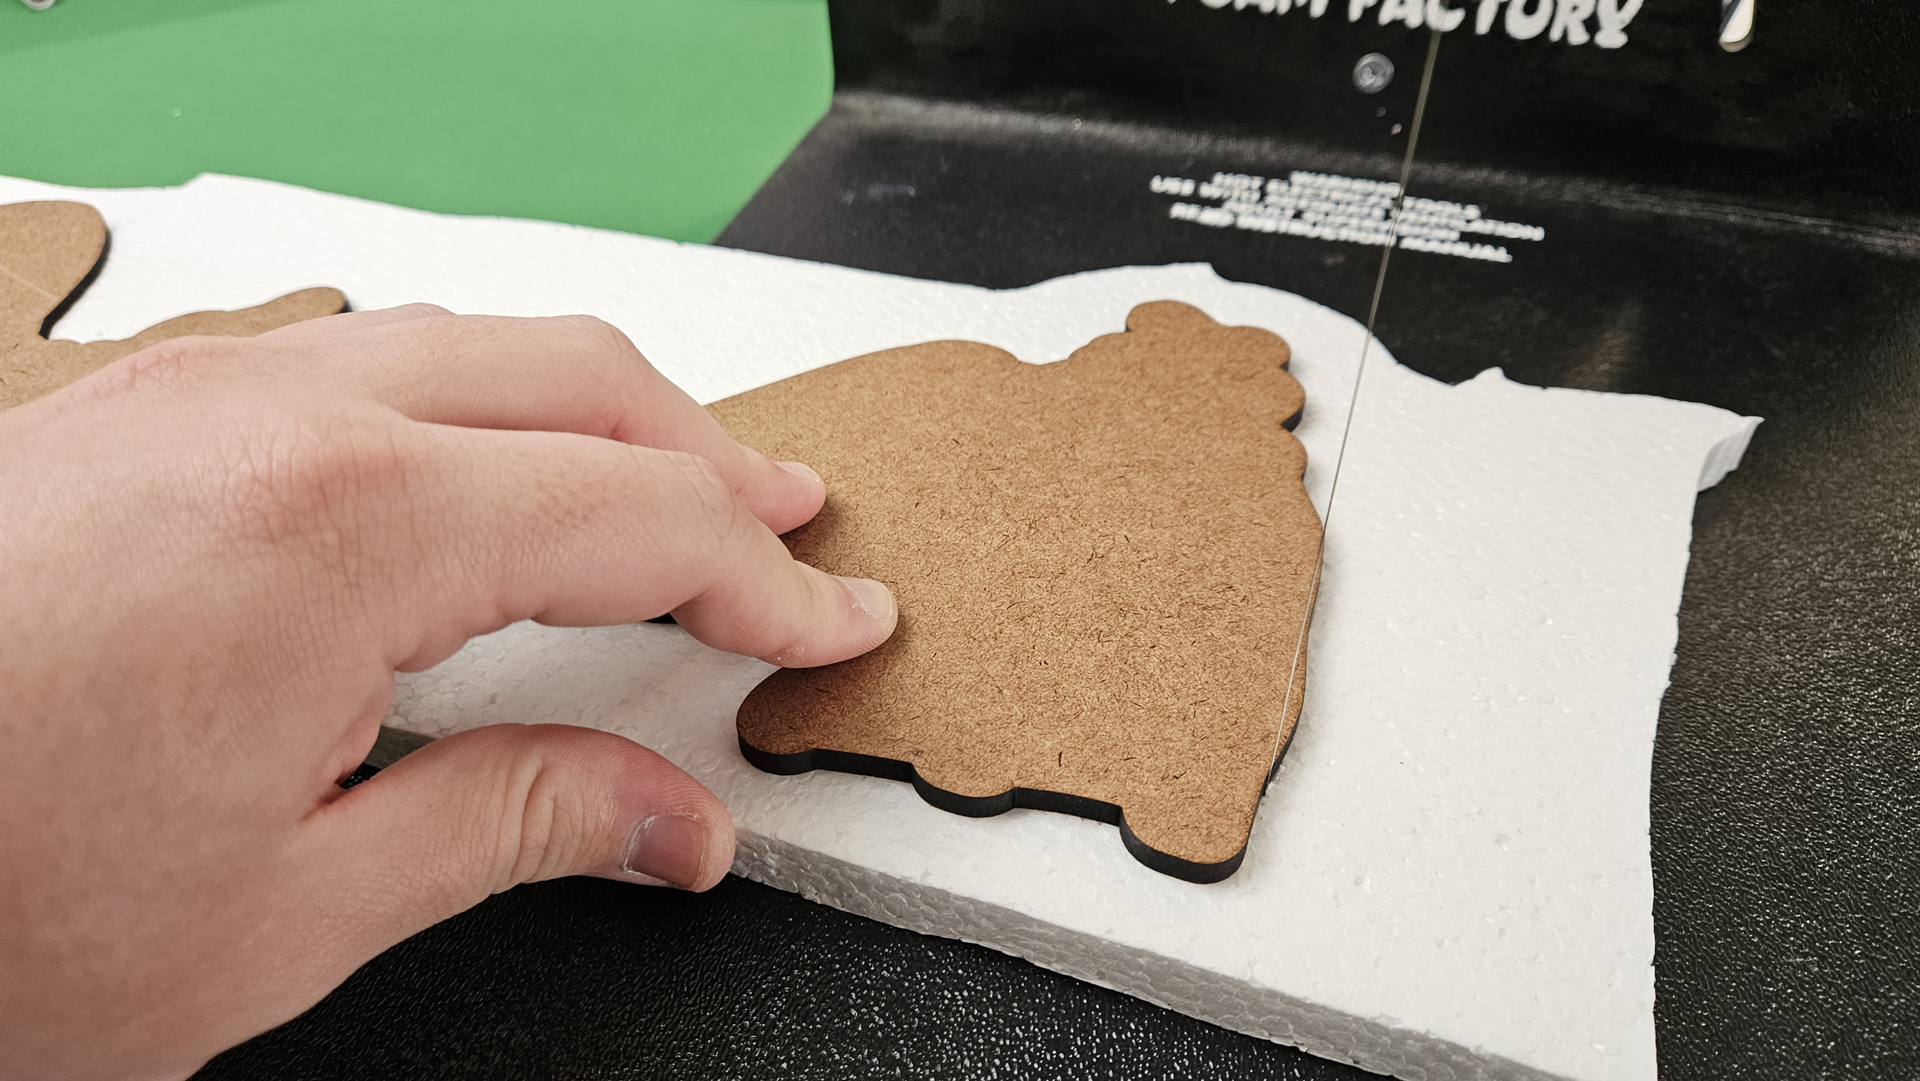
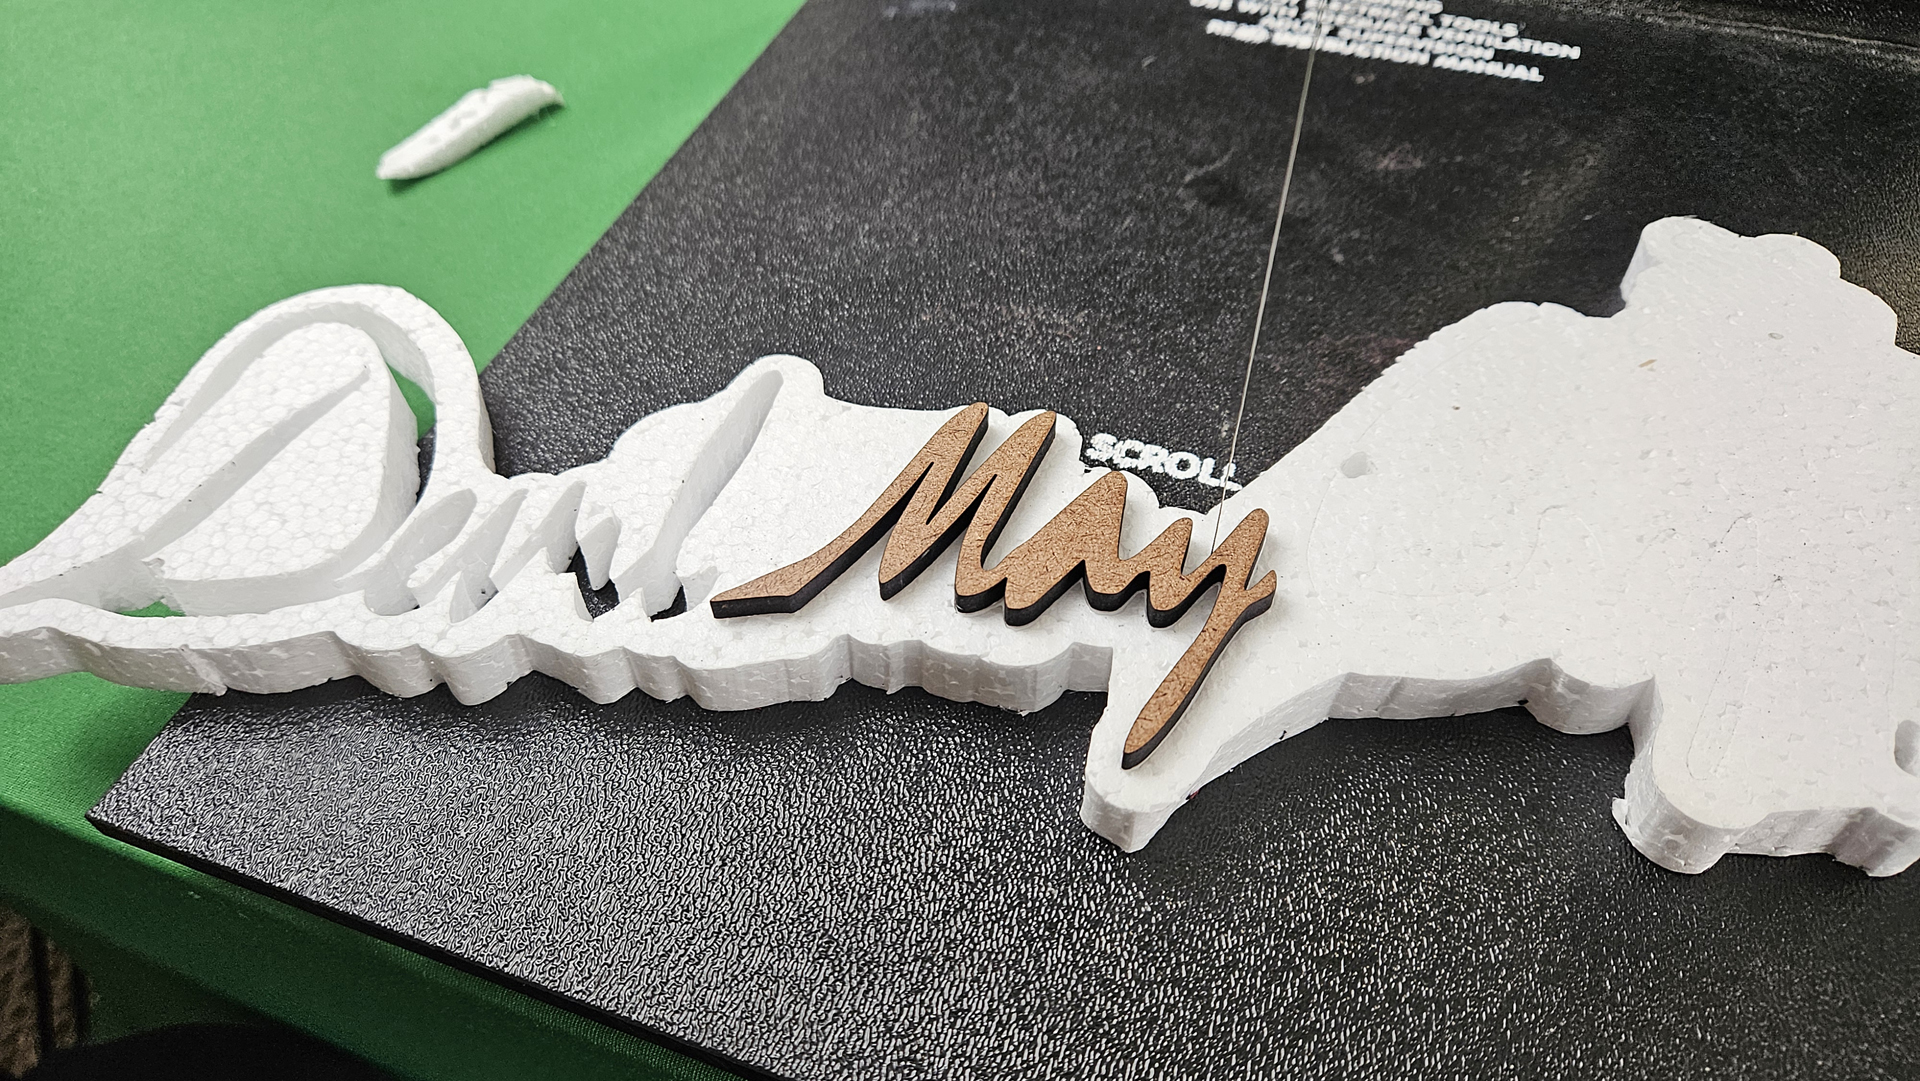
“For the top layer, I asked Brandon in our CNC shop to help me cut out some wood templates on our laser printer. I then traced around these templates using an Original Scroll Table and 3-Inch Hot Knife. (Quick note: in the picture here, I traced around cutouts for the letters. I would actually recommend cutting out the letters on the laser and using the negative space instead to trace the letters out. This ensures they won’t be larger than you need them to be.)”
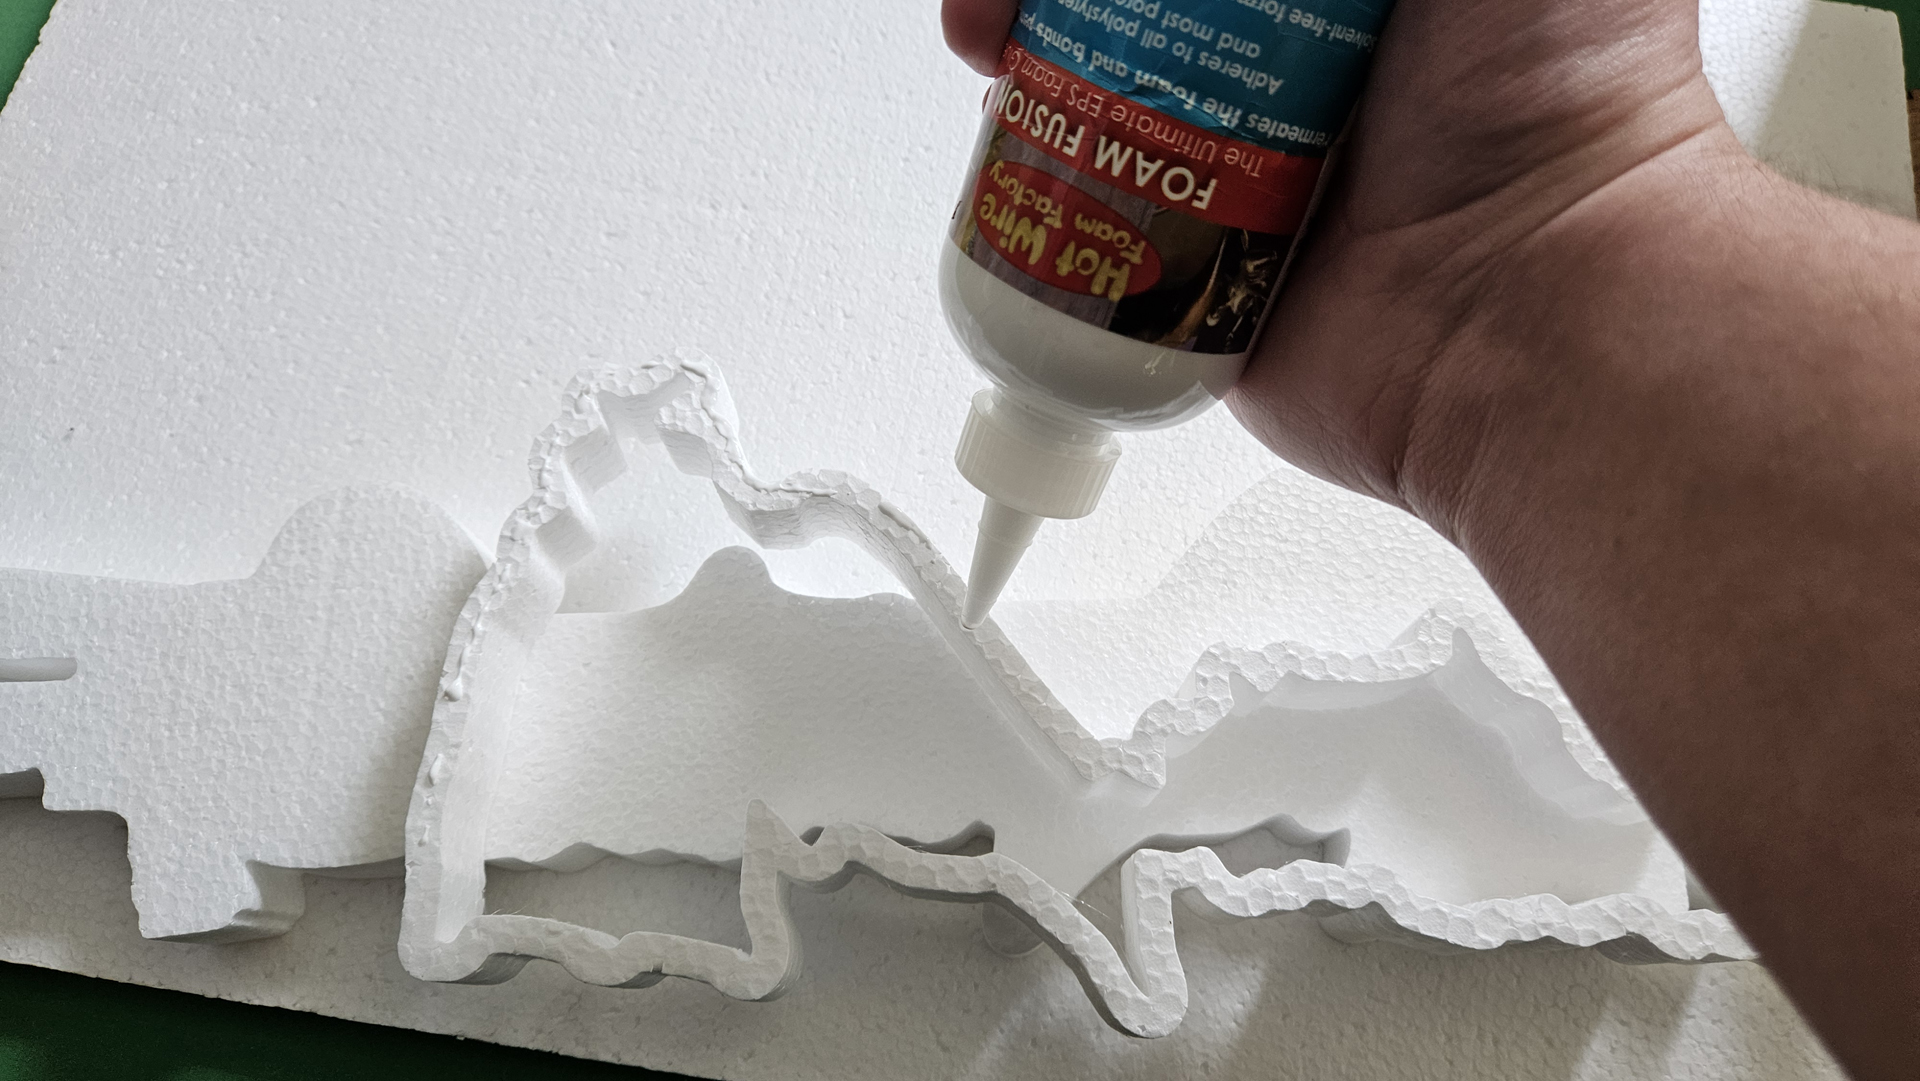
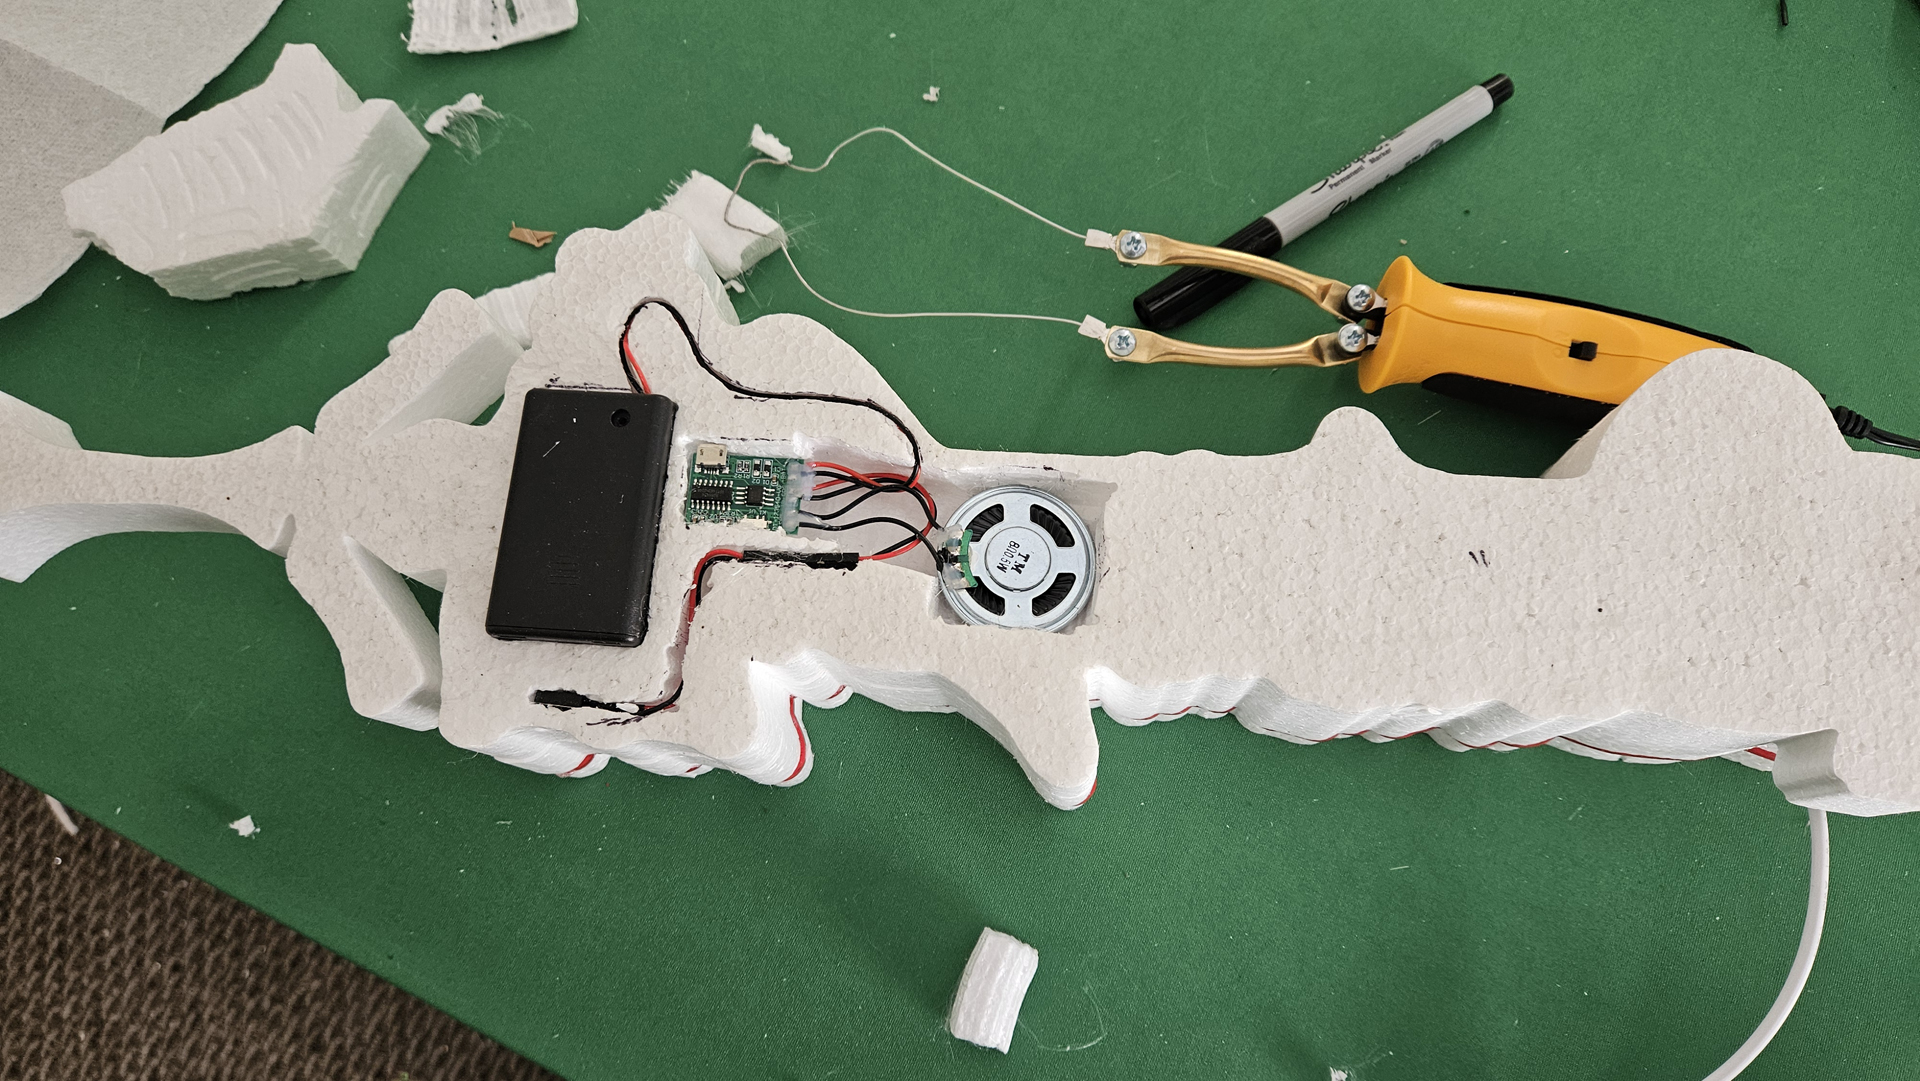
“Once I had all my foam assets cut out, I started gluing the layers together with Foam Fusion and added a red LED strip into the center.”
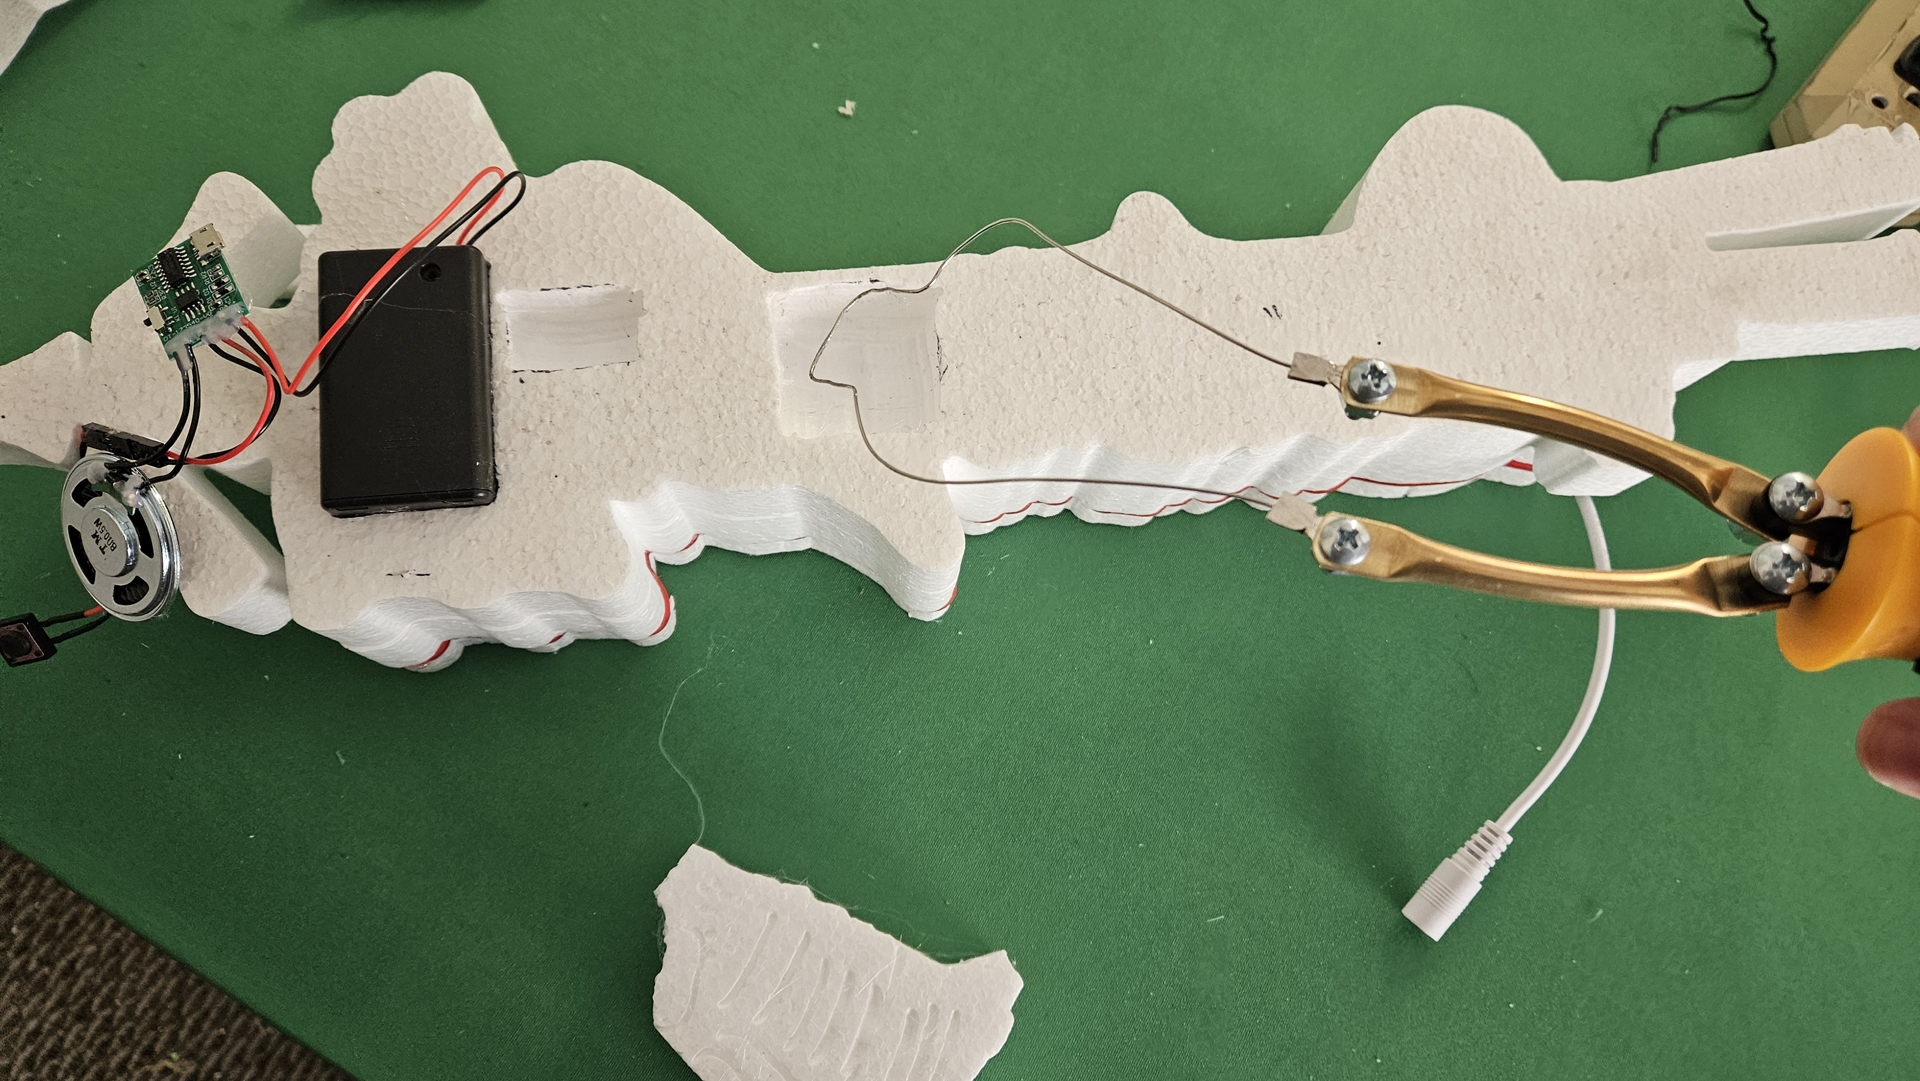
“From there, I cut out spaces in the back to fit the speaker using a Freehand Router and 3-Inch Hot Knife. The speaker has four different battle themes loaded in, including the original Devil May Cry Anime theme, Taste the Blood from Devil May Cry 3, Bury the Light from Devil May Cry 5, and the Public Enemy from Devil May Cry 1.”
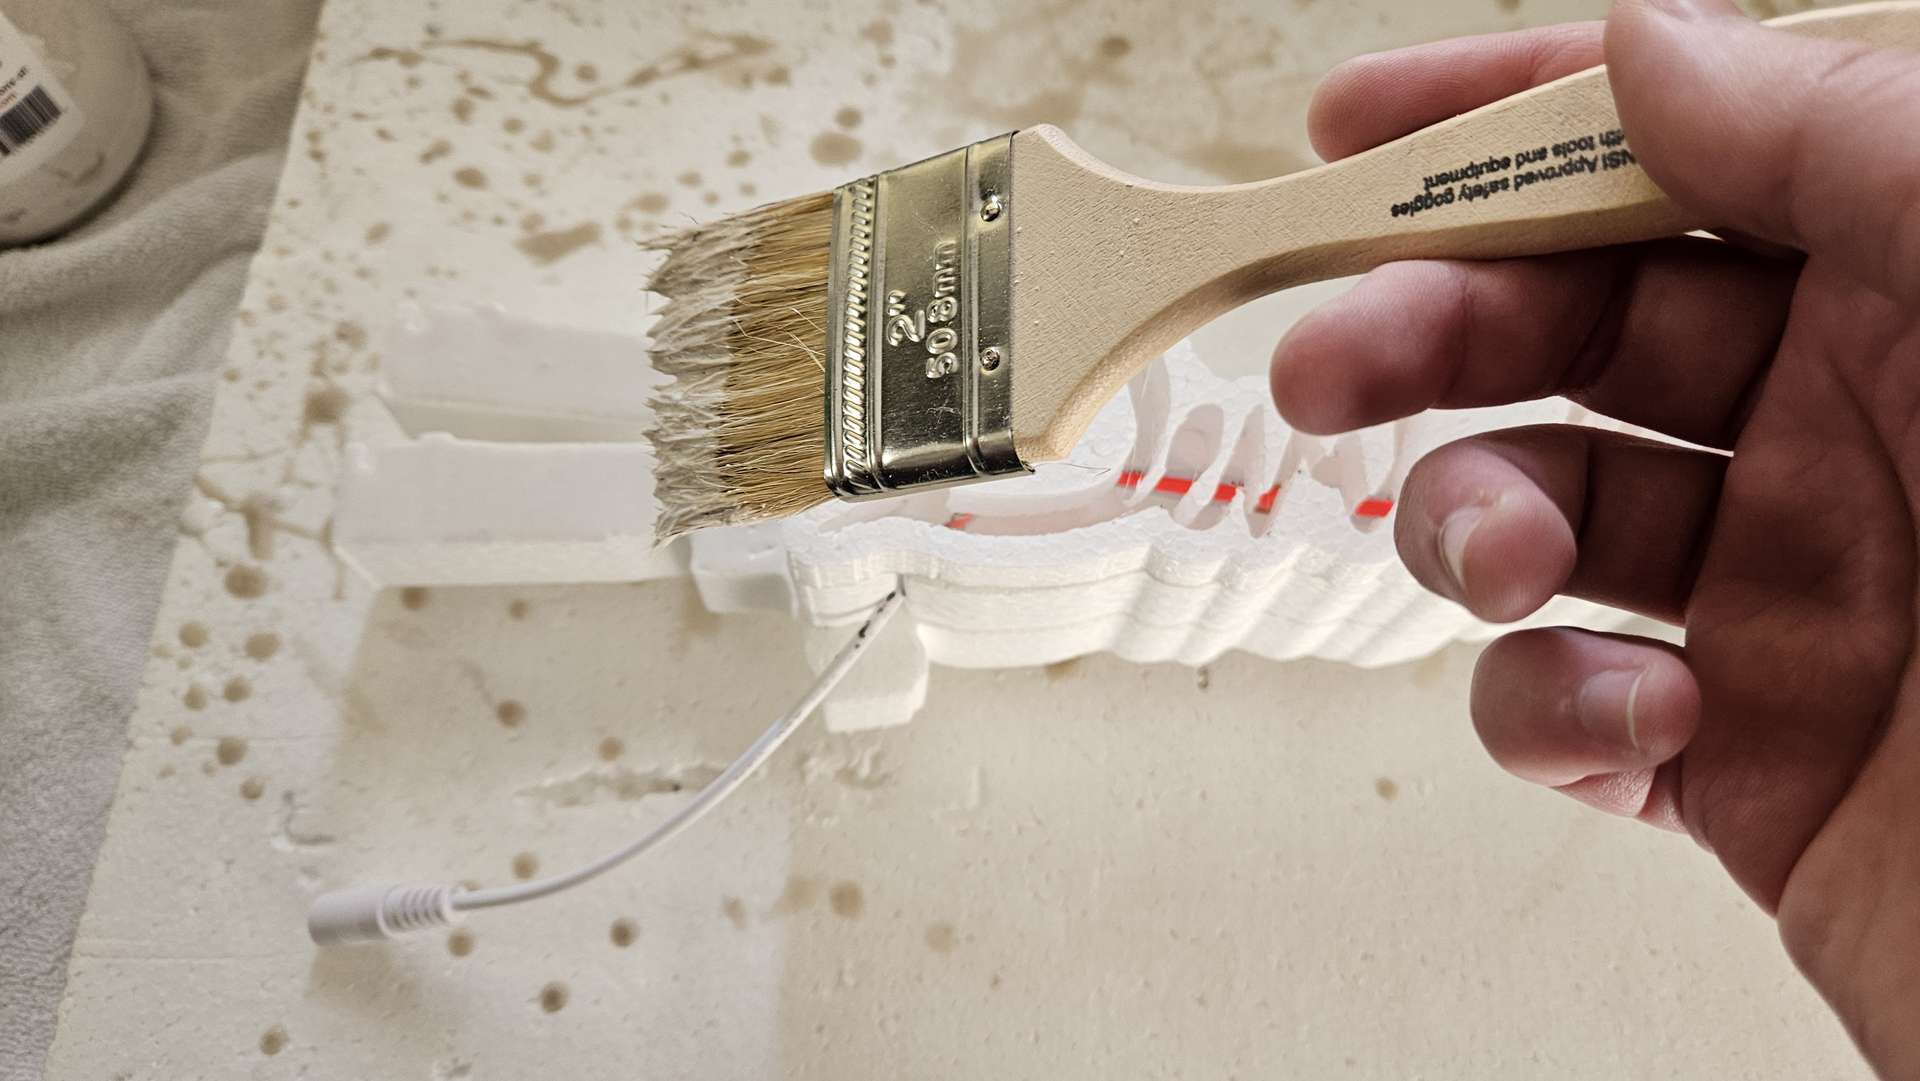
“I went with Bounce mixed with All Purpose Foam Coat for the top coating (5 parts Bounce to 1 part All Purpose), which was probably the best choice for this project. When mixed properly, Bounce and All Purpose goes on incredibly smooth without running off the foam. It’ll even hide brush strokes if applying with a chip brush. The key is to use a regular sized chip brush for everything except the top layer. For that, I used a kind of junky small paint brush to make sure I wouldn’t accidentally leak any of the coating onto the LED strip.”
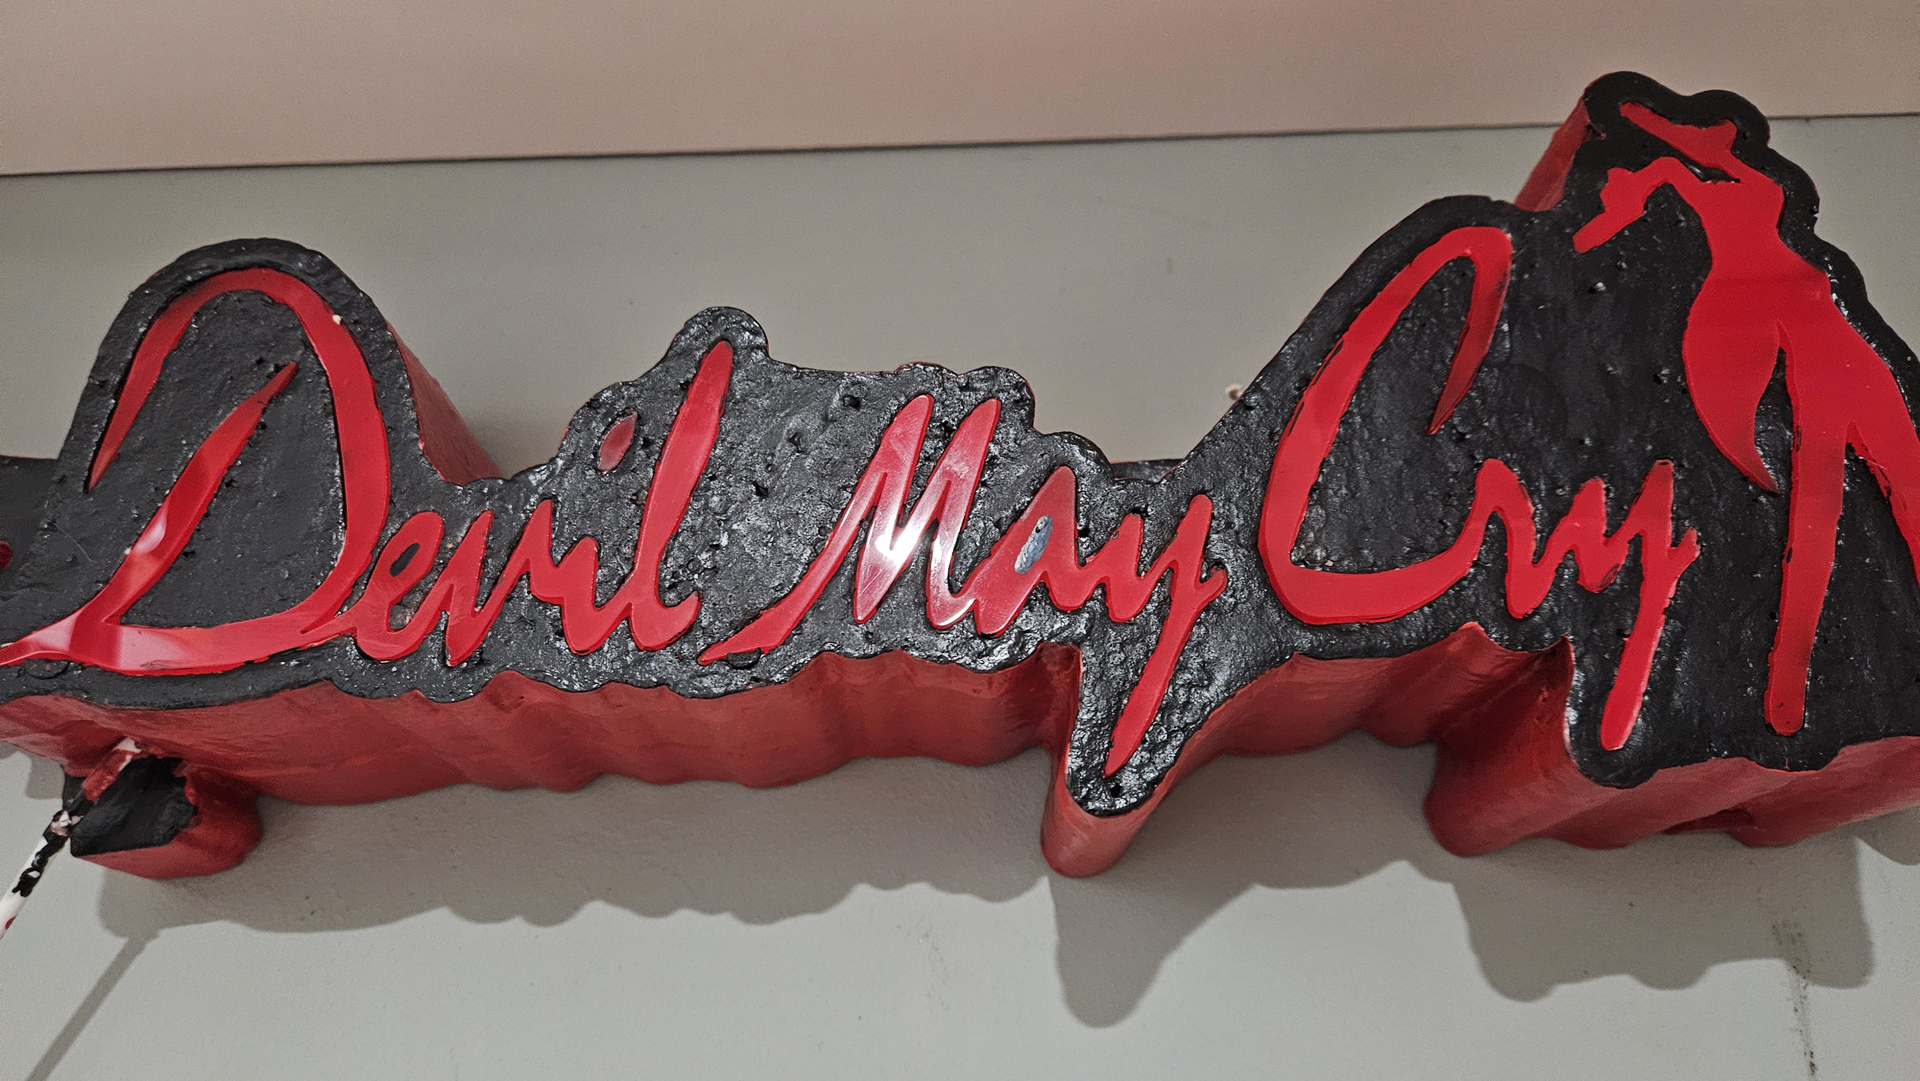
“Once the coating fully cured, it was time to finish it up. I painted the entire thing with black acrylic craft paint, then painted the sides of it red for some extra decorative details. (Note: It’s important to paint the sides black or with a very dark primer to prevent the LED lights from bleeding through the sides of the foam.”
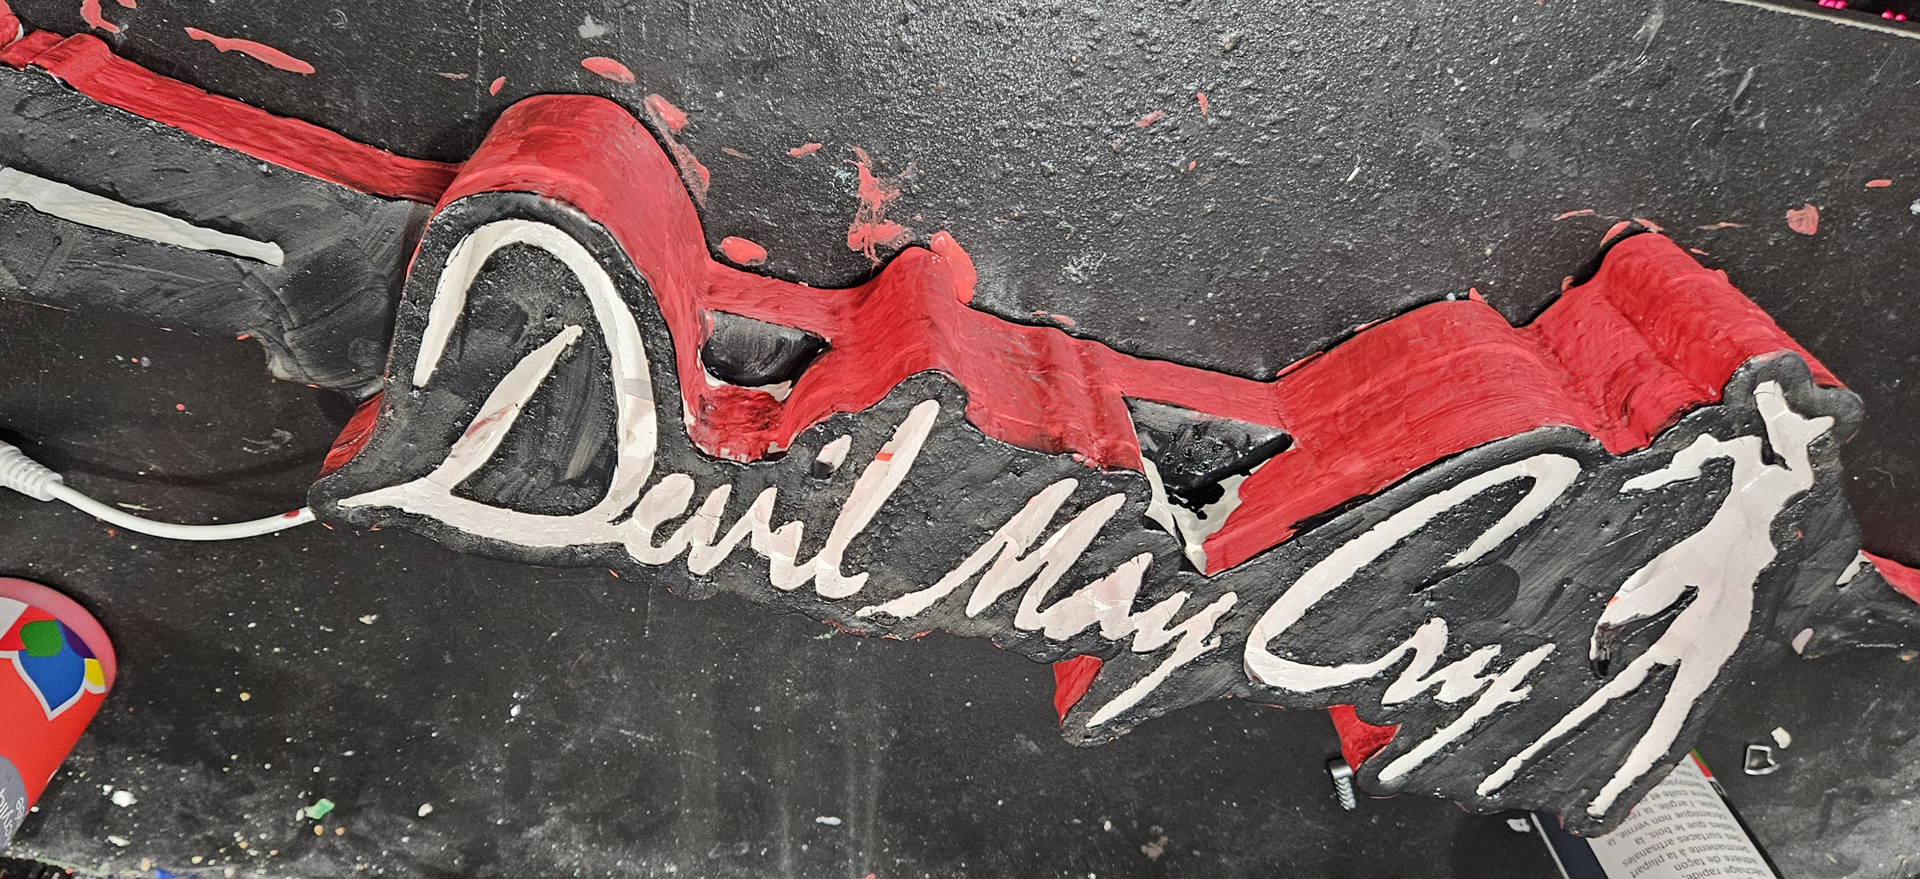
“The last step was to cut the lettering out of red acrylic with our laser cutter so I could inlay them onto the top layer.”